Previous Lesson: Lesson 2: Important Rules and Reminders for All Reminders
If you’re new to computer programming, well, you’re in the right place! In this lesson, we’ll discuss how we’ll set up our computer for our coding. Let’s get started!
There are a lot of text or code editors out there. But I’ll say that the best I’ve ever encountered and used was the Visual Studio Code. It’s simple and easy to use. You can download this editor for free.
Welcome to Visual Studio!
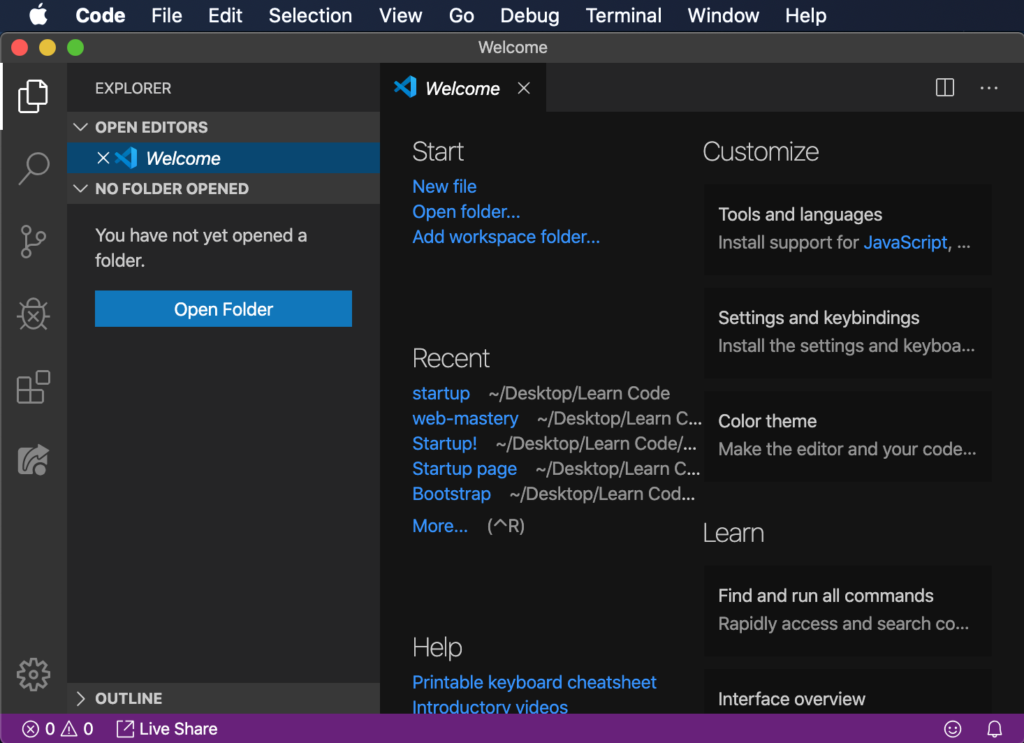
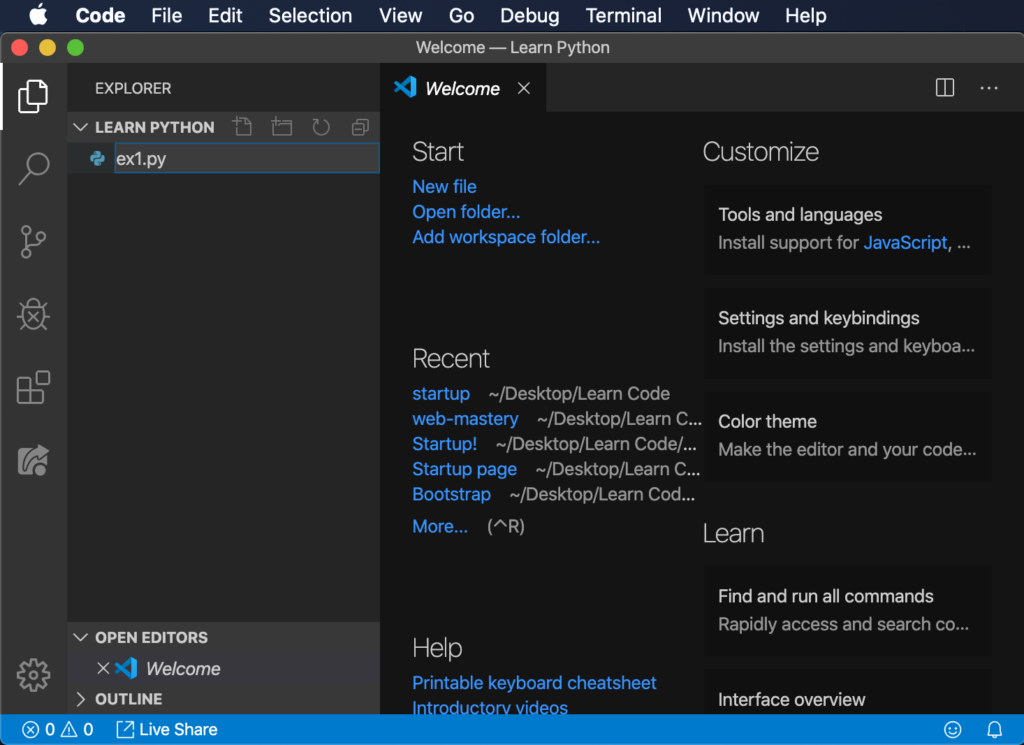
Done downloading? It will look like this when you open it up:
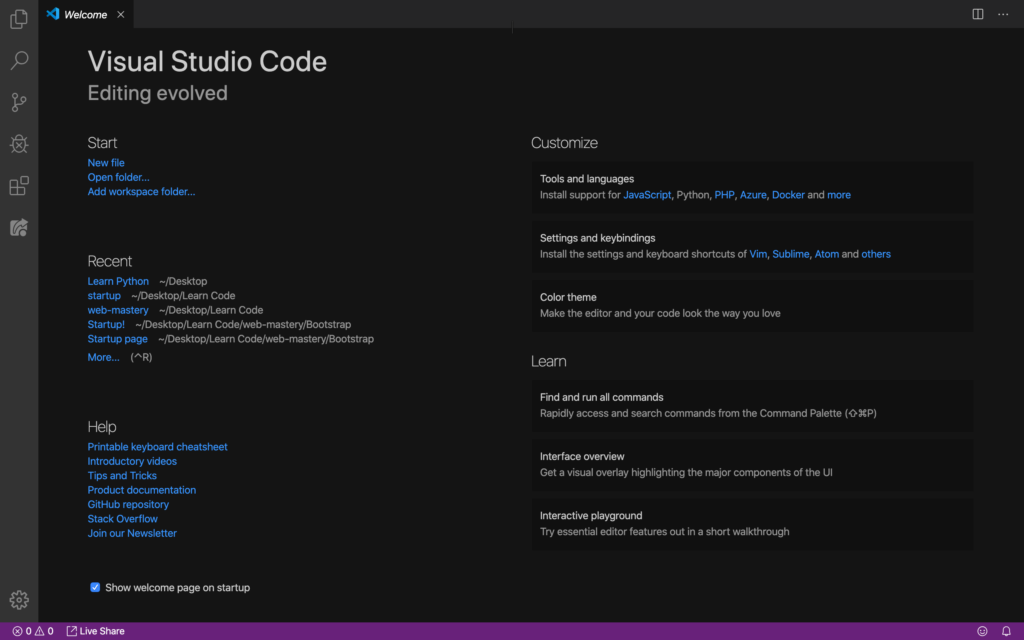
Don’t worry. We’ll talk about these one by one. Start is where you can start with a new file, or open a folder, or add a new folder.
Recent may not look like yours. It would like to say: “No recent folders.” Don’t worry about that. But if yours has these, that means that you’re like me–you’ve started your own projects. It will keep growing as we do our next projects.
Help is of course where you’ll find help. But what I want you to try is the Tips and Tricks. This one will take you to this page.
Tools and languages is where you can download tools for coding and different programming languages.
Settings and keybindings is where you can install settings and keyboard shortcuts.
Color theme. You can pick a color theme here. But we will talk about an easier way to pick one later.
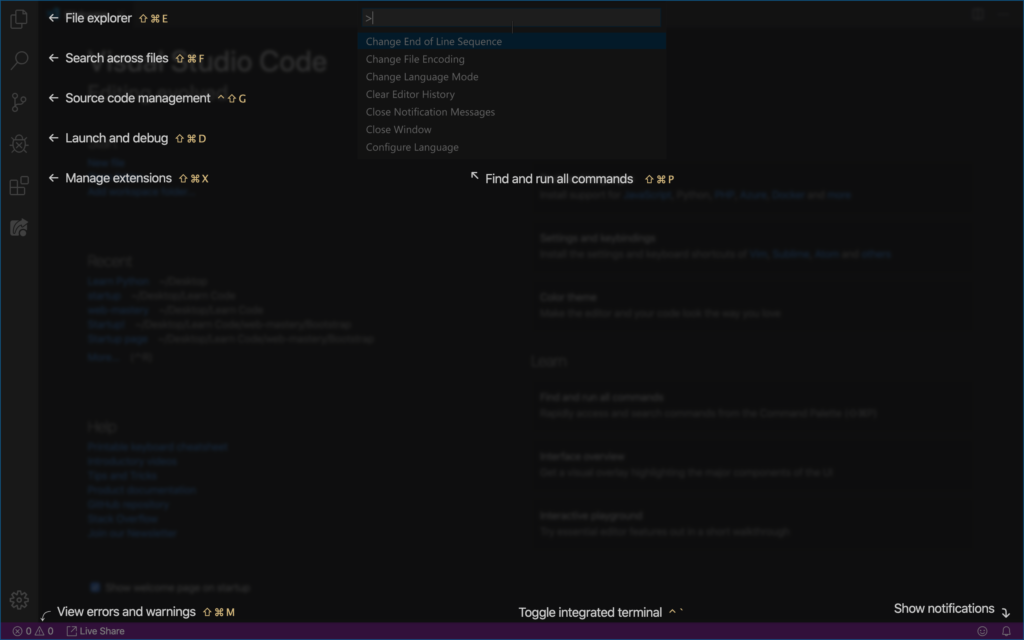
Find and run all commands is where you can access all commands.
Once you clicked on the Interface overview, it will show you this:
Interactive playground will let you test some essential editor features.
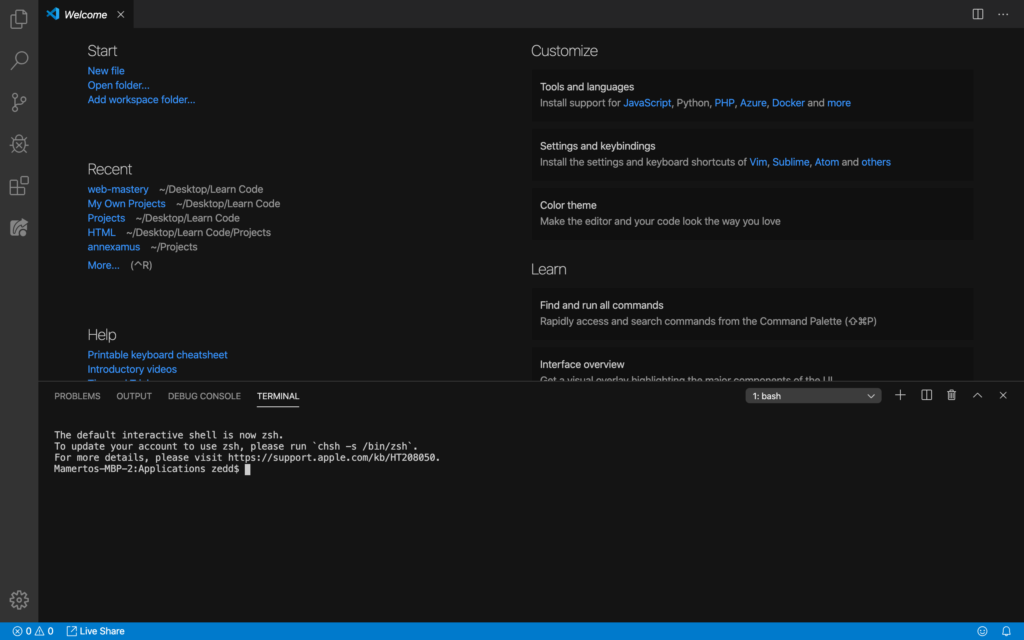
Terminal
Terminal is a place where we can run our code. In the next lessons, you’ll understand its function. But for now, let’s make sure that python 3 is installed in our computer. Hit Command + Ctrl + `. The tick (`) can be found on your upper left keyboard.
This is the Terminal:
After that, type in “python3” to know if python 3 is installed on your computer. Here’s what it looked like on my computer:
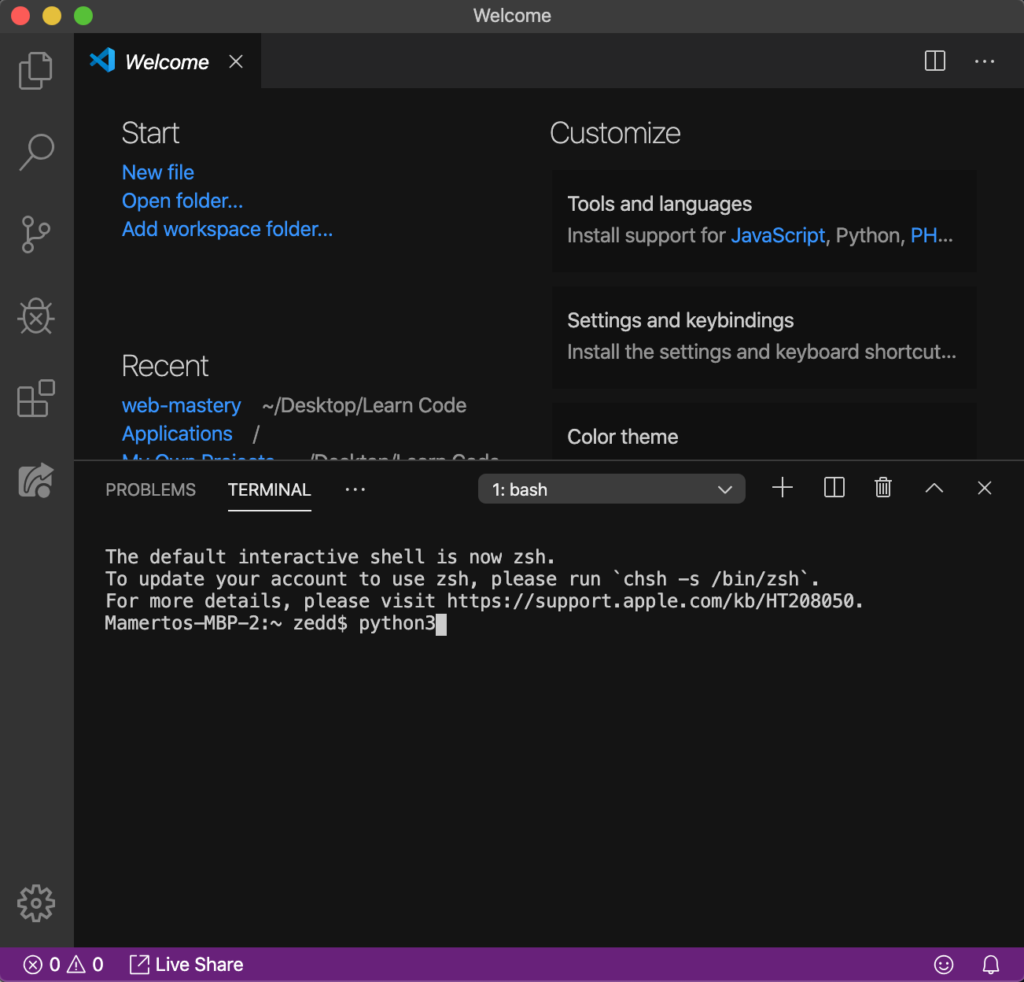
Press ENTER:
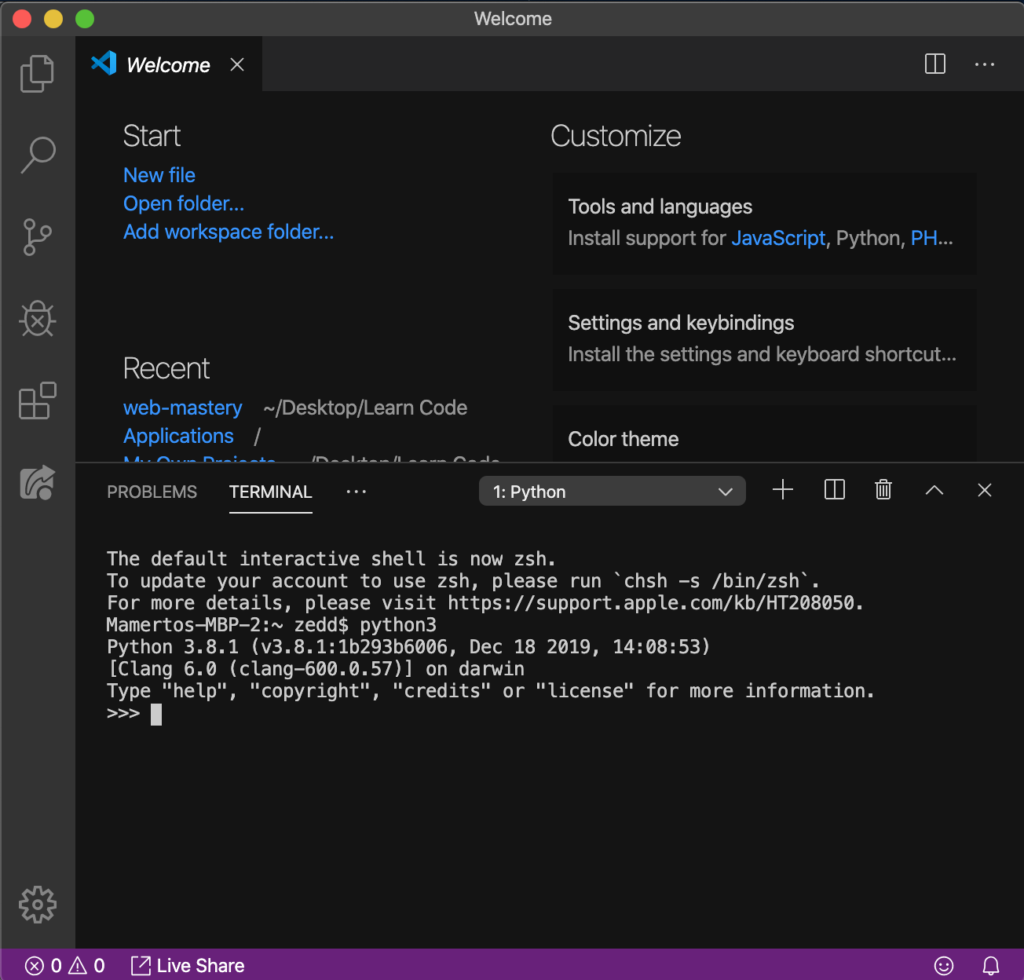
Do you see the version of Python here? It’s just below the python3 that we typed last time. If your Terminal didn’t show 3.8.1 or a higher version, then you don’t have the latest version of python. You need to install it first.
Note: ‘Mamerto’ is my father’s name, thus this computer is his 🙂
Install Python 3
Please go to python.org to download the latest version of python. Once you’re there, you’ll see this page:
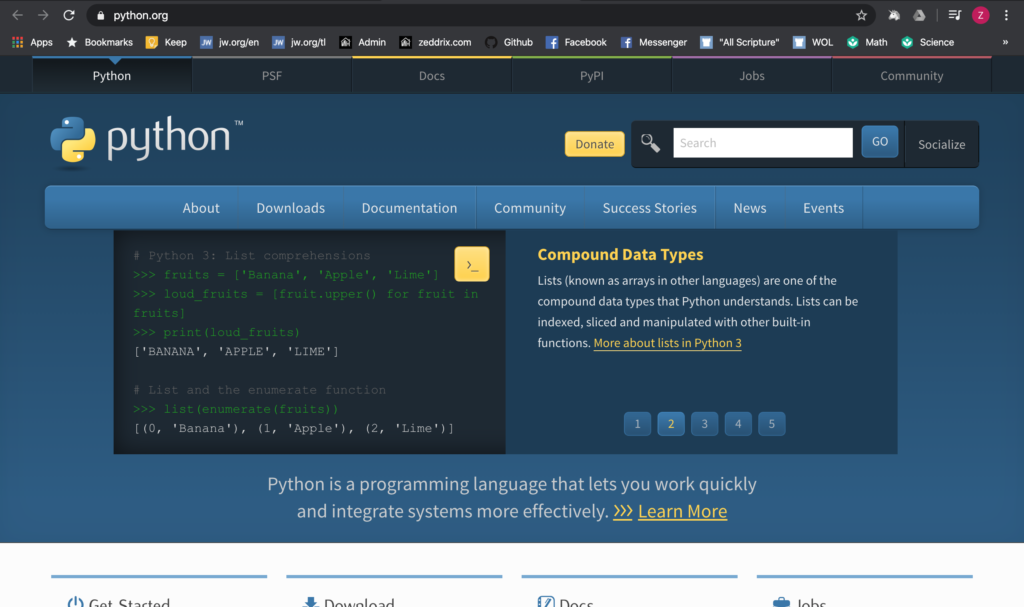
Look for the button Downloads. Once you’ve point your mouse on that button, you’ll notice that this website already know what’s your operating system. If it doesn’t show up, pick your current operating system. In my case, it’s Mac OS X.
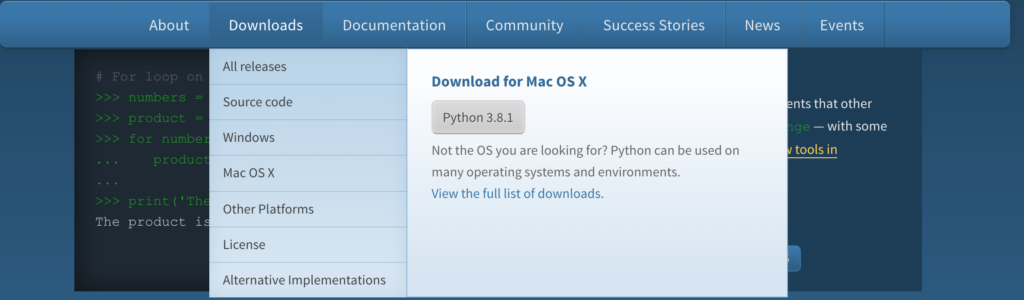
Next, we click on the Python (version). Wait for it to download successfully. Following that, we’ll see if it’s successful. So we’ll type “python3” again on our Terminal. Make sure that python 3.8.1 or a higher version shows up like this:
Create a new file
With python already downloaded in our computer, we’re ready to code. But wait! Where will we be writing our code? We’ll talk about that in a second. In the meantime, go to your Finder, make a new folder and name it Learn Python:
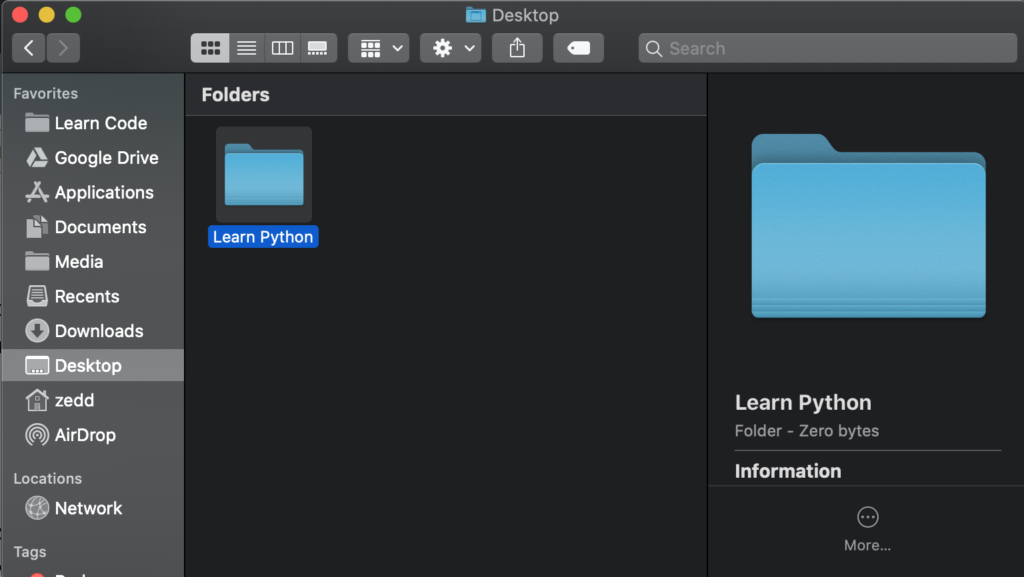
However, it’s up to you where you want to put this folder. By the way, this folder will serve as a workspace for us. Which means that all our projects will be put inside this folder. So I suggest that you put it on your Desktop, if it’s clean. If it’s not, make it clean for your eyes’s sake. Good. Now let’s get back to our Visual Studio Code and click on the EXPLORER symbol:
Thereupon, let’s Open Folder:
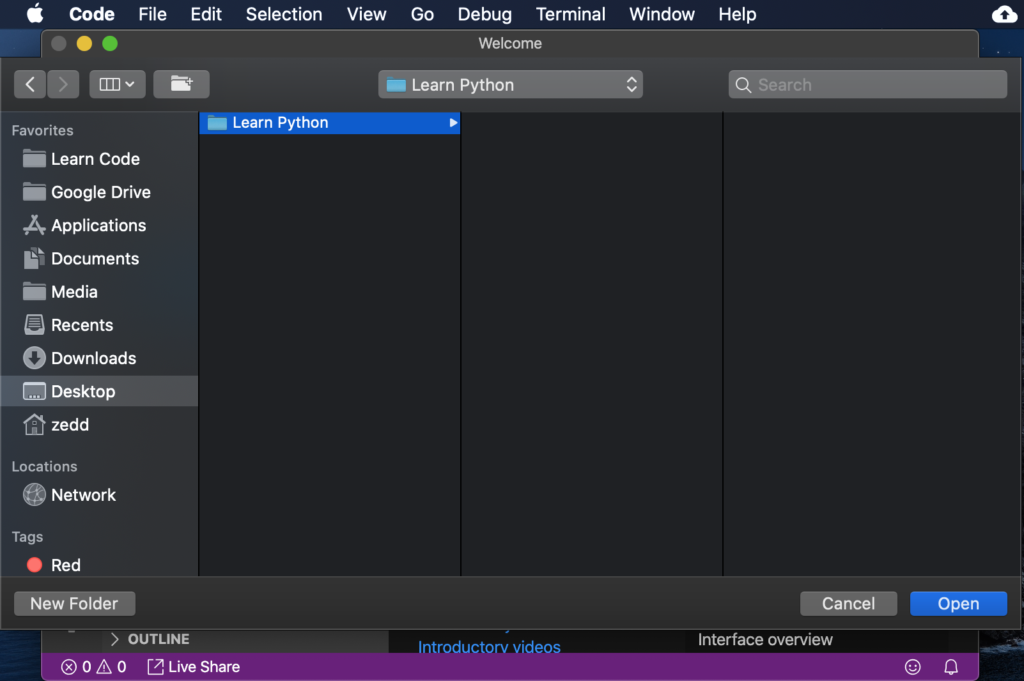
After that, go to Desktop or wherever you’ve put your project workspace. Of course, we’ll select our Learn Python folder. Then you’ll see that the folder Learn Python opens on the Visual Studio Code:
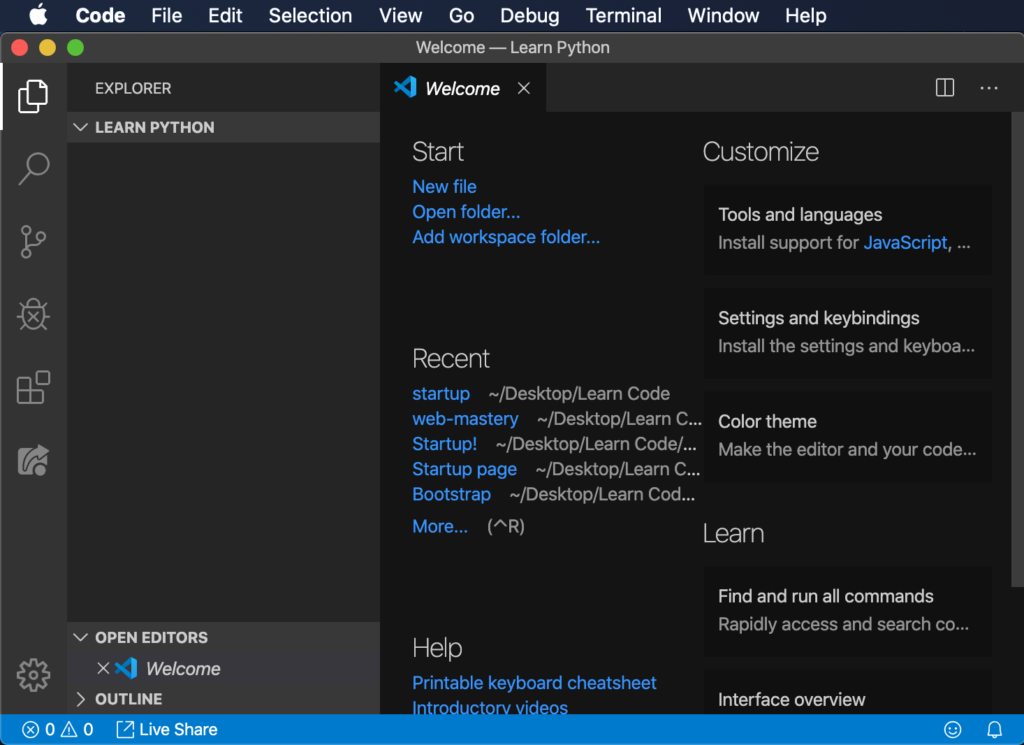
Just beside the LEARN PYTHON, you’ll see four different symbols. But what we’ll need to click on is this symbol:

Clicking on this symbol lets us add a new file:
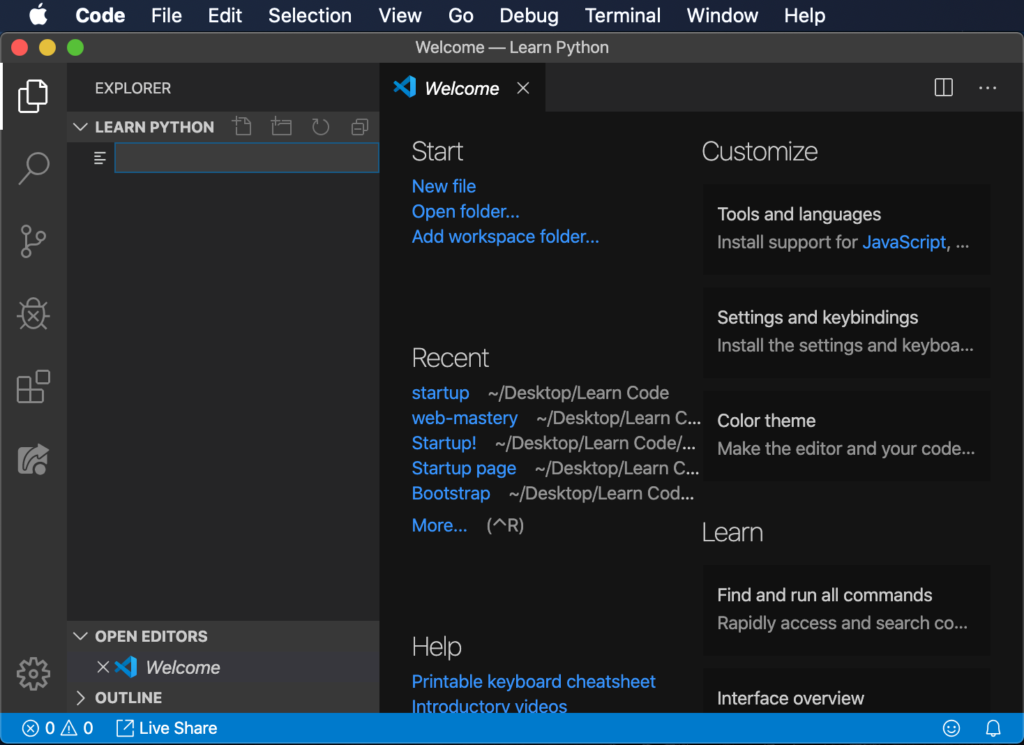
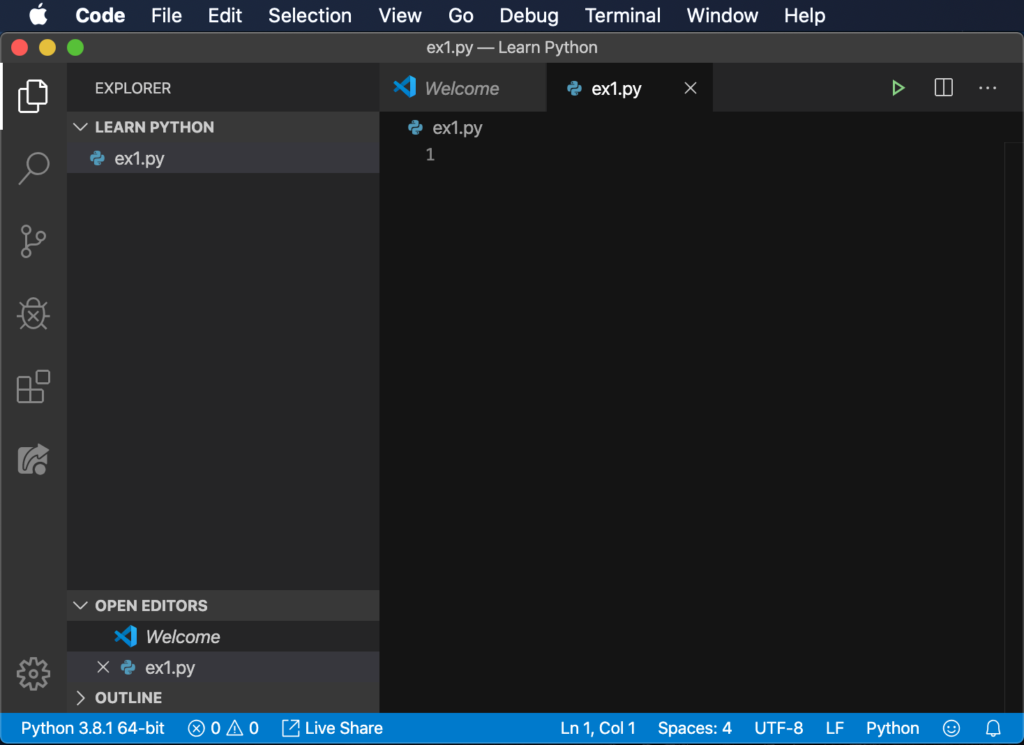
Once you see this, type in ex1.py, which means “exercise number 1”. The .py means “python,” the language we will be using and learning. This is required in the filename using Python. We should put this so that the text editor will know what language we’re going to use.
Now press ENTER:
Good job! You’re now already set up for coding! But we’ll talk about something that can be important for our eyes.
Color theme
What’s very interesting with the text editor Visual Studio Code is that you can have many extensions. Which of course includes the color themes. Right here, this symbol:
You will see useful extensions (which we’ll be talking about soon) and many beautiful color themes:
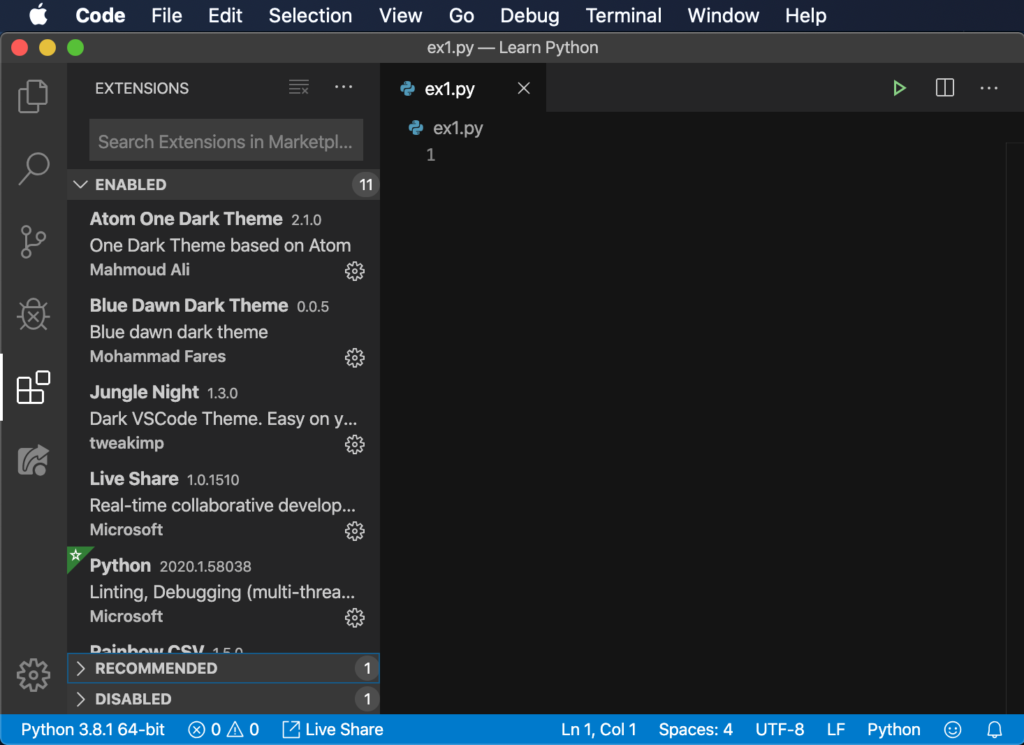
Looking through just the sidebar here could be overwhelming. But you could check this website out to help you pick a color theme.
If you want to learn more about the features of Visual Studio Code, you can watch this short video.
With all these set in my computer, and in your computer, we’re ready to rock n’ code!