Previous Lesson: Lesson 32: Making Our Projects Model in Django
In the previous lesson, we have created our second model: projects model. But this time, you will create our third model in Django, blogs, on your own. Don’t worry. I have written down the steps here to help you create it:
- Create blog model on models.py.
- It should have the properties: title, publication date, image, excerpt (or summary), and body.
- Add blog to settings.py.
- Add blog to admin.py.
- Make migration.
- Migrate.
Note: Do not publish a blog post after you’ve created the Blogs model. We’ll publish blog posts together.
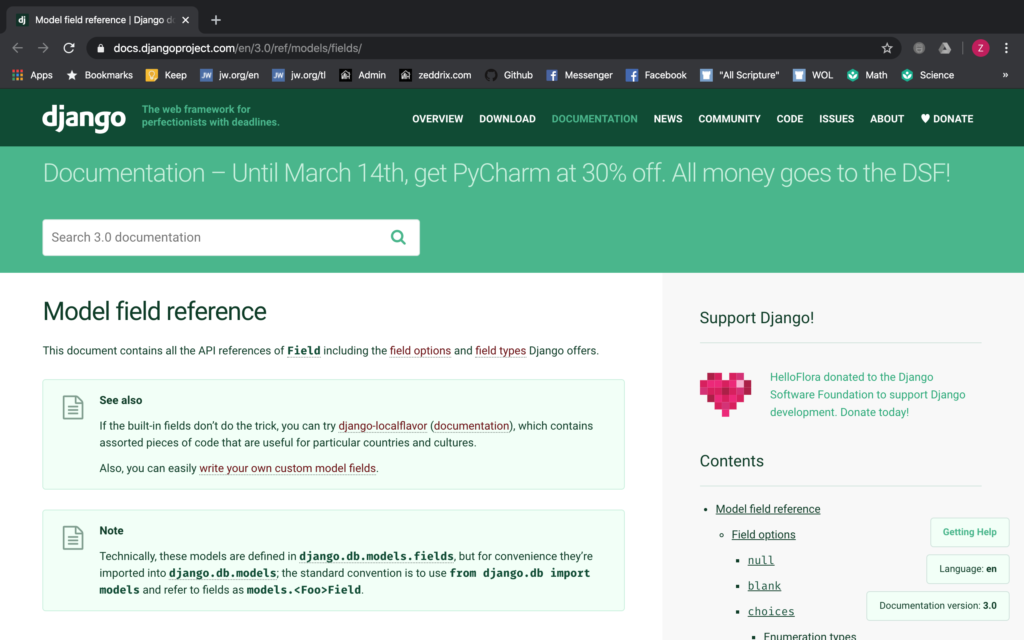
About the fields that you will use, just go back to this documentation: docs.djangoproject.com/en/3.0/ref/models/fields/:

And, if you have any questions, you are a little welcome to post them on the Comments section below, for now.
“Why do I have to do this?” I just said it–you will learn a lot. But, why will you learn a lot from this challenge? Because I know that all along, most of you guys were just typing and following along with me. And this lesson will stop you from doing so.
All in all, you’ll create this blogs model in Django without any trouble since we have reviewed back on our previous lesson.
