Previous Lesson: Lesson 39: Greetings and Email Button
In this lesson, you’re gonna learn how to put the Copyright symbol on your website footer and how to put the current year without changing it YEARLY!
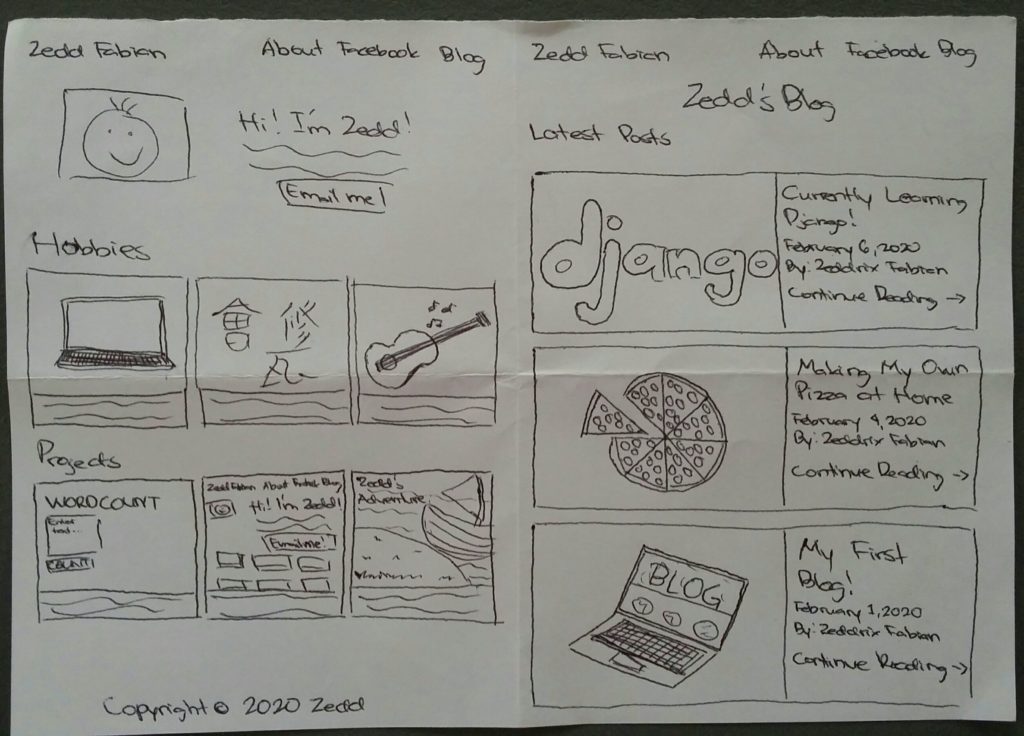
I guess we’ll be adding our picture here on the later lessons. For the meantime, let’s go to our website:
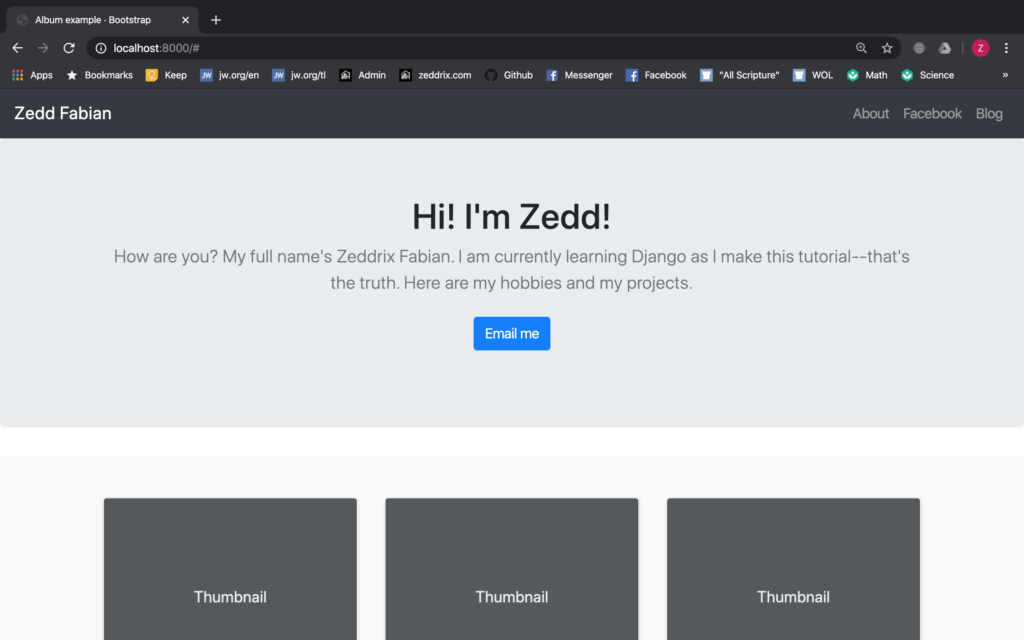
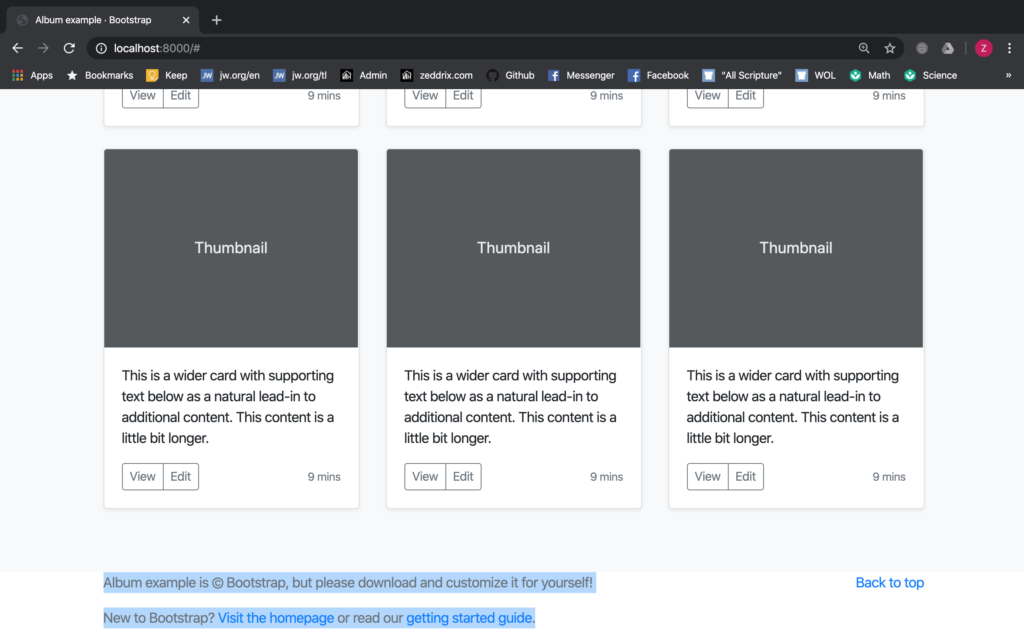
And go straight down to the footer:
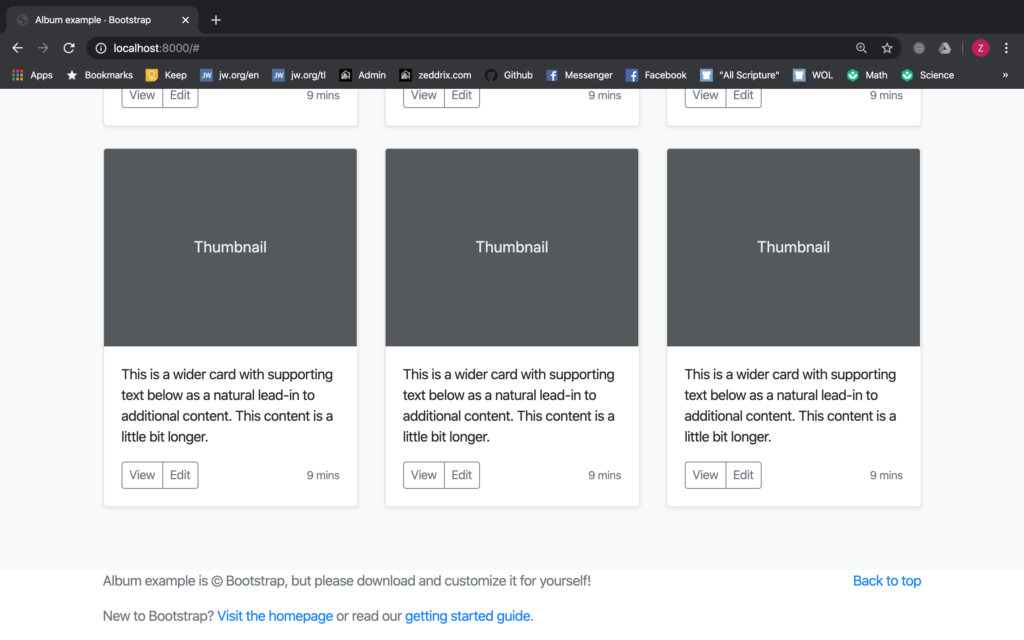
There we can find the Copyright:
Let’s look for it on our code:
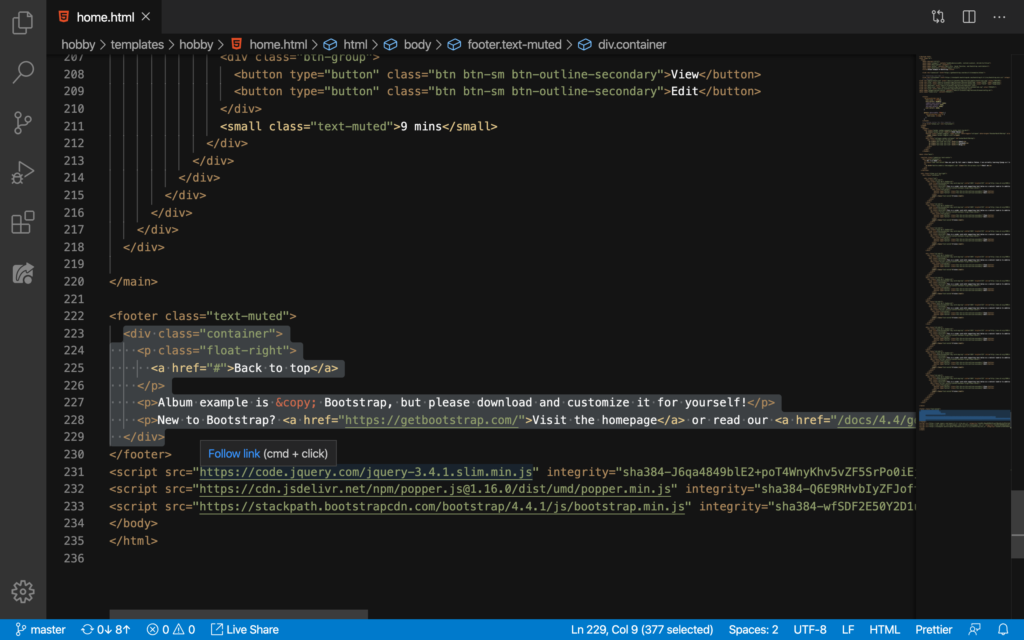
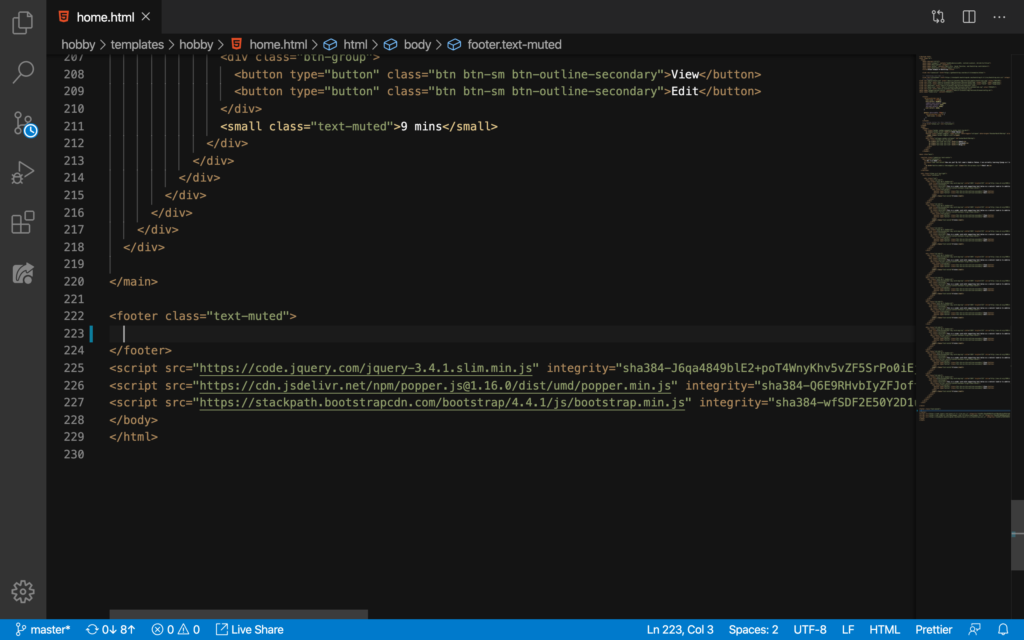
Particularly, these will be the ones that we will be deleting:
And then type this, if you can:
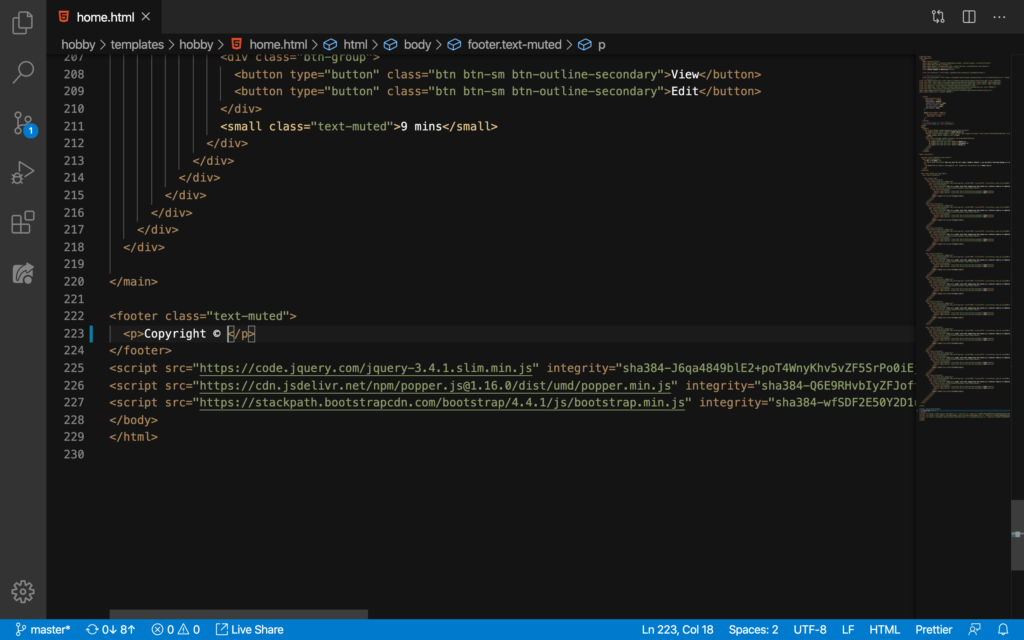
Do you wonder how I did this?
The ©Copyright Symbol
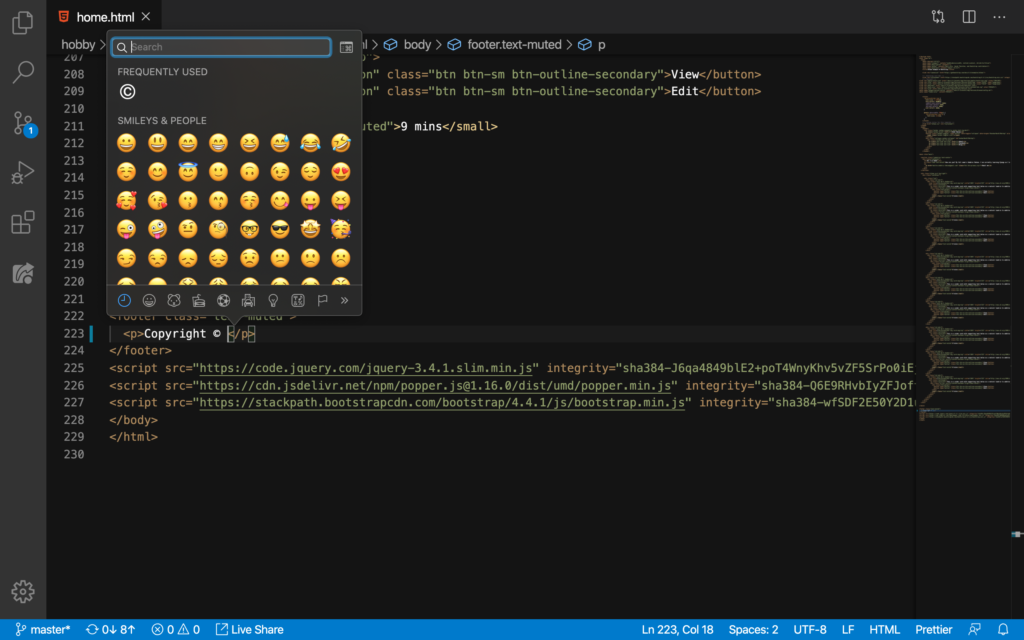
Here in Mac, I did Control + Command + SPACE and then searched for “copyright” to get that © symbol:
On the other hand, if you’re using Windows, simply search for it on Google:
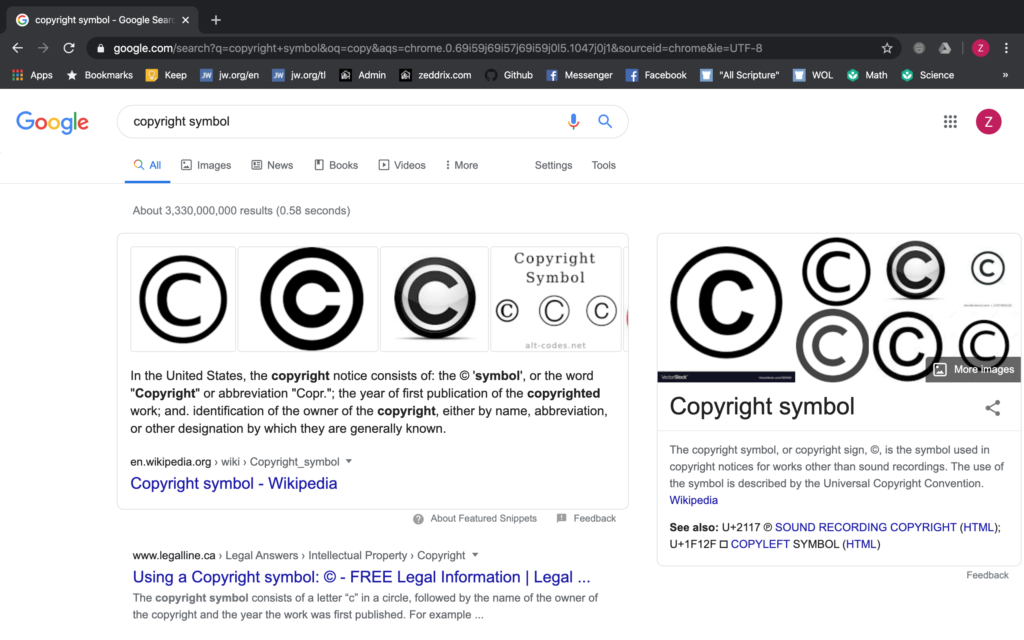
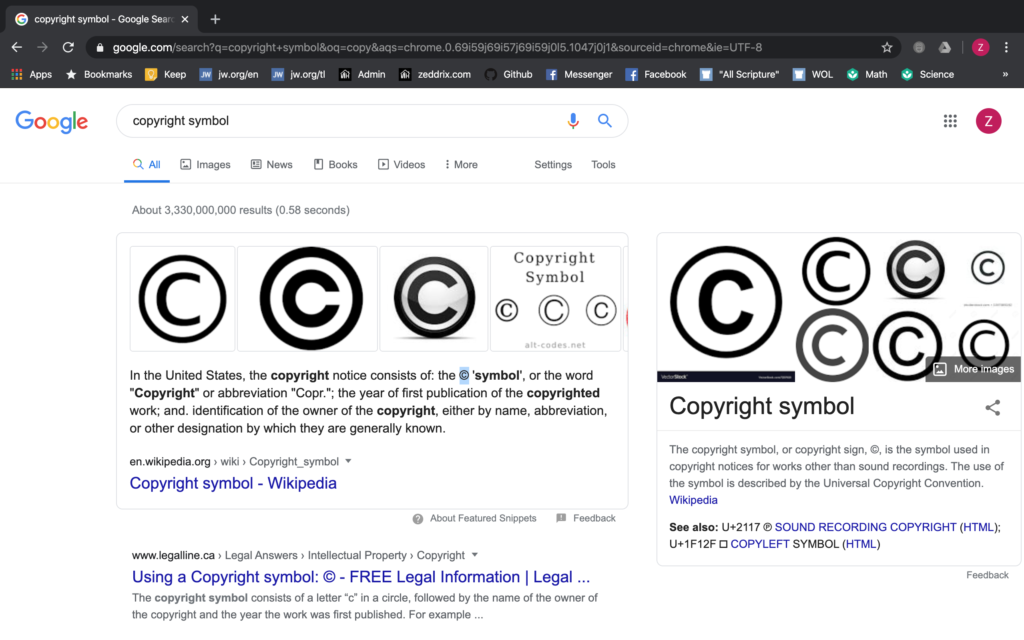
Do you see that little symbol there? The © one and hit Command + C or Ctrl + C:
Or actually, if you were really smart enough, you could have just copied this symbol from the title of this lesson: Lesson 40: How to Put ©(<-this one right here) Copyright on Your Website and pasted it on our code!
The Current Year
You may be thinking: “Putting the year would be so easy–you just have to put the current year! For example, 2020!” That can be reasonable.
But think of this: What if it’s already 2021 or if it’s already 2022 and so on? Are you going to go back here on your code and will keep on changing it to the appropriate year? That would be so annoying and it kind of makes me feel lazy.
So here, I’m going to teach you something cool. Type this in:
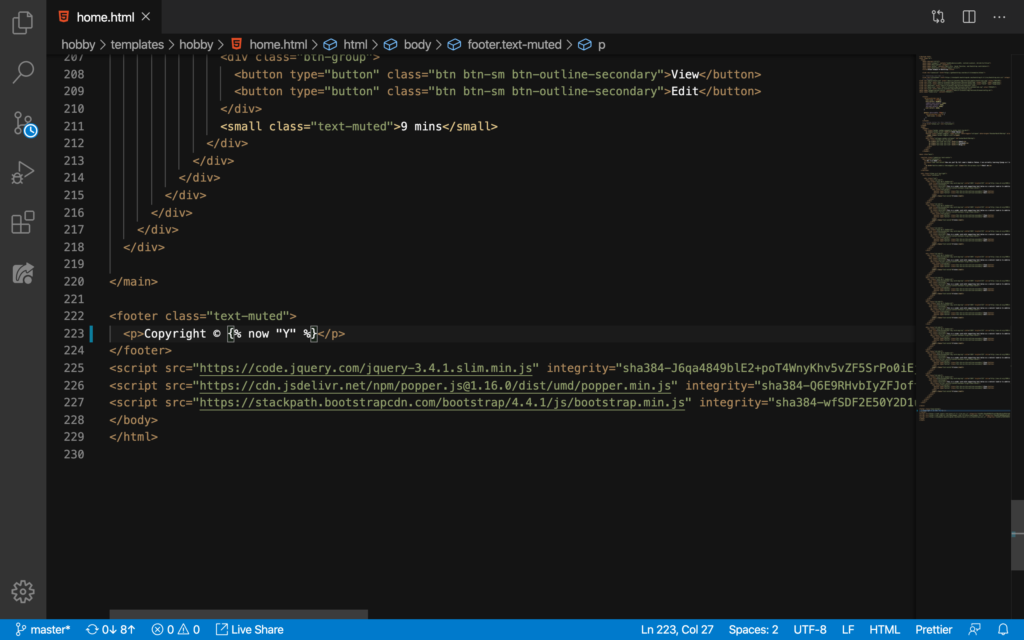
Yes, we are using that {% now “Y” %}. I know that this code seems a little weird but it works. Let’s see:
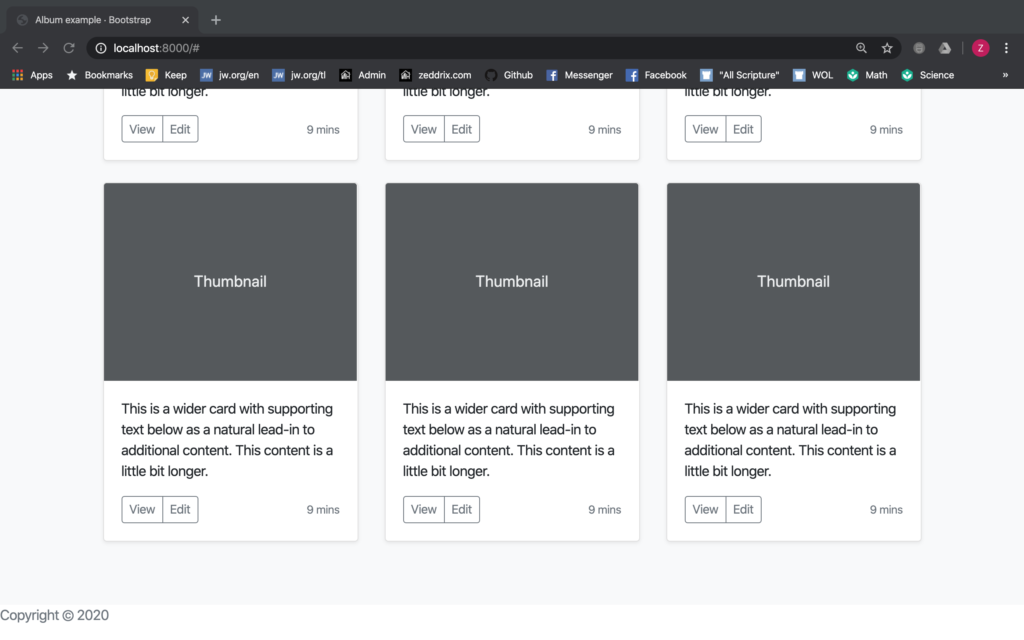
I think it’s too much on the left side and we don’t wanna have that. So here on our code:

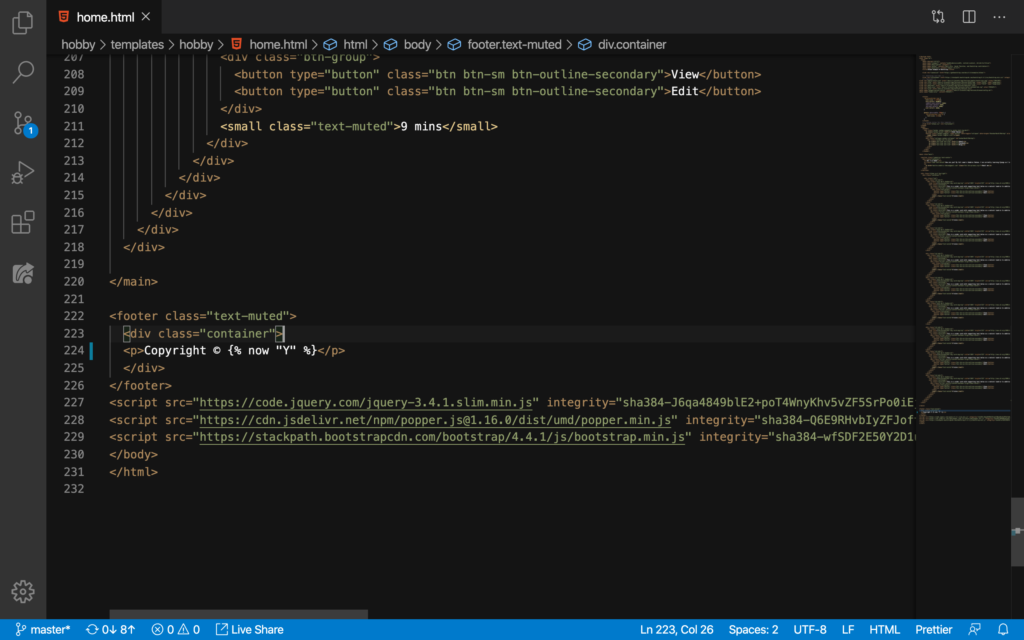
We’ll add the container class back here like this on Line 223:
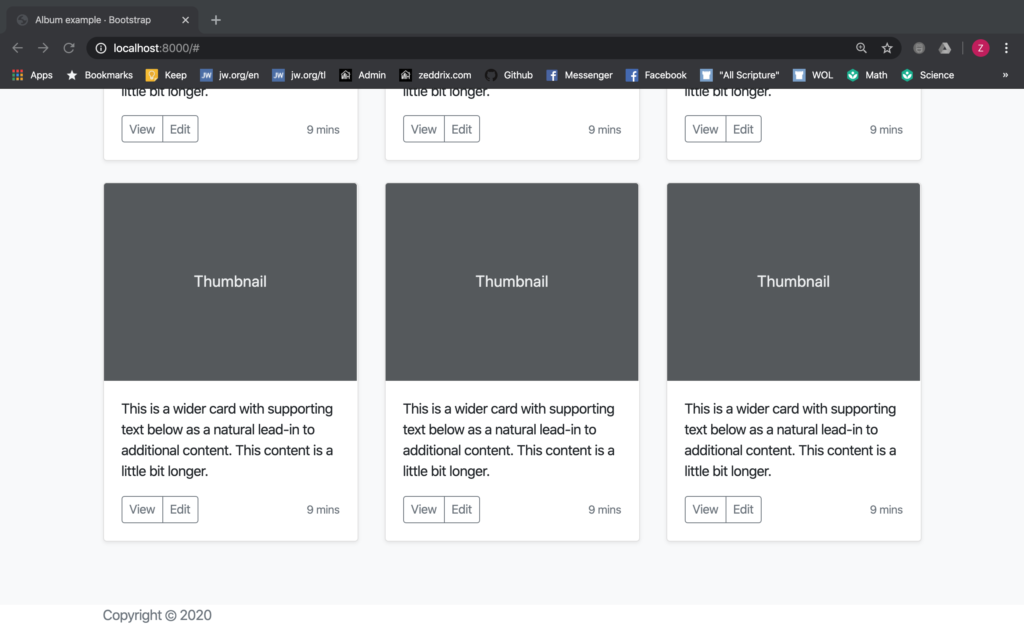
Let’s see how this looks now:
Addition
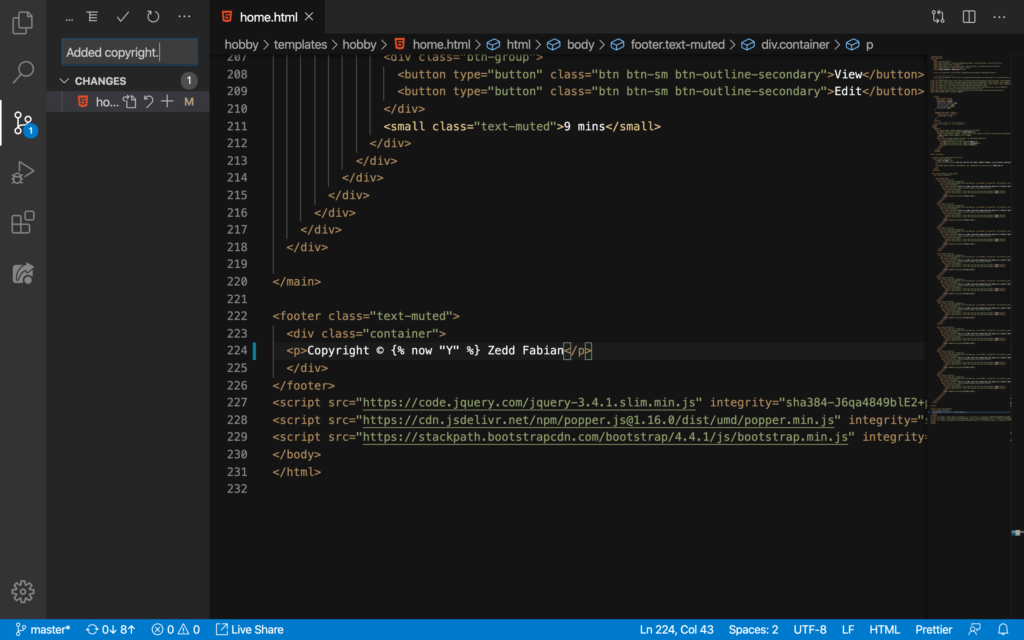
Well, you can add anything you like here beside the Copyright. But I will be putting my name, too:
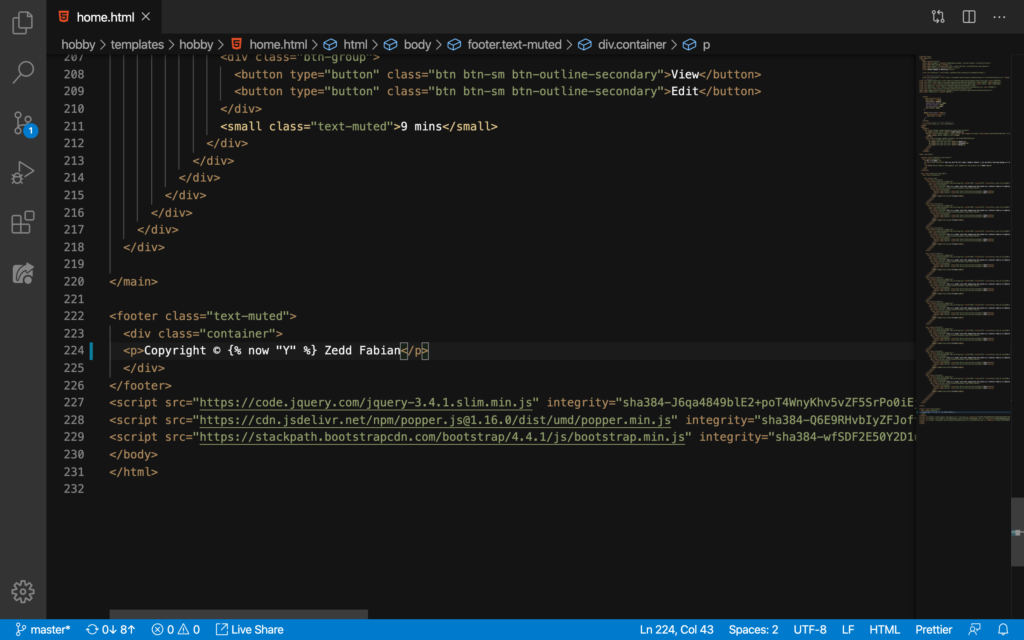
Let’s see:
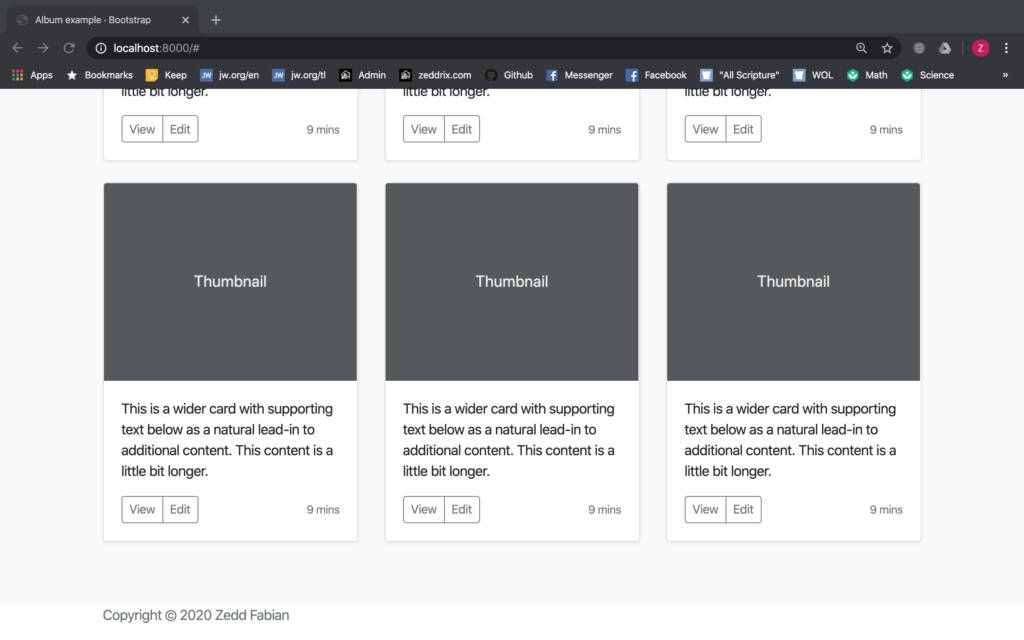
Perfect! Of course, we’ll do a Git commit for this:
