Previous Lesson: Lesson 22: GitIgnore
In this lesson, you’ll learn how to create apps in our Django portfolio website. We’re gonna create one for our blog, and one for our hobbies.
When creating a Django website, like our portfolio website, we can include some apps. What are some examples of apps that some famous websites have?
- A user system (sign-ins and sign-ups);
- some calendar (a scheduling system);
- a portfolio and;
- a blog;
Let’s make our apps! But before doing that, there’s something that we gotta do first.
Determine Apps
Right now, we need to determine the apps we want to include:
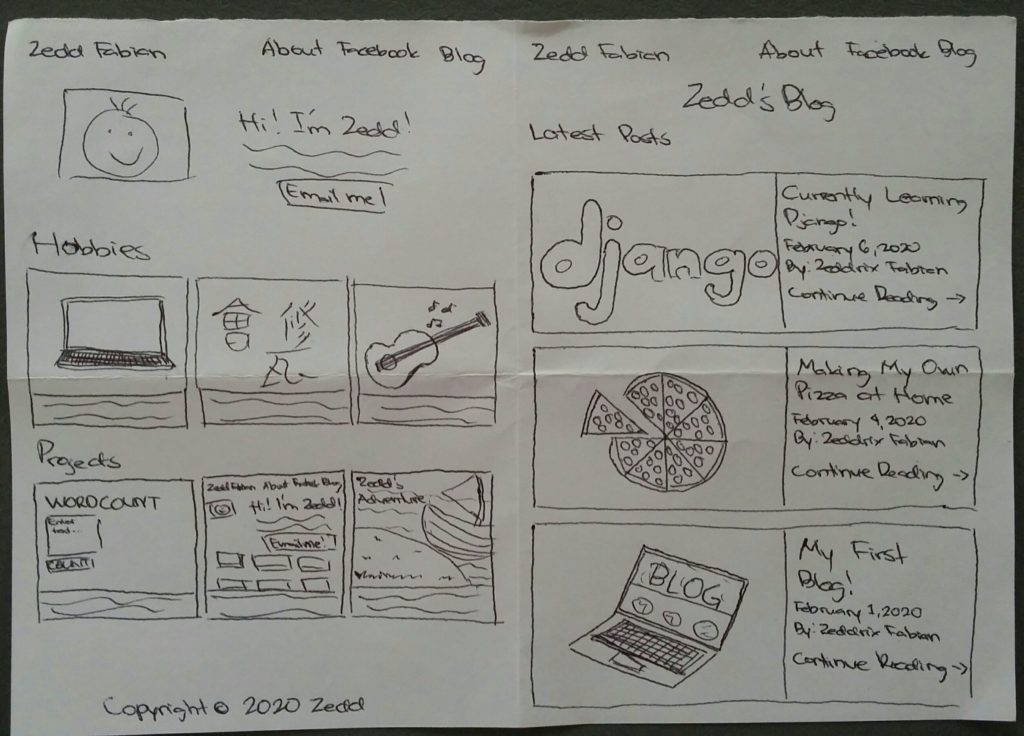
So, in my sketch, I wanted to make an app for my blog and for my hobbies. Okay.
Startapp!
Now, let’s create these apps in Django! Open up the Terminal:
First of all, let’s create an app for our blog.
blog
To do that, we’ll type python manage.py startapp (DO NOT ENTER YET!):
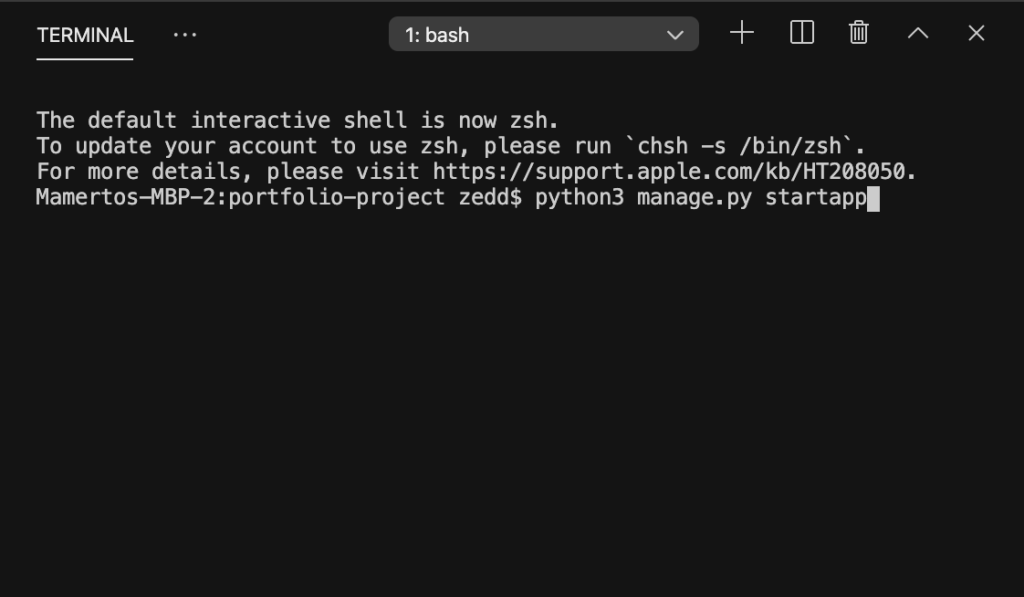
Before hitting ENTER, we’ll give our new app a name first, which is blog:
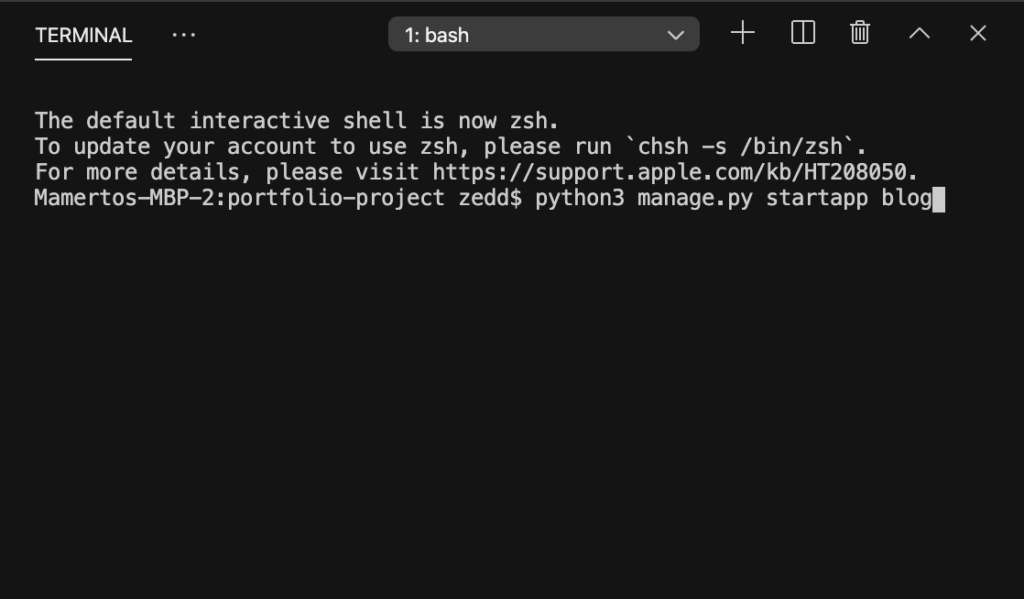
Okay now hit ENTER:
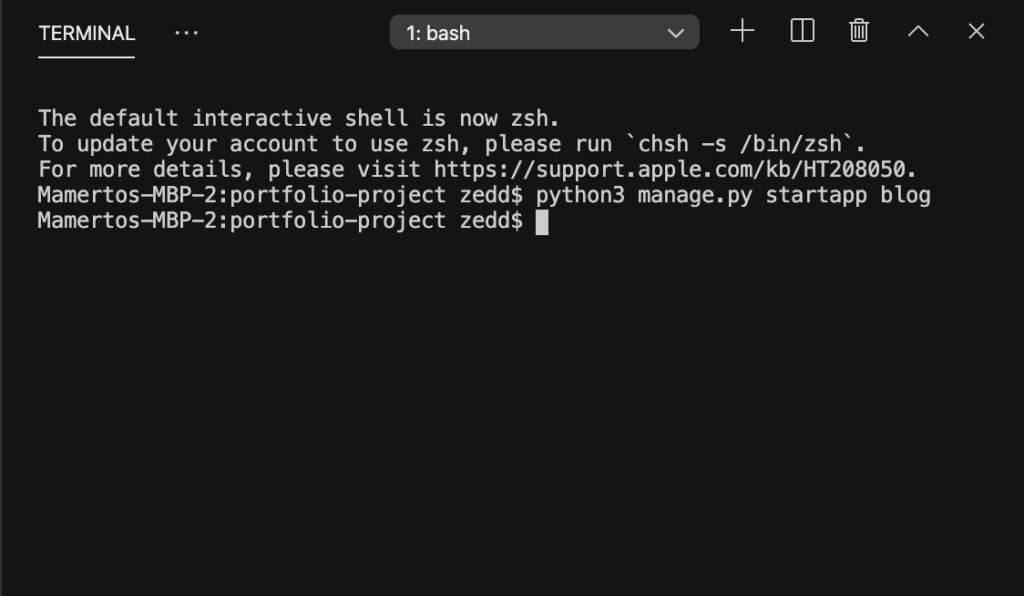
Good. Nothing happens here on our Terminal. But, if we look here:
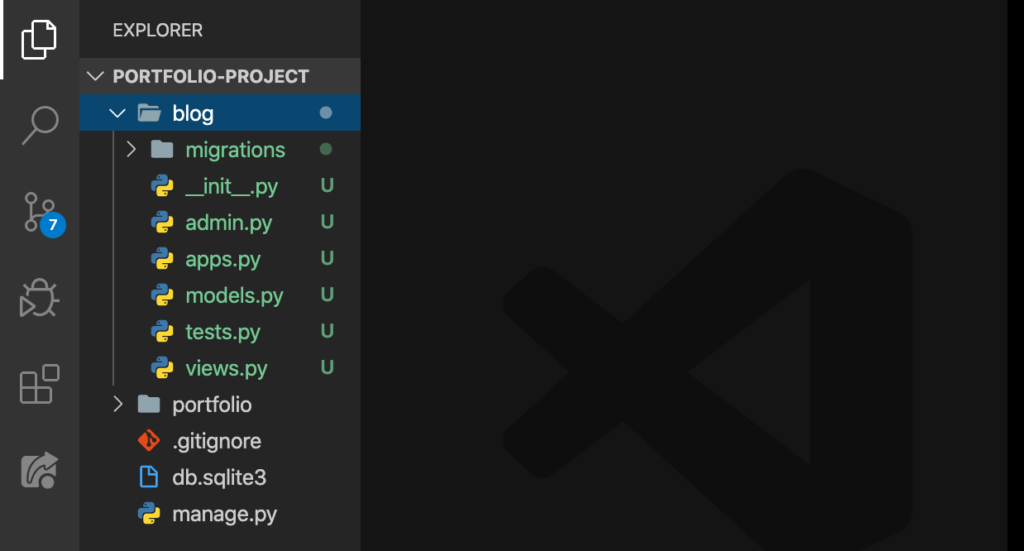
We have a new app called blog! Then, it’s time to create the second app.
hobby
Same commands, do the python3 manage.py startapp:
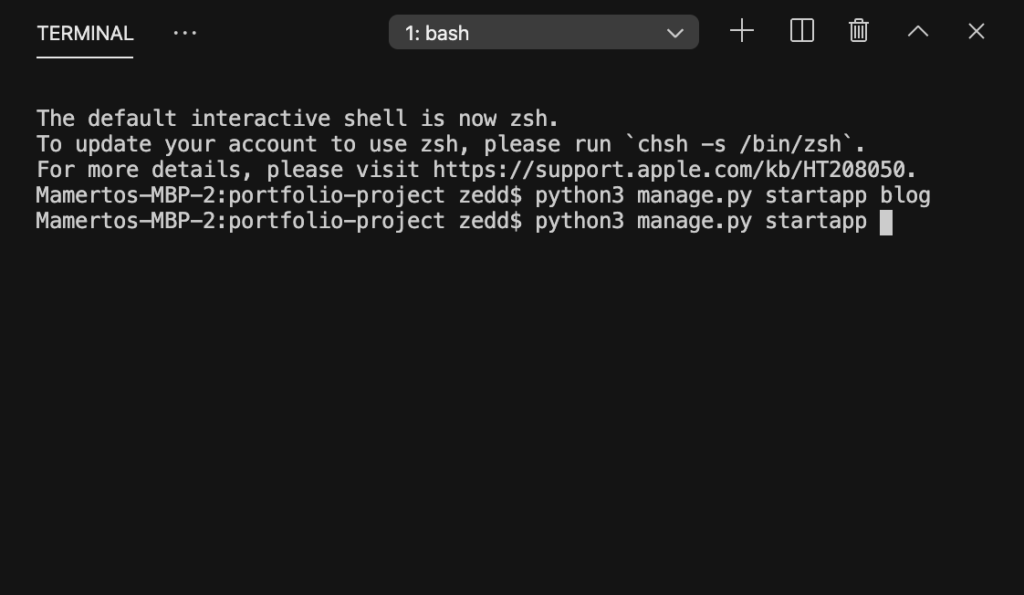
And then we give it the name hobby:
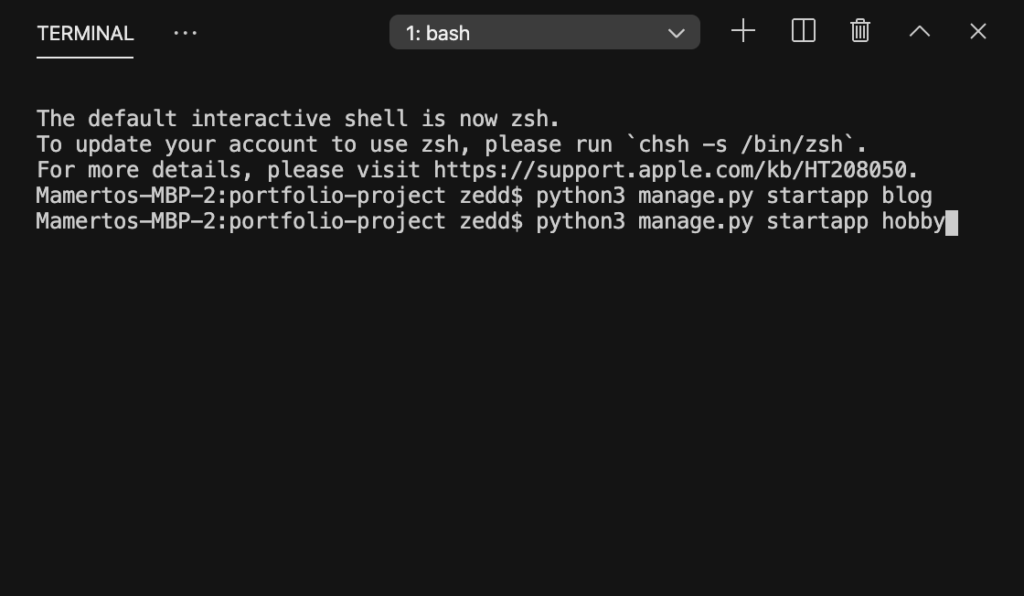
Afterwards, hit ENTER:
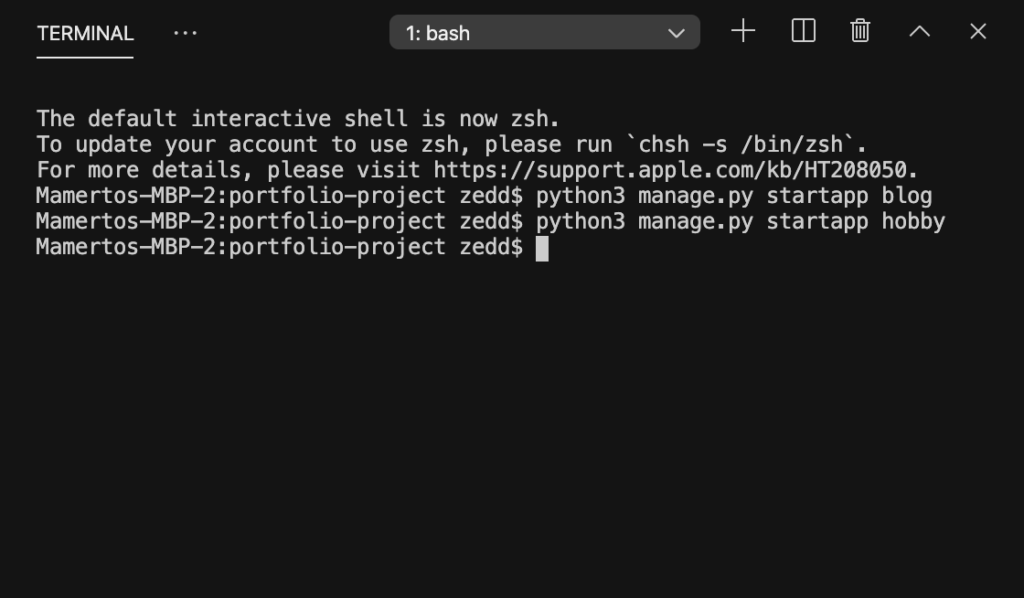
If we look here for the second time:
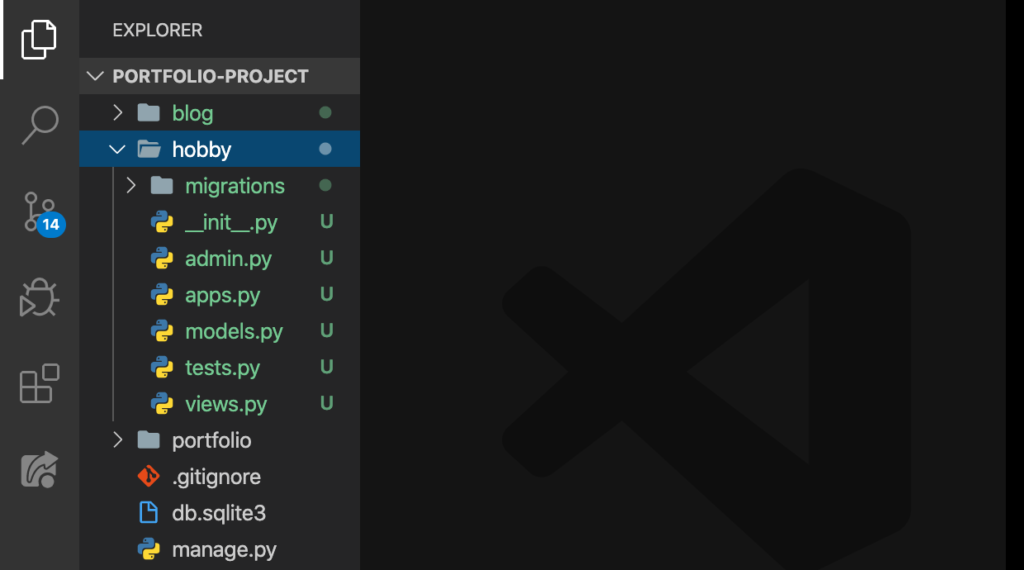
Yay! There’s are views.py for each of our apps. Later, we’ll put some code in those files. Also, we needed to add urls.py for both of these apps. But first, I suggest we commit these changes to GitHub. Remember how to do this?
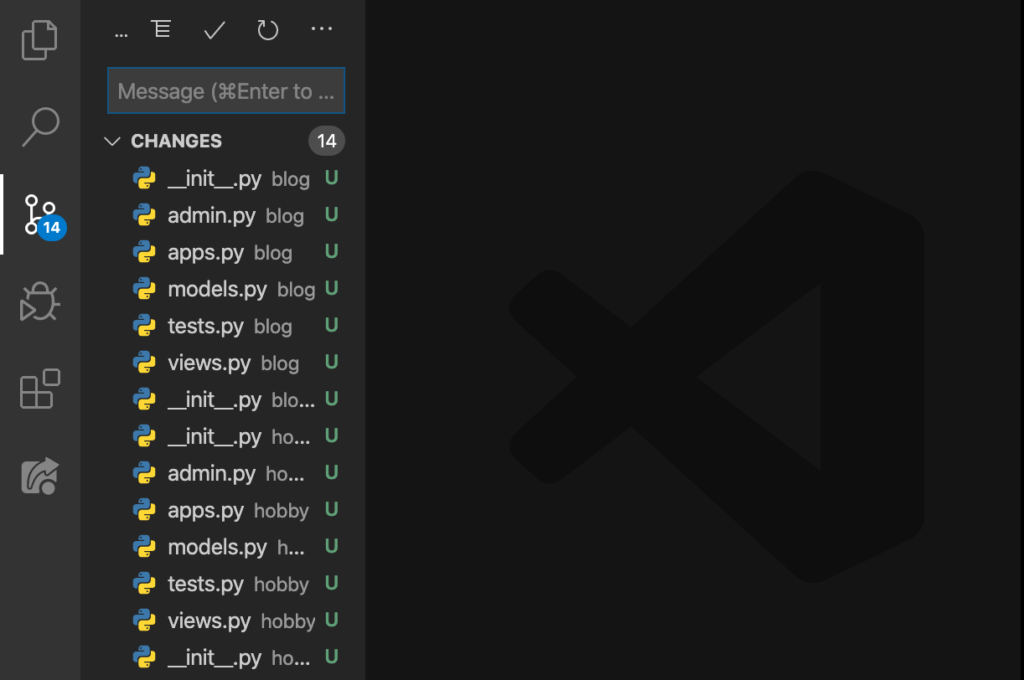
Enter a short commit message:
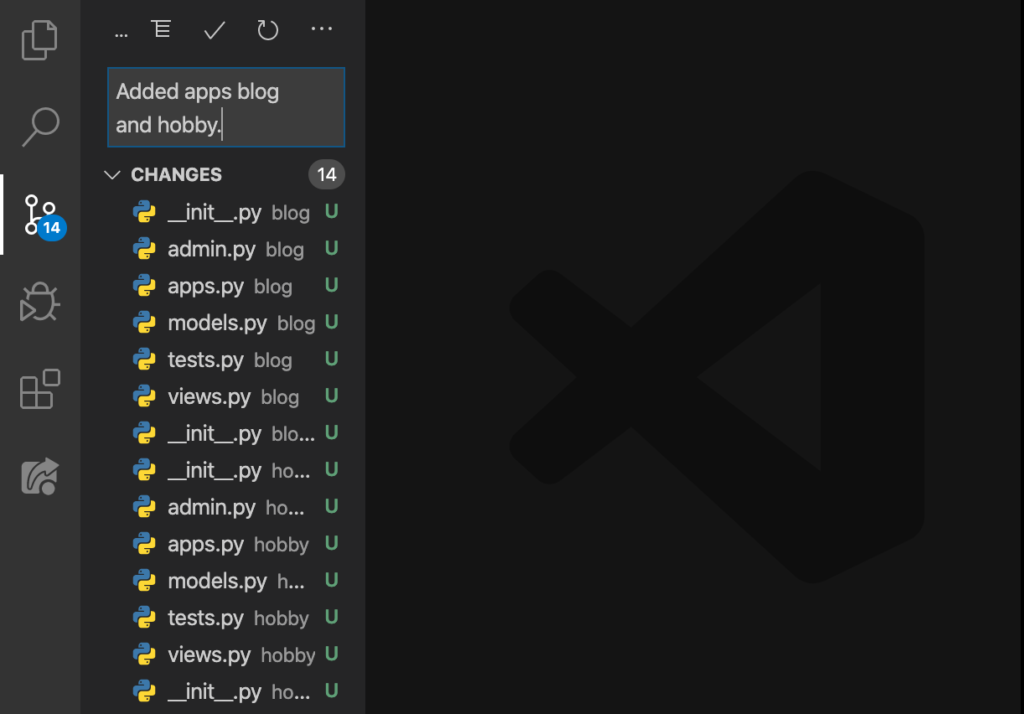
Click on that check symbol:
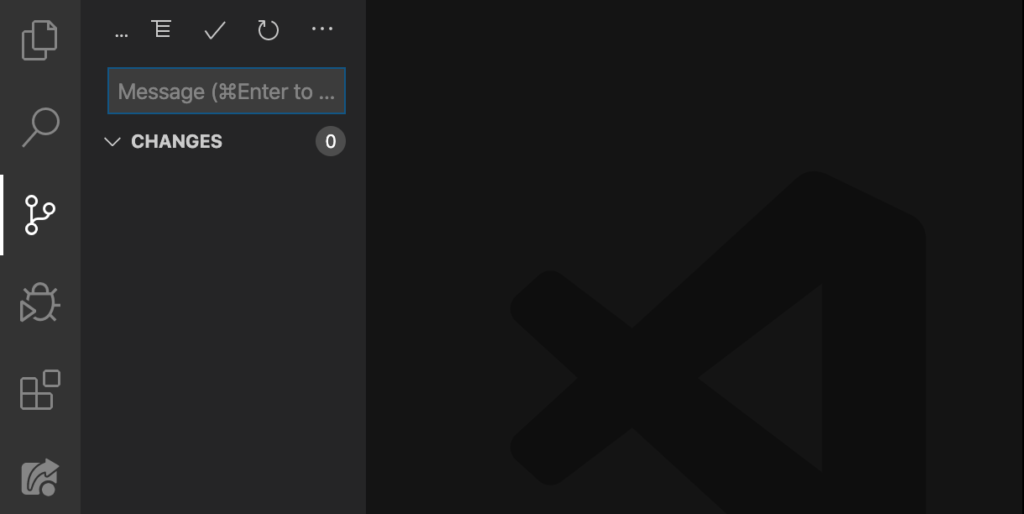
Tip: It important for you to know that we should not do commits on every move we do. Instead, we just do a commit whenever we have something that is worth to commit.
projects
I am so sorry. I just realized just now that we should include a projects app because if we look back to my sketch:

Yeah, I have it right there below the Hobbies. So now, let’s create an app for this one, too:
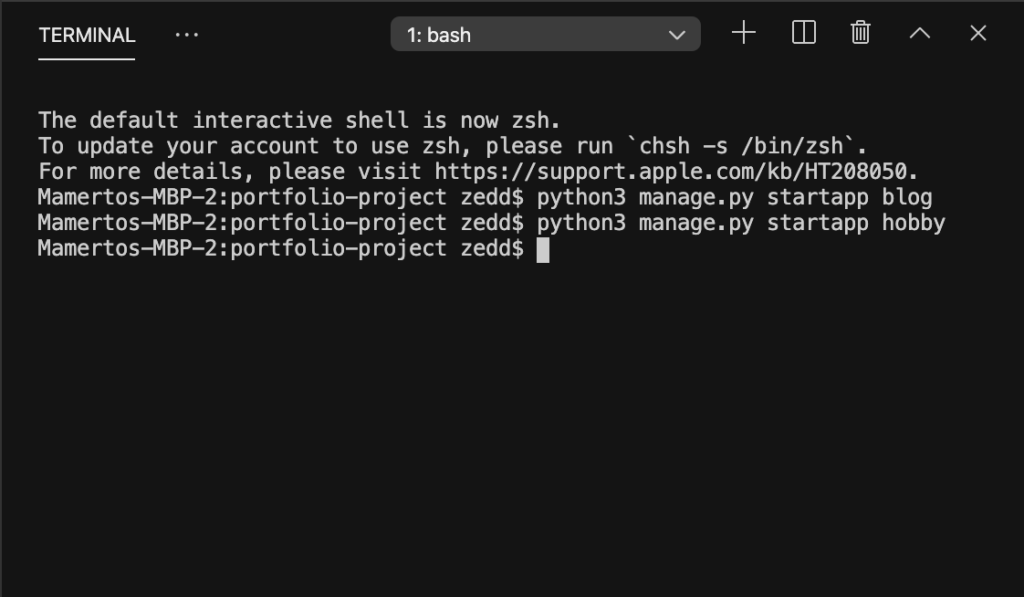
UP arrow:

Remember that shortcut? Now let’s delete that hobby:
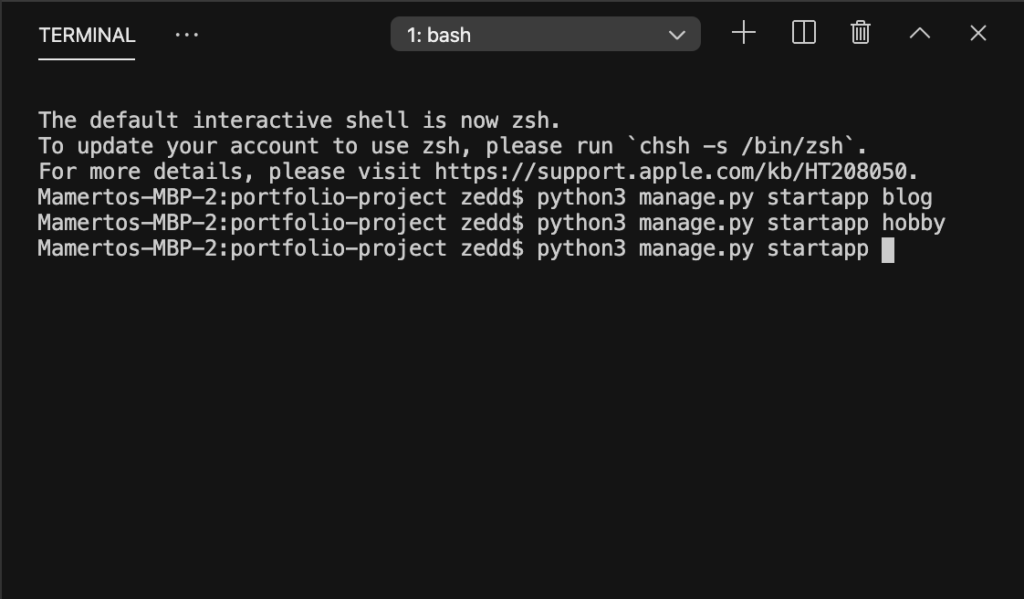
And we’ll replace it with projects:
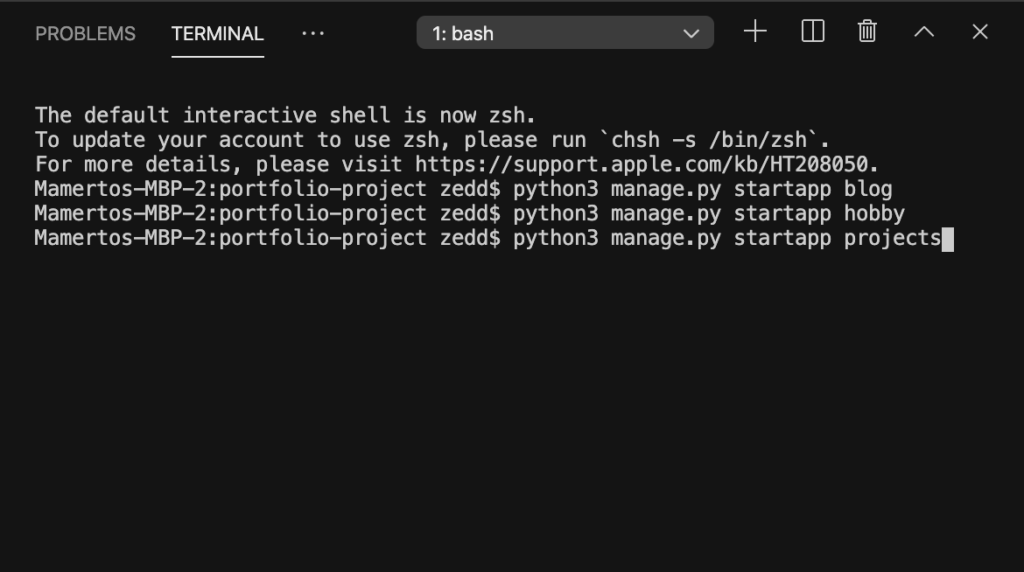
ENTER:
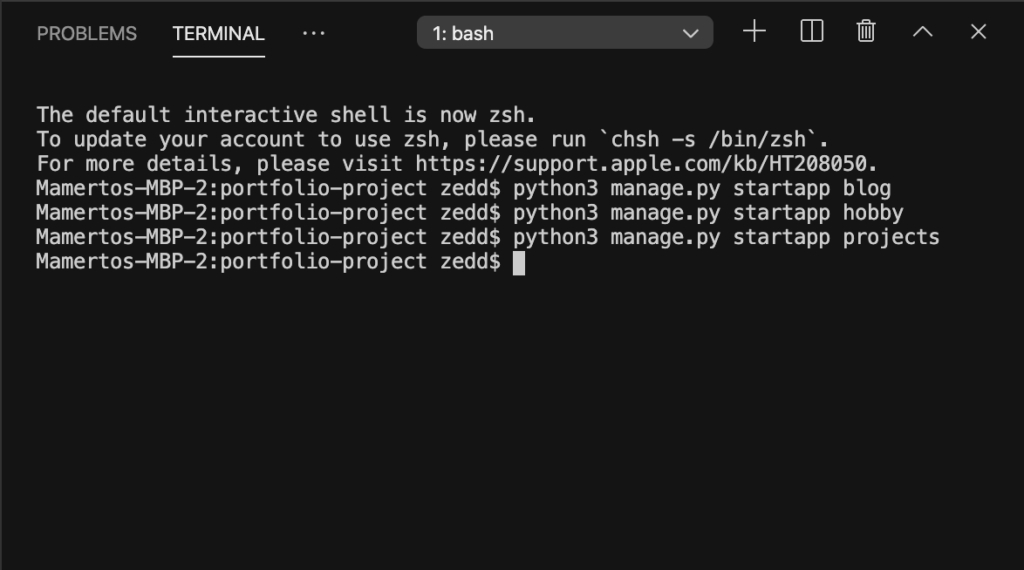
Look here:

Yes! Let’s commit:
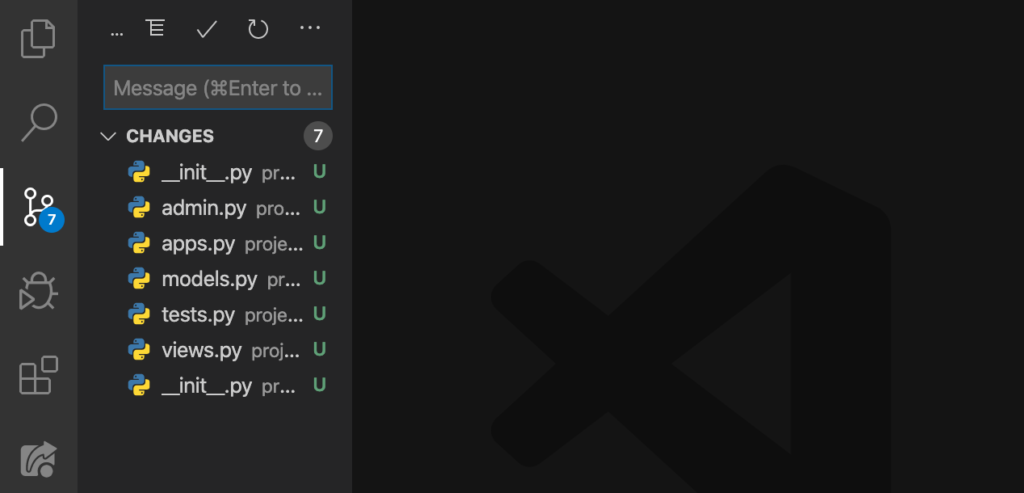
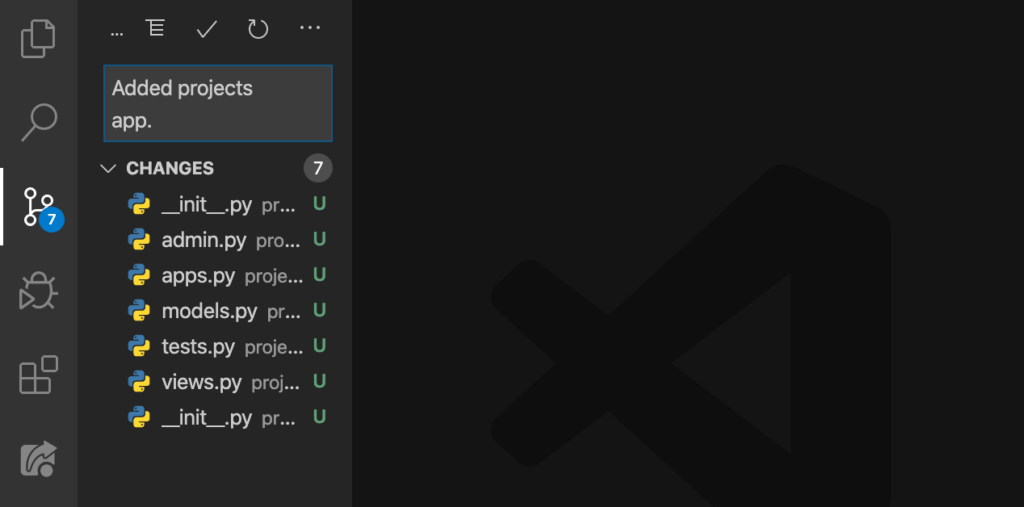
Add a commit message:
Finally, click on that check symbol at the top:
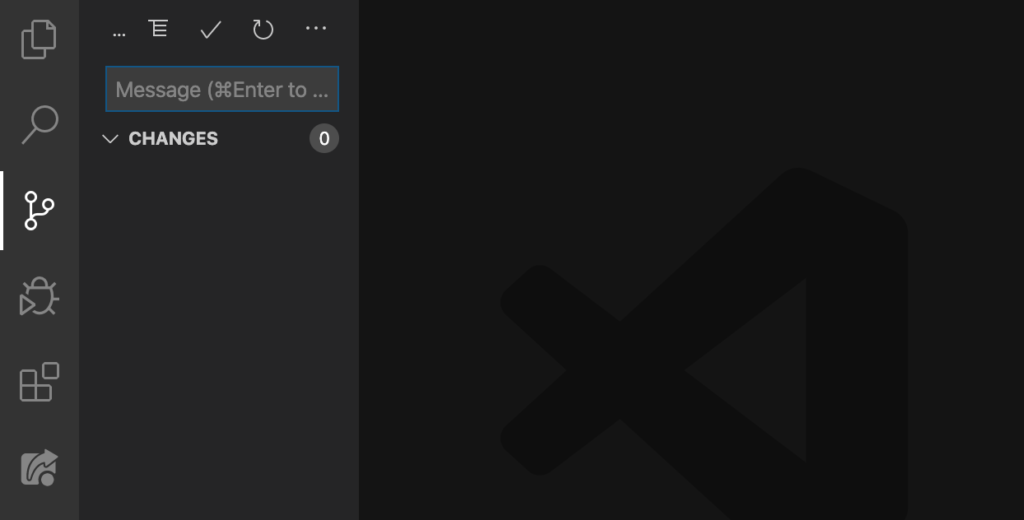
Nice. Now it’s time to create urls.py for each of these apps.
Add urls.py
Finally, we’ll add urls.py for each one of our apps:
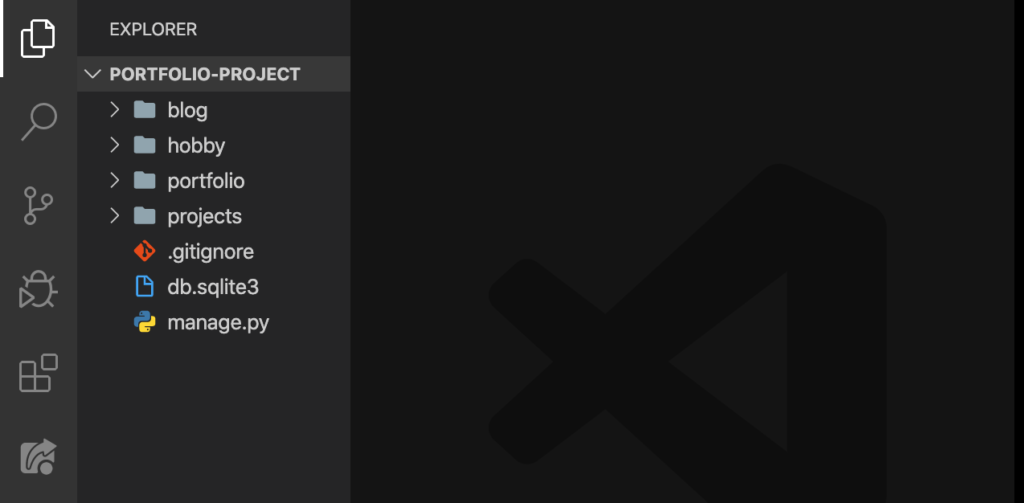
For our blog app:
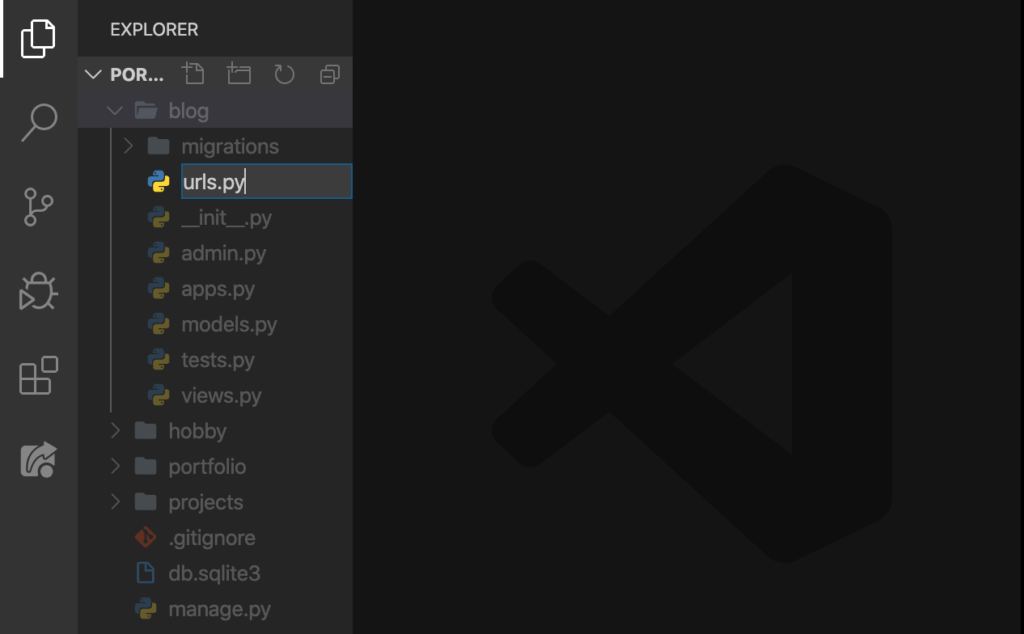
ENTER:
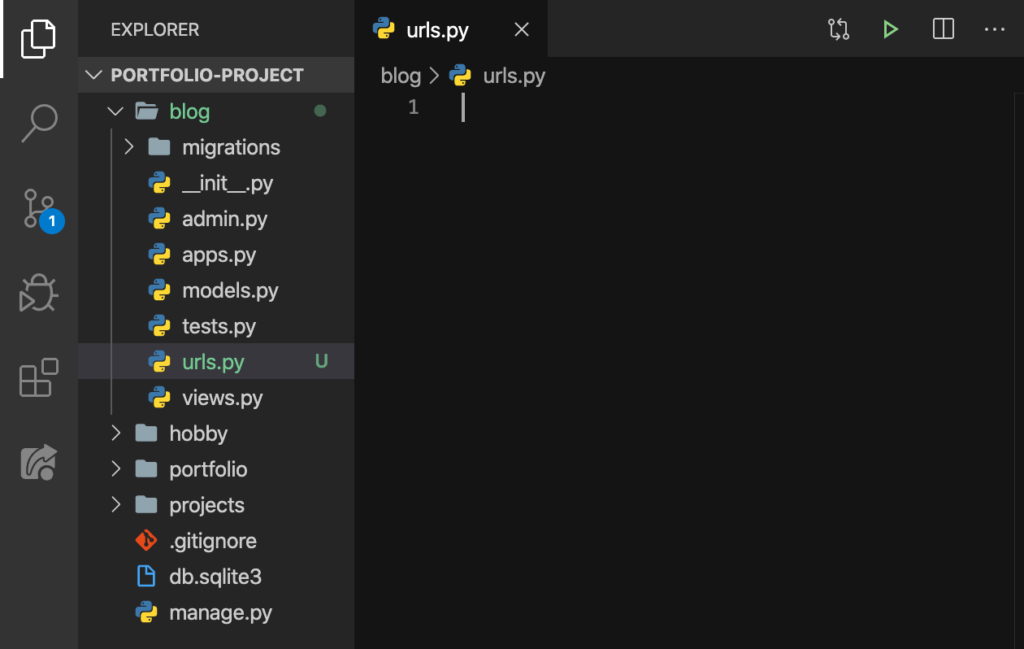
And for our hobby app:
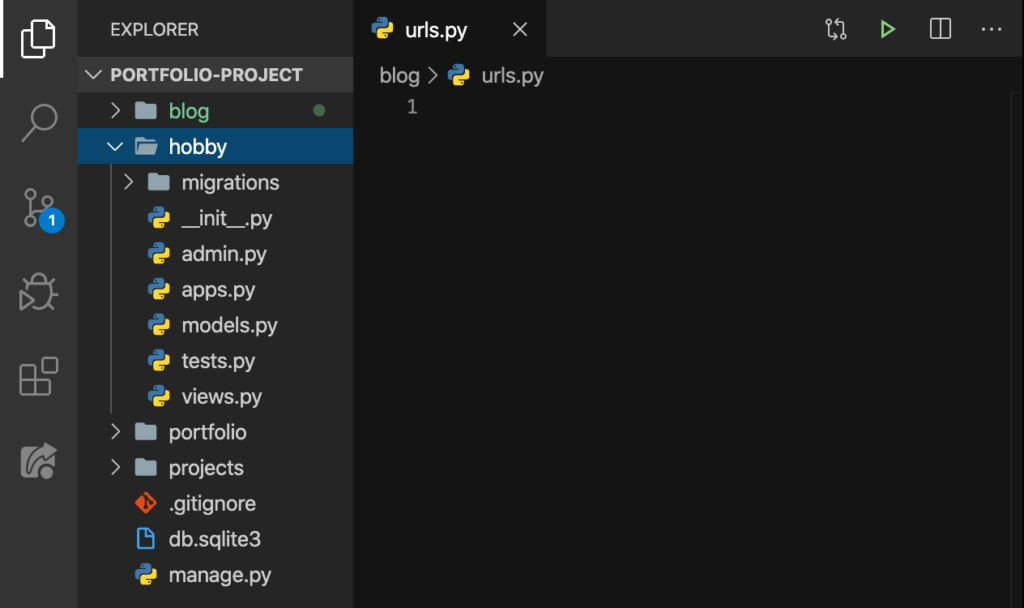
Create urls.py:
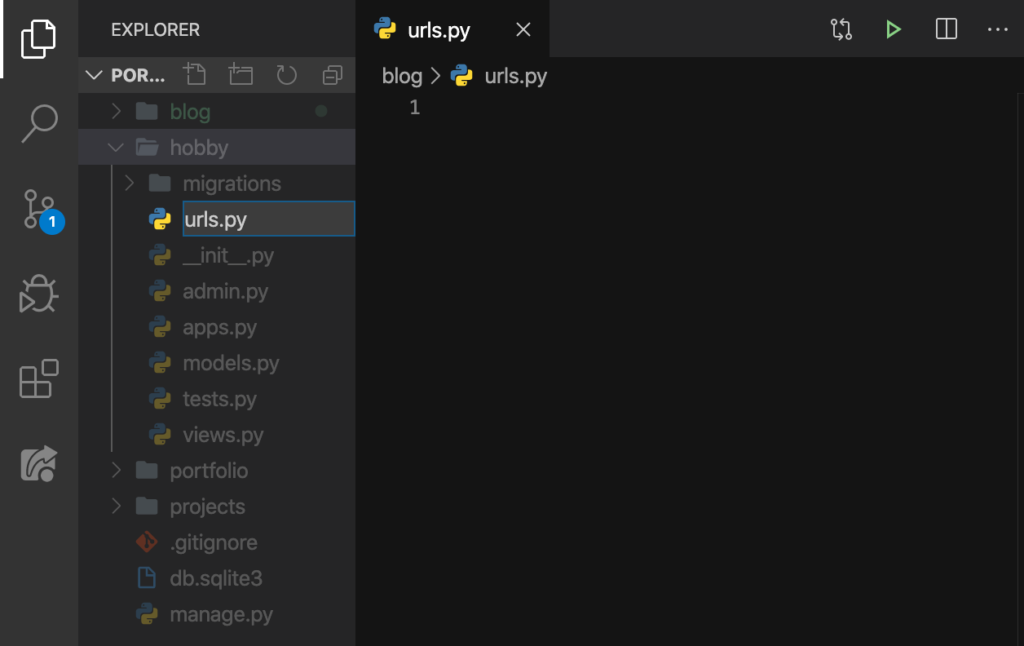
And ENTER:
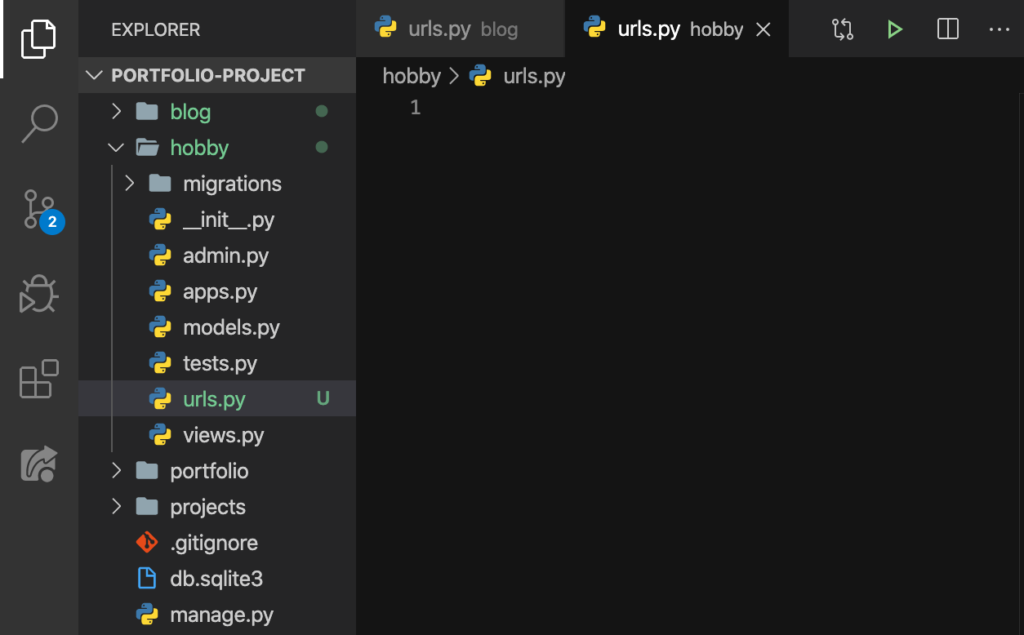
Lastly, for our projects app:
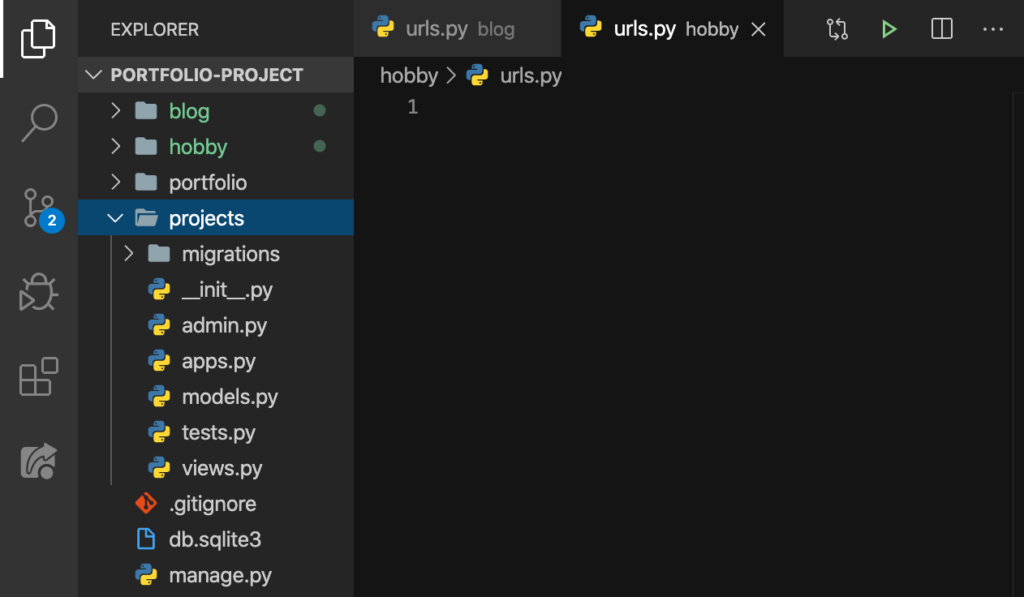
Create urls.py:
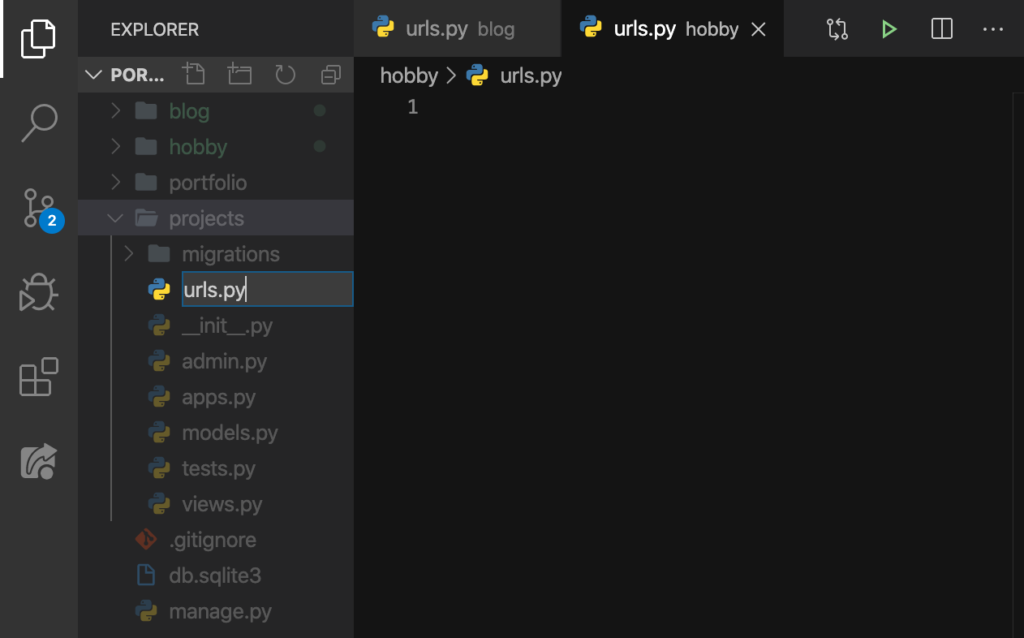
And ENTER:
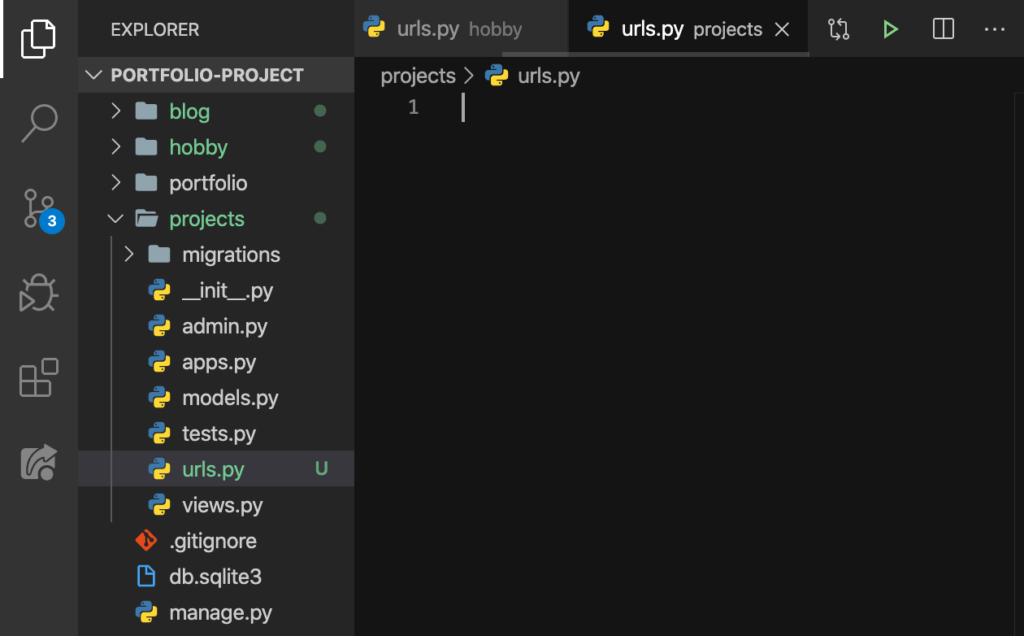
Good. Now we have urls.py for every app we have:
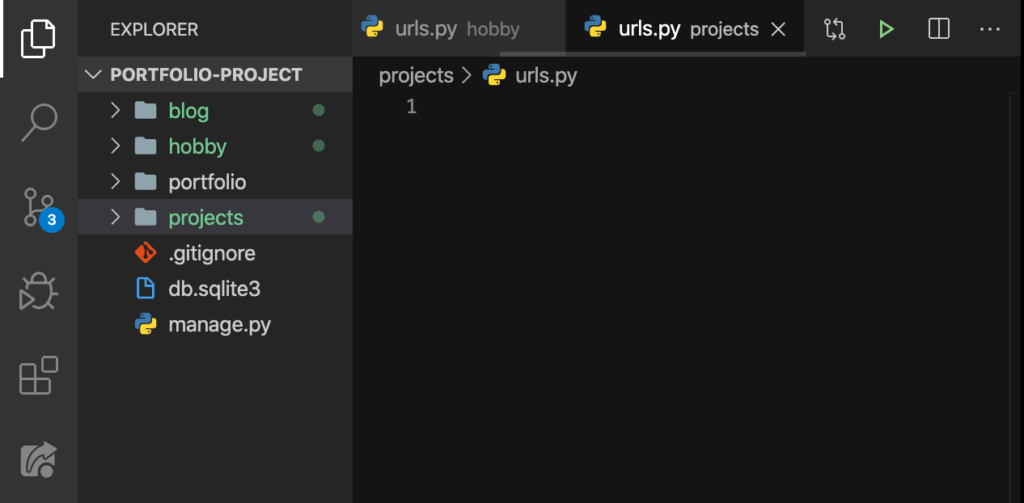
Let’s commit this to GitHub:
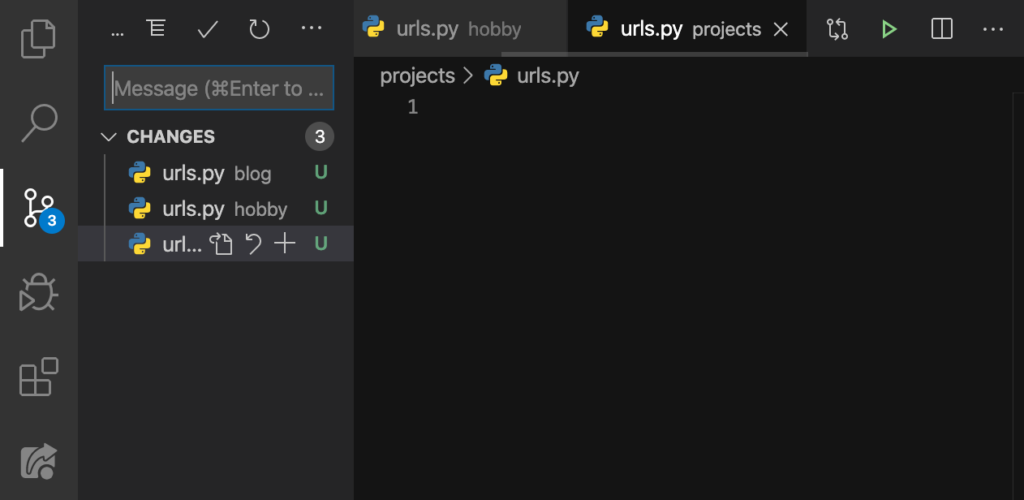
Add a commit message:
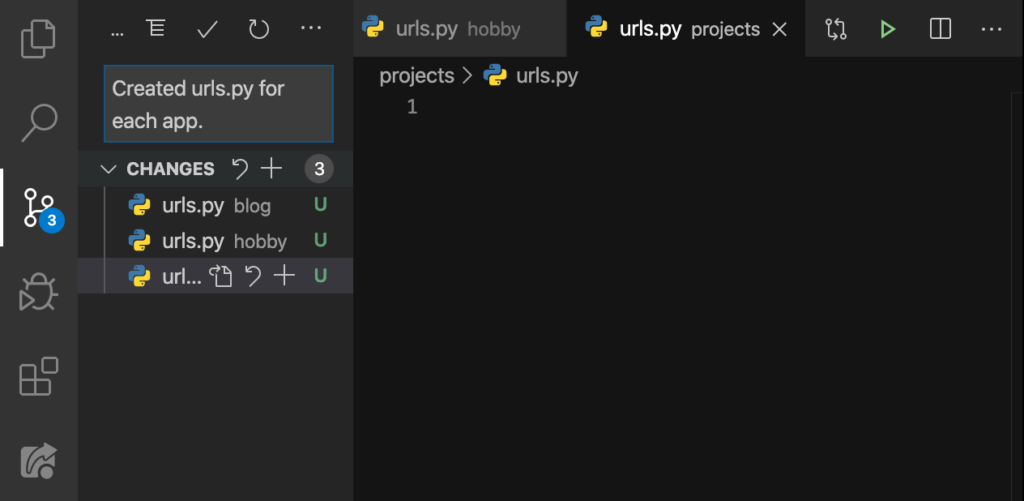
Finally, hit that check symbol:
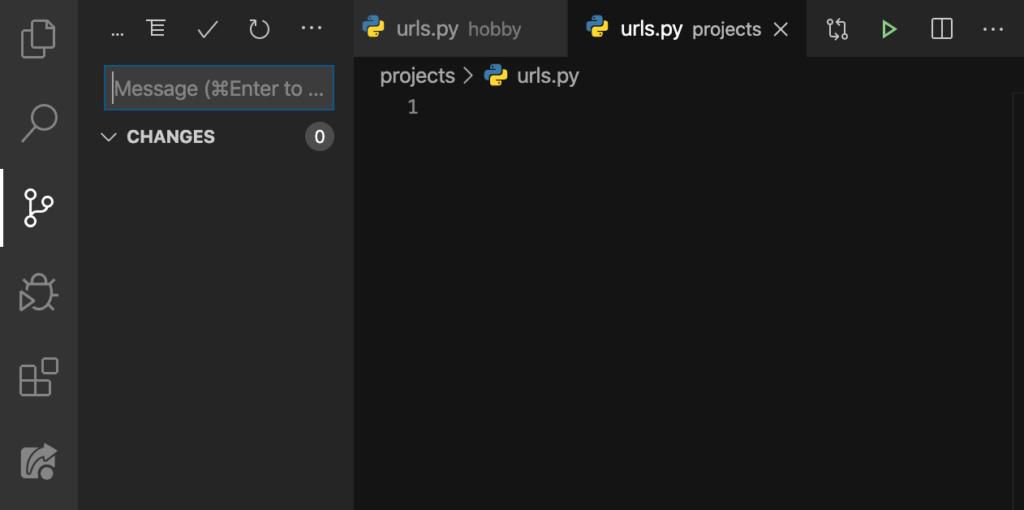
Add Contents on urls.py
Now let’s add something on each and every one of our urls.py:
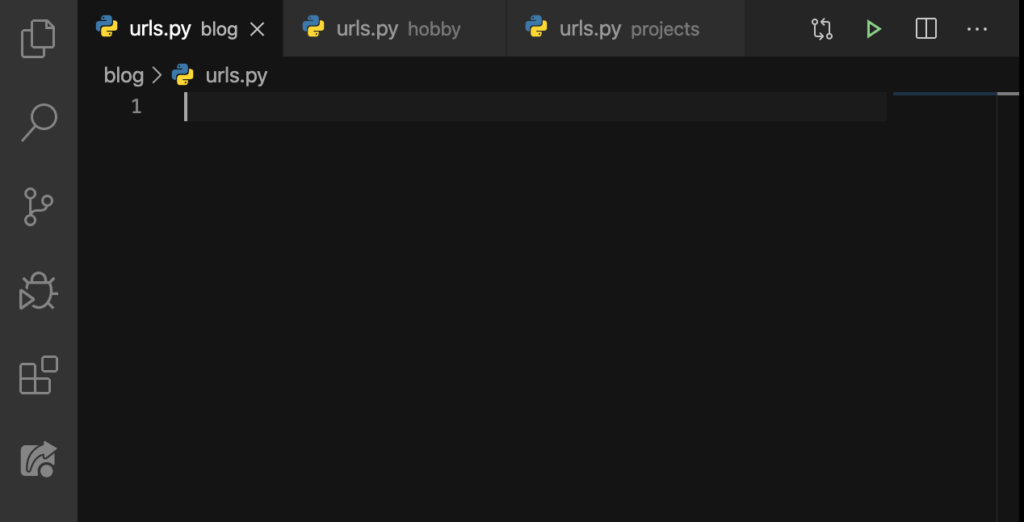
Just like what we had on our first Django website’s urls.py, (just without the comments), we’ll do this on our blog‘s urls.py:
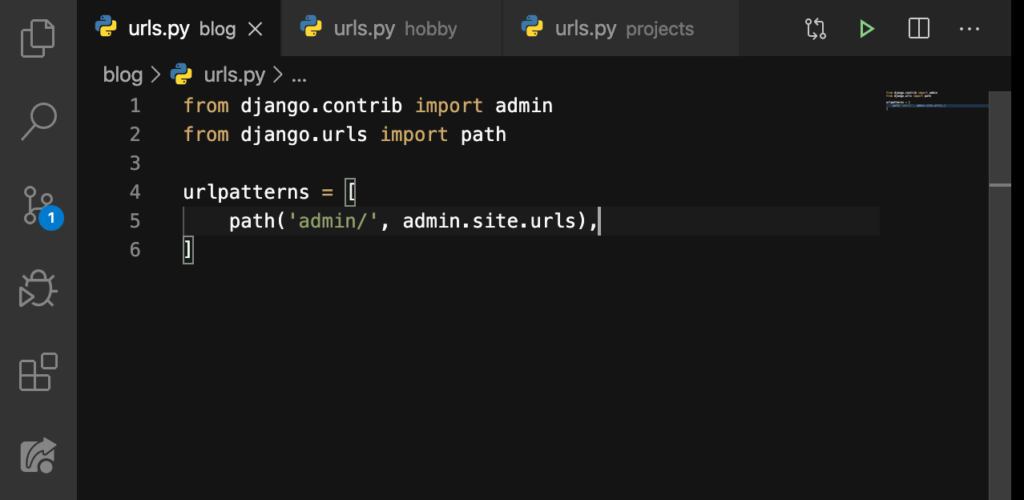
We’ll also do the same for our hobby‘s urls.py:
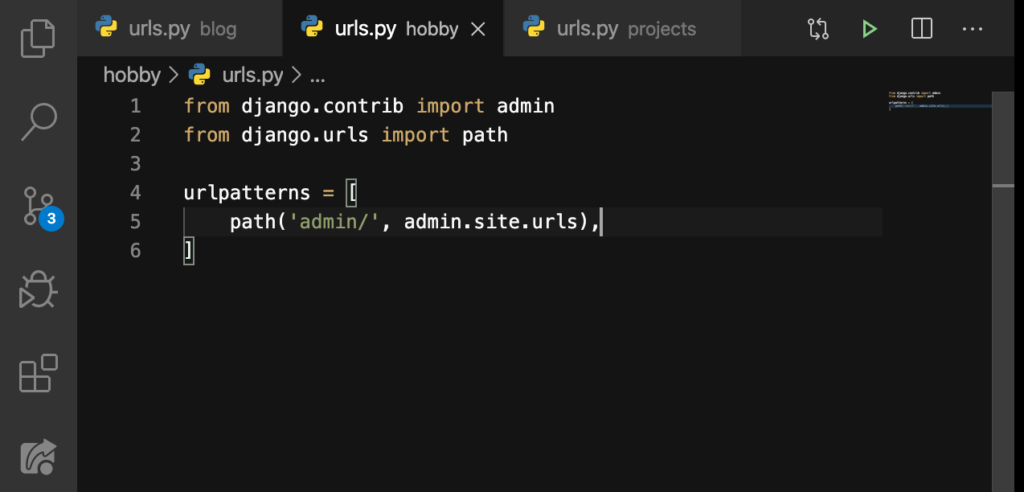
We’ll also do the same for our projects‘s urls.py:
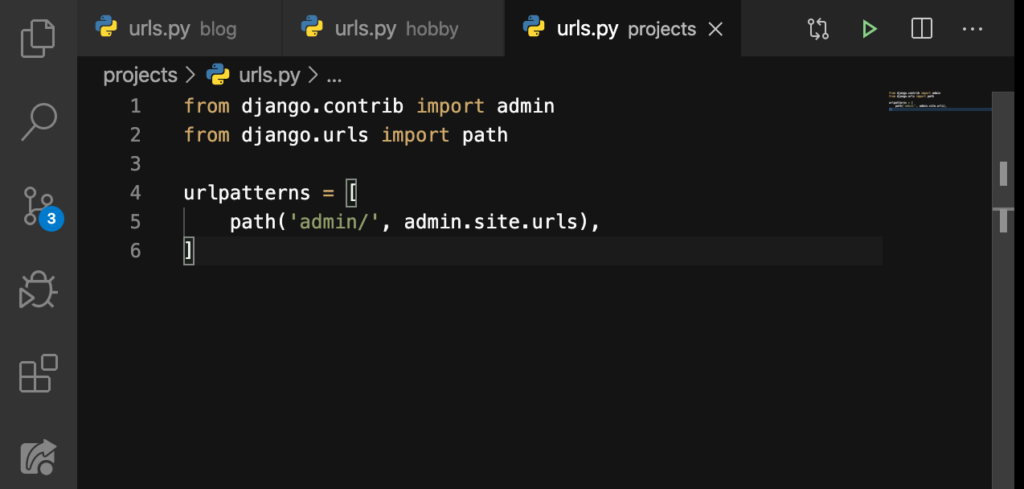
Let’s commit these changes:
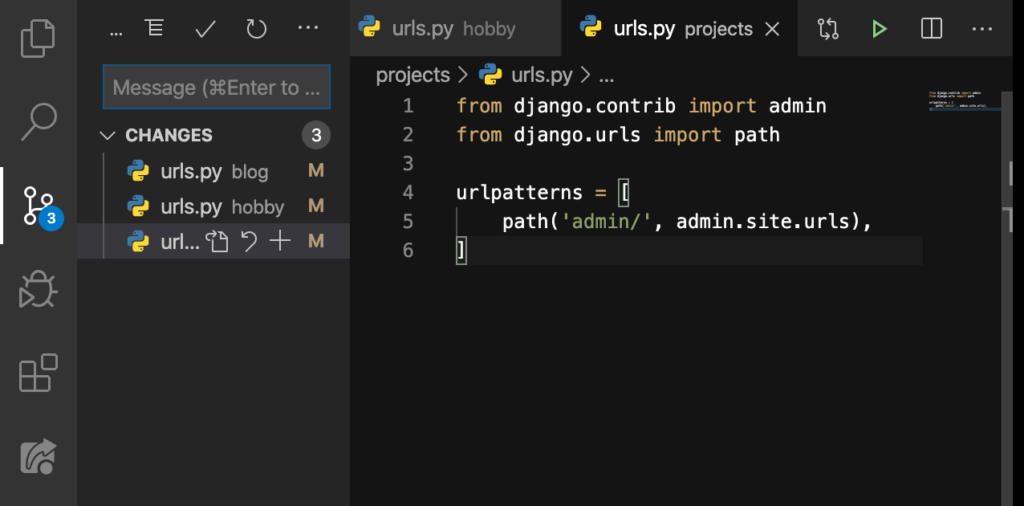
Add a commit message:
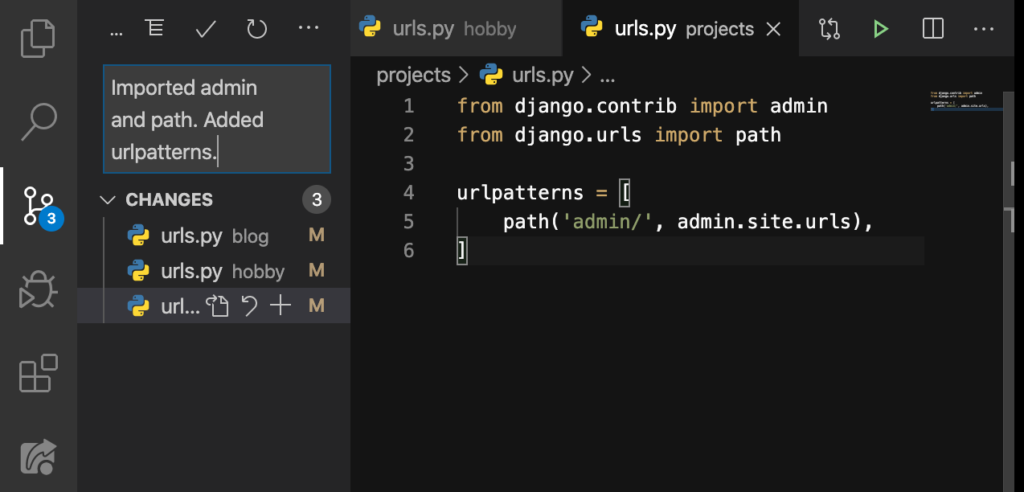
Finally, click on that check symbol:
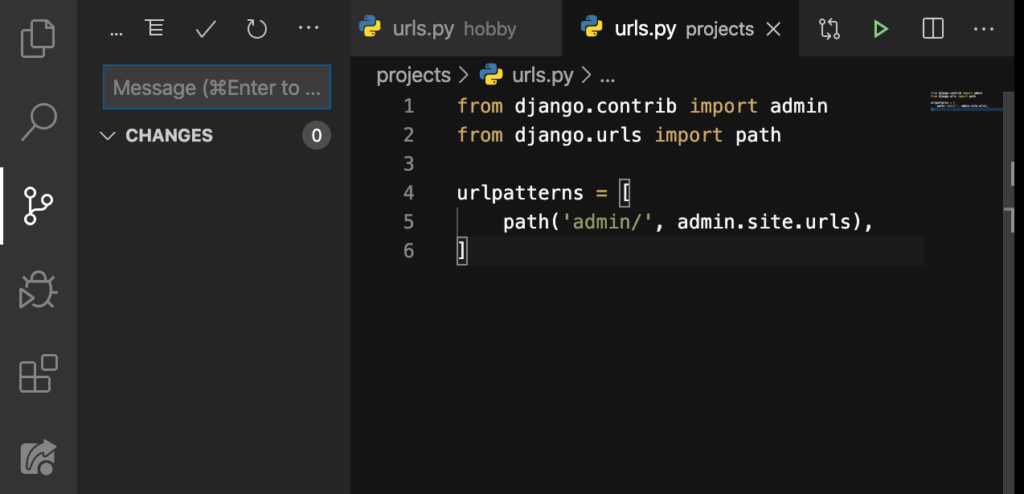
Well done! I know we have done a lot of commits lately. On the next lesson, we’ll make use of our GitHub Desktop! See you there!
