Previous Lesson: Lesson 21: Git and GitHub
In our previous lesson, we learned something awesome about GitHub. We learned how to commit, push, and create a new repository. We also learned that other people can see our code on GitHub.
However, what if we wanted to hide some things from the people on GitHub? By the way, what are these things? Some examples are our databases, cache, and passwords. What can we do to hide these confidential files from GitHub?
GitIgnore will help us do this! It will protect our confidential files. And it will only store these selected files here in our computer only. Let’s create this file! First, open your text editor:
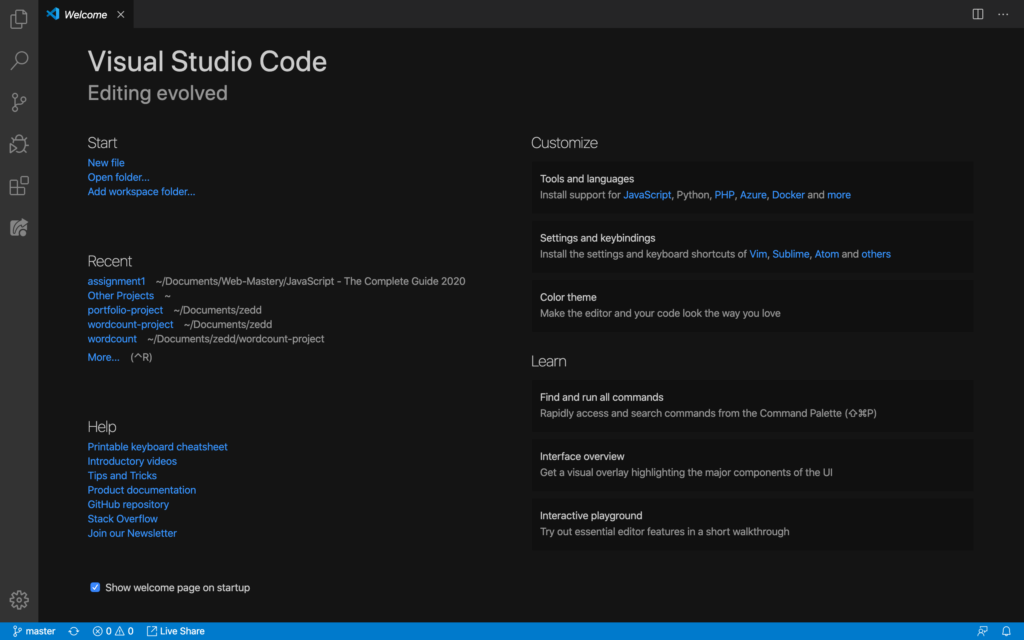
Click on File:
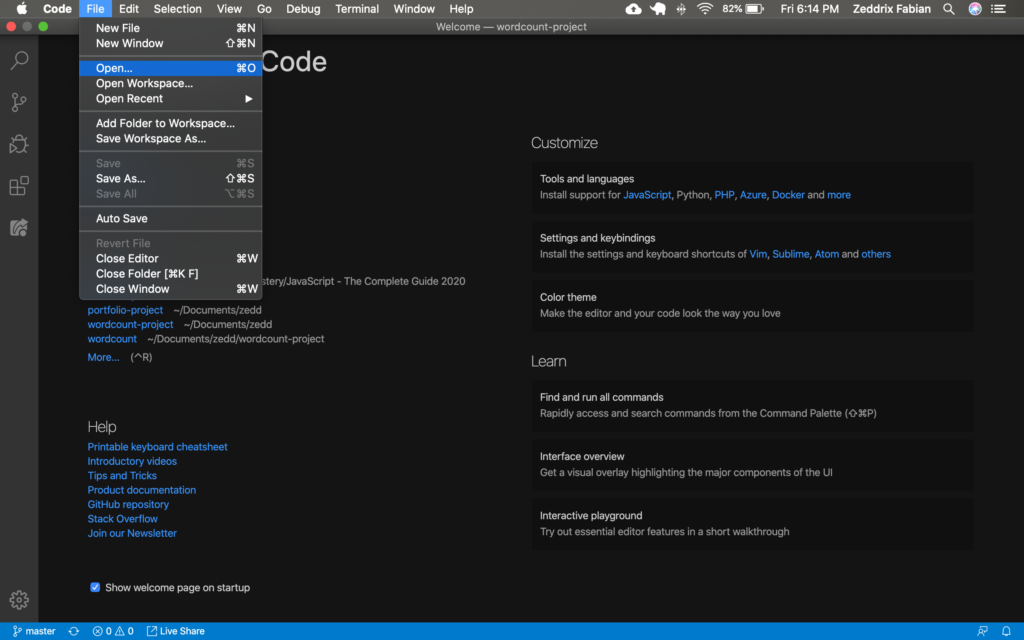
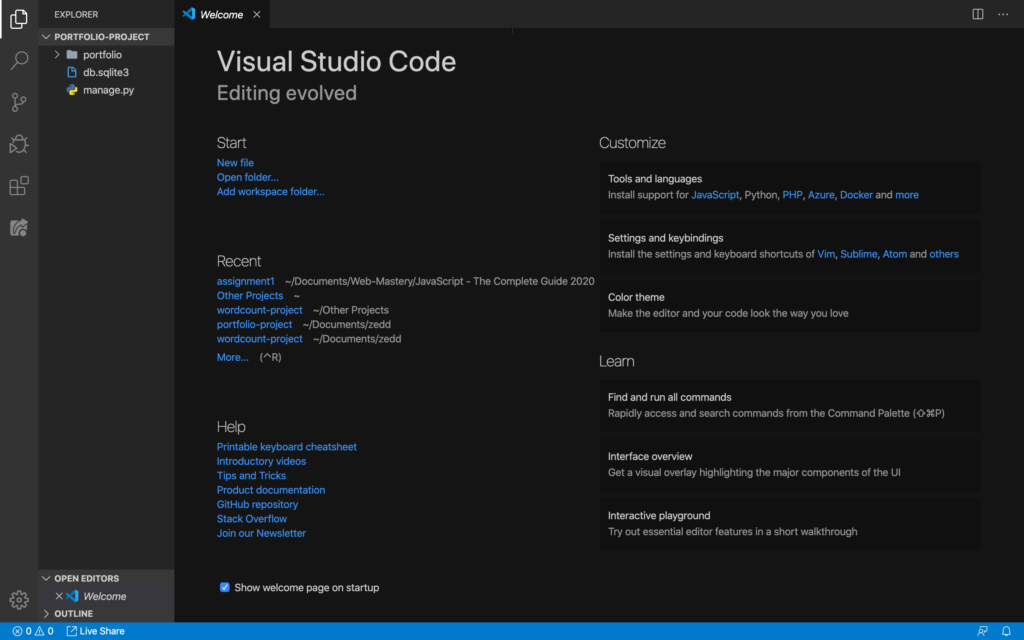
And then Open… And then select our portfolio-project (we renamed this on the previous lesson):

Open:
gitignore.io
Now, let’s go to gitignore.io:
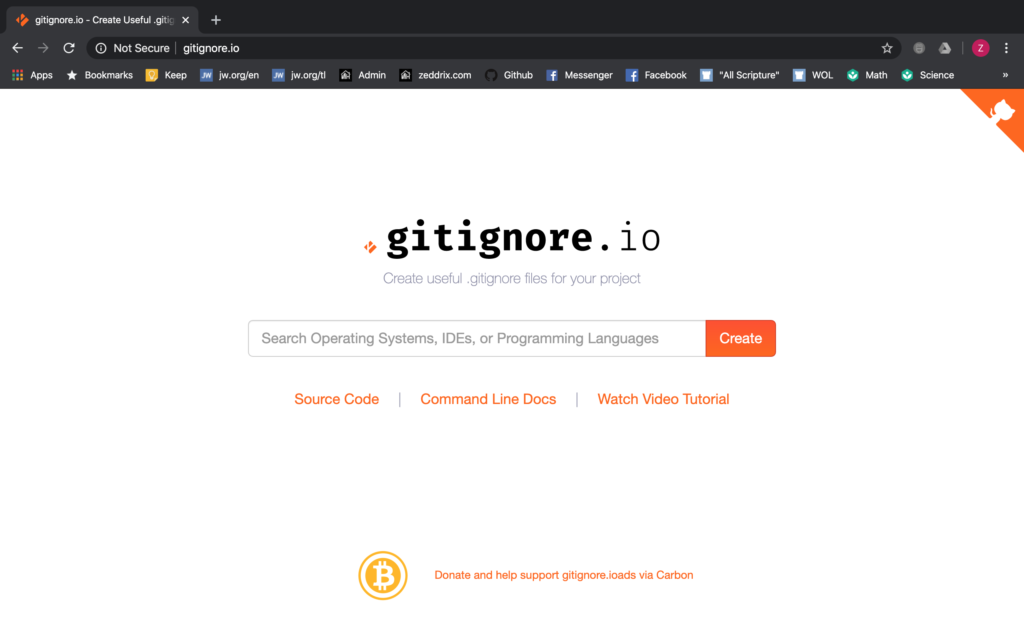
Type Django:
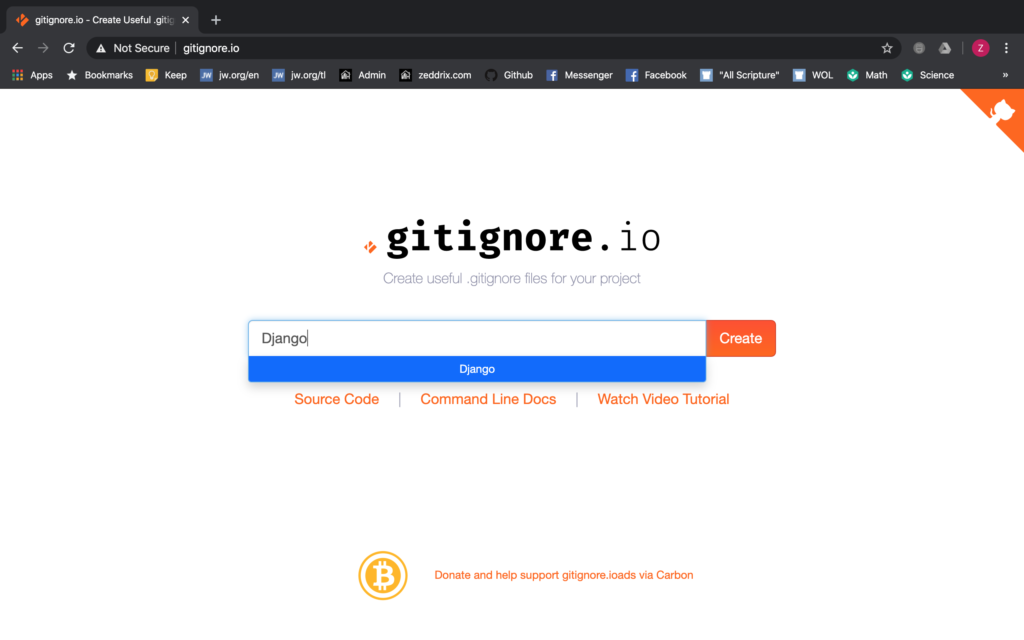
Then hit ENTER (note: it will not take us there yet):
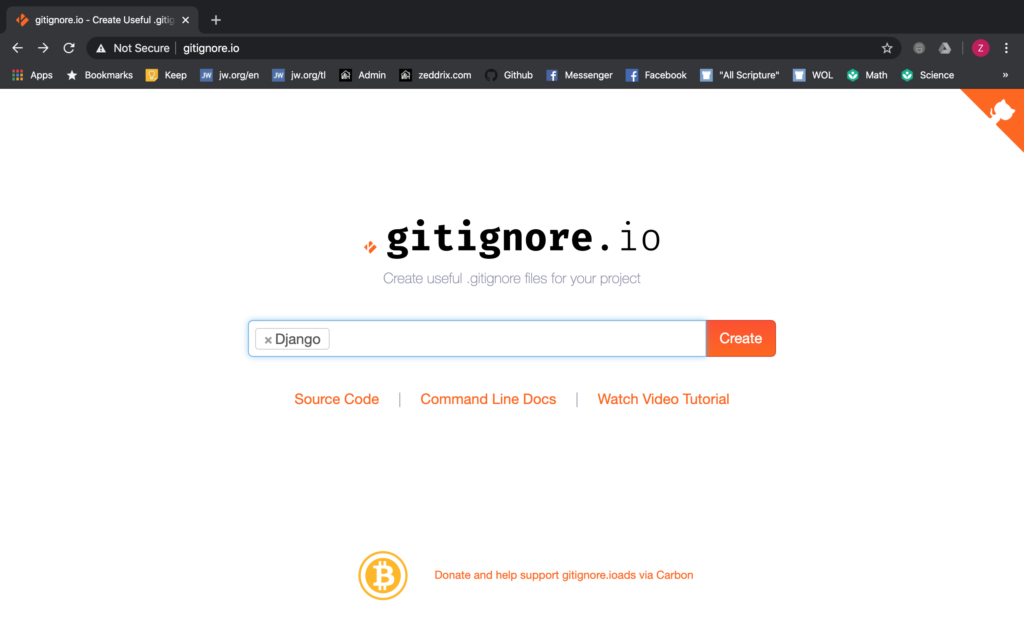
Finally, click on Create and you’ll see something like this:
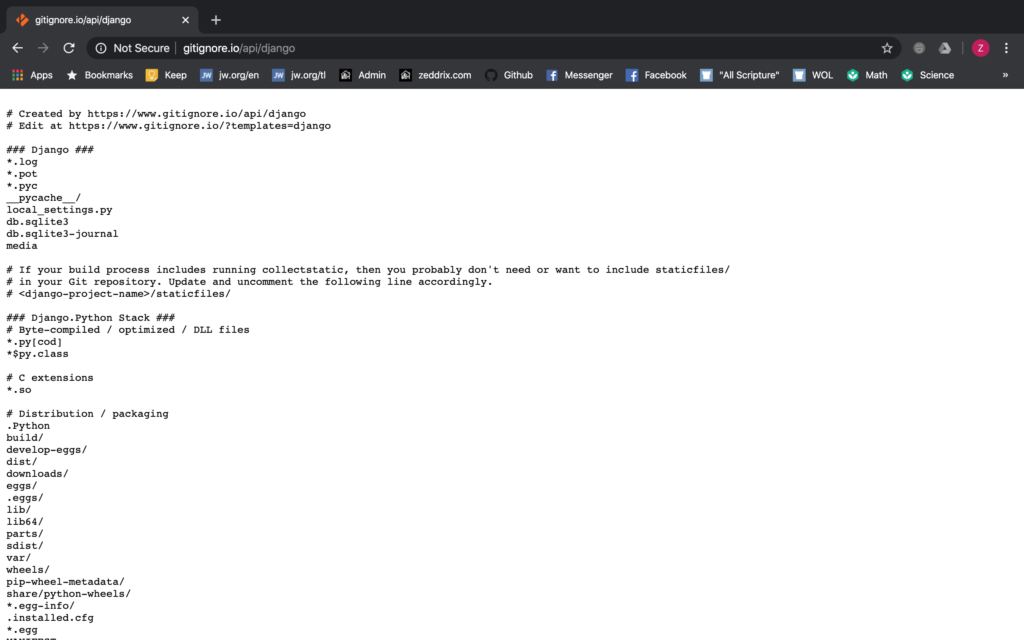
I know this seems a lot but we’ll just get these:
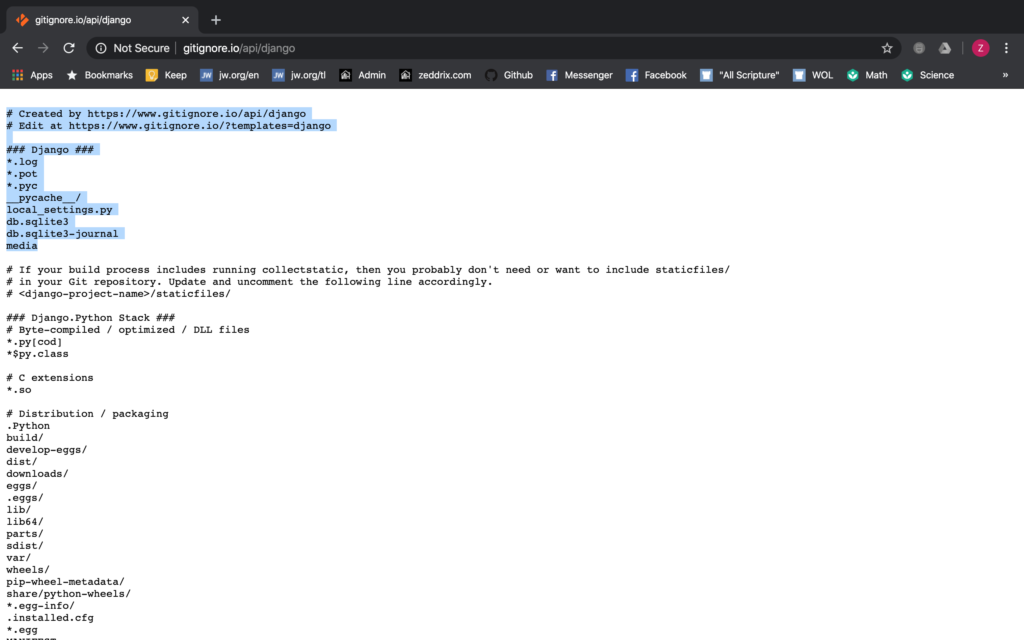
Command + C (copy).
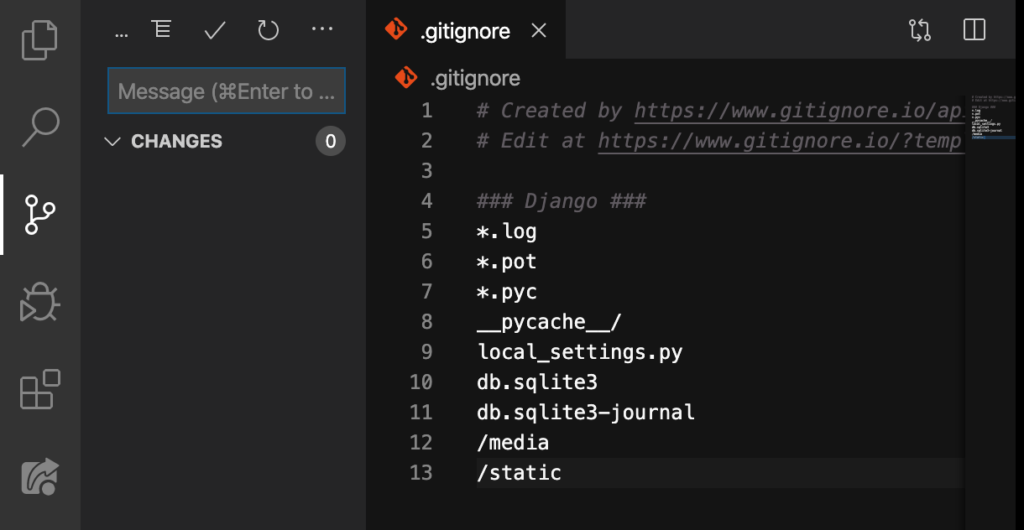
.gitignore
Then let’s create a new file:
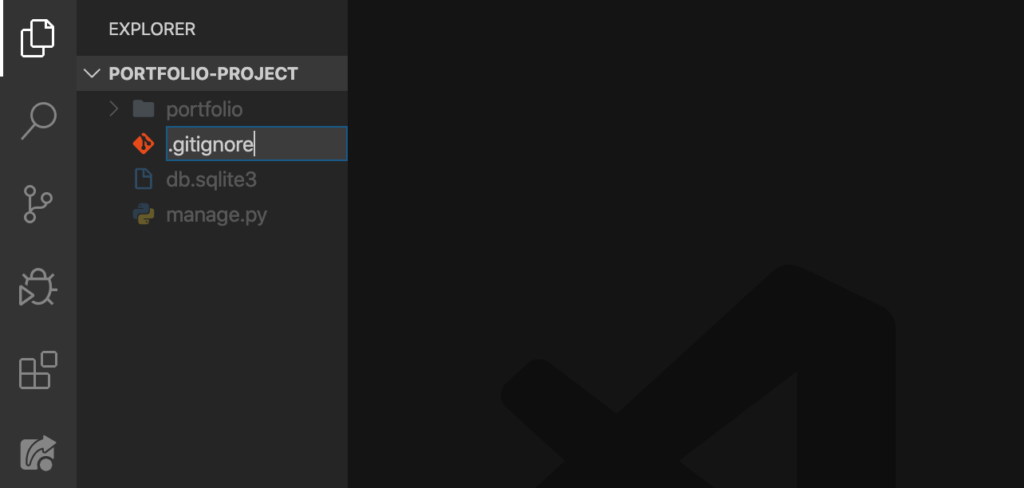
ENTER:
Command + V (paste):

Nice. Let’s make some changes here. We’ll start with that media. Let’s put a slash (/) in front of that like this:
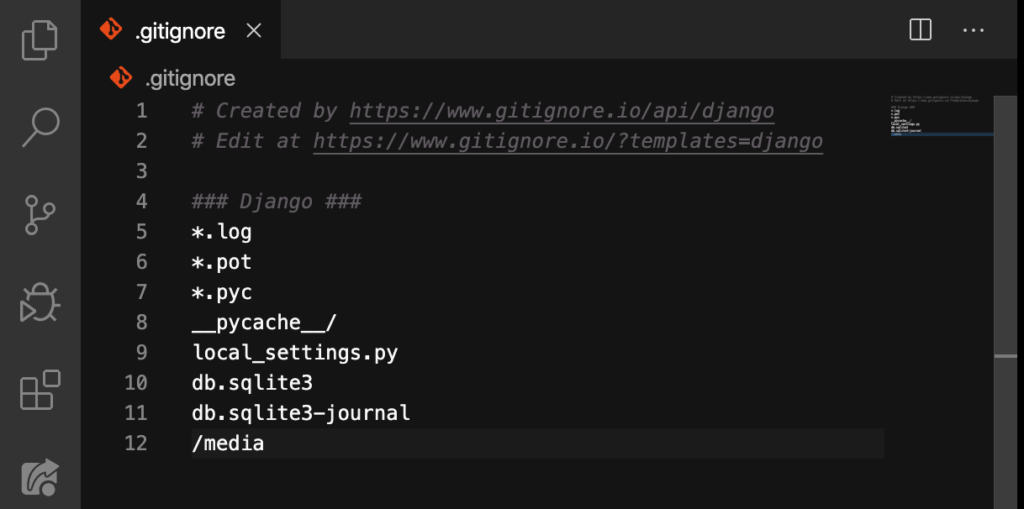
Why did we add that? A slash (/) in a name indicates that it is a folder. So that means that in the future, we’re gonna create a folder with all our media files inside named media. We’re not gonna create that today, but soon.
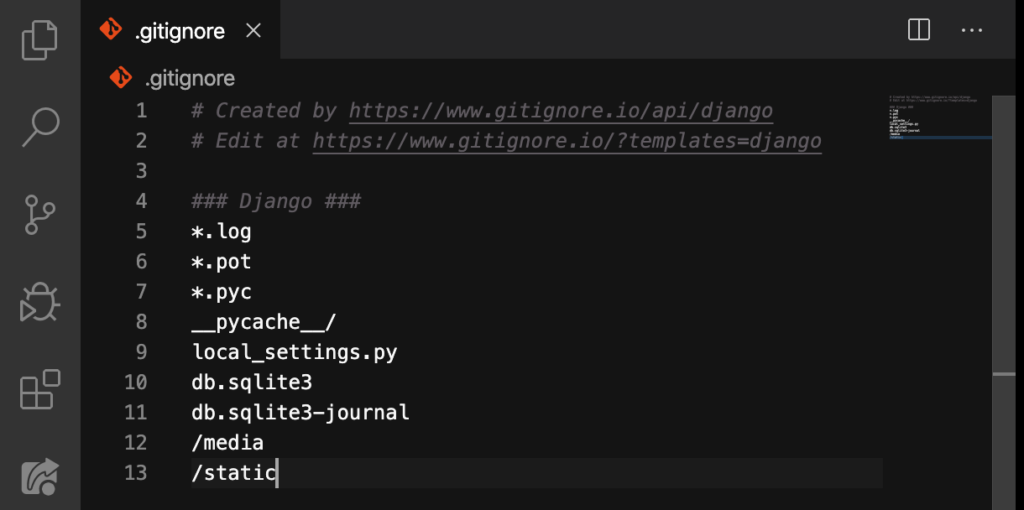
Additionally, we’re gonna have a static folder with static files in it so we have to type that in, too:
Let’s commit all these changes to GitHub:

Click on that check symbol at the top:
Tip: It important for you to know that we should not do commits on every move we do. Instead, we just do a commit whenever we have something that is worth to commit.
git status
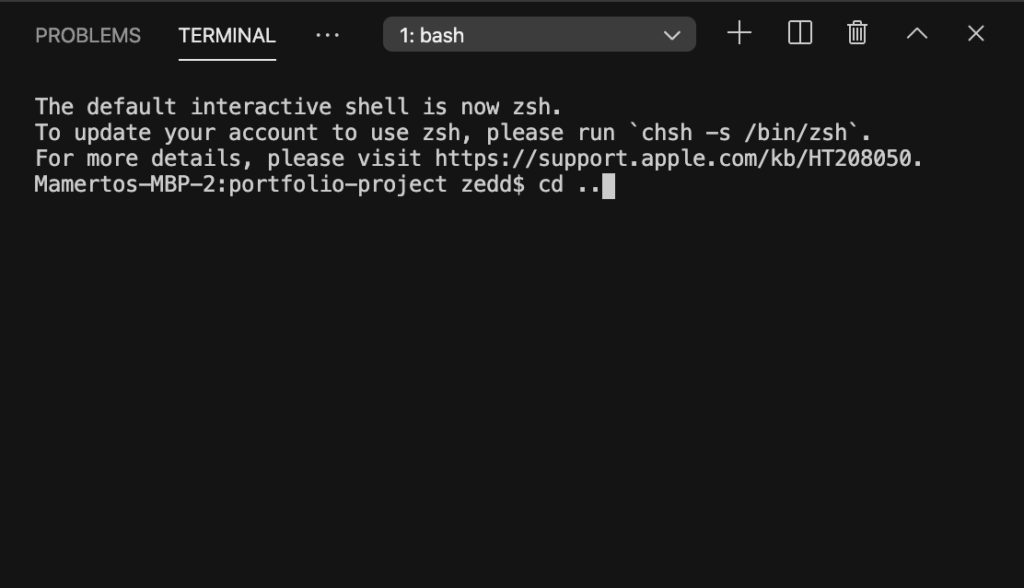
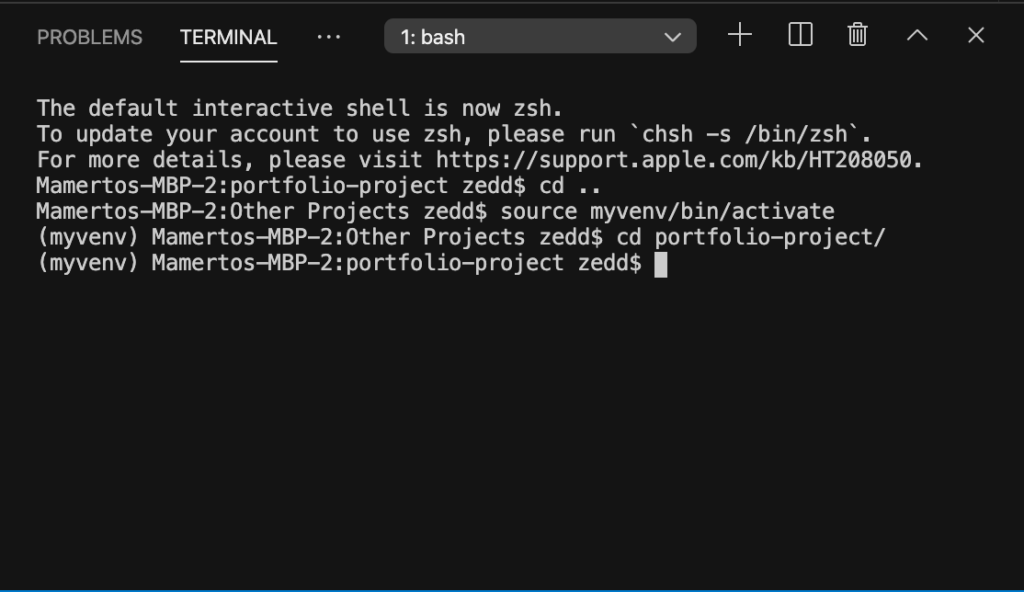
After doing all these, let’s open up our Terminal:

Before activating our virtual environment, we need to get outside this folder:
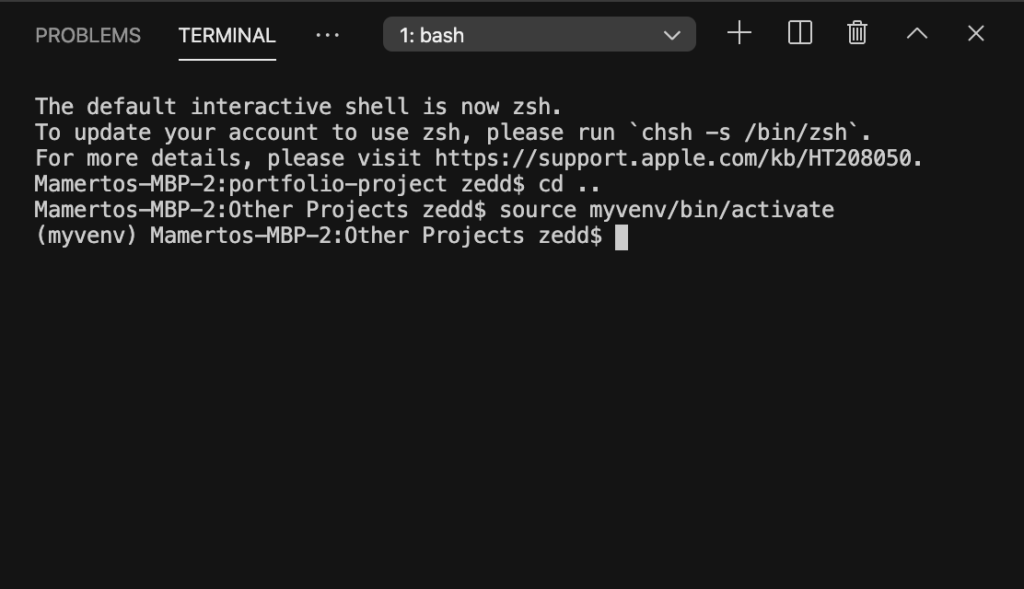
Now, you know how to activate yours:
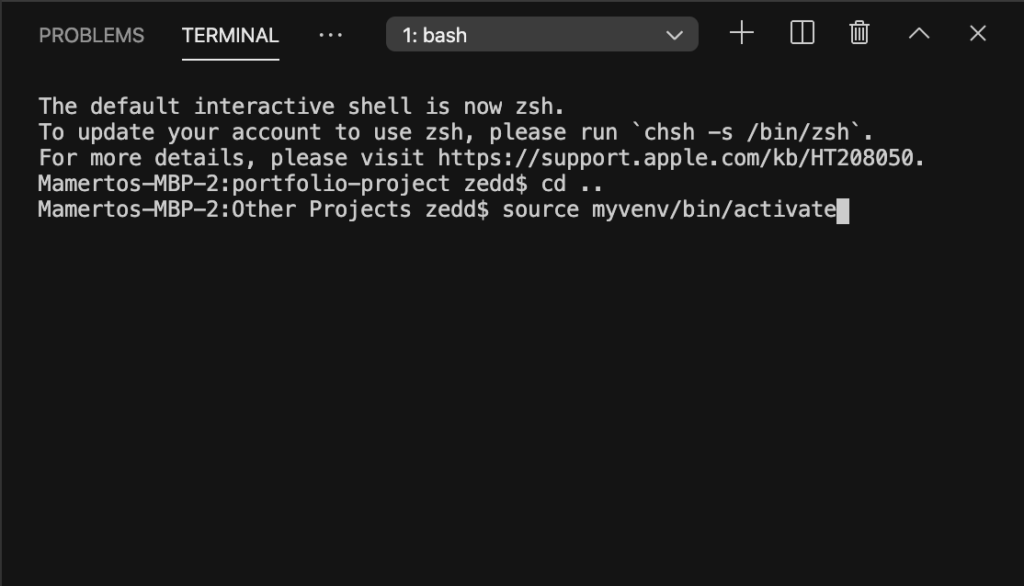
ENTER:
Let’s get inside our portfolio-project:

ENTER:
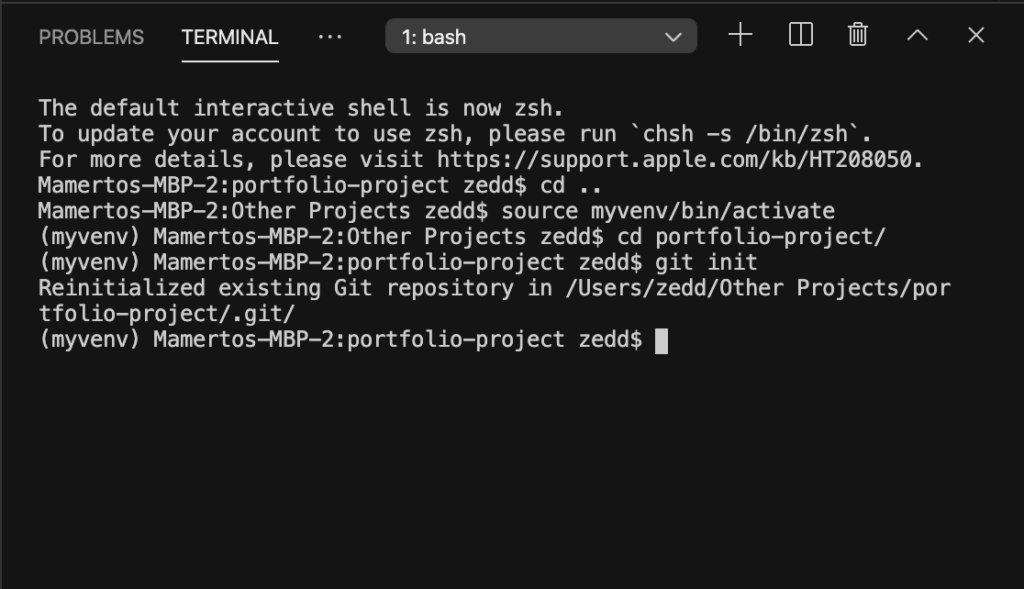
Let’s now type git init to initialize this thing:
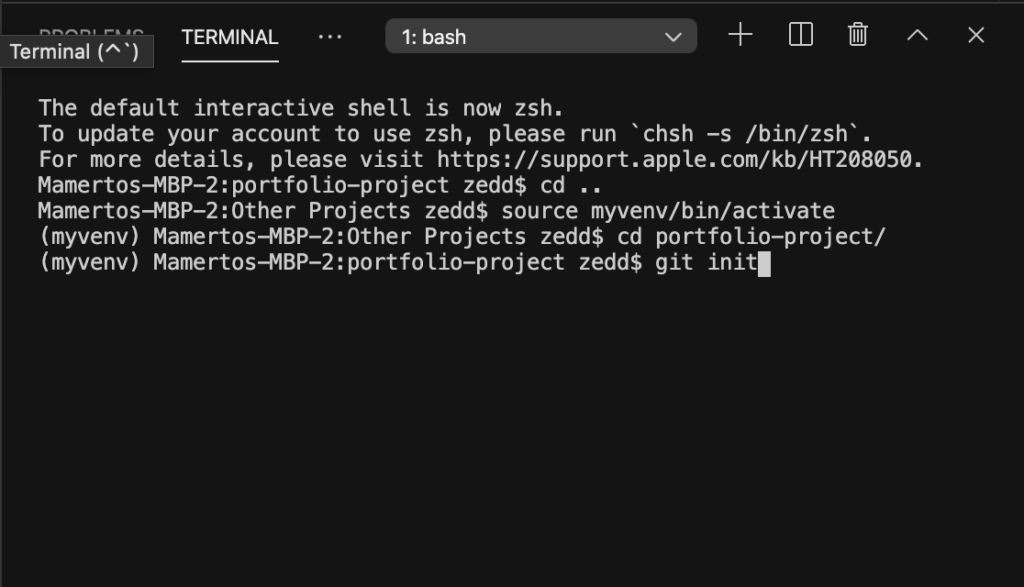
When you hit ENTER, you should have this:
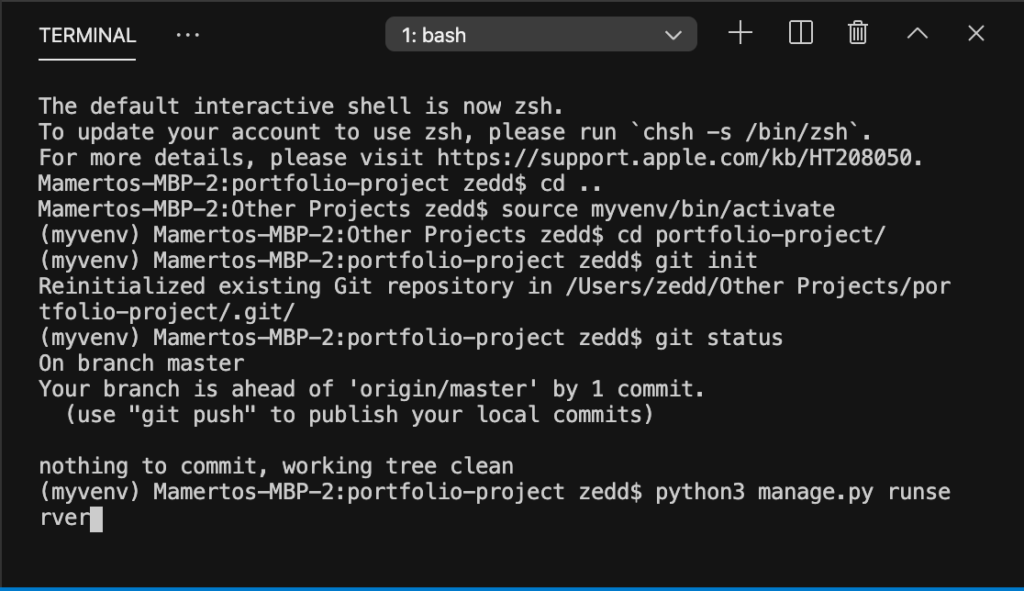
And when you say git status on your Terminal:
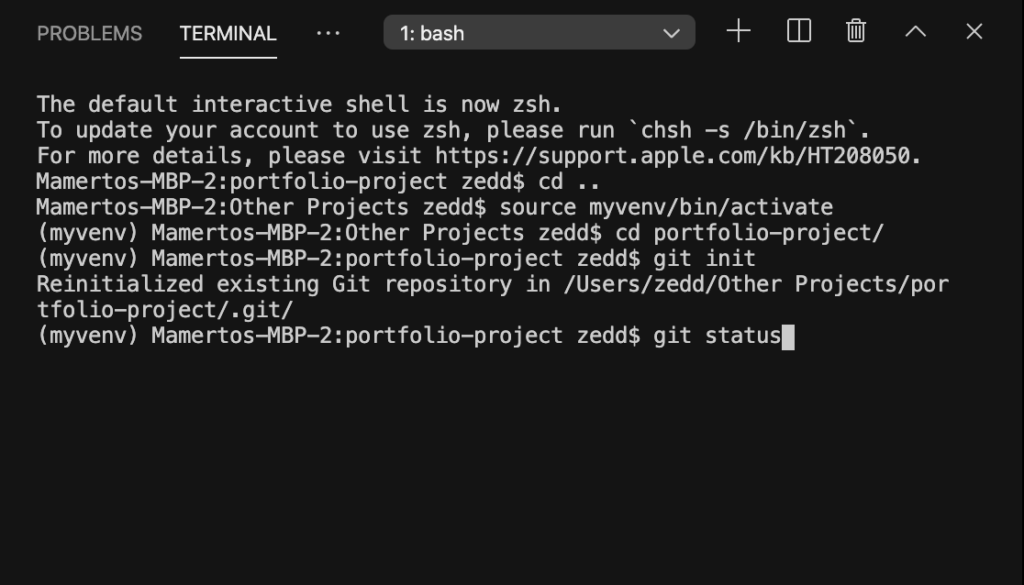
And hit ENTER:

There should be nothing to commit, working tree clean. Are you curious what the heck happened to our project? If you’re not, I am commending you because back in our previous lesson, we pushed our repository on GitHub. That’s why we have this new folder called __pycache__:
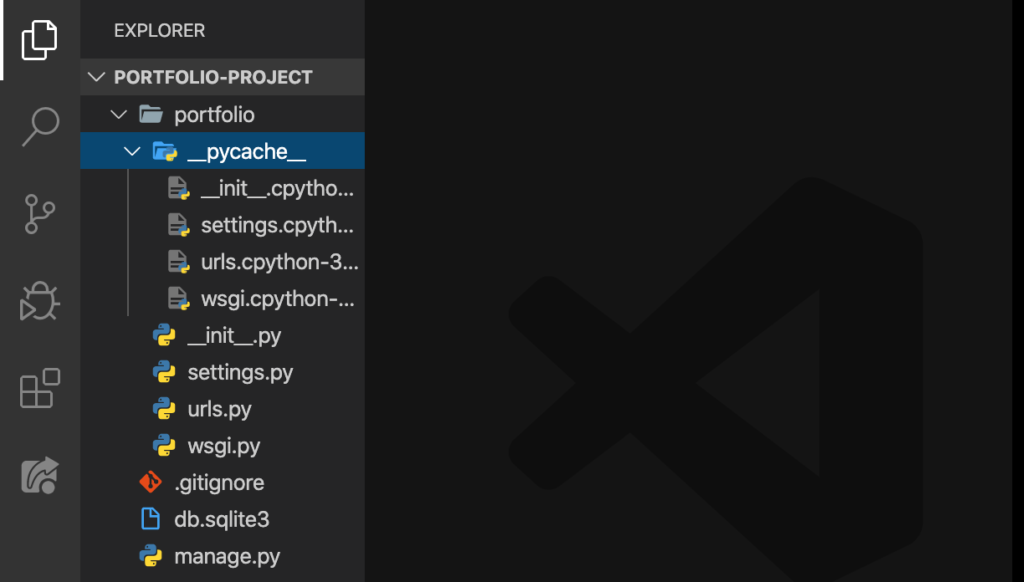
Did I create these files? Did you? No, we didn’t create this–it was auto-generated by Django. Now, let me share with you something interesting that many developers know as well.
localhost
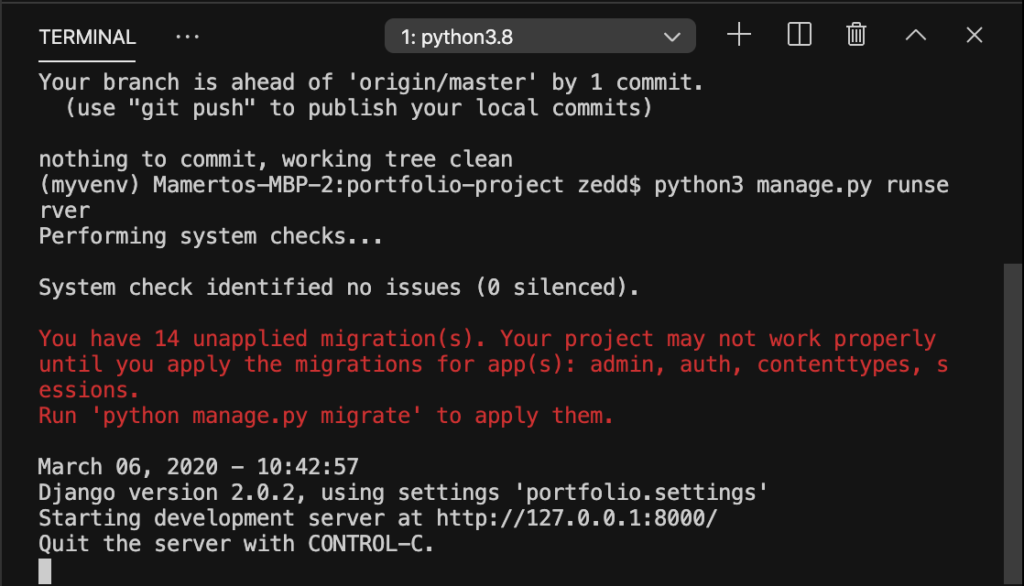
Let’s first run our server:
ENTER:
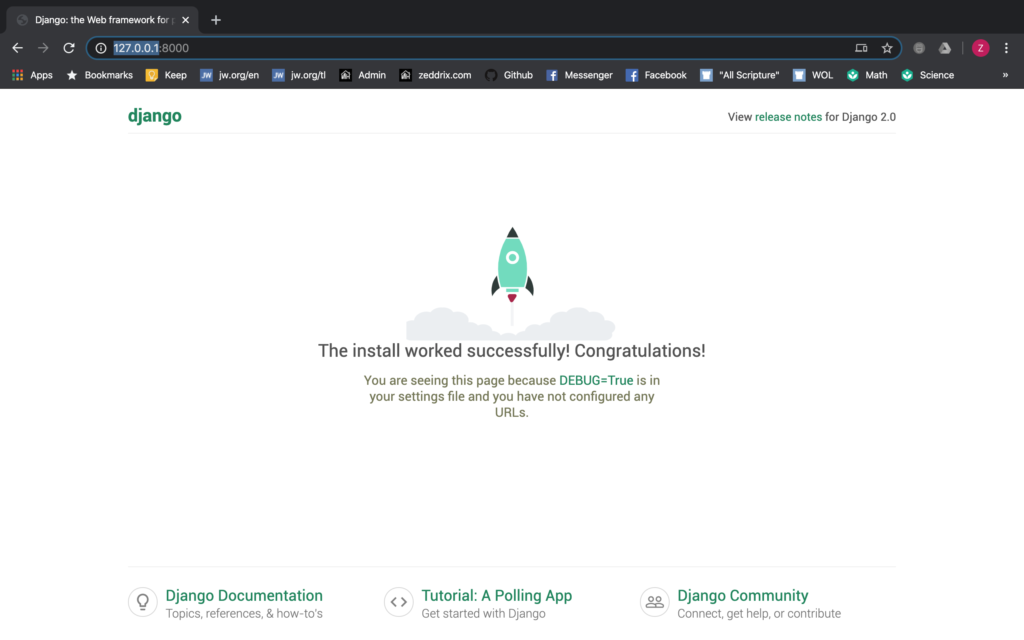
Type that 127.0.0.1:8000 in your browser:
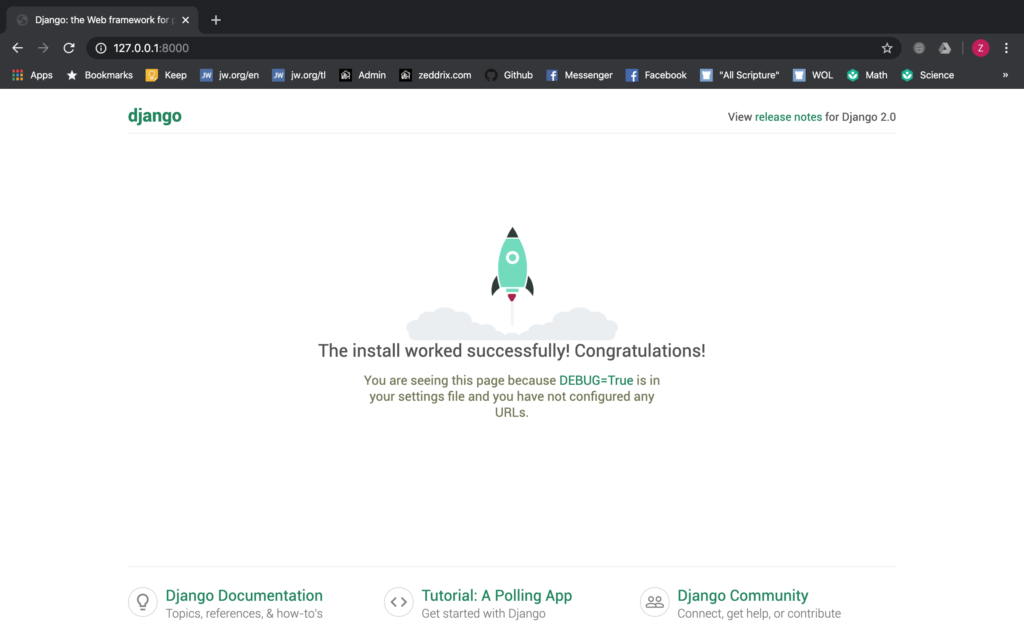
Then select the 127.0.0.1:
Afterwards, change this to localhost:
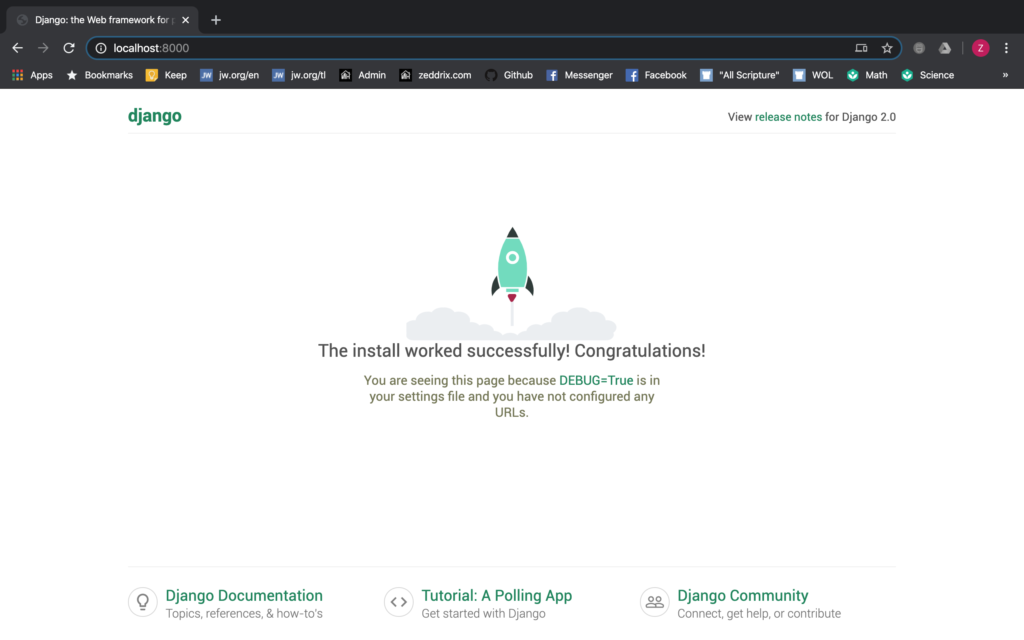
ENTER:
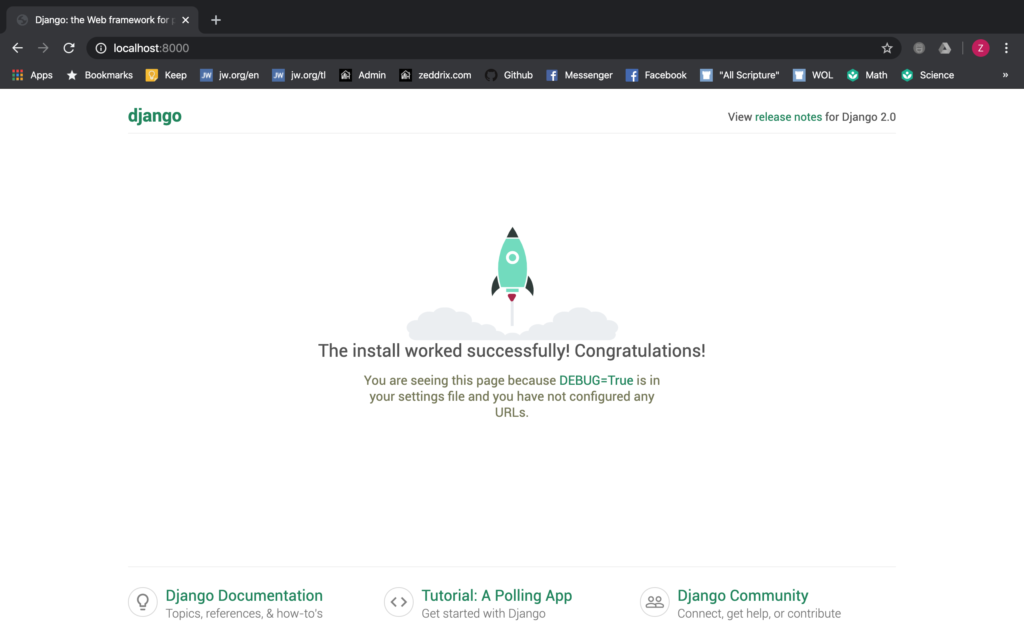
What happened? It’s like nothing happened because it still brings you to the same website! So try creating a new tab and enter localhost:8000 instead.
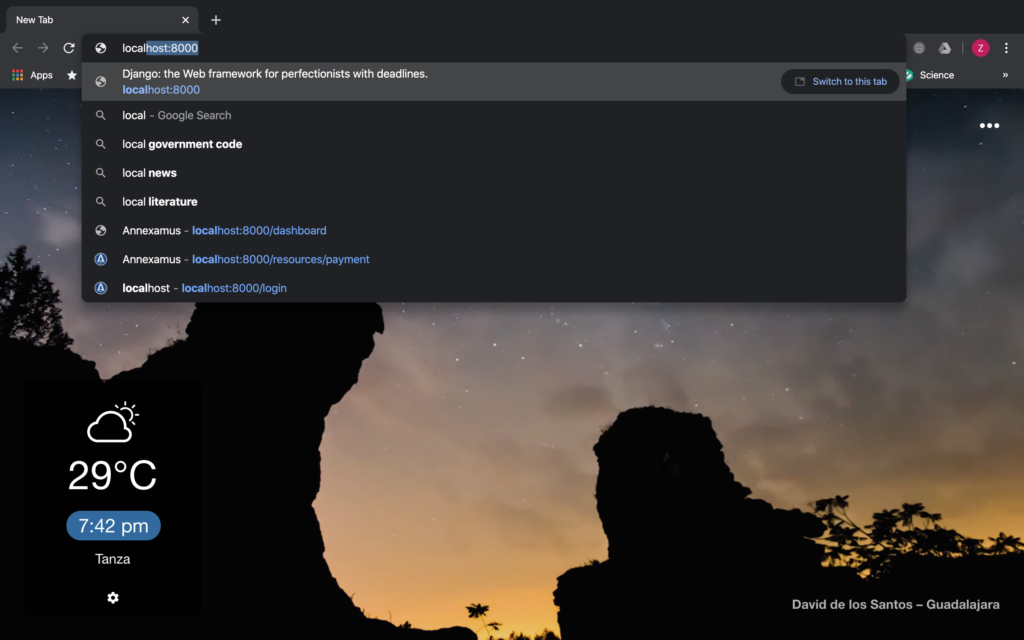
By the way, I’m using Delight extension.

ENTER:

There you go! But you know, you can roll with either of the two. If it’s more convenient for you to use 127.0.0.1, good. But if you find localhost more comfortable, good.
In the next lesson, we’ll be talking about Django apps.