Previous Lesson: Lesson 24: How to Use Your GitHub Desktop
What are models in Django? How do we use them? And why are they very important for our portfolio website? Find out in this lesson!
First, what is a model? Well, according to djangoproject.com, “a model is the single, definitive source of information about your data. It contains the essential fields and behaviors of the data you’re storing. Generally, each model maps to a single database table.”
Later, you’ll understand what this means. For the meantime, let’s take a look at our sketch for just a sec:

As what we can recall, we want to display our hobbies on our homepage. But how are we going to save all that information? And what do I mean by “saving all that information”?
Hardcode HTML?
Using HTML is actually quite possible. If you have a little background in HTML, you know how to do this. With HTML alone, we can create a box for our hobby. “Box?” That’s what I just call the place where we put an image and a short description about that certain hobby.
So, after creating a box, we now have a hobby displayed on our website. But what is we want to create another hobby? And what if we have another 100 other hobbies? Are you willing to hardcode all that in HTML repeatedly? That would be a punch on your guts.
Also, consider this: Every time you would like to change something on a box hobby, you would have to edit all the other box hobbies one by one, manually. It would be a messy and annoying coding experience right? So, I’m sure you’ll like this idea.
Models In Django to the Rescue!
Instead of hardcoding all that, we’ll use models in Django instead. But how will we use this? First, we’ll create a model for all of our hobbies. (Note: This is not the hobby yet; it’s just a place where we can create a hobby.) Second, once we have that model (where we can add hobbies much easier), we’ll add ’em.
For example, I’ll have basketball as a hobby. Then, I’ll put an image and also say something about this hobby. Finally, it will show up in my website. But what if I wanted to change something? We’ll just simply edit it on our database.
Look, I know all these things that we have just discussed above can be overwhelming for you. Honestly, you don’t have to understand all this right now; I’m just readying your mind. Nonetheless, you don’t have to worry because as we go along, you’ll understand all these, I promise.
models.py
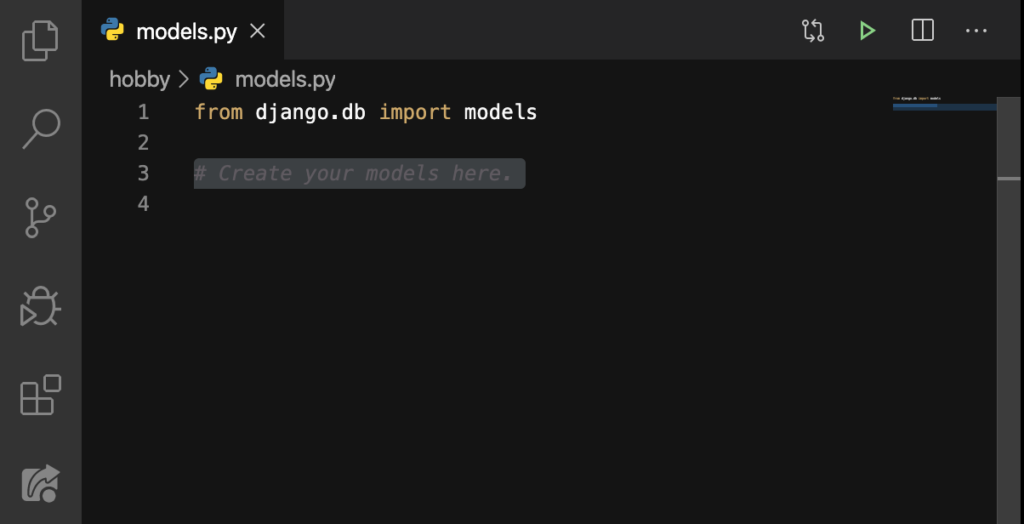
Let’s start creating a model here:

Here, we’ll create a Class. But first, select Line 3 by double-clicking:
And then DELETE:
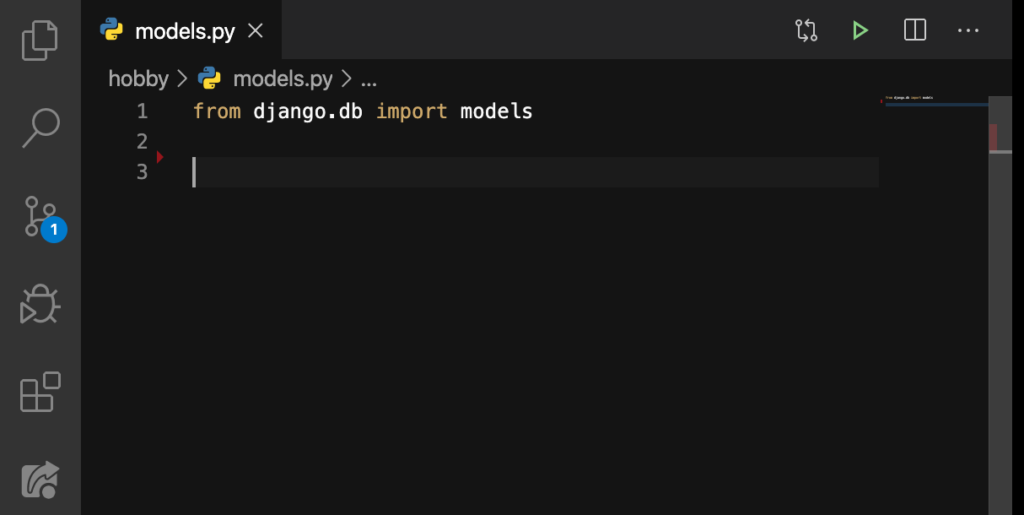
Good. Let’s do this:
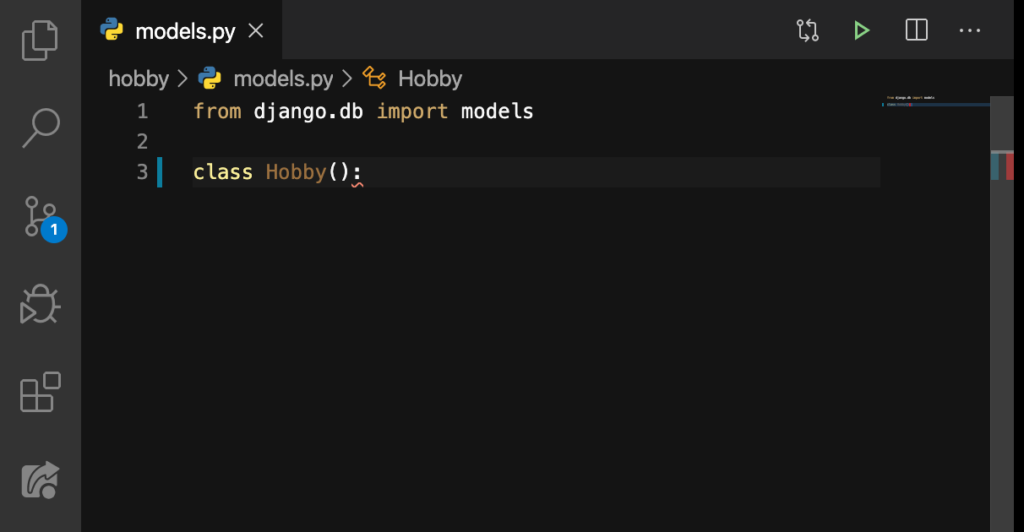
Always make it a practice to have a colon (:) after the parentheses (()) even when it’s still empty. Now type these in:
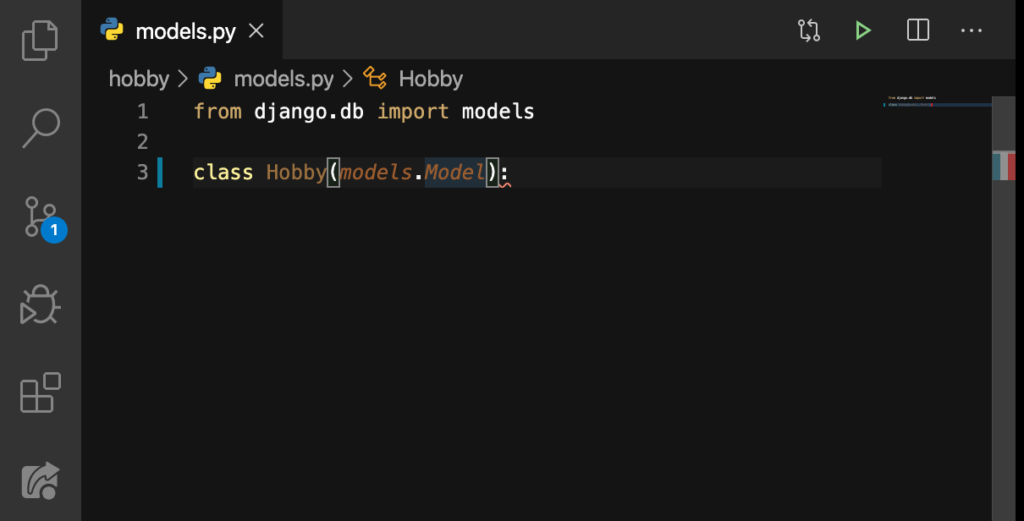
And then:
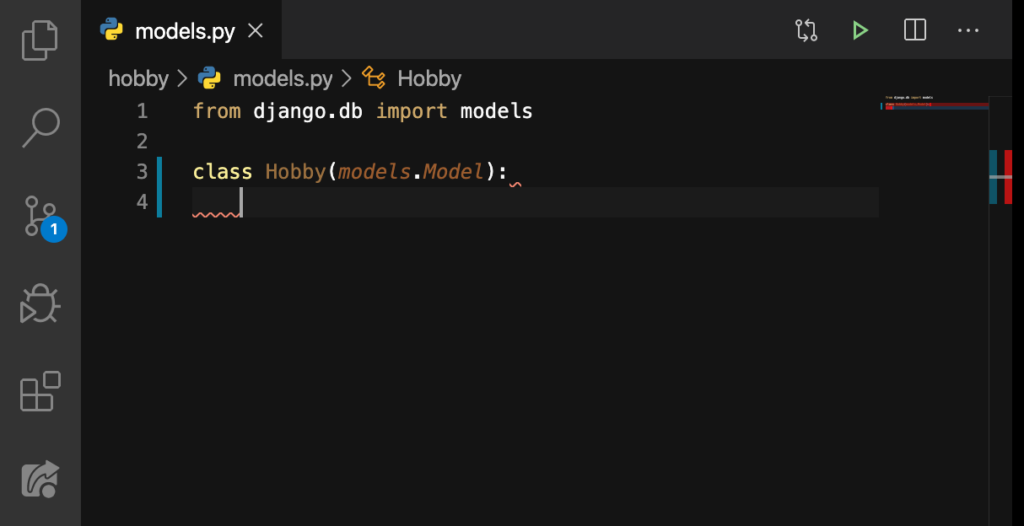
Why did we put the models? Because we had to have the same models we’ve just imported from Line 1. Now what’s the point of this models.Model? This allows us to create a new class in Python. Additionally, this will save the Hobby class in our database.
Now let’s talk about the relationship of Django with the different databases we have out there:
- db.sqlite3 (the database in our project);
- PostgreSQL;
- MySQL;
- SQL Server Management Studio;
- etc. (etcetera or and many others).
Unlike most frameworks, when using Django, you can choose any of these databases. Also, you can change from one kind to another from time to time, and still have the same layout of your code. But, we’ll dive further about databases on the next lesson. For now, let’s talk about model fields.
Using ImageField for Our Image
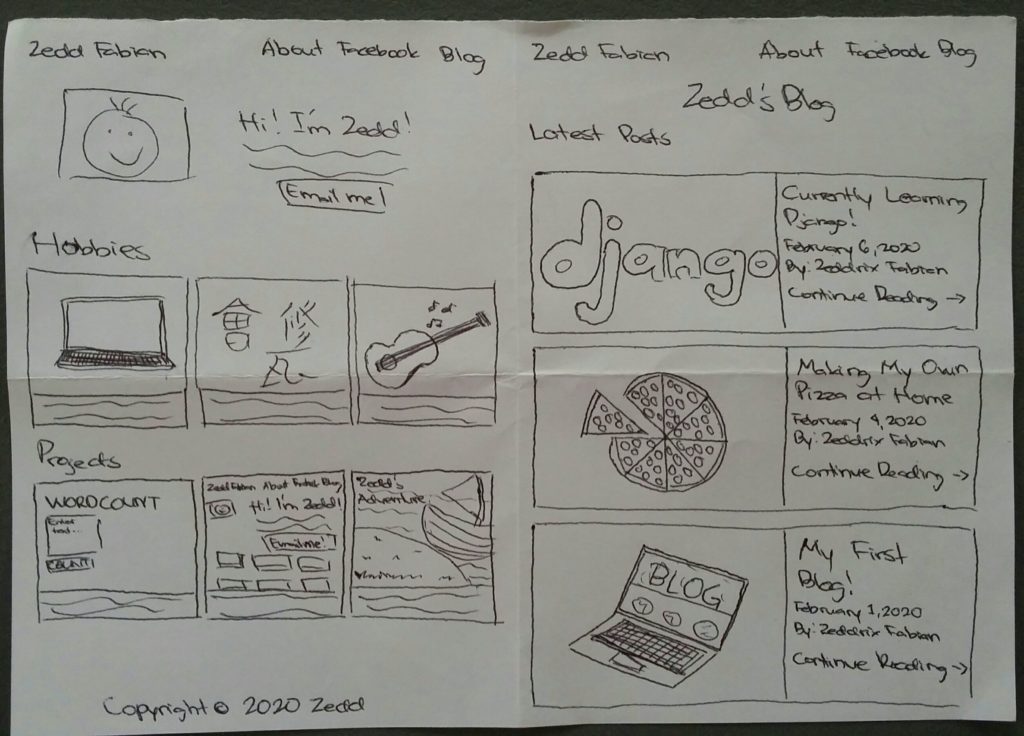
Looking back on our sketch, we’re gonna need an image for a box hobby by doing this:
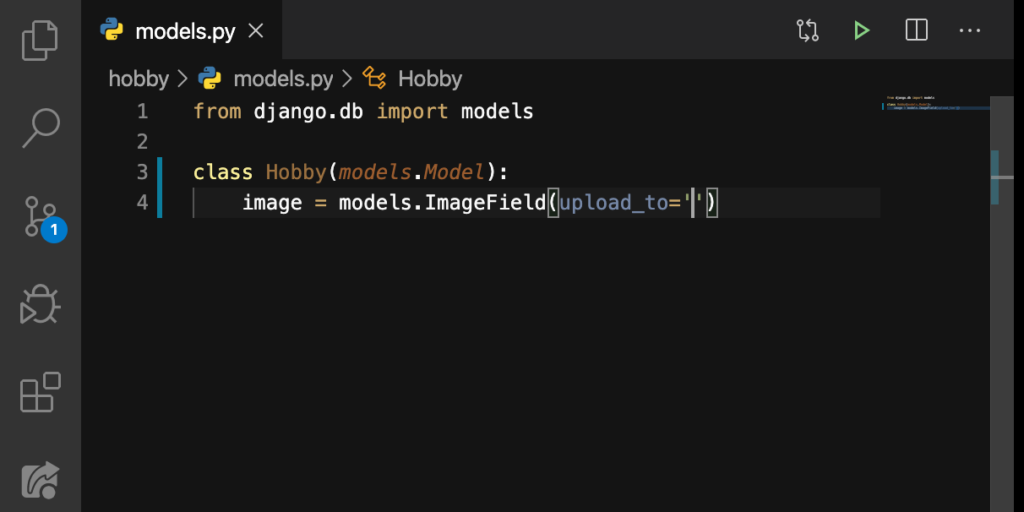
“What is the meaning of that ImageField and all those things beside it?” Just take note that we just assigned all these actions to the variable image.
Model Fields
Let’s take a look at this on the documentation, shall we? Go to your browser and search: Django model fields, like this:

Then click on that Model field reference | Django documentation | Django:

Good. Now, we’ll look for the ImageField on this documentation. We could just scroll down and look for this. Or, we can just simply do a Ctrl + F or Command + F. See that small search bar that showed up?

And now (in that search bar), type imagefield. And it will bring you us here:

This talks about ImageField a little but that’s not what we want. We’ll need to hit ENTER thrice. Doing so will bring you here:
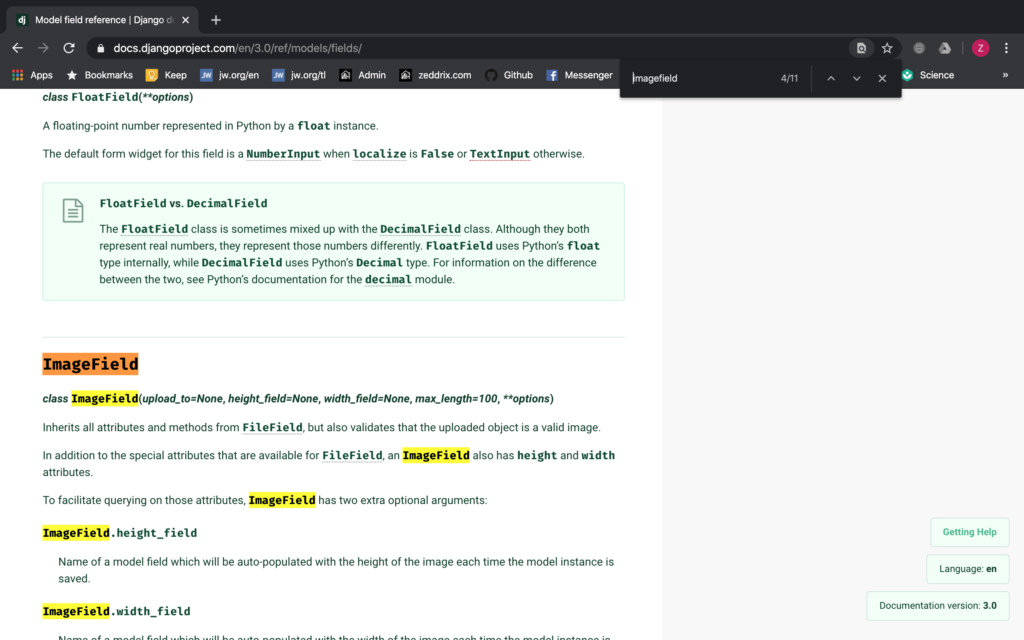
Note: If it didn’t bring you here, kindly check if you typed in the imagefield correctly (without space). Then, keep pressing ENTER until it takes you to this subheading.
After that, hit esc (meaning “escape”):

Did you learn something new with your keyboard? Good. Now here, you’ll see the upload_to that we used a while ago. Also, there are other things that we can use here like the height_field, width_field, and the max_length–all for the height, width, and max length of an image.
Using CharField for Our Summary
Finally, let’s take care of our little description about our hobby with the image. This can be considered as an excerpt, or a summary for that certain hobby. To do that, let’s type this:

We just assigned all these actions to a new variable called summary. On the other hand, let’s take a look at what that CharField is all about. Remember how to find it?
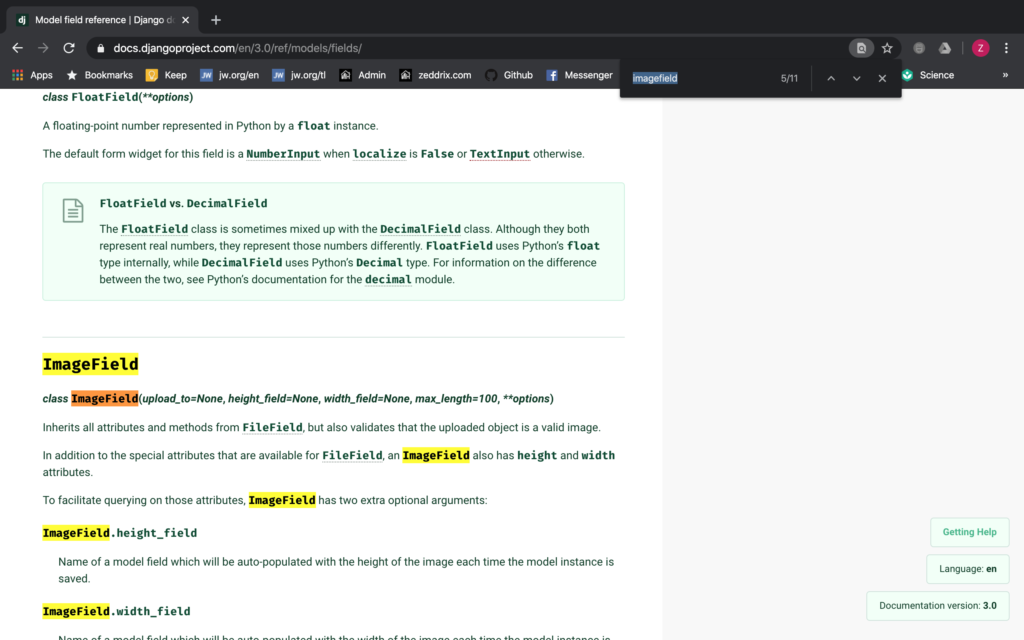
We’ll replace that imagefield with charfield. Finally, hit as many ENTERs as needed until you get here:
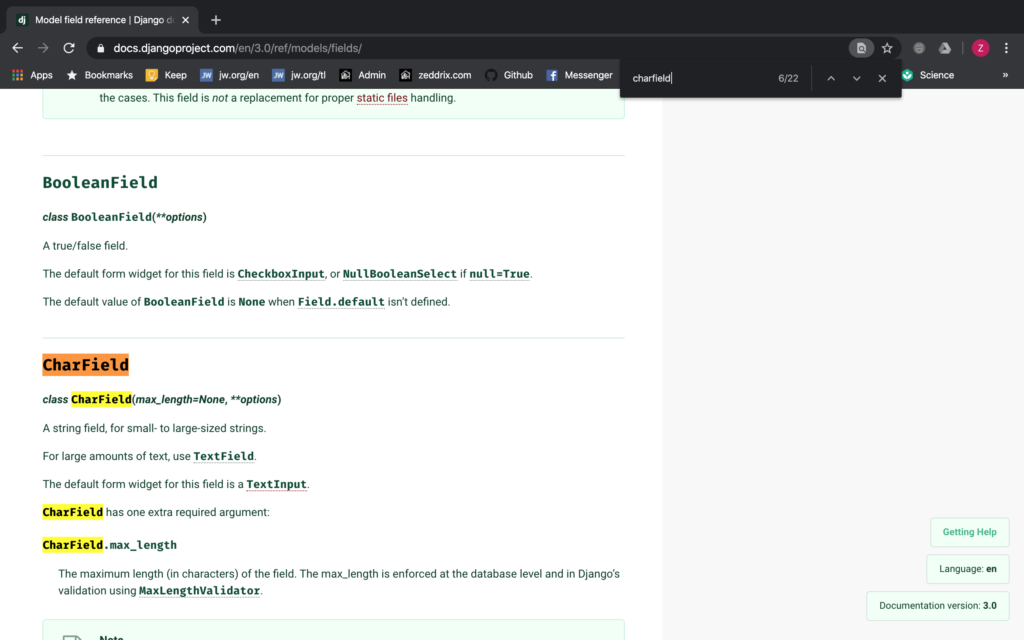
Hit esc:
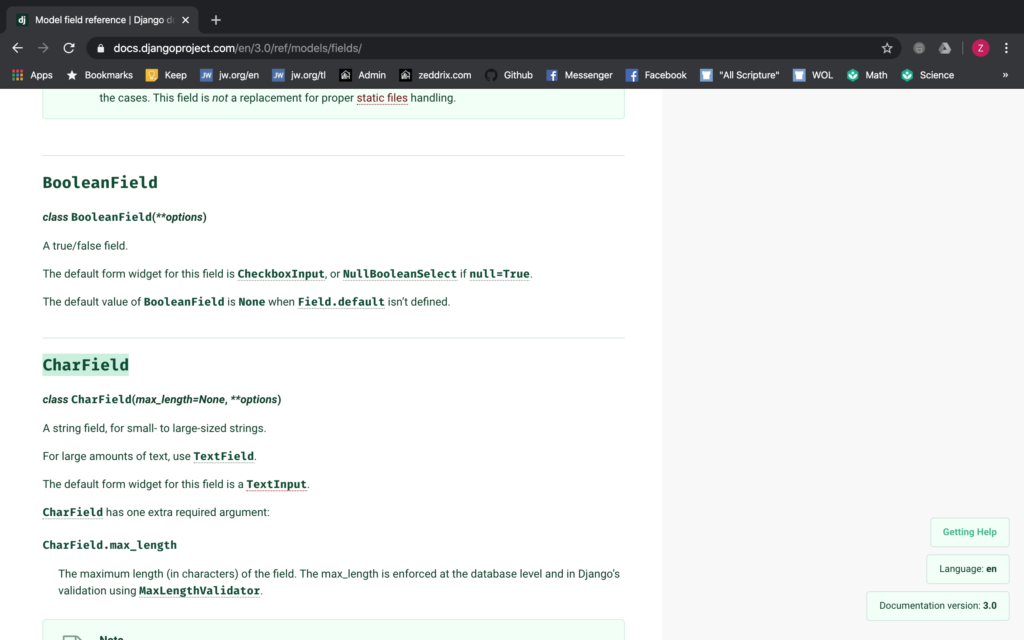
So after reading a few about this field right here, it says that we can do max_length for this field. As what it hints, this sets up a limit for the words in our excerpt or summary. Speaking of uniformity, let’s apply it to our code:
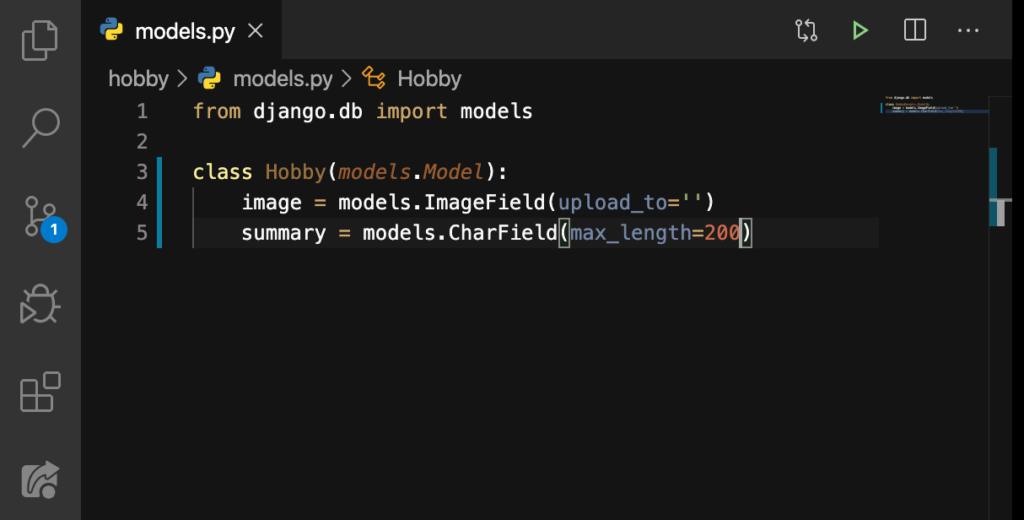
Remember that 200 is just an arbitrary number of mine; you can always pick a number of your choice. Just be sure that it will still make our website look uniform.
At the moment, let’s get back to that upload_to=”. “What will we put in here?” We will specify a folder between those single-quotes (”):

We did this so that all uploaded images will get collected in this images folder.
Don’t forget to commit!
Now, I think this is worthy to commit. But right here on our Visual Studio Code, I want to show you something. Do you see that blue vertical line right beside the line numbers?
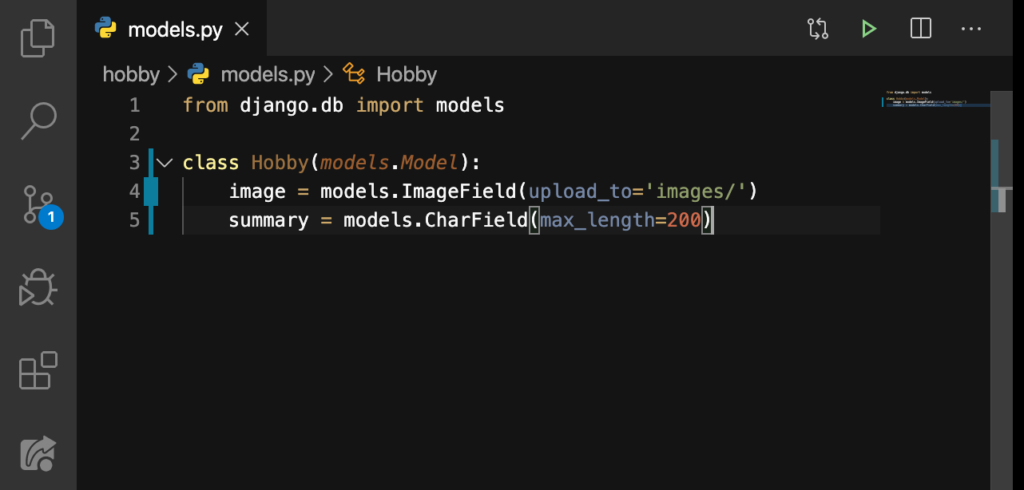
You can go ahead and click on one fo these and you’ll see this:
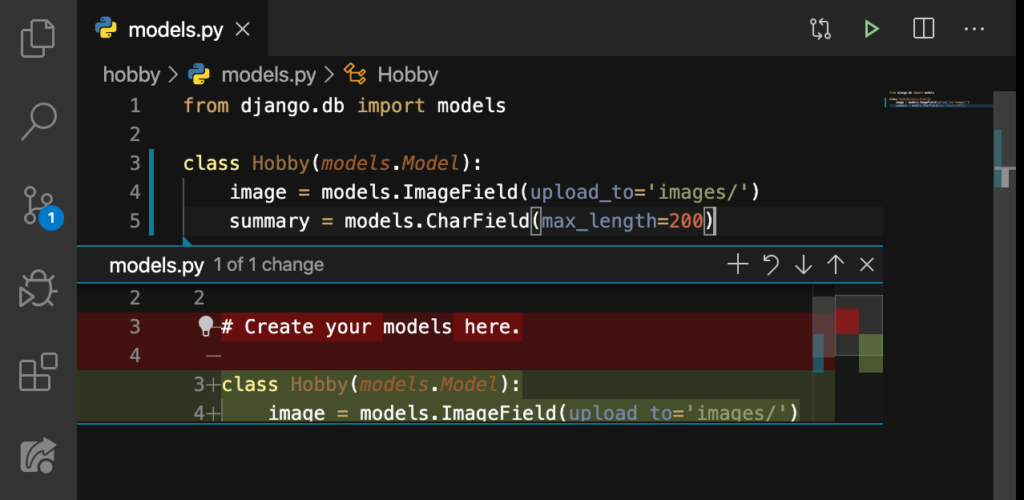
The red line was the deleted one; the green lines the added ones. Now, let’s close this by clicking on that x:
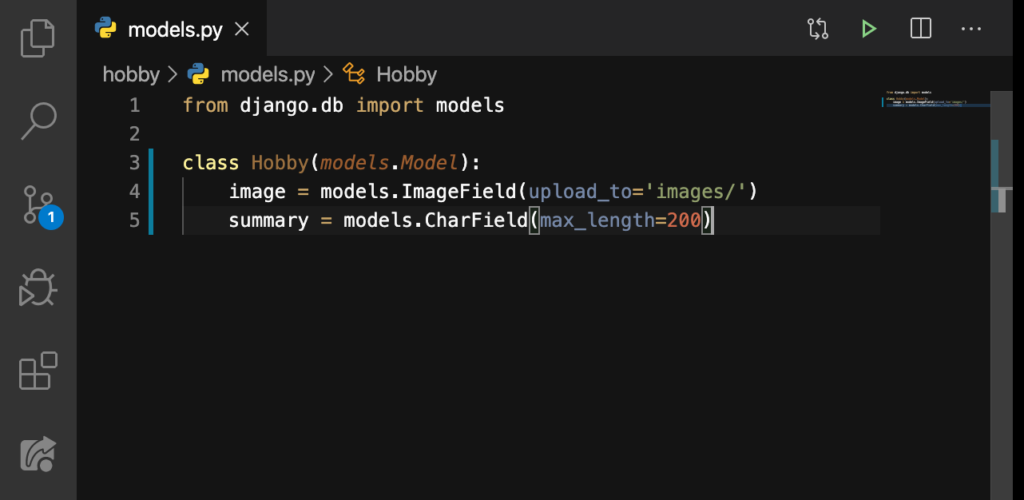
Good. Now let’s start committing all these changes to GitHub:

You can type these in:
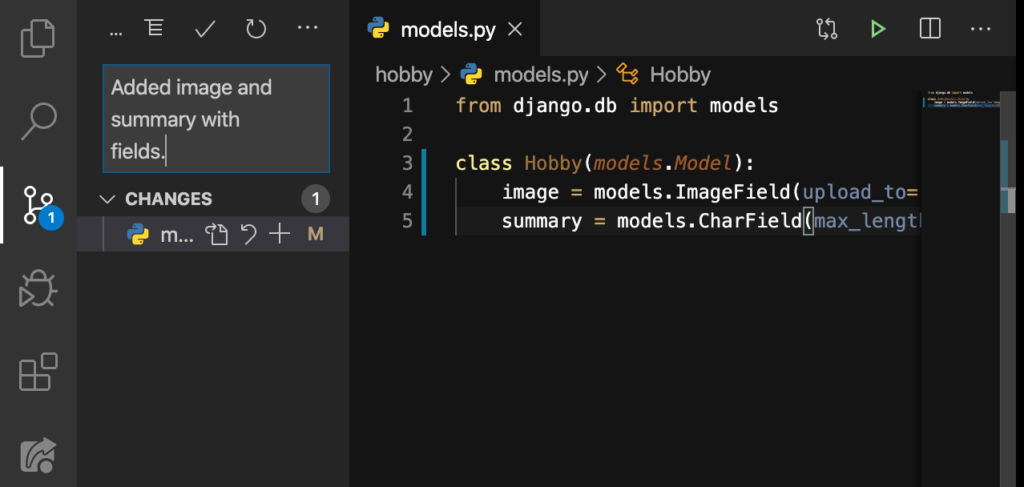
Click on the check symbol (✔)::
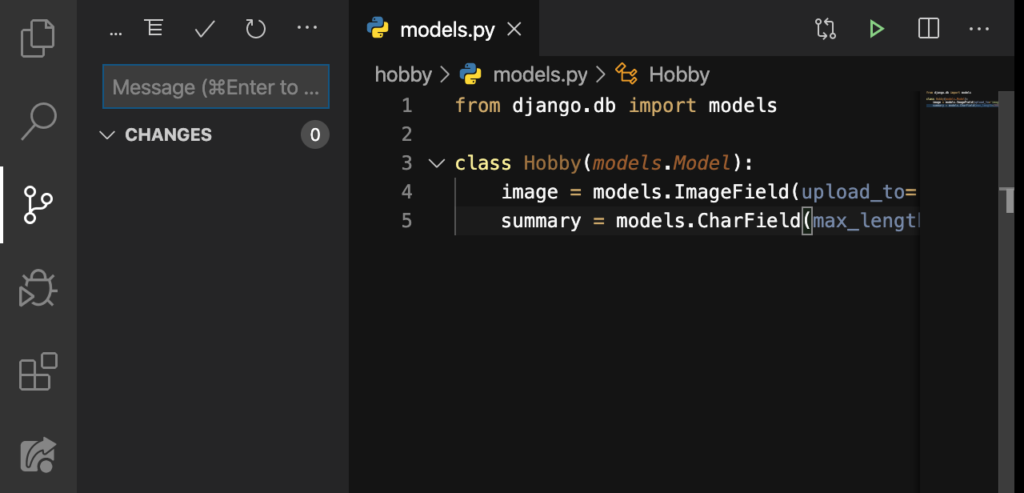
Voila!
The red lines
That’s it for models in Django! I hope you have learned about how to use them and why they are important. And, I also hope that you have learned a lot about how to search for things on a documentation.
If you have any questions about models in Django, be sure to comment it down below on the Comments section. But, before we end this lesson, I just want you to notice something about our Terminal every time we run our server.
Let’s open up the Terminal:

Now, run the server:

ENTER:
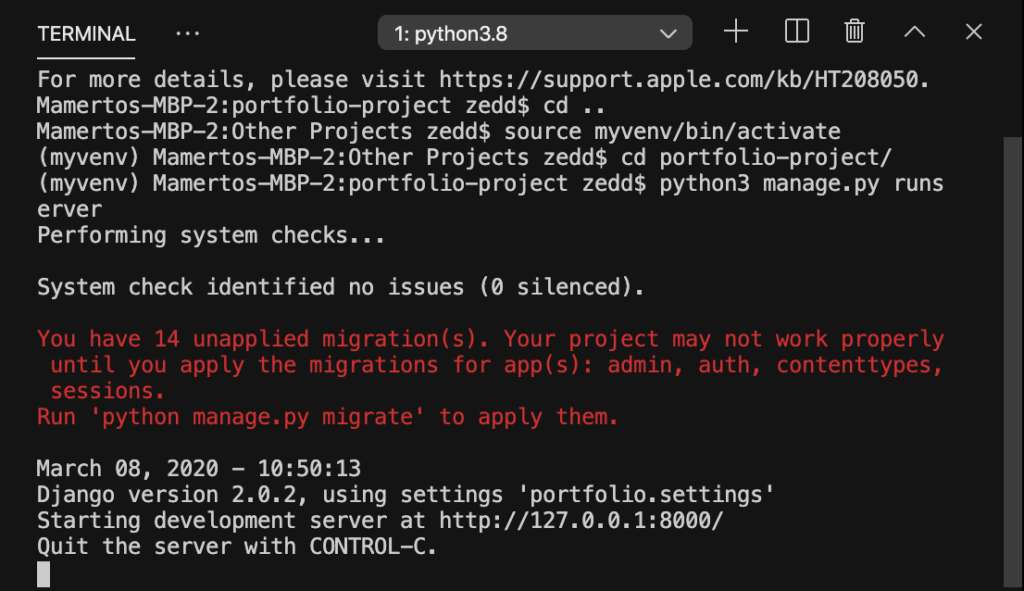
Do you see it? Take a look at those red lines just right below our System check identified no issues. And I think you have noticed these lines on our previous lessons, even back at the time when we were still developing our Word Counter website!
Let’s talk about that in the next lesson.
