Previous Lesson: Lesson 25: Models In Django
In this lesson, you’ll learn when to make migrations in Django, when to run them, and you’ll know the common problems you might run into.
What are migrations? According to djangoproject.com, “Migrations are Django’s way of propagating changes you make to your models (adding a field, deleting a model, etc.) into your database schema.”
Additionally, “They’re designed to be mostly automatic, but you’ll need to know when to make migrations, when to run them, and the common problems you might run into.”
In the previous lesson, I asked you to run up the server:
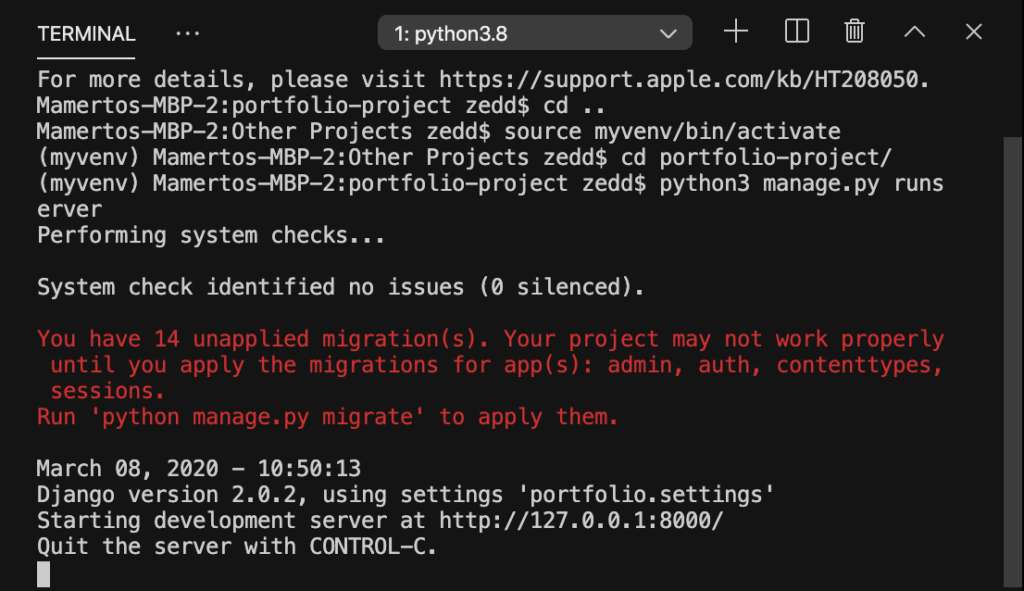
And then I asked you to take a look at those red lines just right below our System check identified no issues. And as you can see, it says: “You have 14 unapplied migration(s).” In order for Django to update our database, we need to migrate.
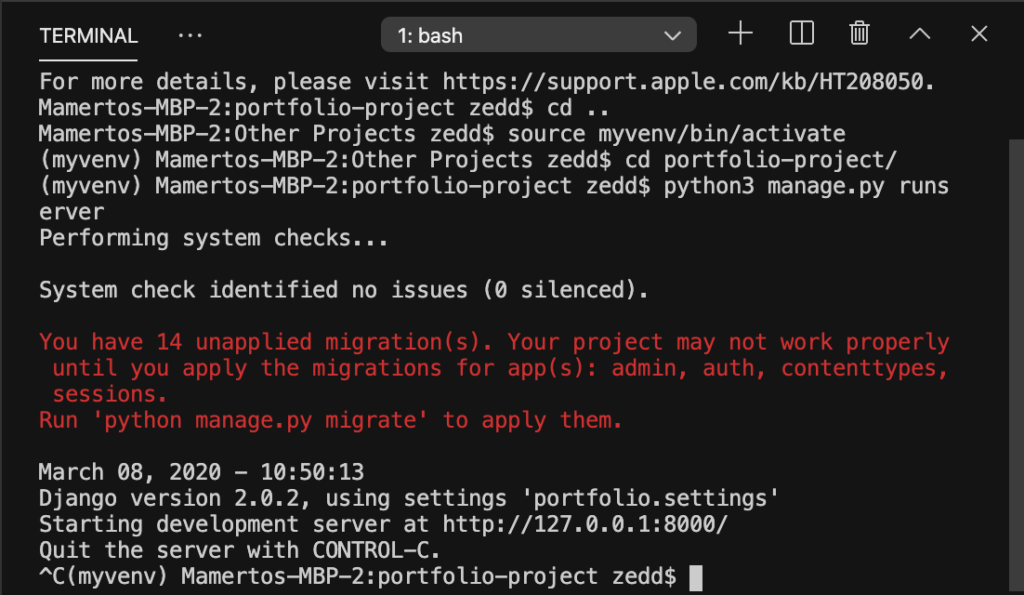
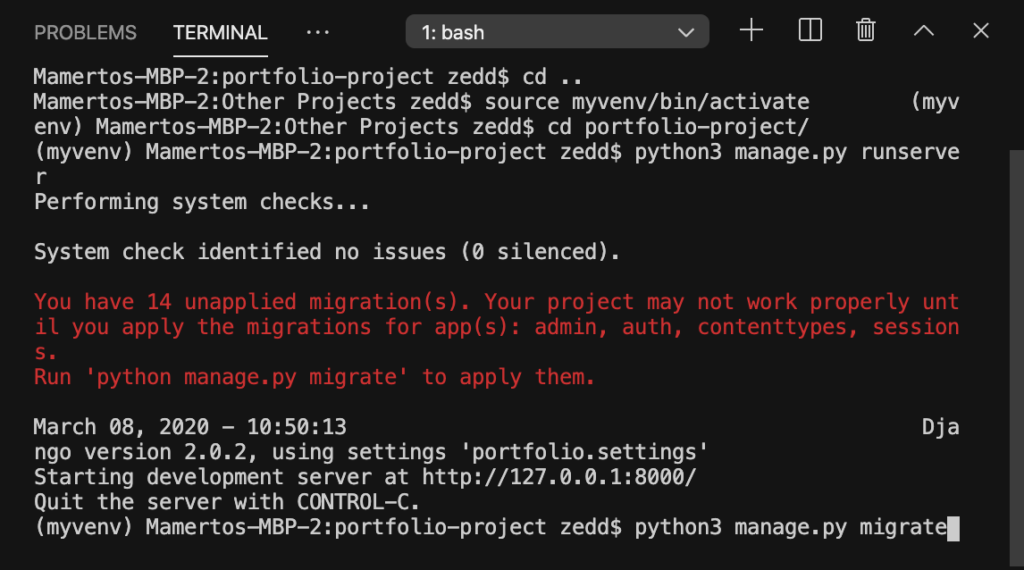
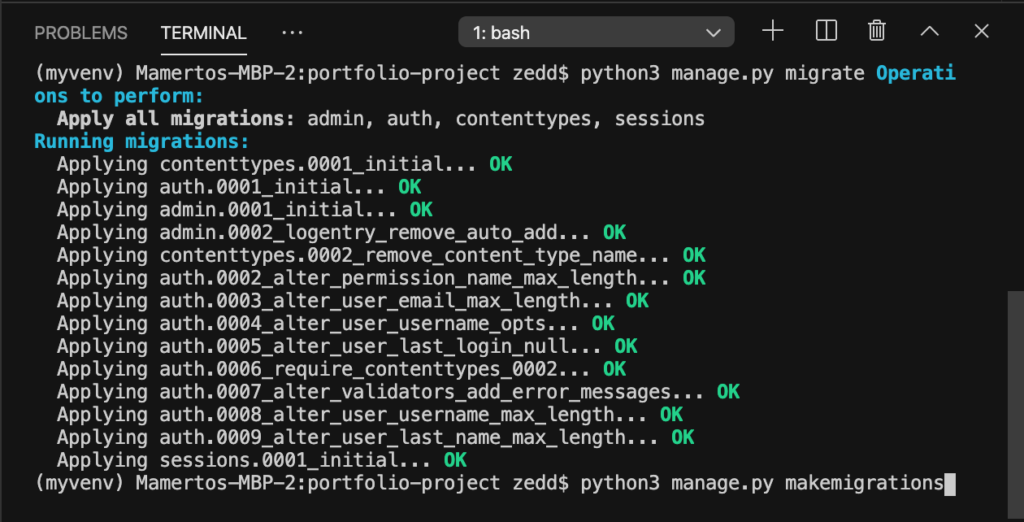
By the way, “What are these admin, auth, contenttypes, sessions?” These are the apps that Django wants us to migrate. “How will we migrate these?” Well, Django already told us what to do: Run ‘python3 manage.py migrate’ to apply them. Let’s do it! Quit the server first with Ctrl + C:
And then type these in:
ENTER:
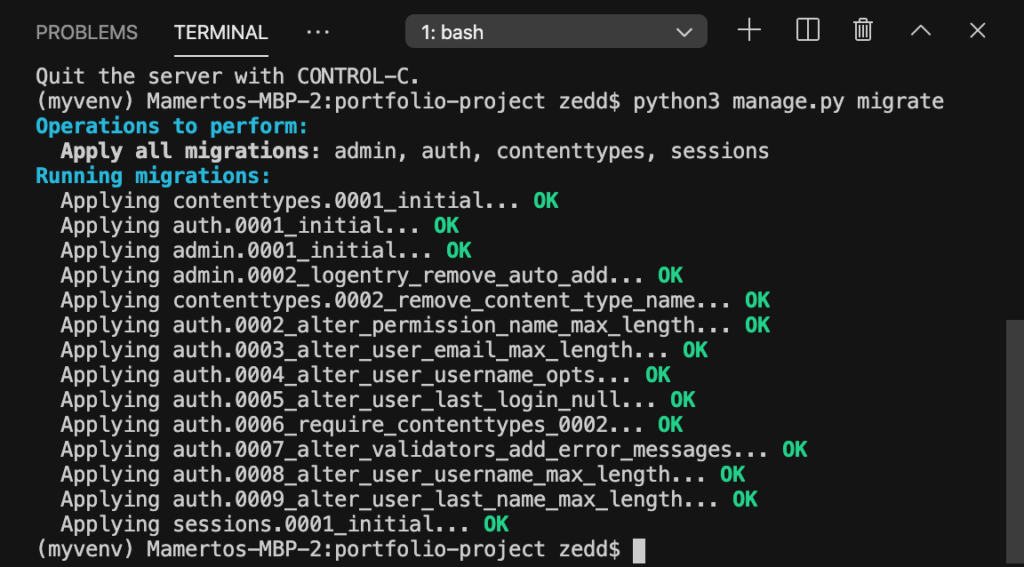
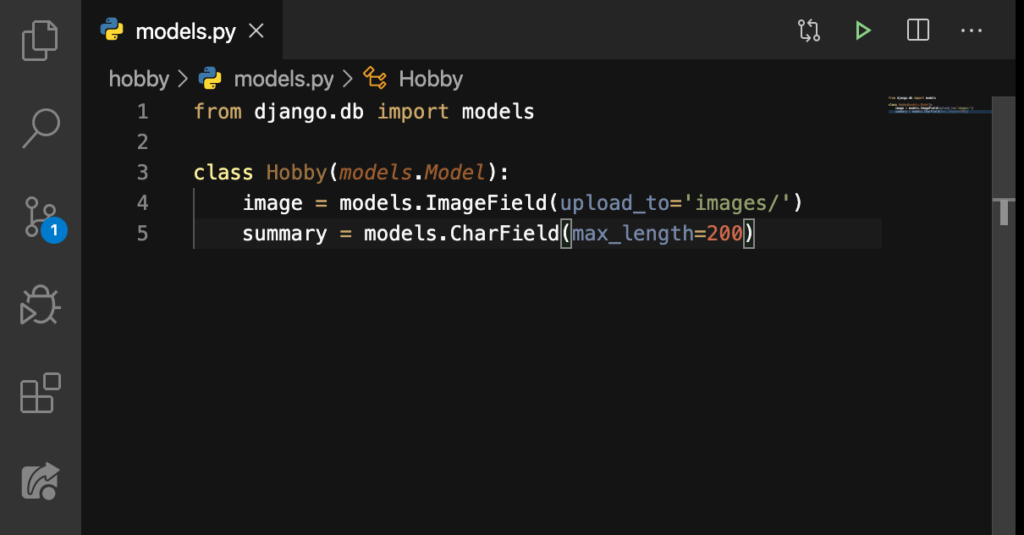
Cool! Now our database is up to speed. However, it doesn’t have any idea about our Hobby model here:
Yet! Before we jump into that, I think it would be best if we commit these changes in our database because of all these migrations:
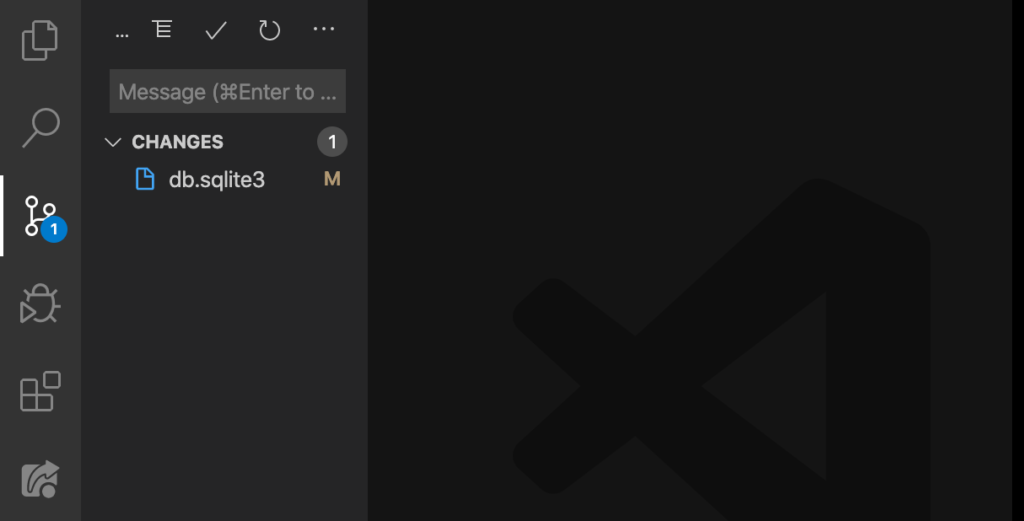
Simply type:
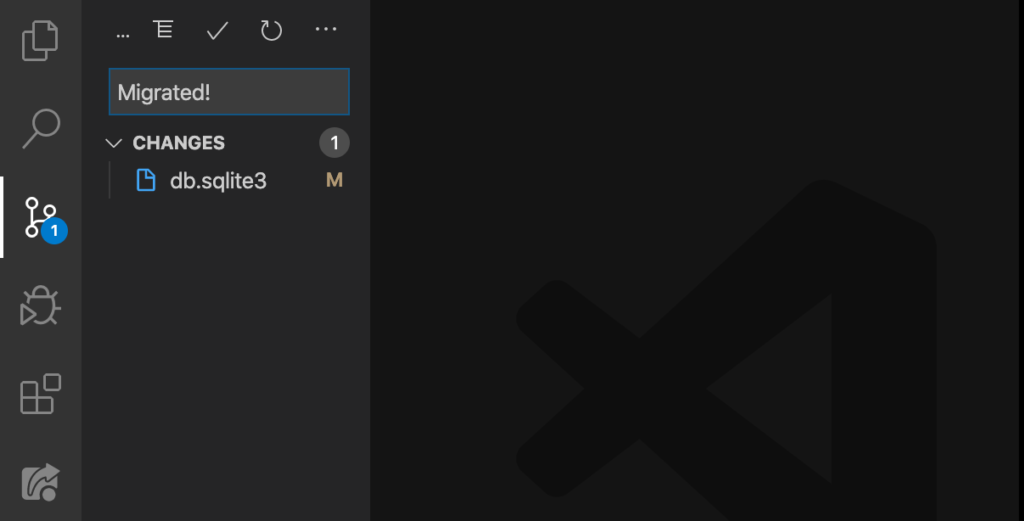
Click on check (✔):
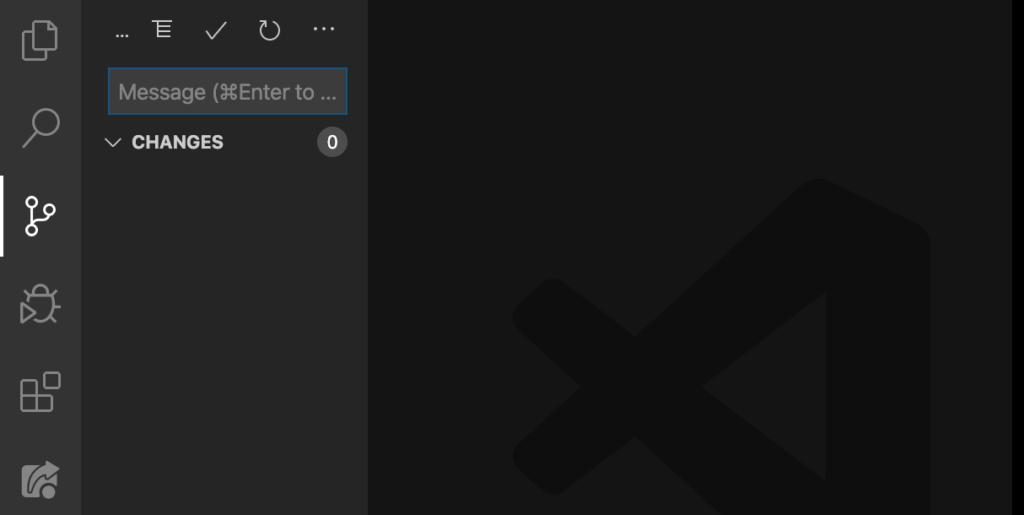
Nice. I feel safer with our code already.
A New Installed App!
Now, let’s give our database an idea about our new model. Let’s open up our settings.py:
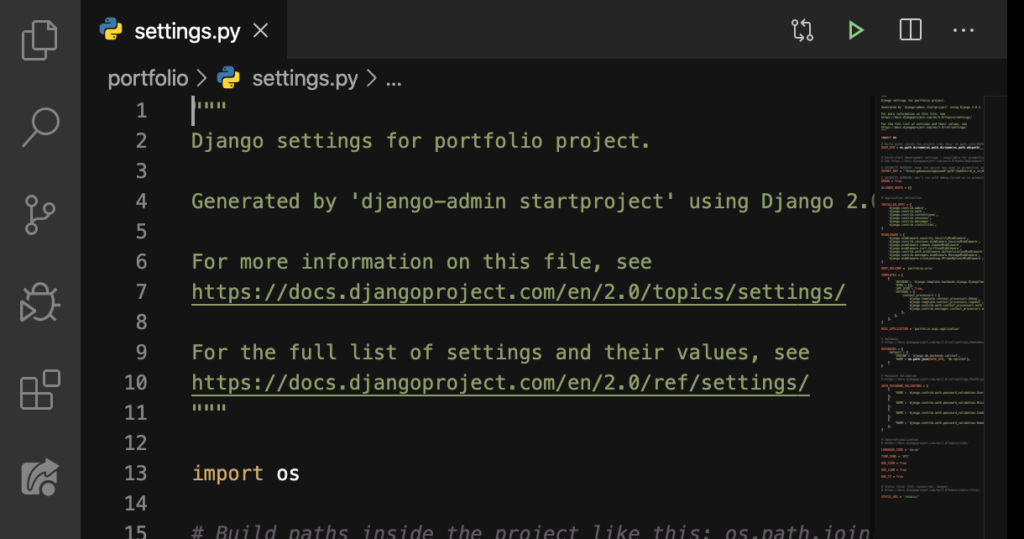
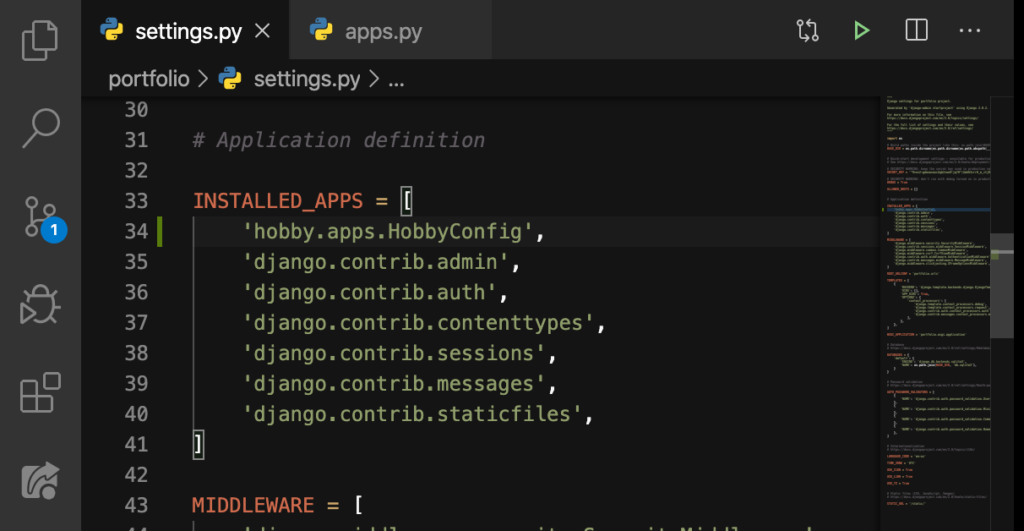
Afterwards, go to INSTALLED_APPS:
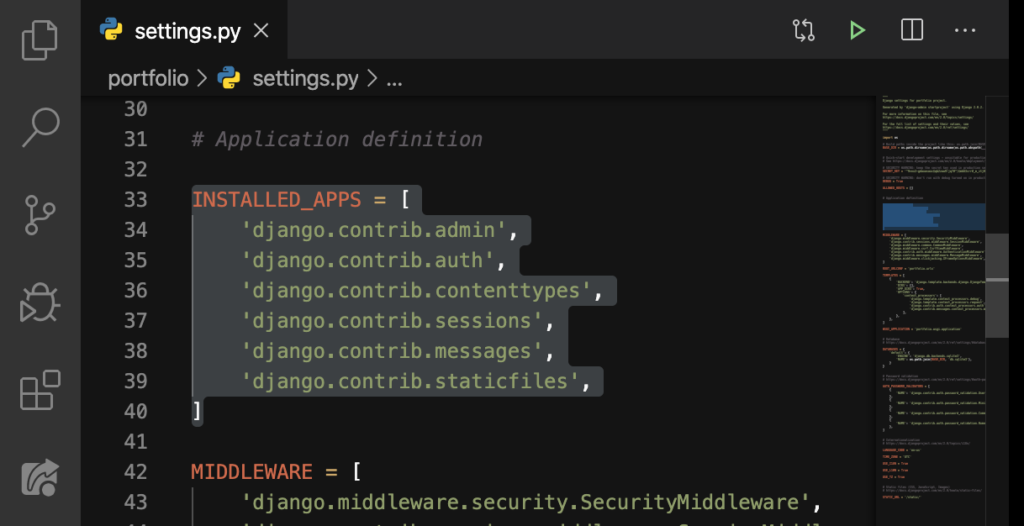
Good. You might notice that there are apps here, including the ones we’ve migrated like the admin, auth, contenttypes, and the sessions. These are put here by default for a reason so we’ll not touch these.
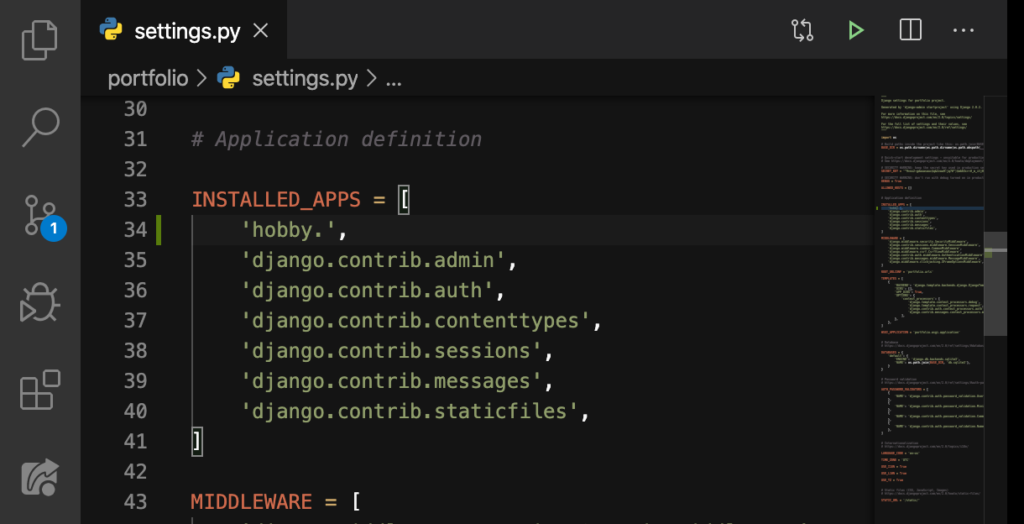
Now, type our class’s name (hobby) between these single-quotes (Don’t forget to add the dot after hobby):
After that, go to our hobby/migrations/apps.py:
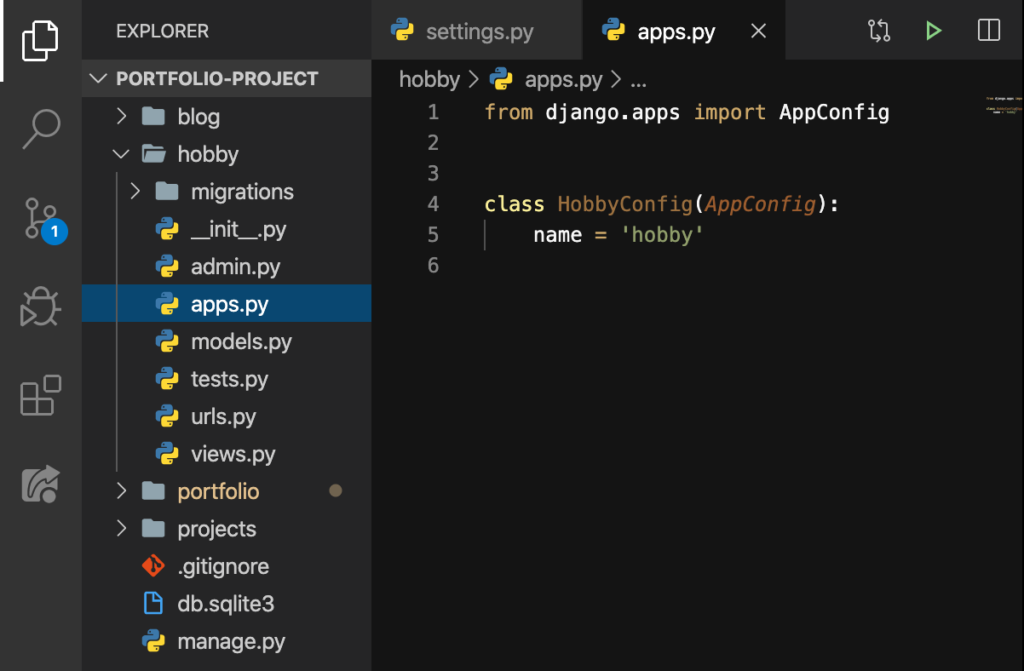
This file was auto-generated. See the class’s name:
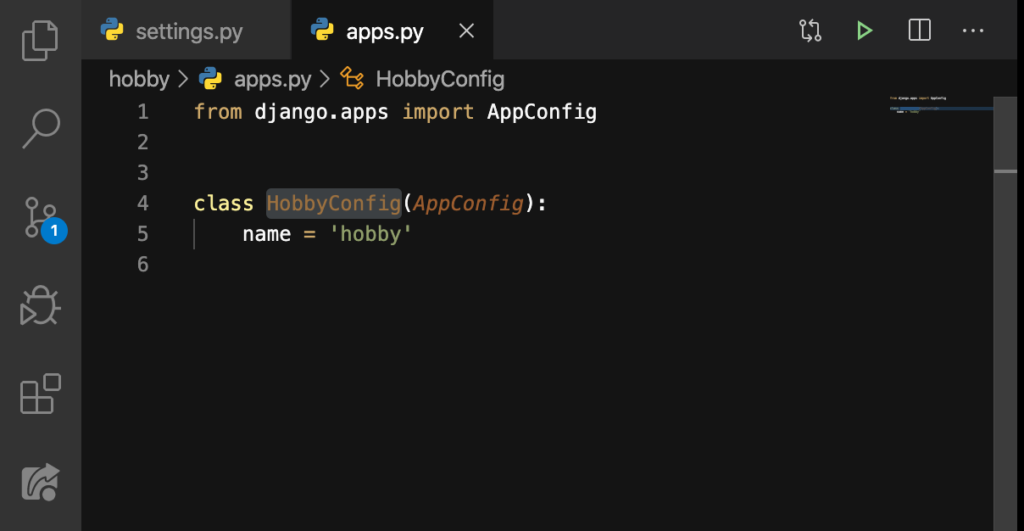
Now, type apps first. And then we can add this HobbyConfig on our settings.py, like this:
Nice.
MEDIA_ROOT
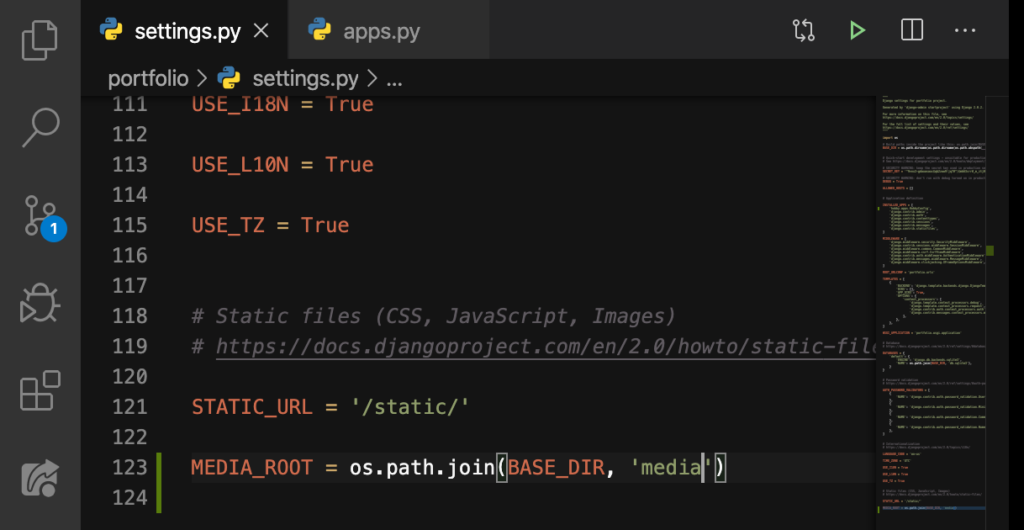
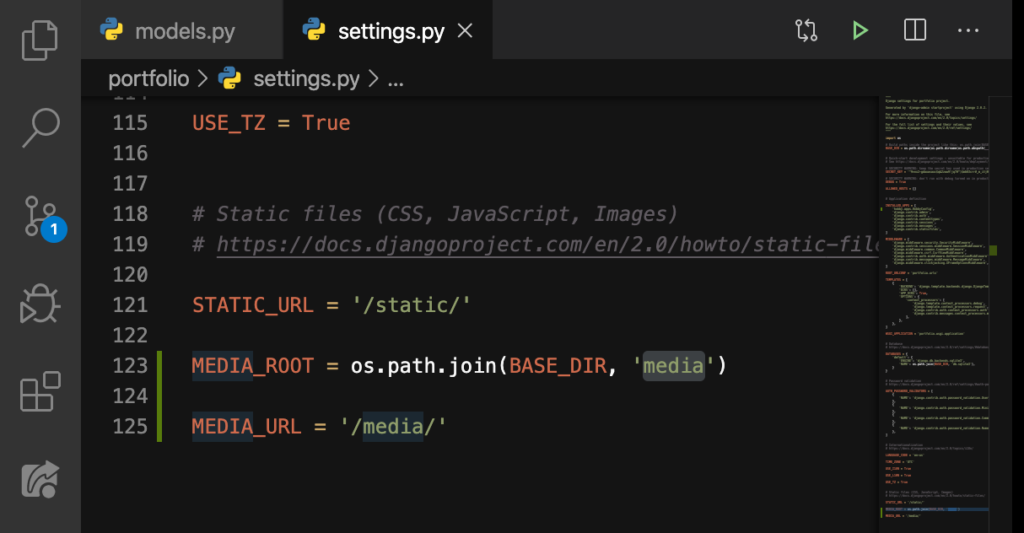
Now, let’s take care of our media files and give a folder for them. We’ll specify that down here at the very bottom of our settings.py:
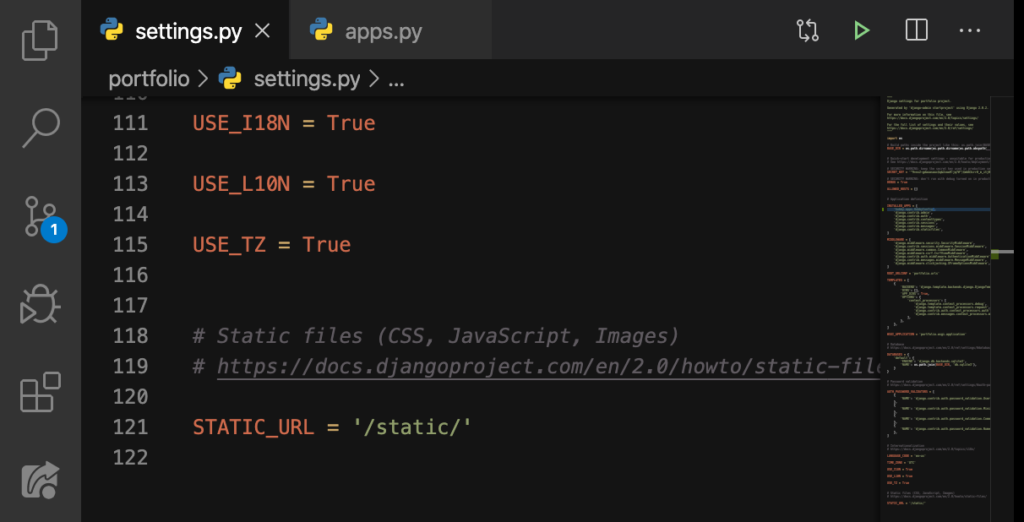
Here, we’ll type this:
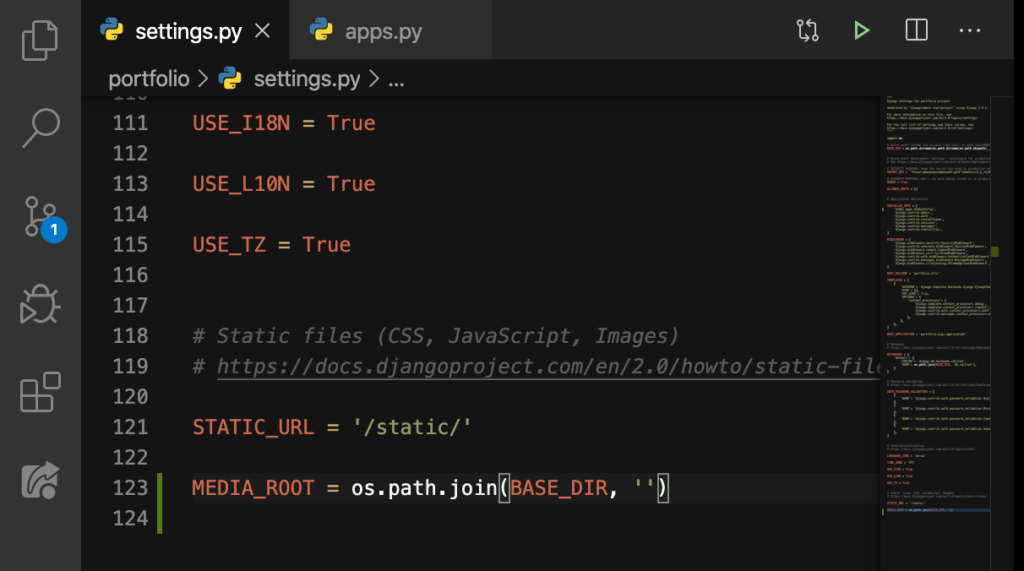
MEDIA_ROOT is where we store our image files. And this is how we finalize the creation and directory for our media folder:
This is the directory inside our computer. But how about the directory on our website? In other words, how will we access these media files online?
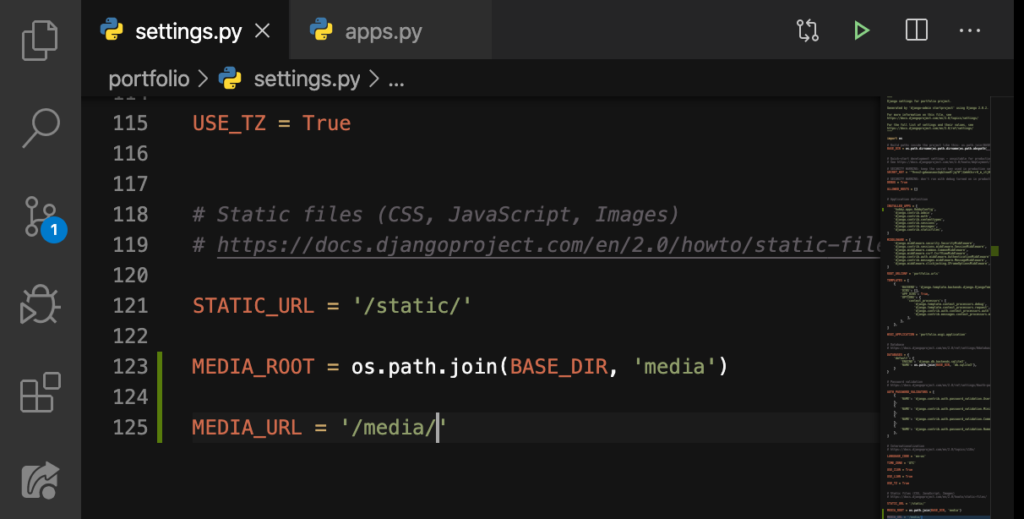
MEDIA_URL
Yes. We’re also gonna need a MEDIA_URL. To do that, we simply do this:
I know all these may be a little confusing by now. But don’t worry, we’ll discuss how the three of these are connected with each other.
How to Access Our Media Files
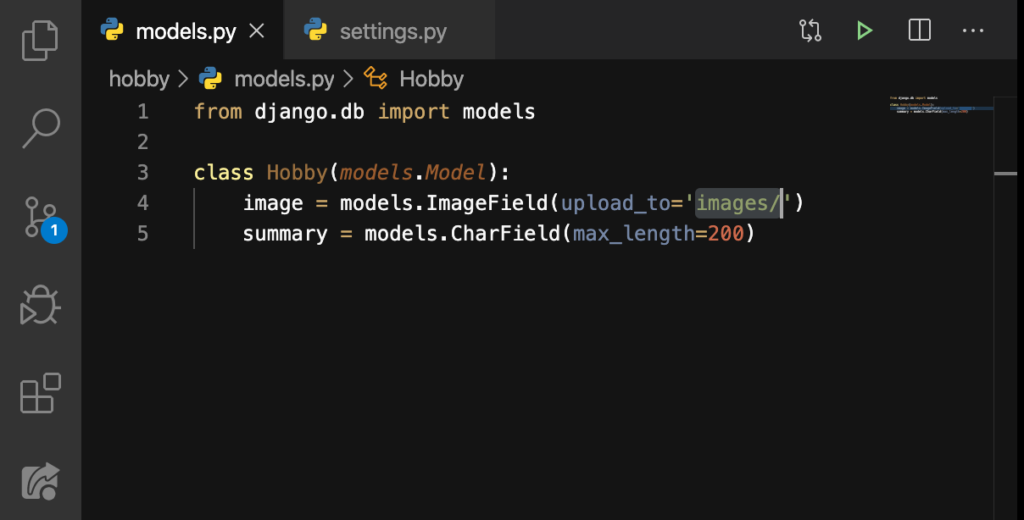
In our models.py, we said that the images for the Hobby will all get collected inside the images/ directory:
So when we upload an image, that will get collected here on our media folder:
And then inside this media folder, it will automatically create a new folder (with the name images), and then save the uploaded image inside. But what if we wanted to access that same image online?
In order to do so, we’ll go to our website and then have a slash media, which we indicated right here:
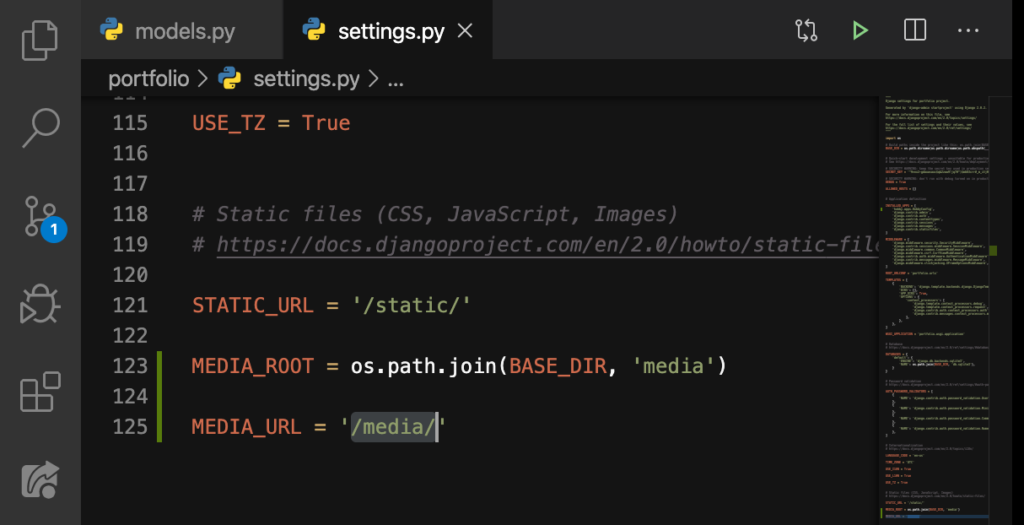
In other words, our URL will look like this: localhost:8000/media/images/(name of the image).
Install Pillow
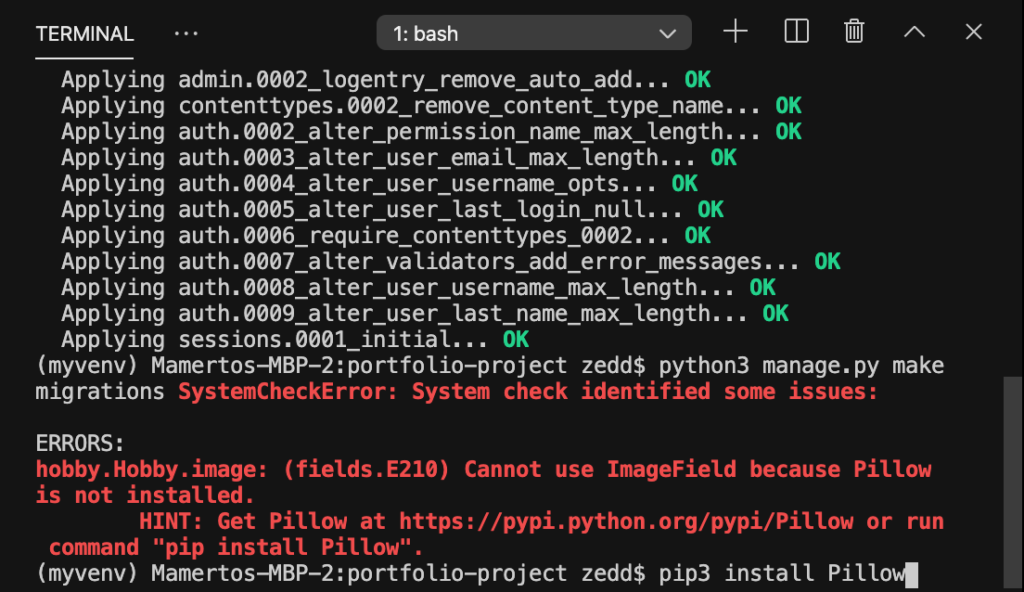
After knowing all these new knowledge, let’s do makemigrations which is responsible for creating new migrations based on the changes we have made to your models. And we’ll do so by simply doing the following:
Hit ENTER:
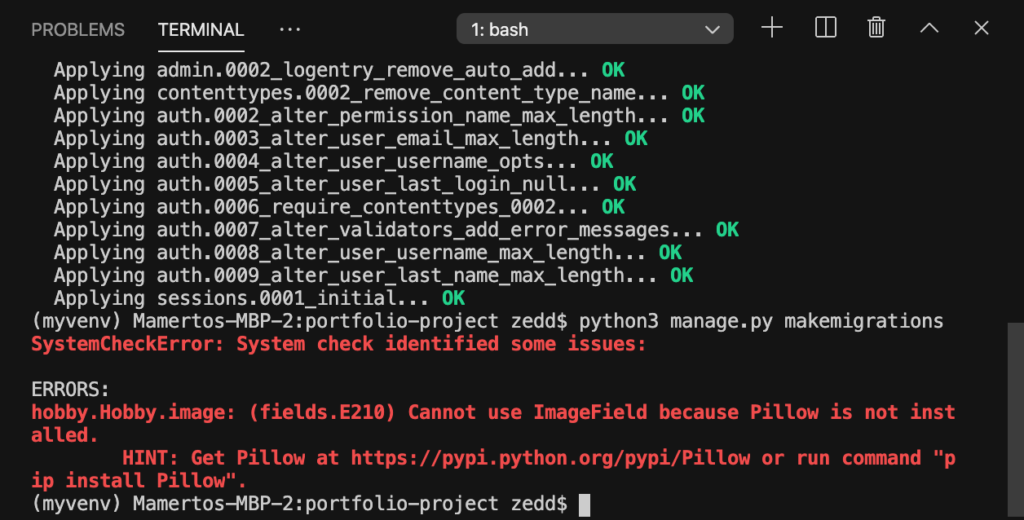
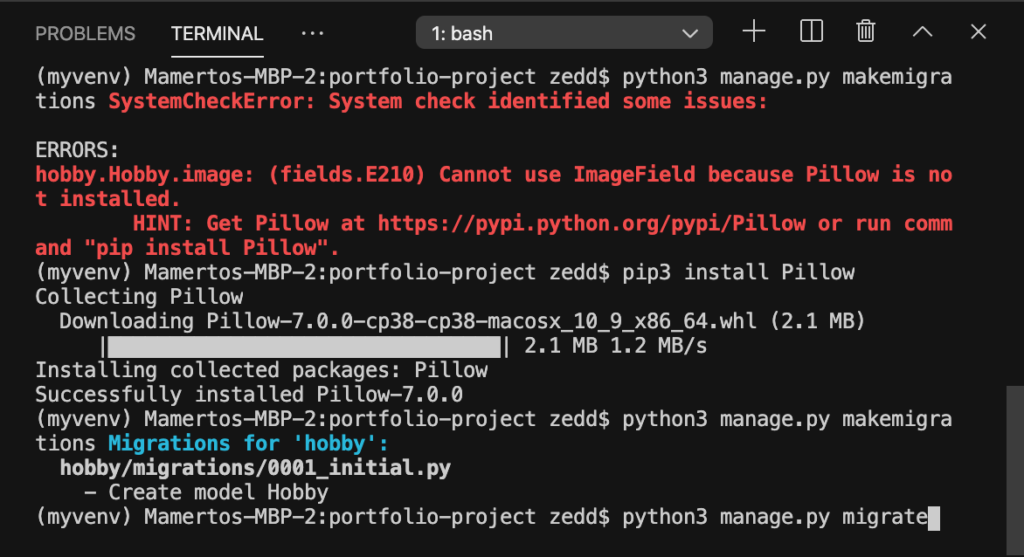
Oops! “What just happened?” Do not panic. Let’s see what it says: “Cannot use ImageField because Pillow is not installed.” Alright, now we know what’s wrong. Good thing Django and Terminal tell’s us what to do with these problems. You can read more about Pillow in this documentation.
After you’ve taken a look at that, let’s install this by doing this:
Hit ENTER and wait for it to get successfully installed:
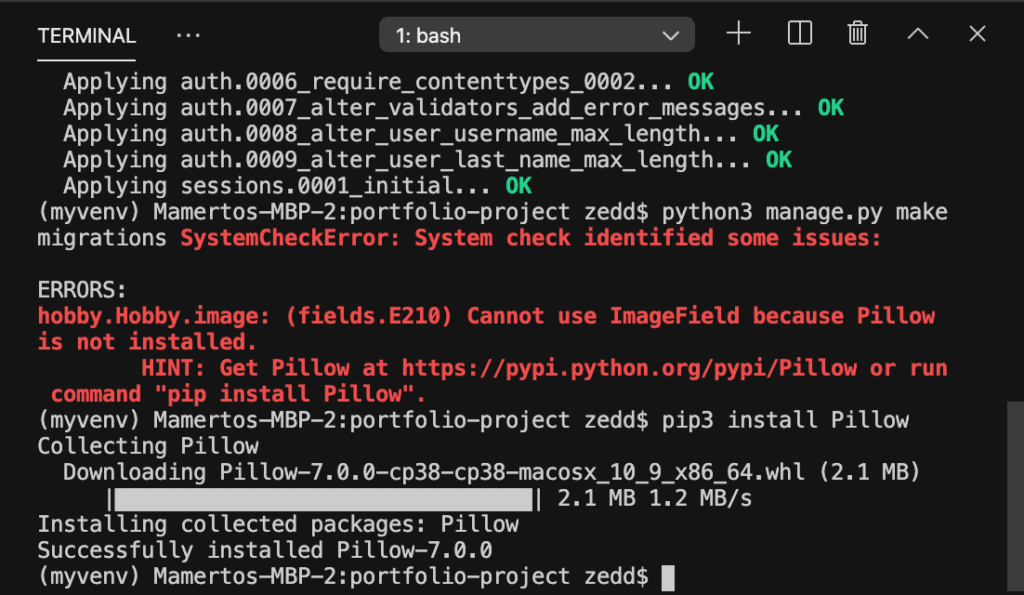
Nice.
makemigrations
Now that we have our Pillow installed here, let’s run a makemigrations again. Just hit that UP arrow button a couple times to get the same previous commands:
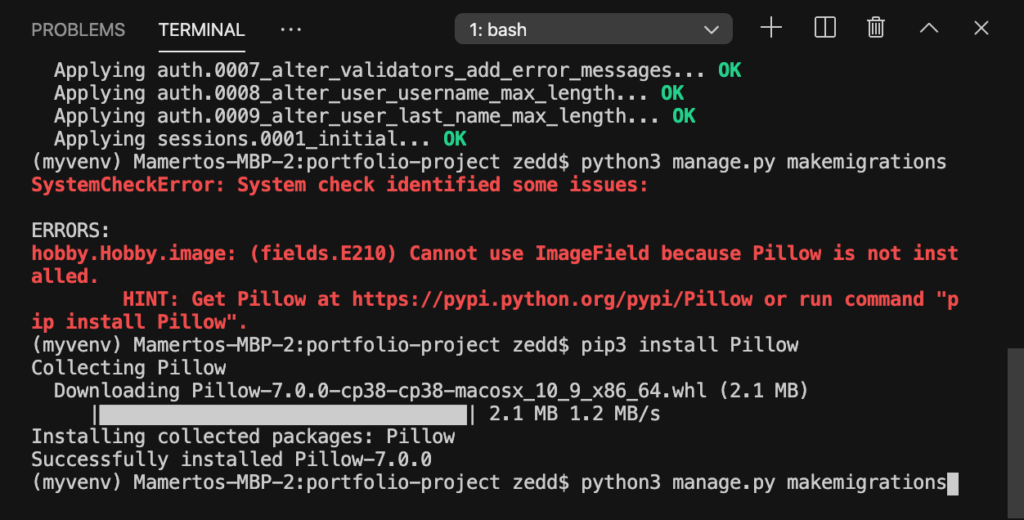
Once you got this, press ENTER:
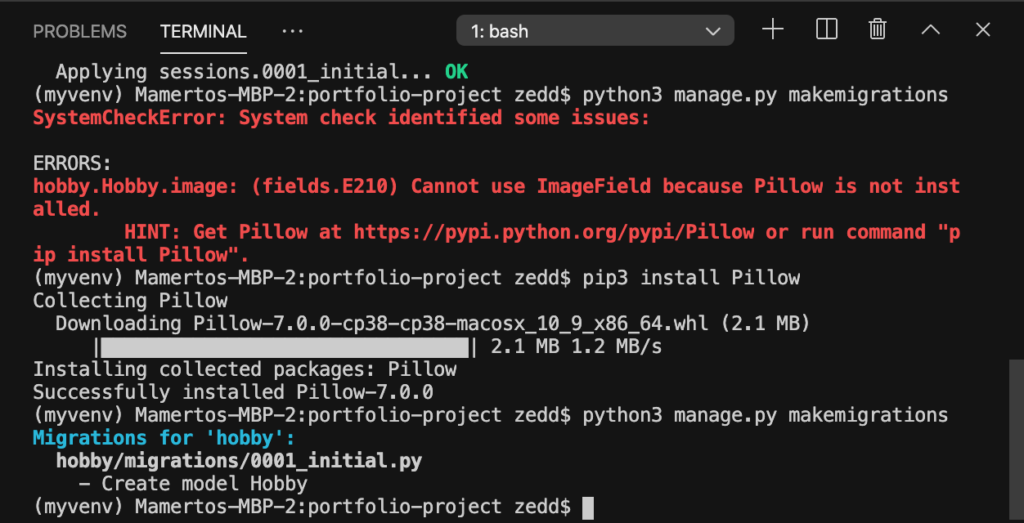
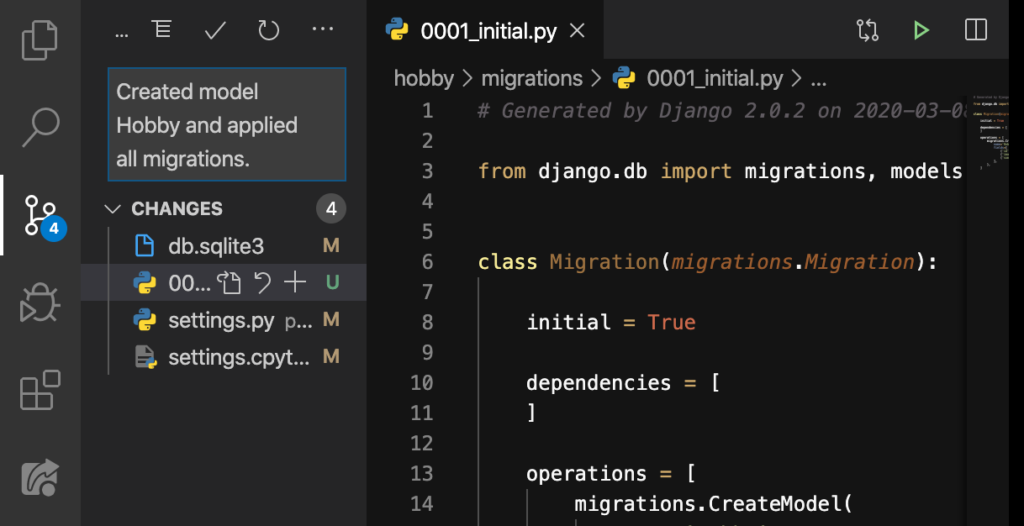
Excellent! It created 0001_initial.py inside the hobby/migrations. Let’s go check it out:
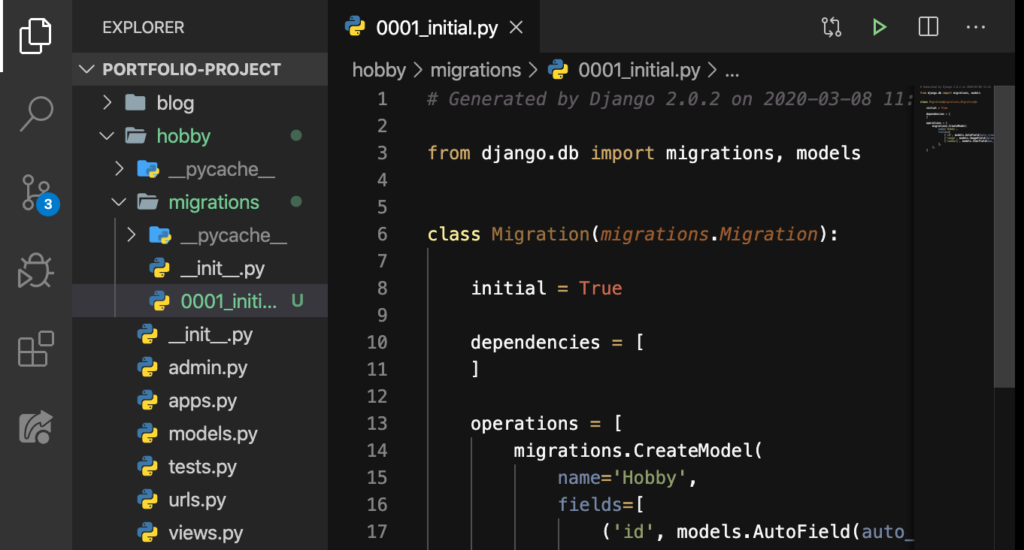
Okay. All the code in this file commands Django to give Hobby its own id, image and summary. We didn’t specify id but this is auto created in order for our images to be unique and identifiable.
With all that in place, we can now do a migrate. You see, we just made something for migration by doing makemigrations. So now, we’re going to migrate (in literal meaning, “to move from one country, place, or locality to another”) these files from one place to another.
migrate
Let’s do this:
Press ENTER:
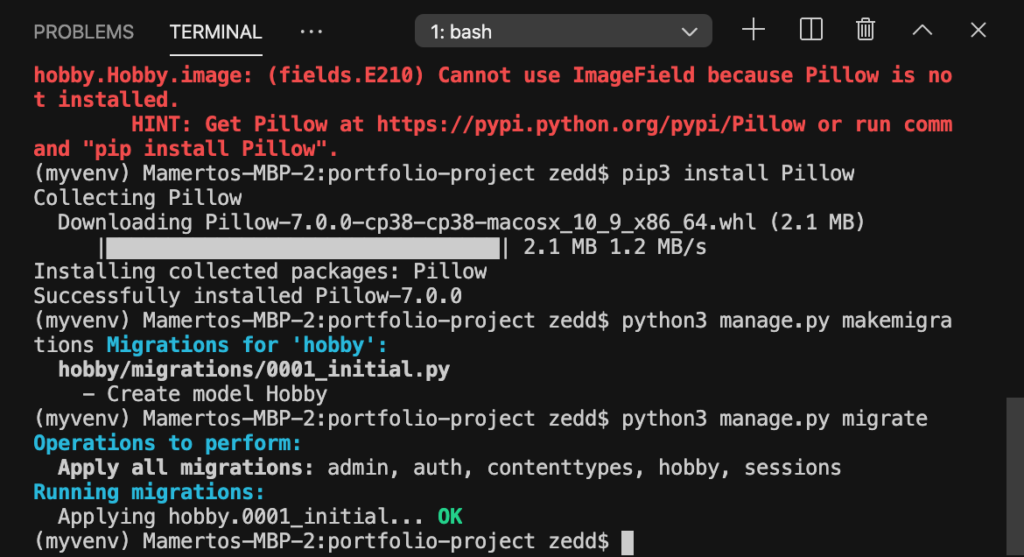
Alright! Now this tells us that everything is OK and migrated already. However, I want to see if this is really the case:
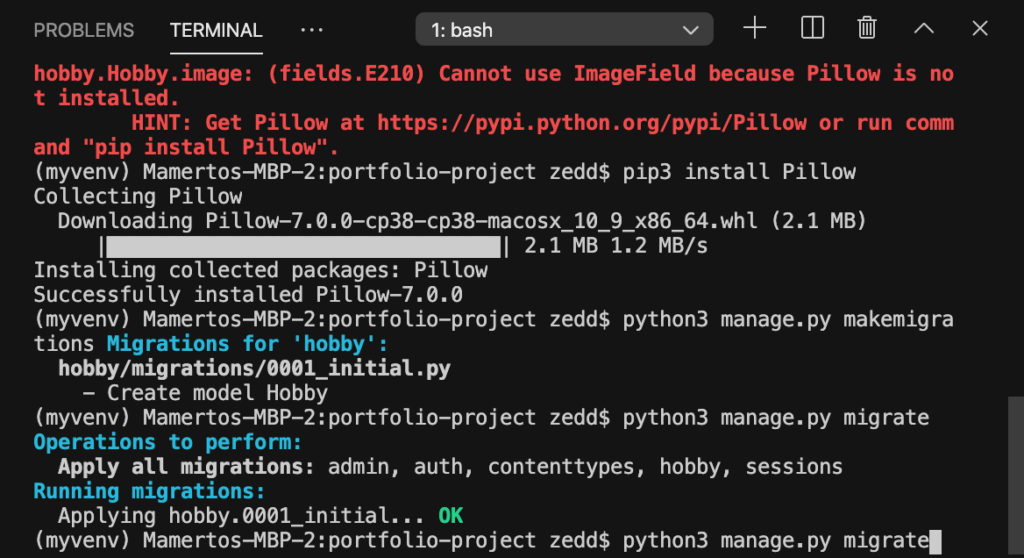
ENTER:
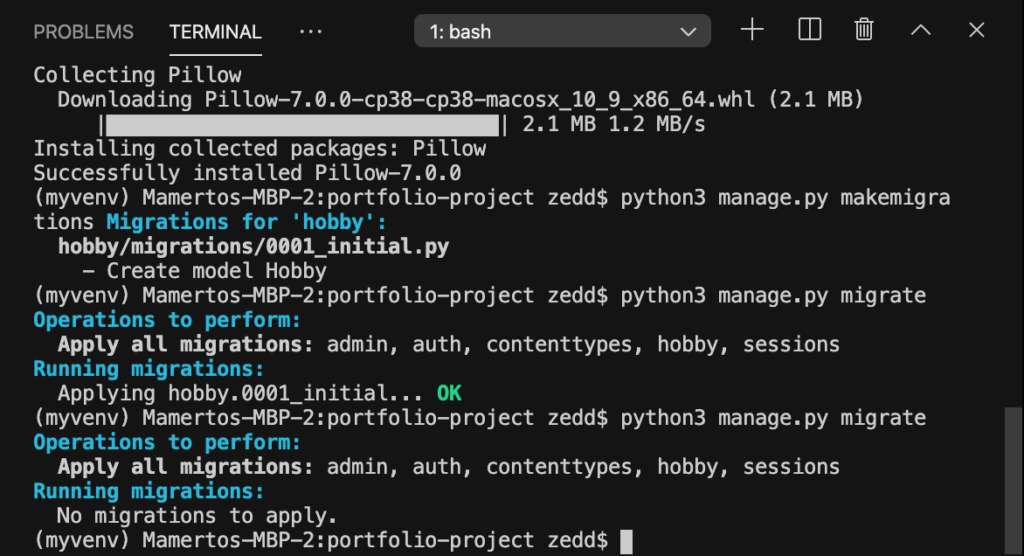
Cool! There are no migrations to apply anymore; which means that we’re up-to-date.
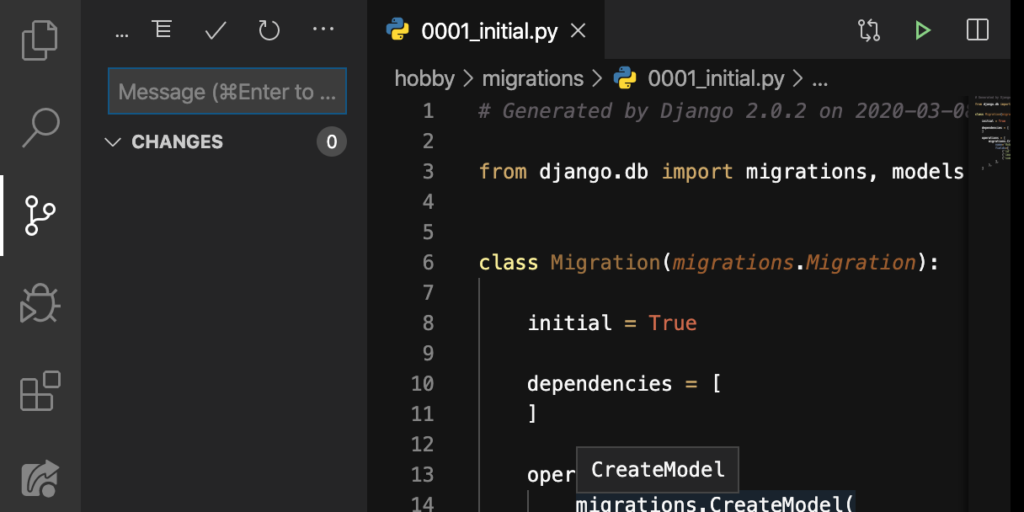
Commit!
We have done a lot of things! So I think it is worthy to commit these on GitHub:

You can type this:
Check (✔):
Nice. So far, we already had 3 commits. It’s time to push this to our GitHub:
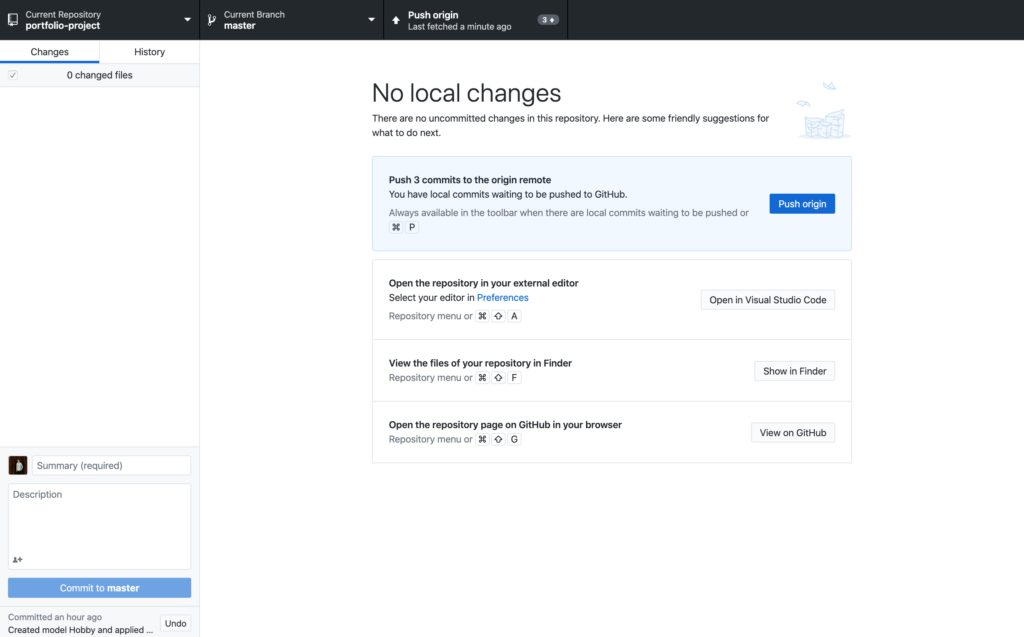
Click on that Push origin:
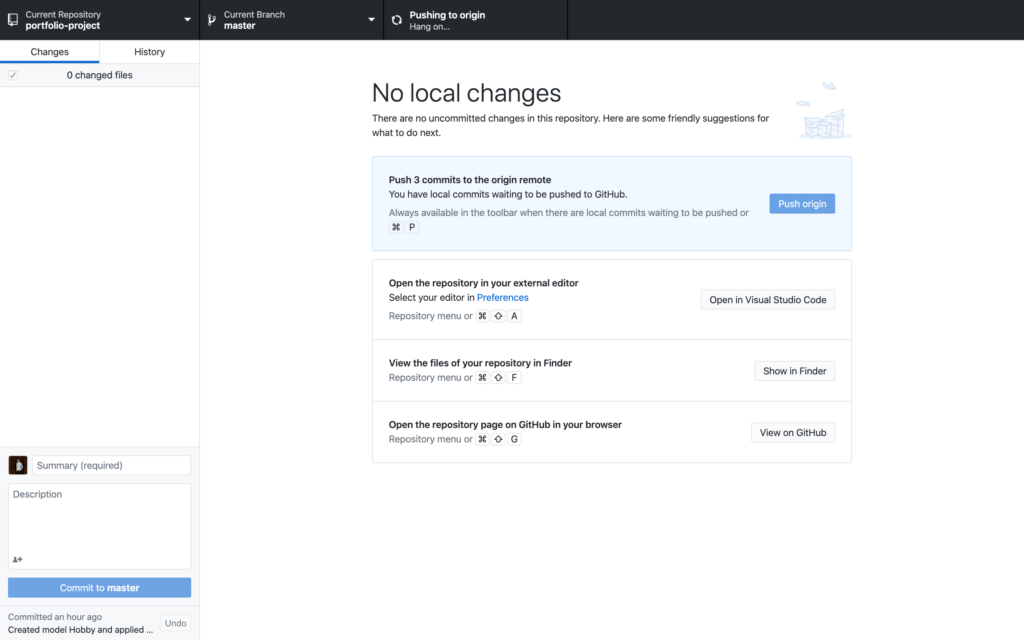
Wait for it:
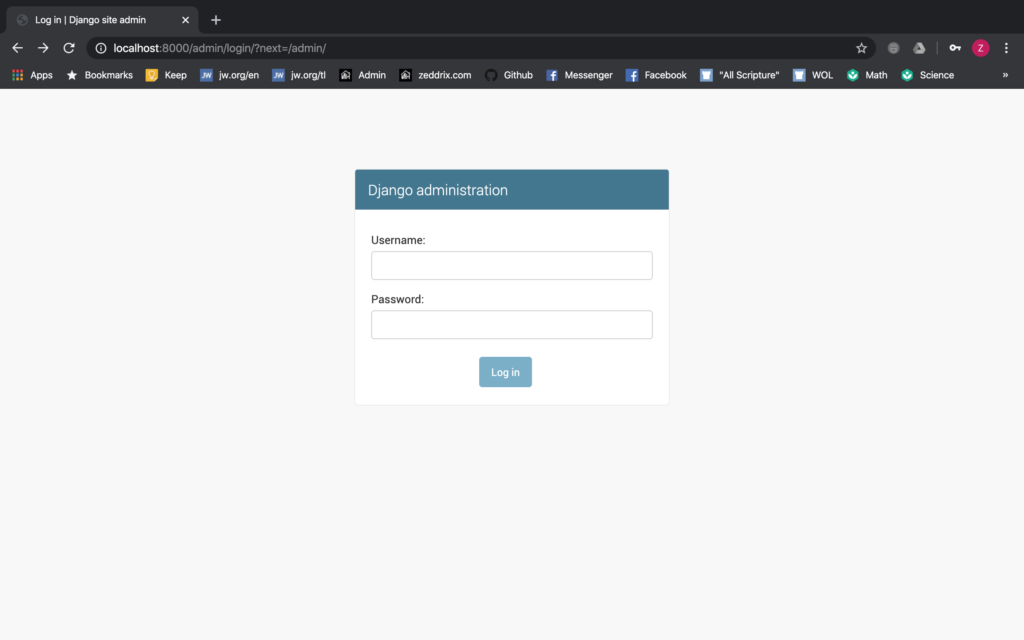
Good. In the next lesson, we’ll do something interesting about this page: