Next Lesson: Lesson 26: Migrations in Django
In this lesson, you will learn how to connect our model to our database using the Django Administration!. We’ll also create superusers and handle all our media files.
Let’s take a look at our urls.py:
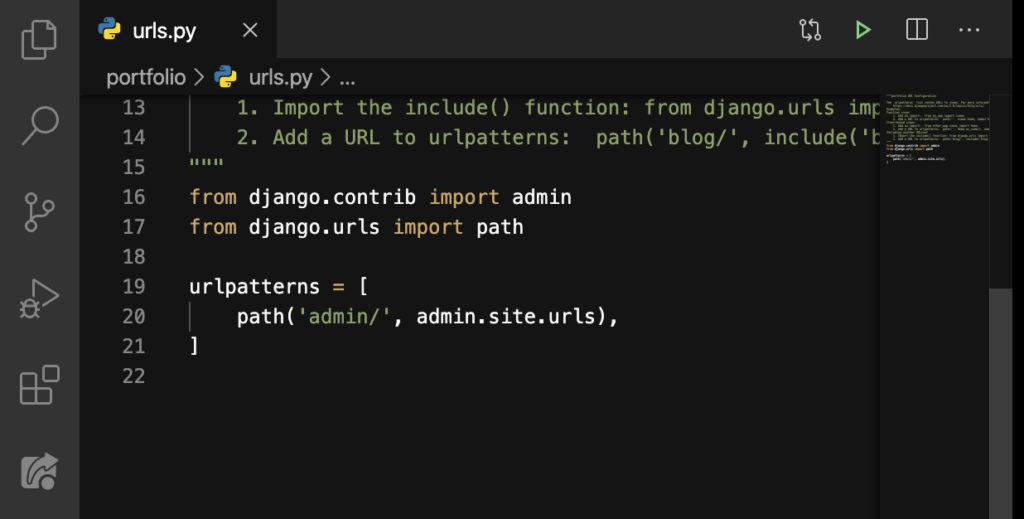
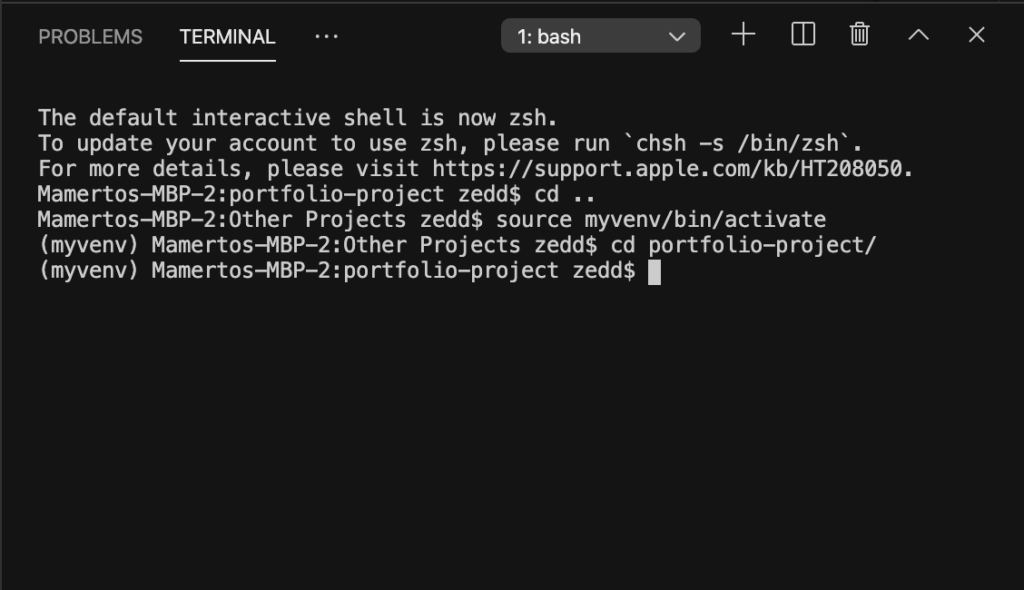
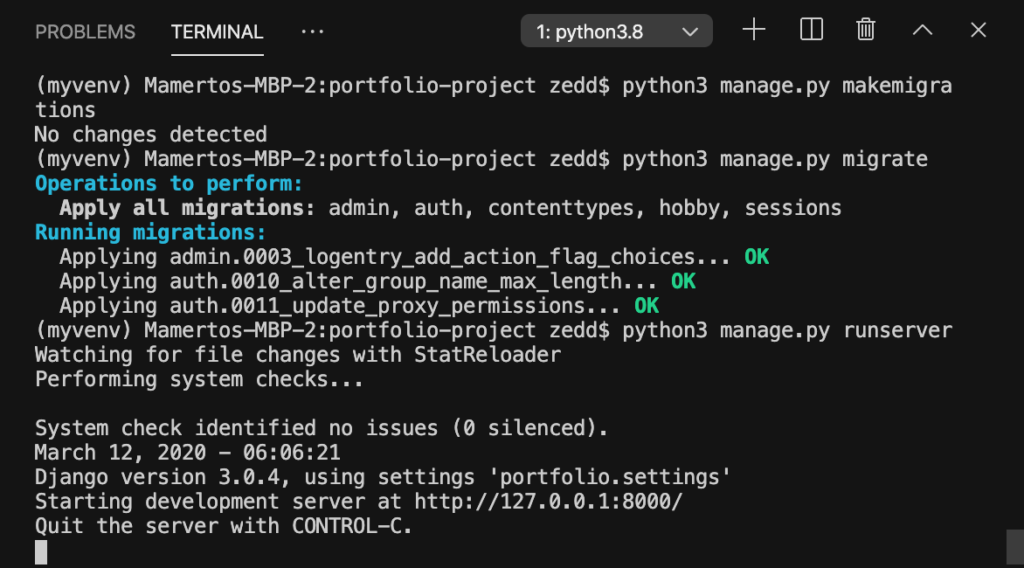
As you might have guessed (and as you might already know), that is the URL for our admin page. Let’s check this out. Make sure that our virtual environment is activated before running the server:
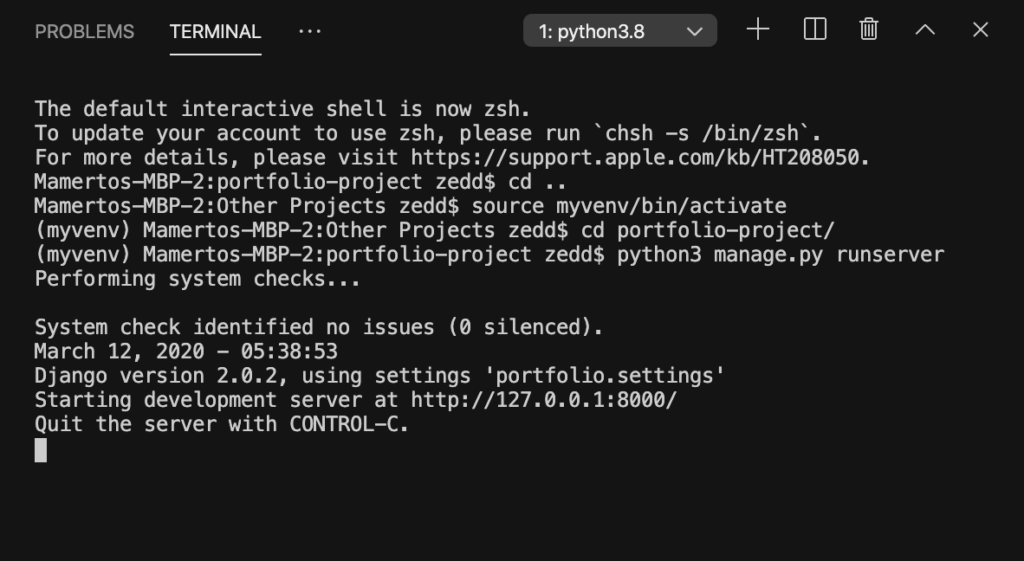
Okay. Now, let’s run our server:
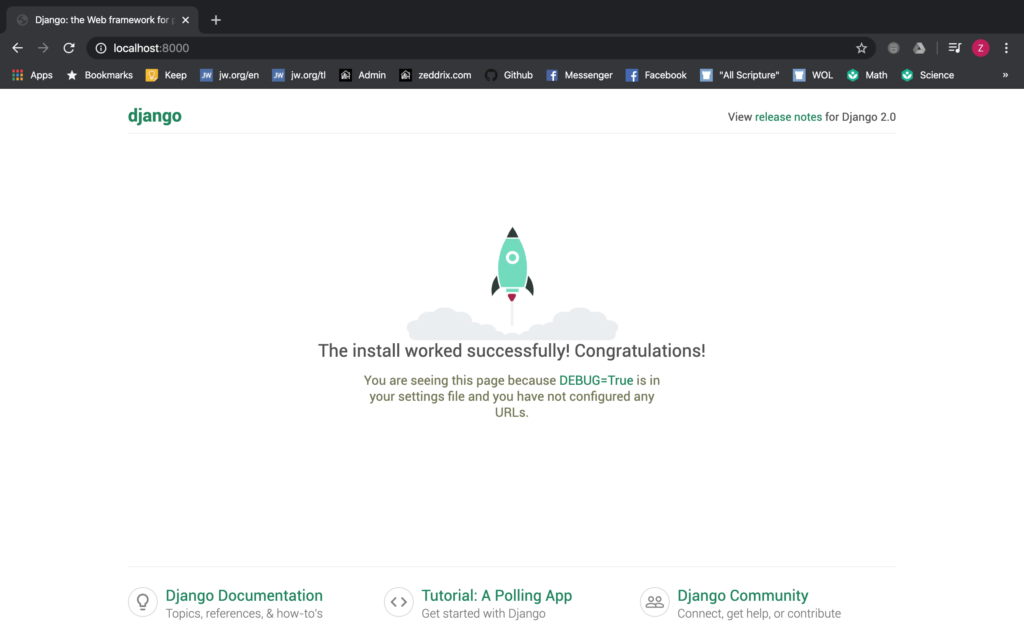
With all set up, let’s open up our website:
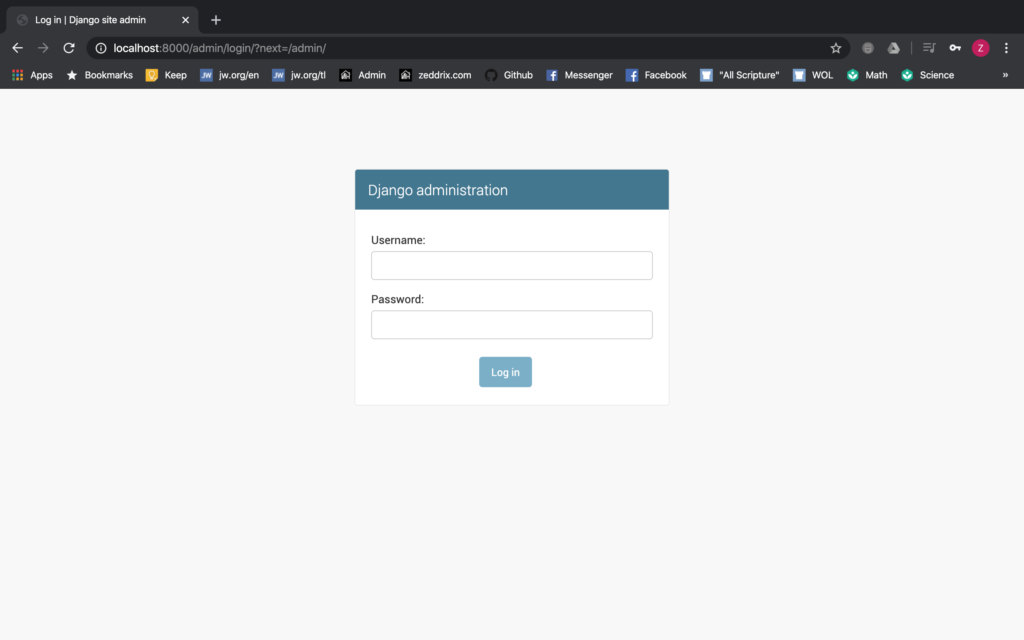
Then on the URL, let’s add /admin:
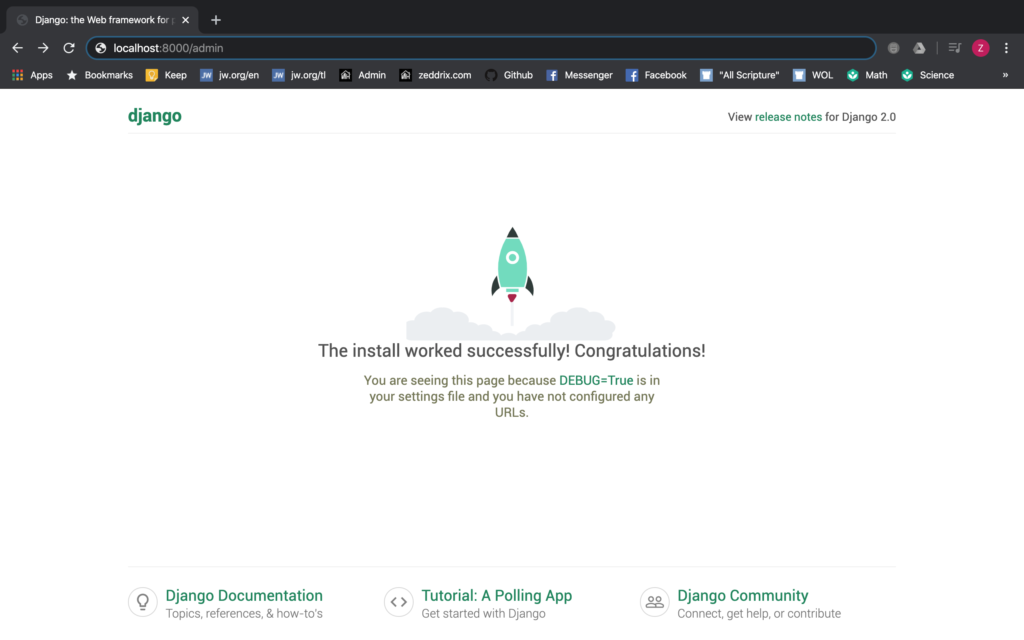
ENTER:

We’ve seen this before while we were working on our first website, right? Have you tried logging in here before? I’m sure that if you did, you also got this message:
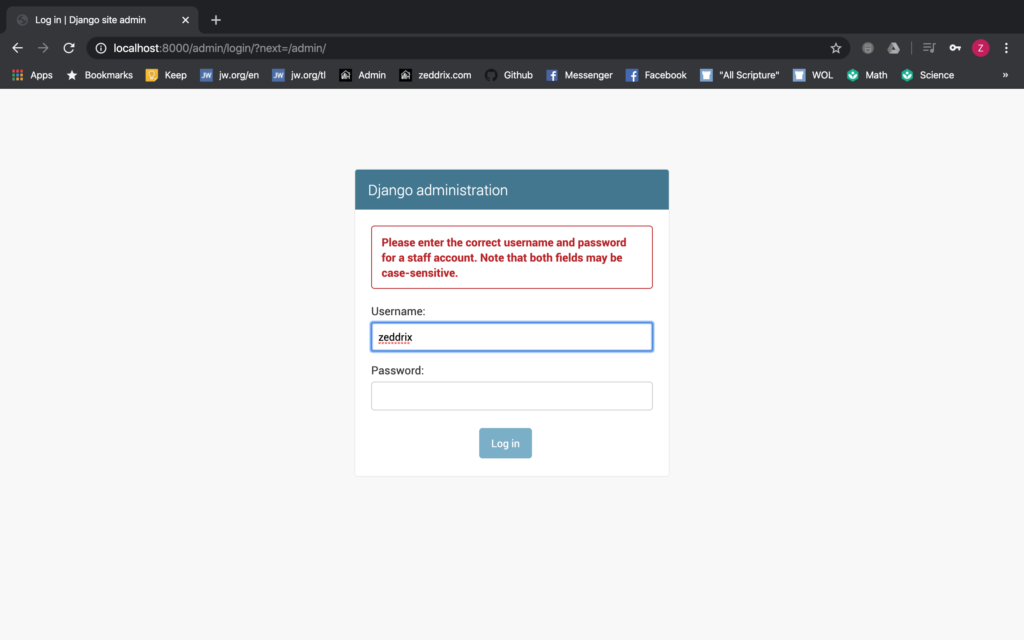
So, what will we enter on the Username and Password? Simple, we just make an account. But how?
The Superuser
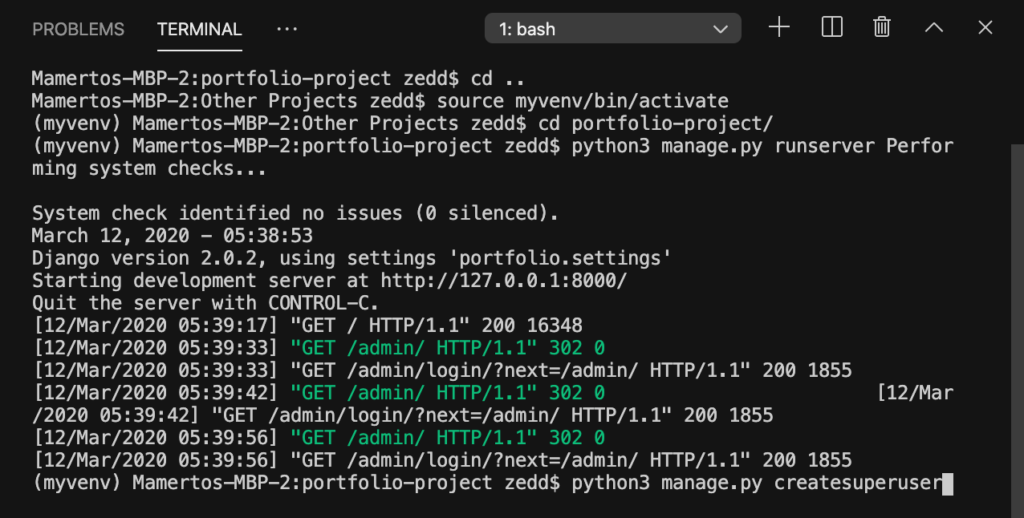
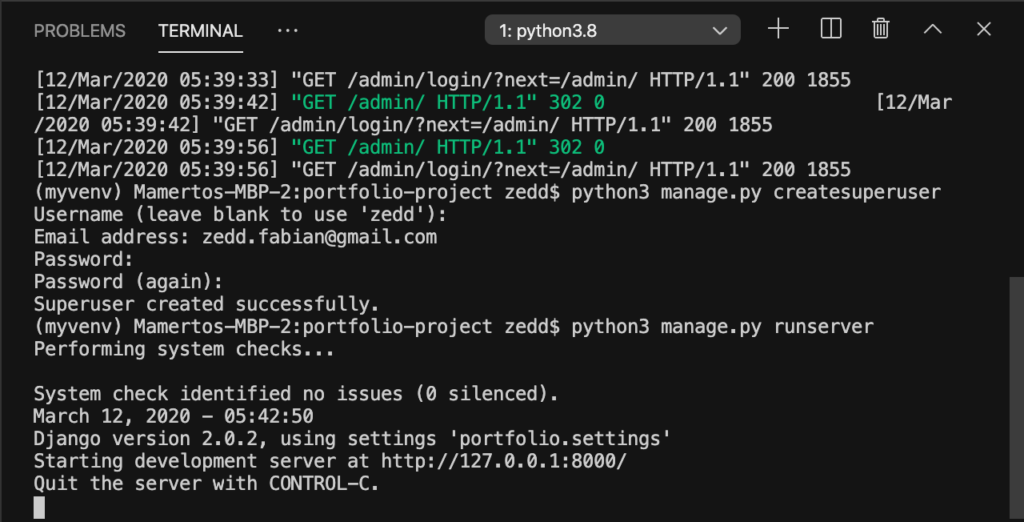
Hit Ctrl + C first to stop the server:
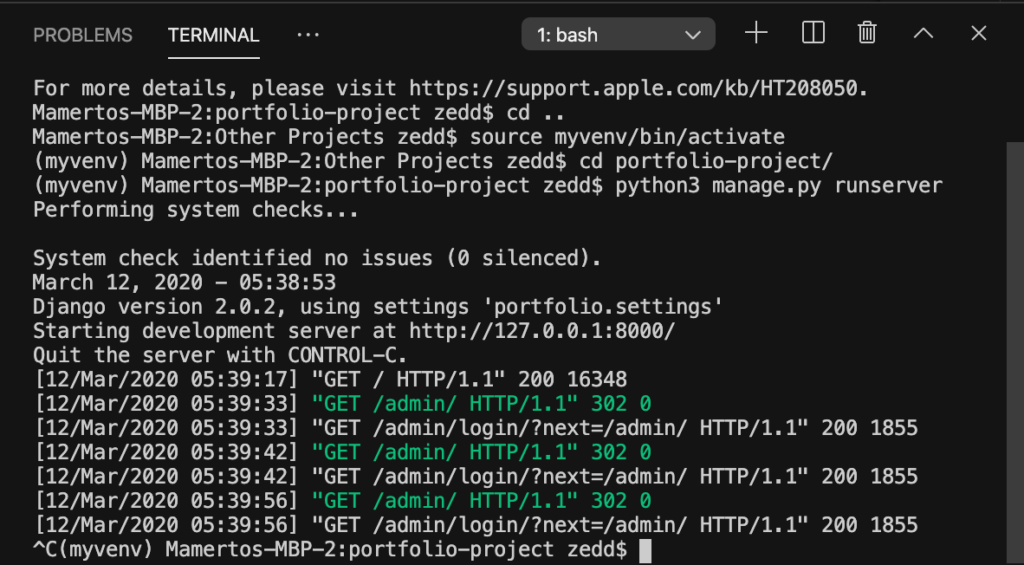
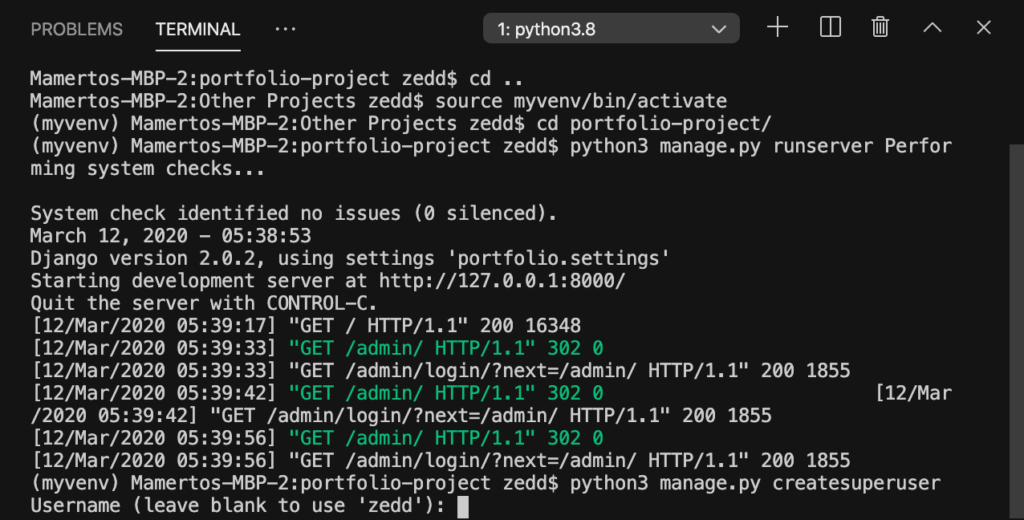
And now, we’ll create a superuser. What is a superuser? A superuser is a person who can directly interact with the database. In other words, that is the admin and the admin is us (I mean you). To do this, we’ll have to say python3 manage.py createsuperuser:
Hit ENTER and it will ask you for your username:
I’ll put my name (of course); you go ahead and put yours. But, if your username is already what’s said, just leave it blank and hit ENTER:
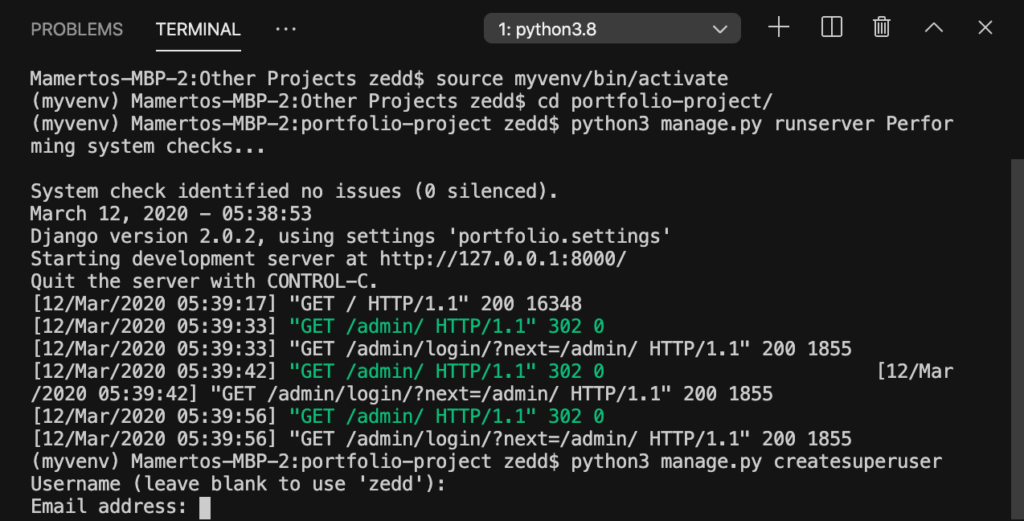
Now this asks for your email address. Don’t worry because it does not ask for your official email address so you can just make something up:
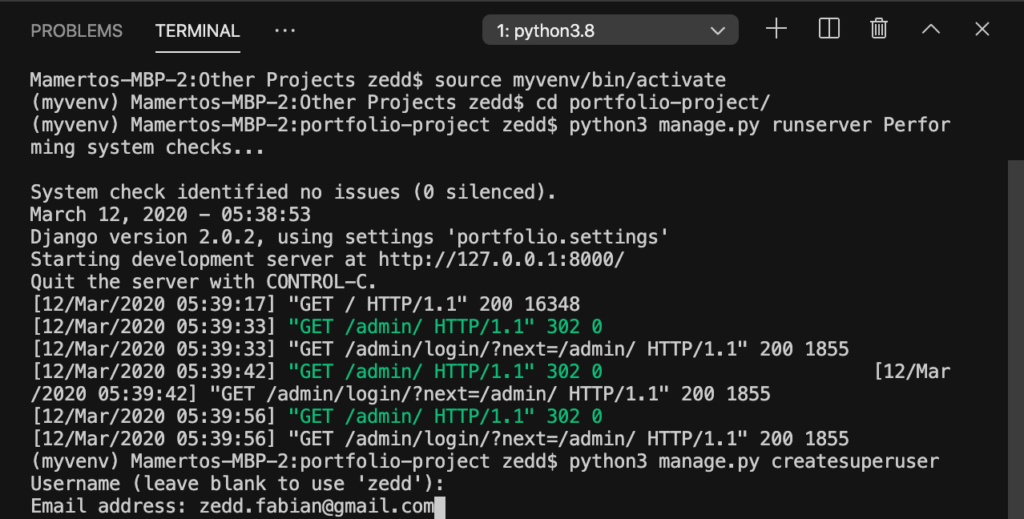
Hit ENTER. Finally, it will ask for your password and confirm it once.
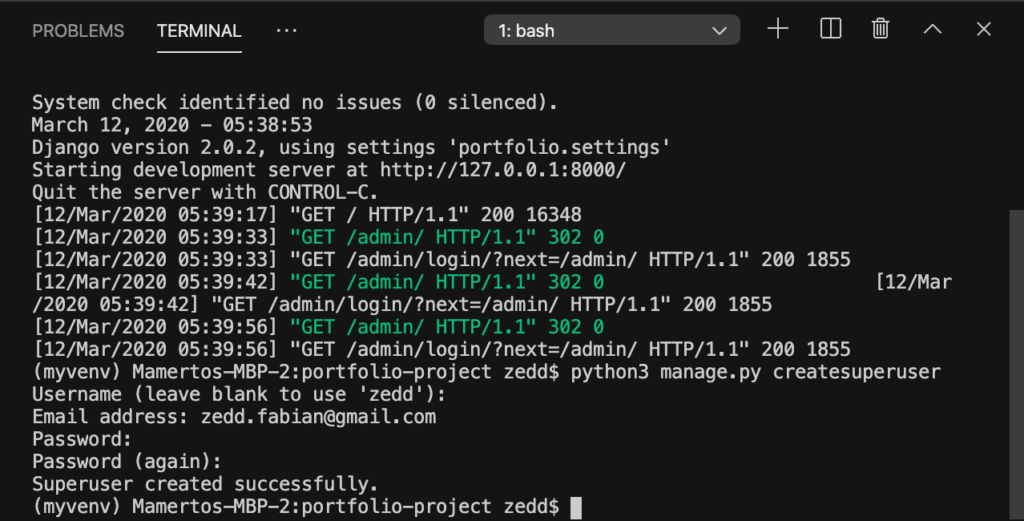
Note: It must contain at least 8 characters. Once you’ve started typing, you won’t see any movement in your Terminal (but it’s typing) until you’ve press ENTER.
After all that, you’ll see this:
This is the most important part. If you ever forget your password, there’s no opening it back up again! So you must strictly remember your password, whatever the cost! Just kidding.
As long as you have access on the server, you could always change your password whenever you want. And I’ll show you how later. Run the server again:
First reload this page:
At last, start entering your Username and Password here (it should work):
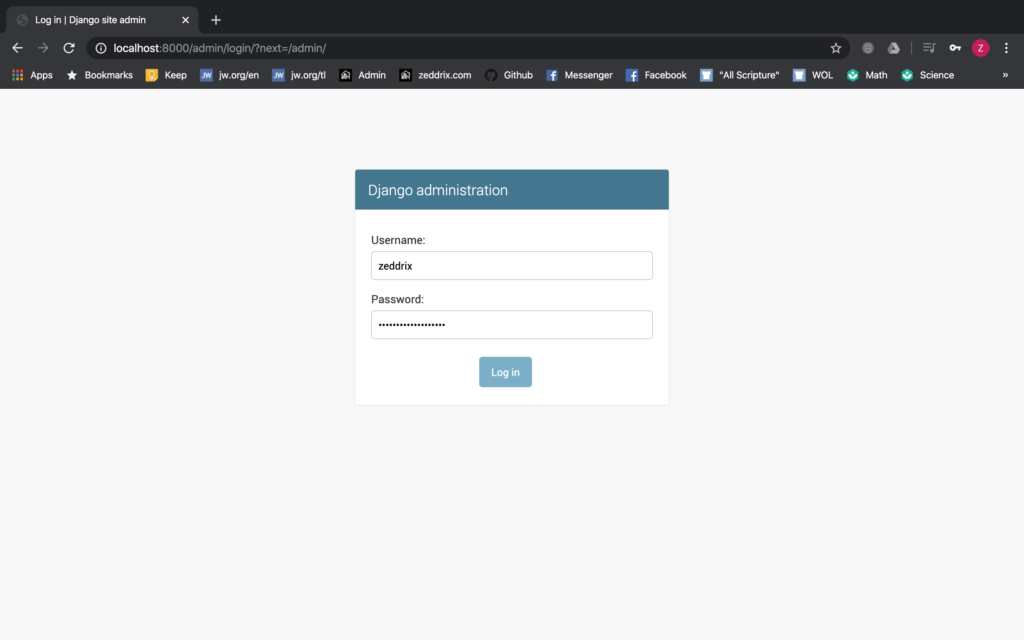
Nice. Click on the LOG IN:
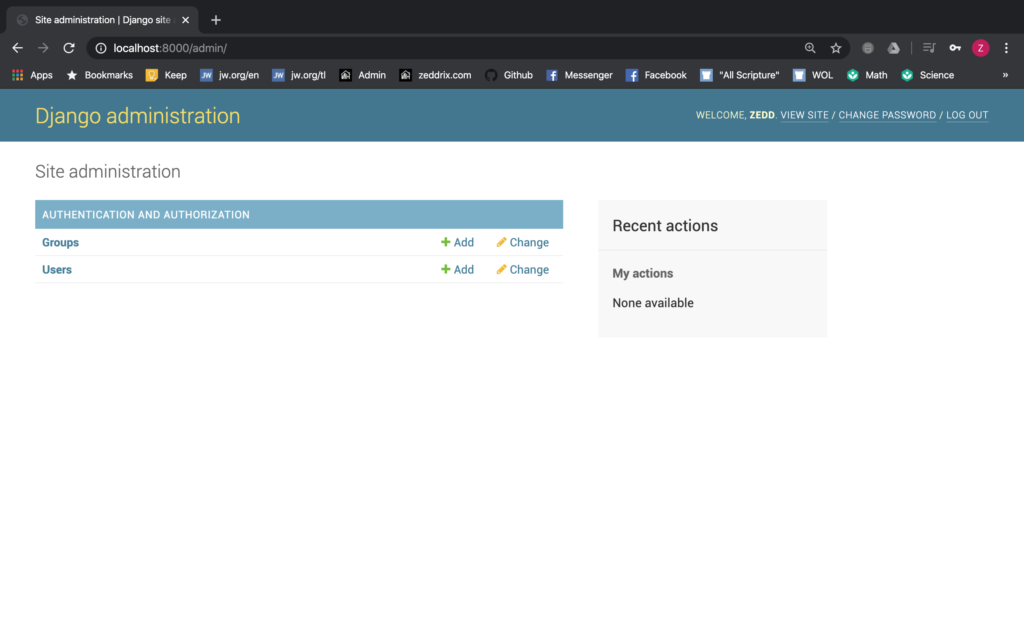
Boom! Welcome to the Django administration (office). We can now finally see things inside our database visually!
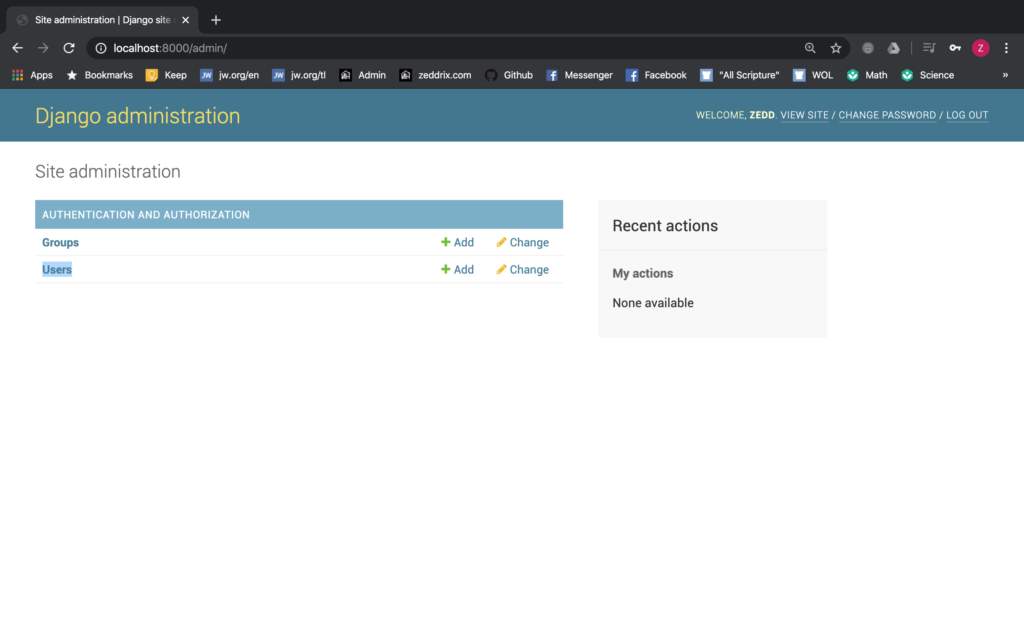
For example, click on that Users link:
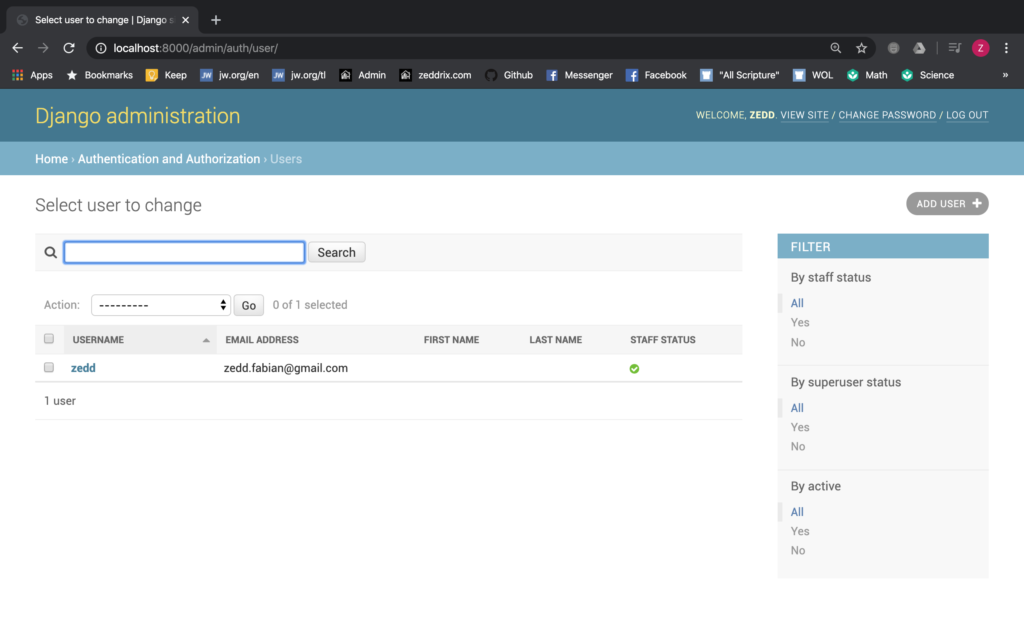
And here you see everyone who has made their own user account (it’s just you). You will also see the superuser of the website (that’s only you). Let’s get back here:
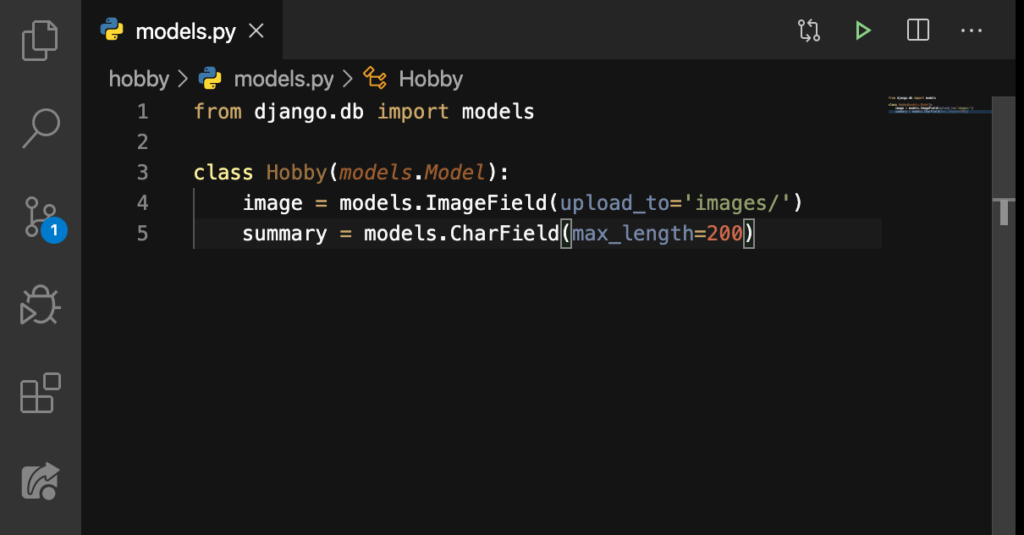
Here, we want to have our Hobby model.
Hobby
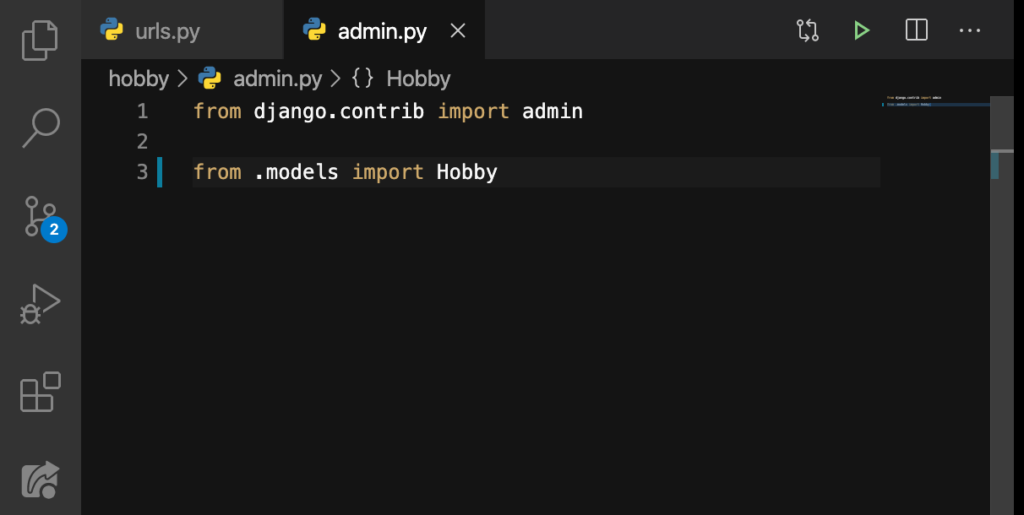
In order to do this, go to admin.py inside the hobby app:
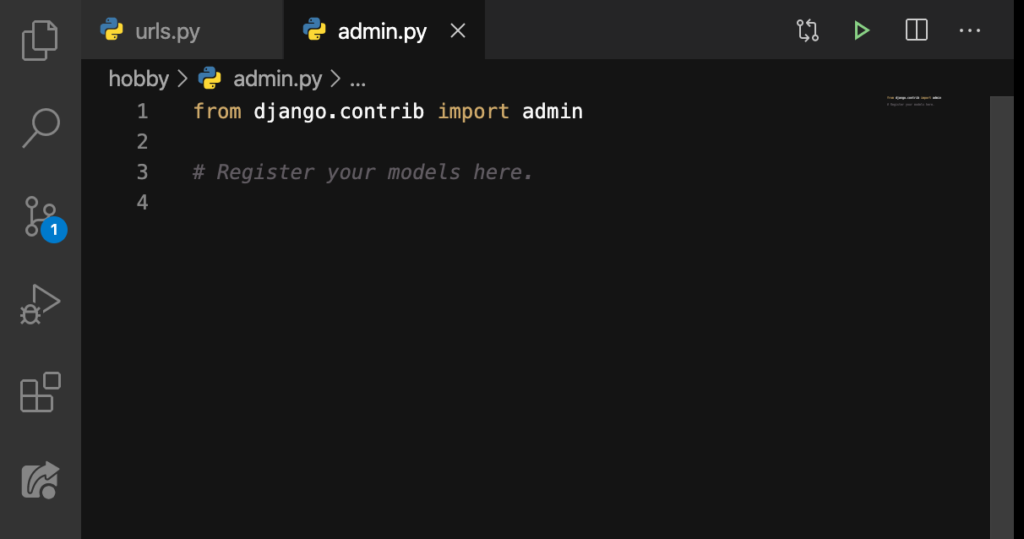
Get rid of that comment on Line 3:

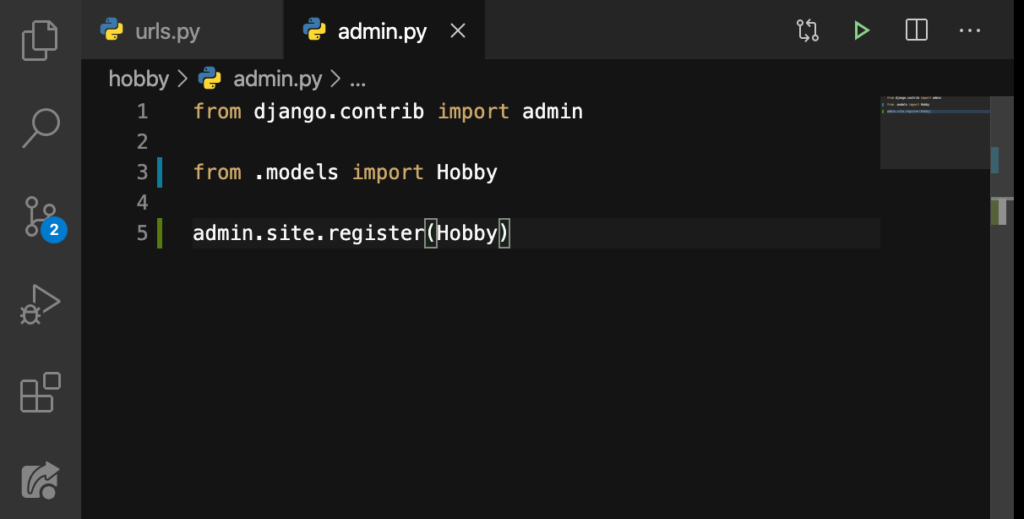
Then on Line 3, type this:
What have we just done? By saying from .models, we were just referencing the models.py file. And the import Hobby imports the model Hobby inside that file. In short, we have just imported our Hobby model. And then, on Line 5, we’ll do this:
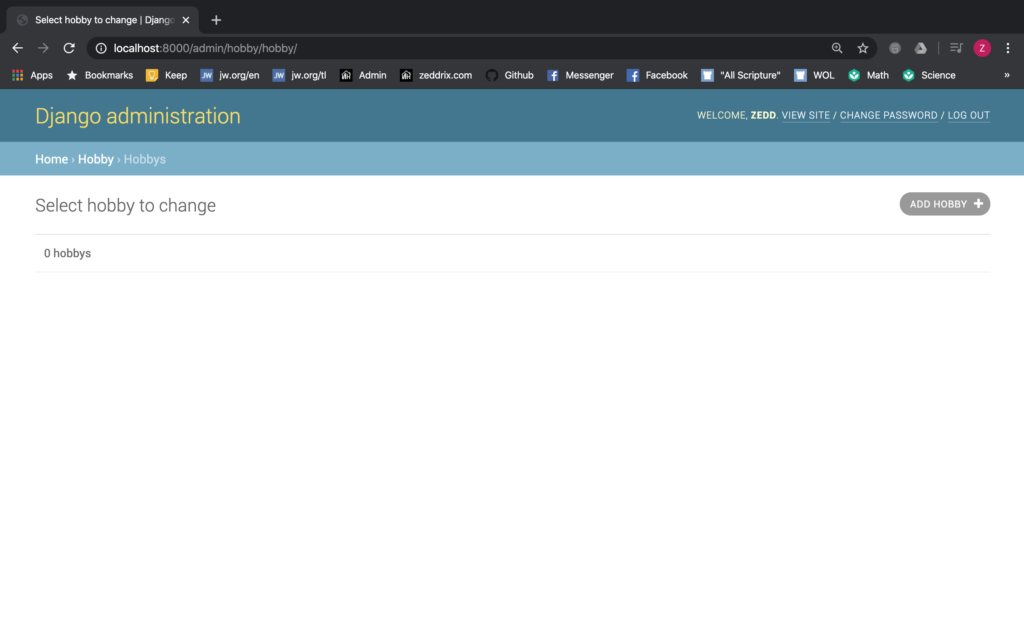
Get back to our website:

Reload the page:

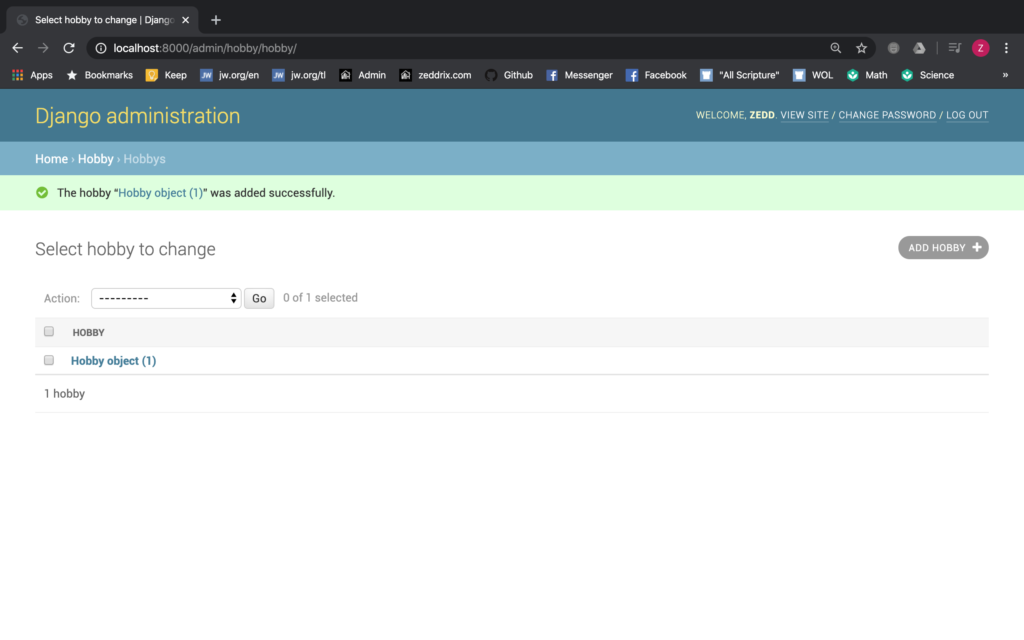
Oh yeah! Go ahead and click on Hobbys:
ADD HOBBY +:
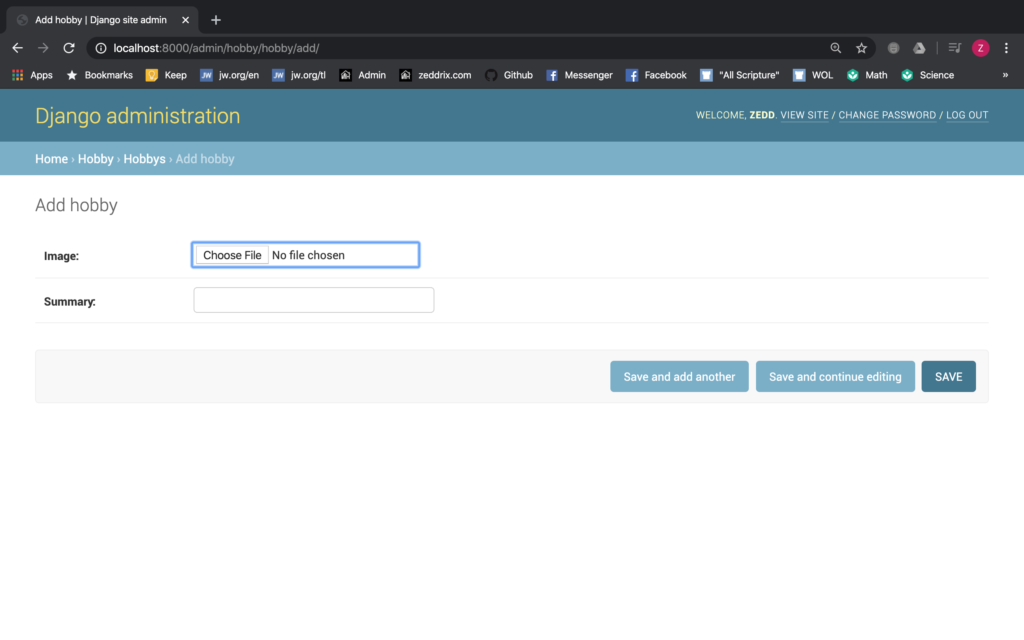
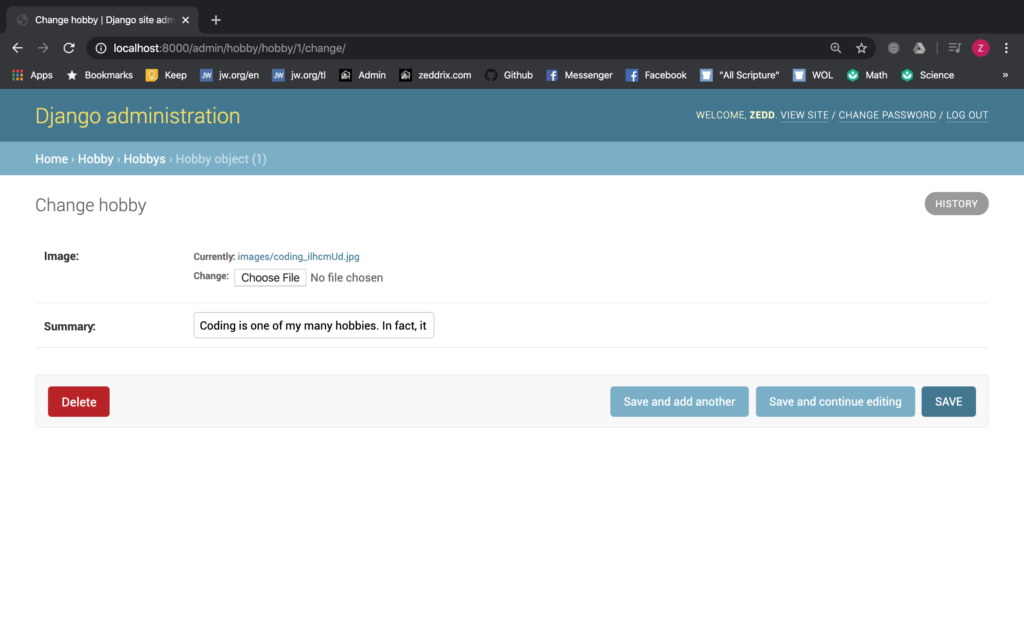
Note: It is important to remember that you have these fields (both the image and the summary field) because that’s what you did here:
Cool right? Anyway, we need to add an image and a summary. Go and fill these up:
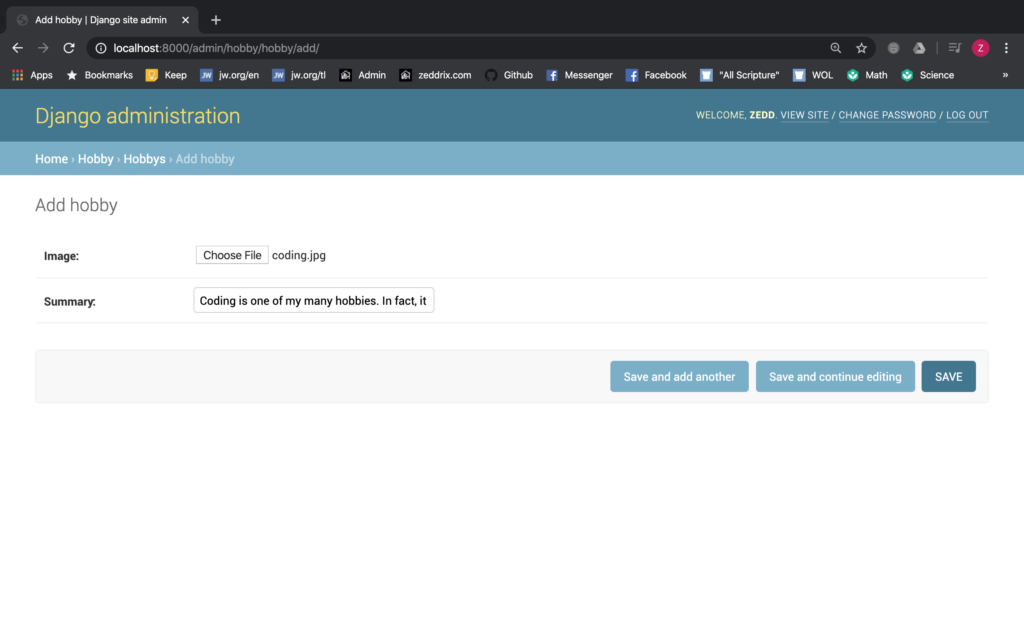
Once you’ve chosen an image and wrote some summary, hit SAVE:

Nice.
Warning!
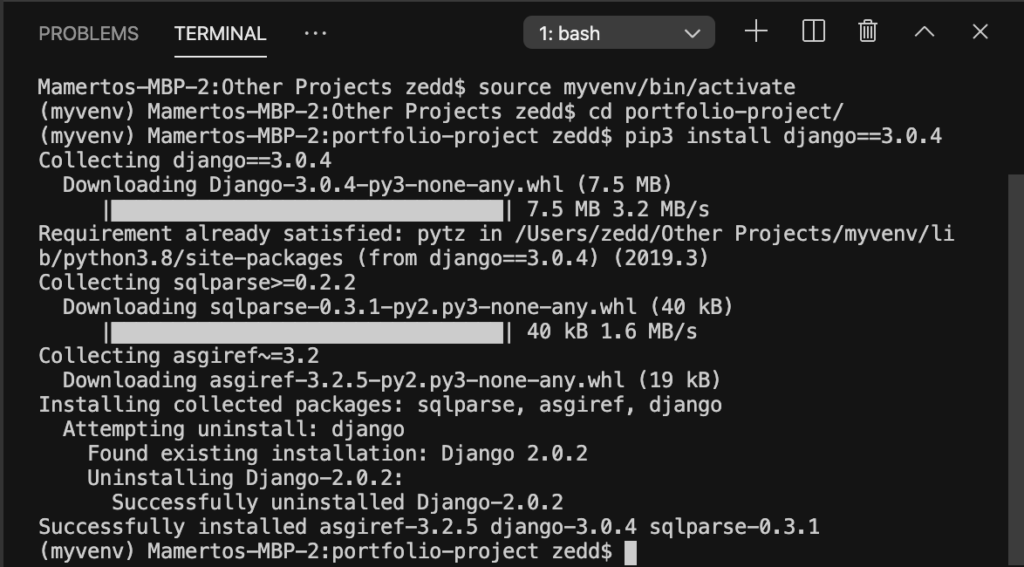
By the time I hit SAVE, I got an error page; I did not get that page that you just saw at the top. Until I installed the latest version of Django. So let’s do it together now. I know that I recommended you to install the version 2.0.2. But now, that’s gonna change; we have to have the updated version.
So let’s install the latest version of Django together:

ENTER and wait for it:
After installing, do a python3 manage.py migrate:
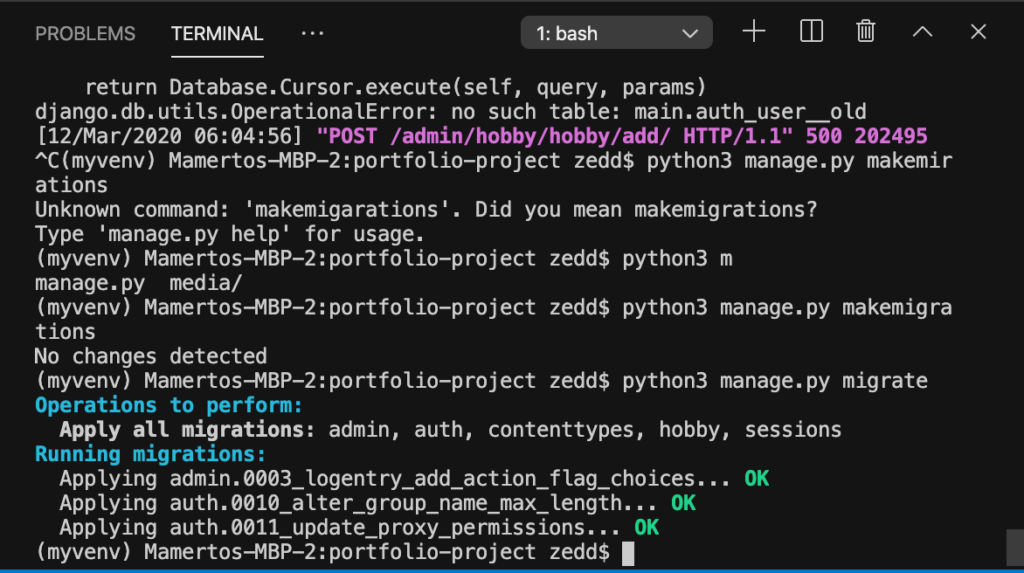
Finally, run the server:
Nice. But, did this really save both our image and summary? We’ll see. Click on that object:
Nice. It really got saved in our database! For many experienced developers, touching the database can get really tricky sometimes. But thanks to the Django administration, we can edit things here, and it’s so much easier!
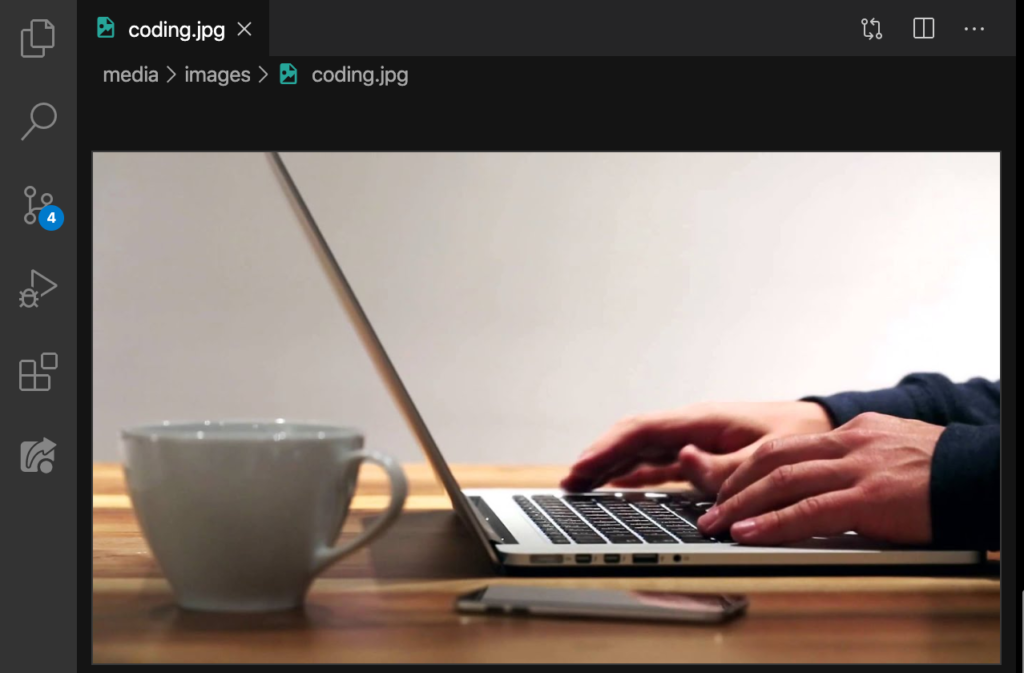
Now, I want you to click on the images/coding.jpg or the filename of your image. But, you’ll get this:
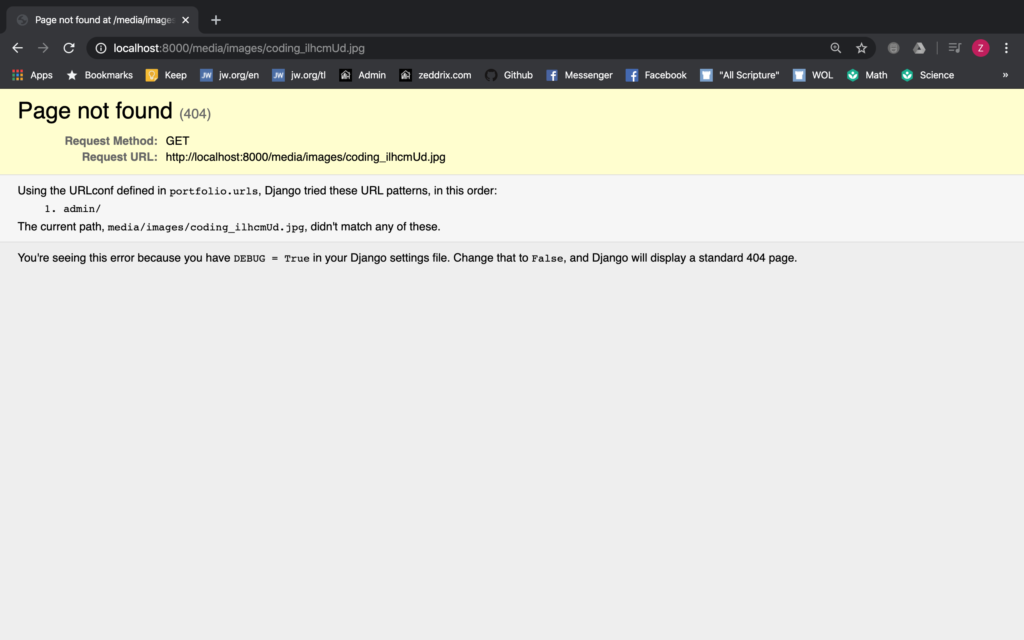
Let’s fix this!
media
On our text editor, a media folder was generated:
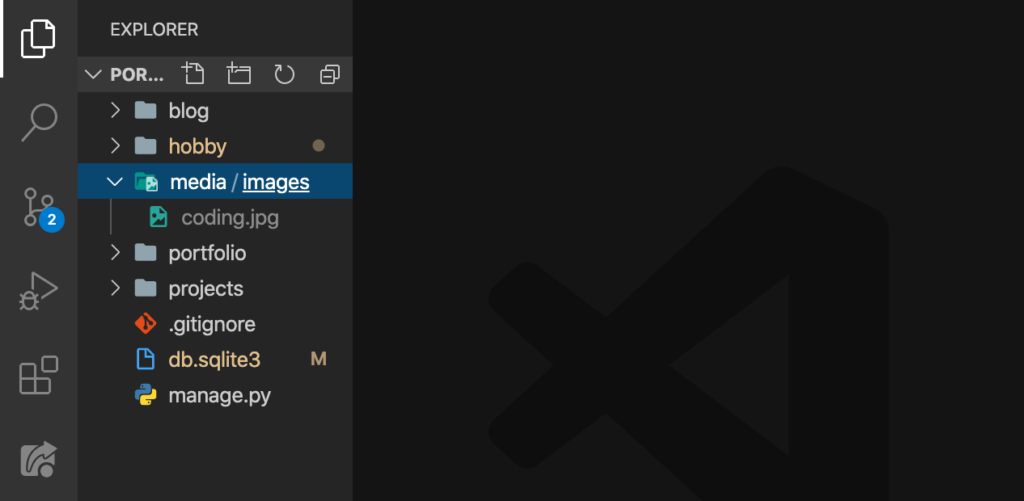
Upon opening this folder, we have the images folder (images is inside the media folder. The proof is that slash (/)). Then, inside this folder, there we have our image:
“It’s all good right? Well why won’t it show up on our website?” That’s because there is no URL that points to this location. On urls.py:
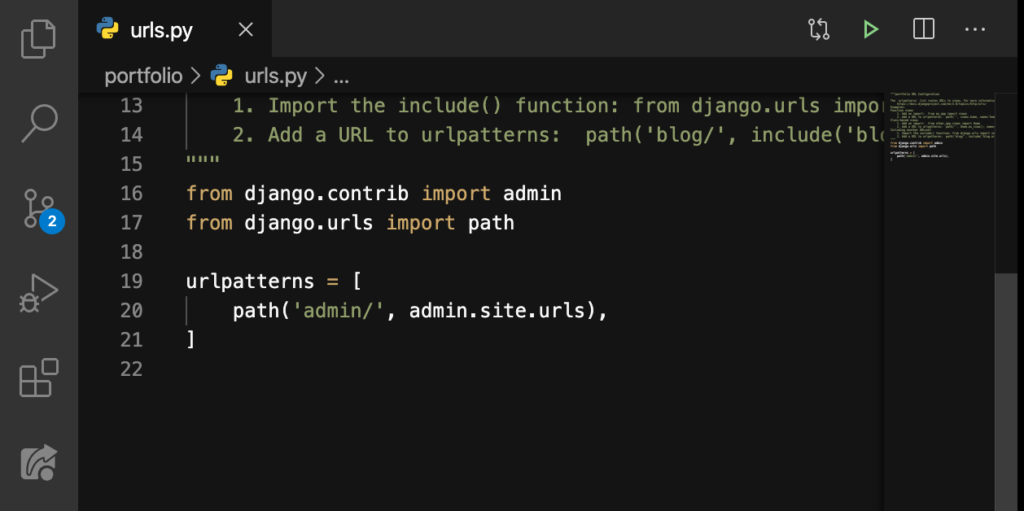
We’ll add something here:
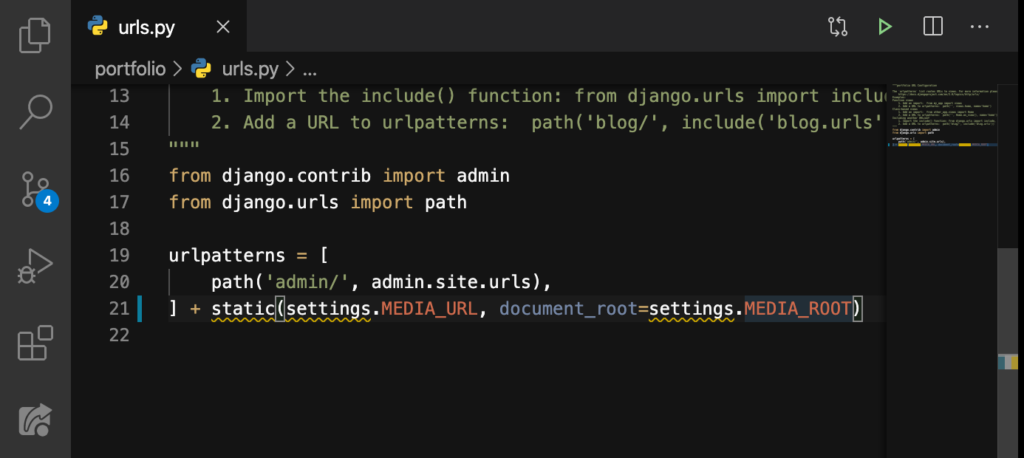
On Line 21, we directed Django to the MEDIA_URL and MEDIA_ROOT. And we made those on our settings.py:
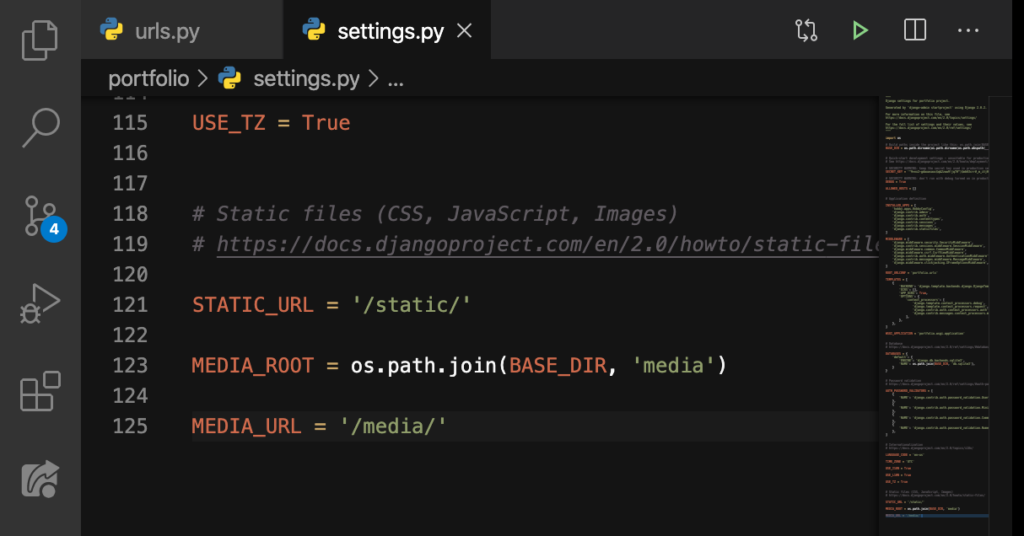
Going back to our urls.py, we’ll import something here on Line 18 and Line 19:
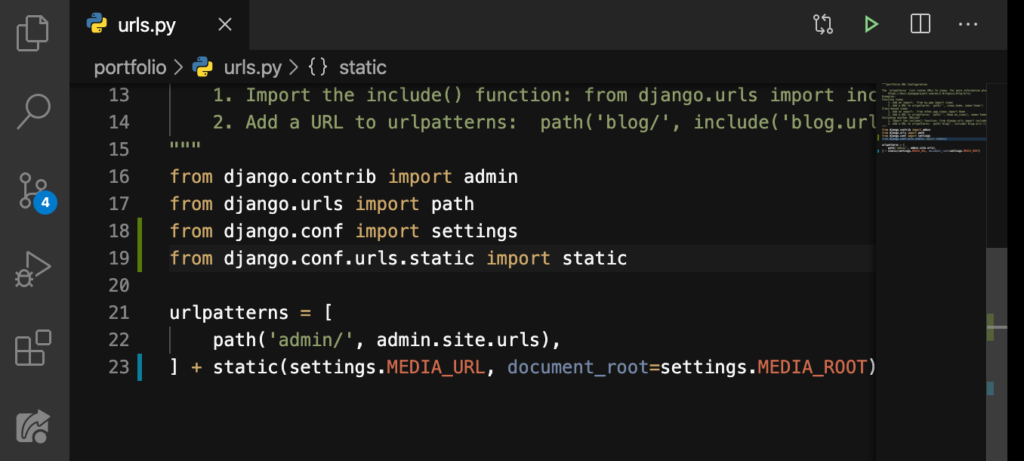
Did you see those brown wavy underlines disappear? That’s because it now knows what that settings and static means on our Line 23. You may ask: “What is that static?” We can see that here on our settings.py:

This staticfiles app collects static files from each of your applications (and any other places you specify) into a single location that can easily be served in production. Once all these are done and saved, let’s get back to our browser and reload the page:
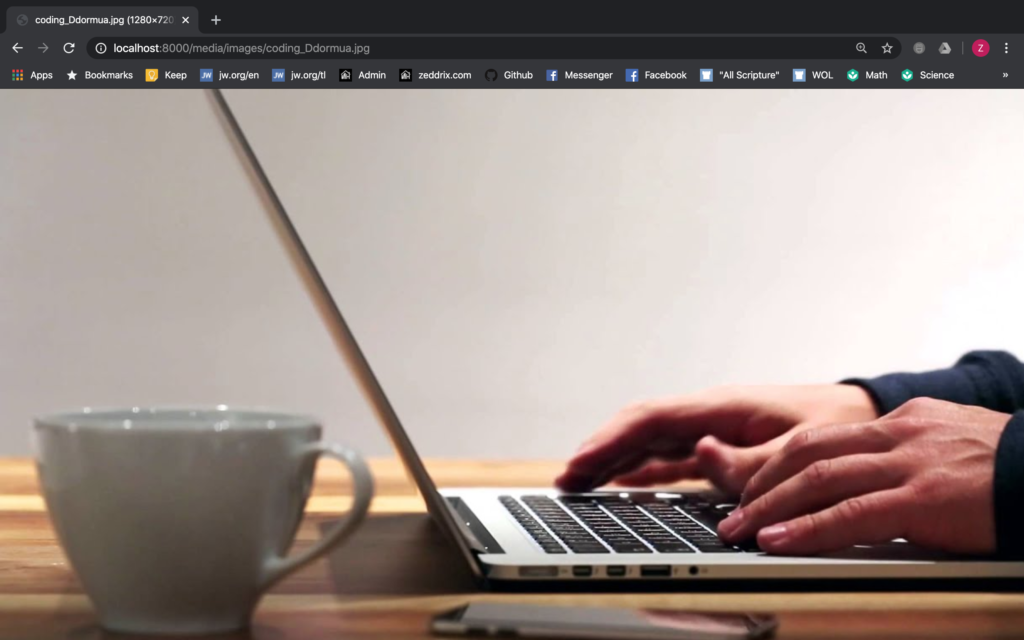
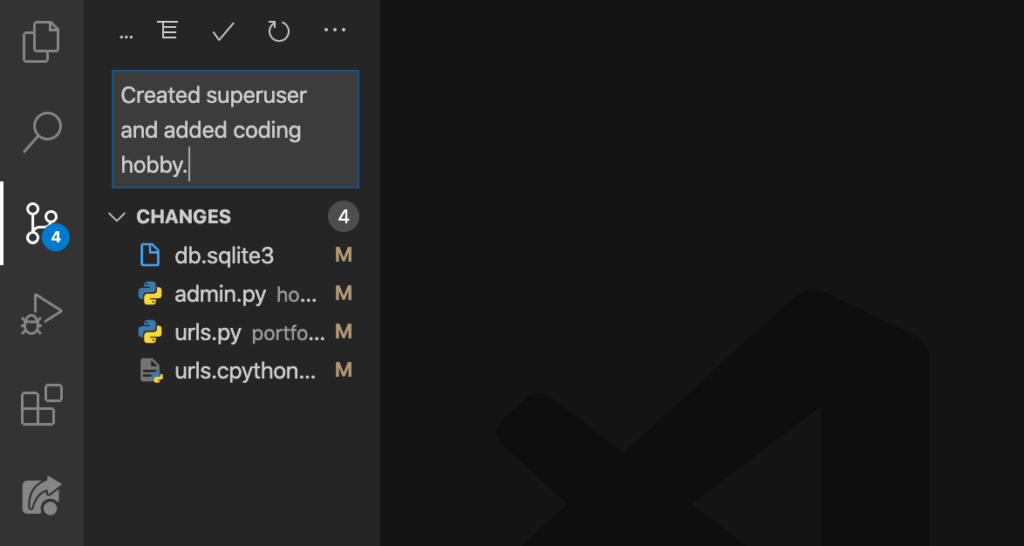
Yes! It now shows our image! Let’s go ahead and commit these changes to GitHub:
Good. That’s it for the Django administration! In summary, we learned how to create superusers, and also learned how to handle images. In the next lesson, we’re gonna take care of our database.