Previous Lesson: Lesson 27: The Django Administration
In this lesson, you’ll learn how to set up PostgreSQL on your Windows. You’ll also know how to create your new database on the Terminal.
We’ll replace our db.sqlite3 with PostgreSQL. Why? A small project in a small local environment will be just fine. But our project will keep on growing and will continue to have more and more data. So, we’ll need something more robust like the PostreSQL.
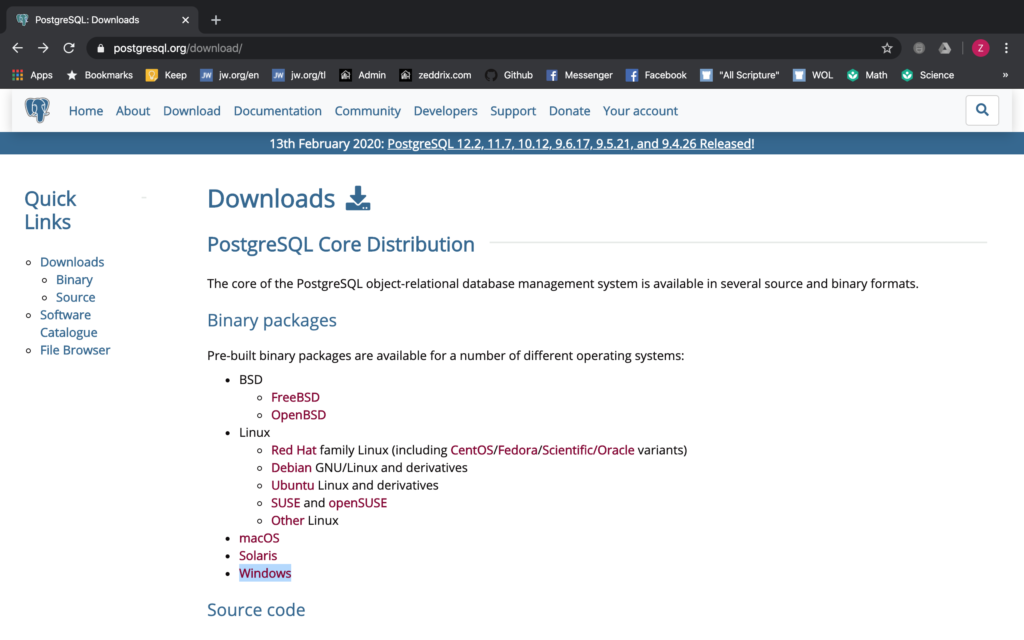
We’ll have to move our data to another database to save the pain of having a lot of migrations. So now, we need to set this up. It will not be that hard. Go to postgresql.org:

Press on that Download-> button:

Now you’ll see these packages. Let’s start!
Downloading PostgreSQL
Choose Windows:
And it will take you here:
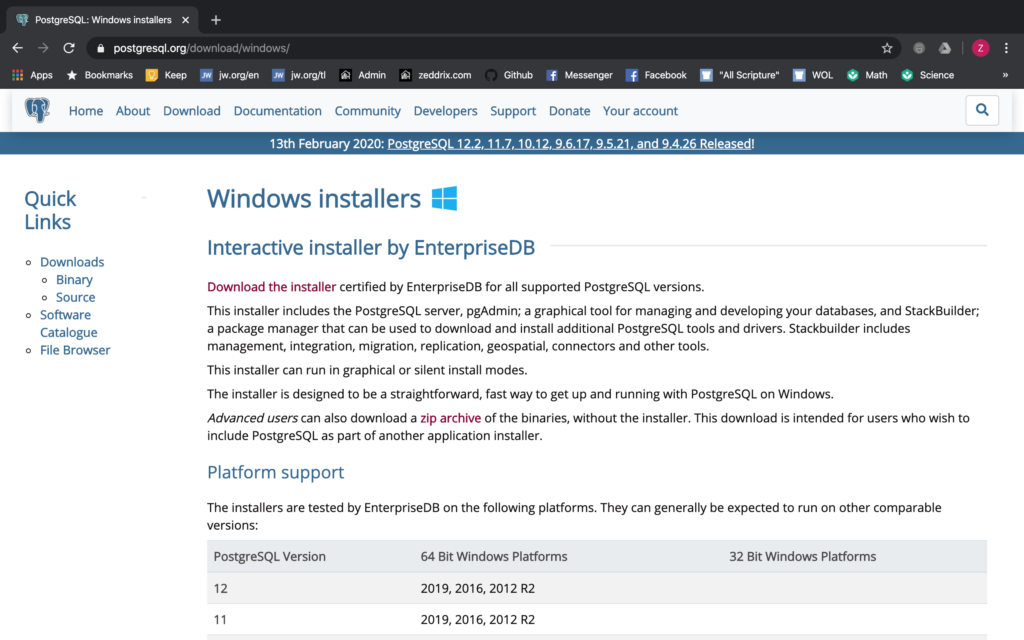
Click on Download the installer:
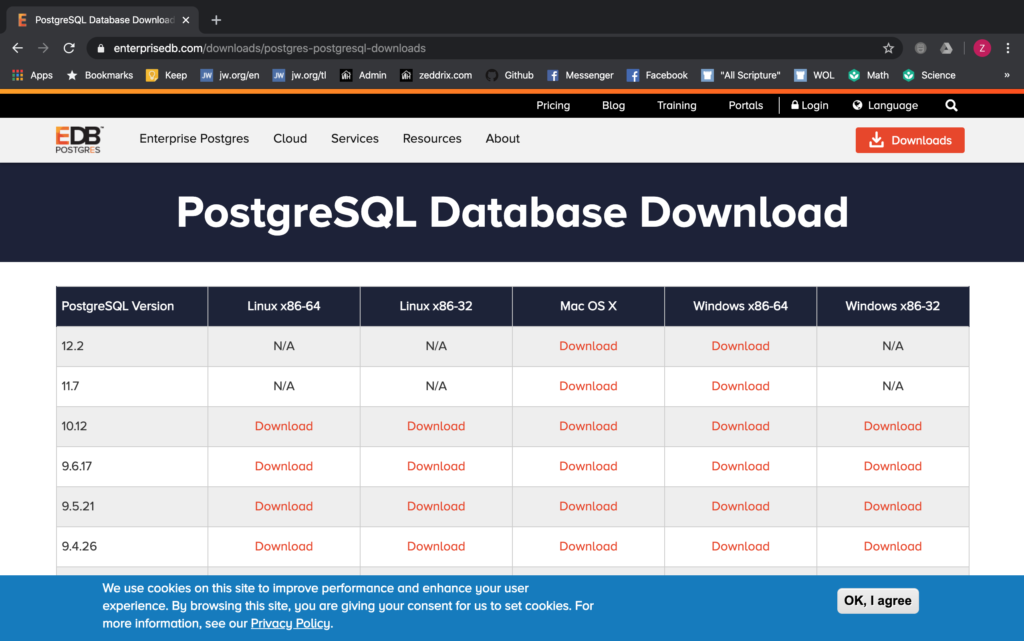
Pick the one under the Windows x86-64:
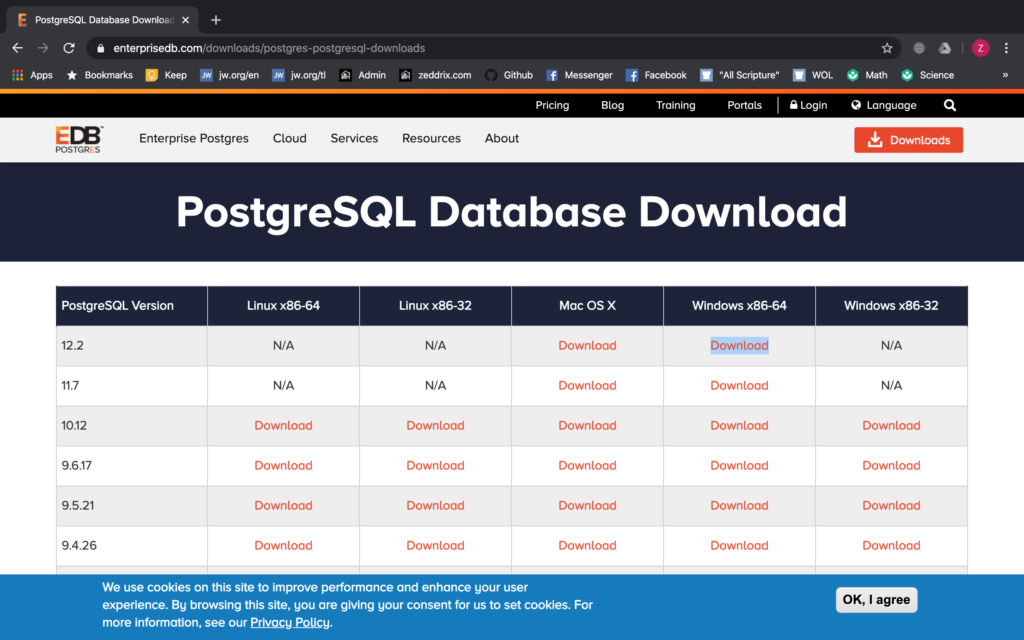
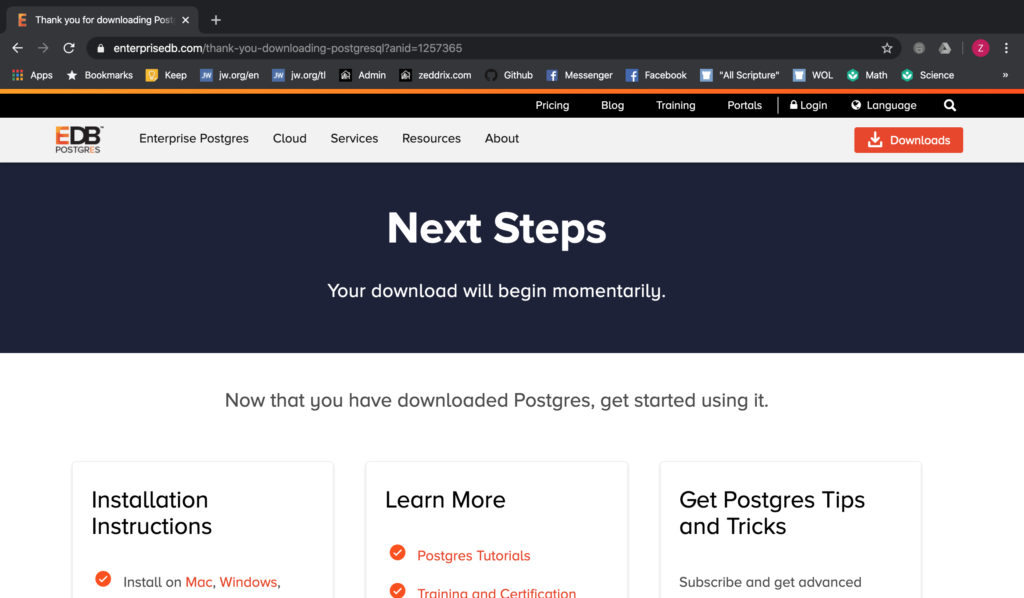
And Your download will begin momentarily:
Now it’s up to you how you’ll handle this one. Just follow along the required steps in downloading PostgreSQL. And, this may take some time. Honestly, a long time.
CREATING DATABASE on Windows
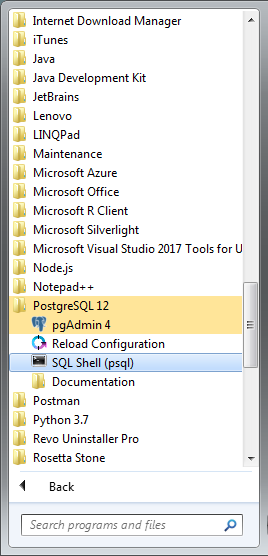
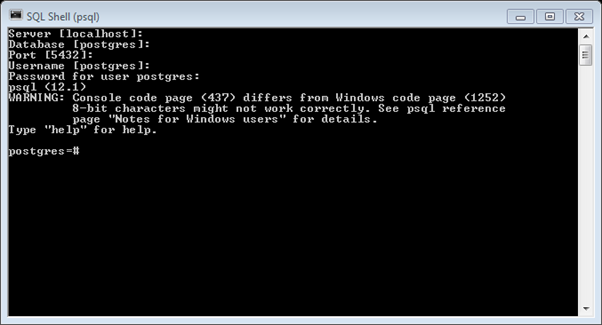
Once it’s downloaded, we’ll open Postgres in a shell. To do that, go to Windows Start and look for this:
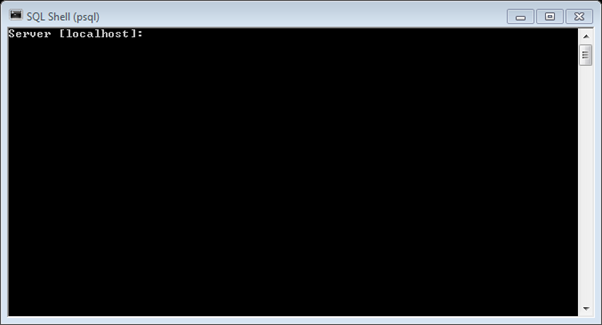
Open that up and it will open up a little shell:
After hitting four ENTERs, my shell looked like this:
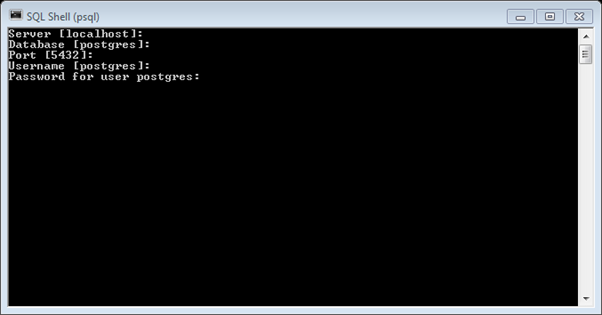
So, what happened here? Windows was just asking us if our Server would be the one inside the brackets ([]), which is the localhost or our own computer. Same goes with the others like the Database, Port, and Username. Hitting ENTER confirms that you are going to use these.
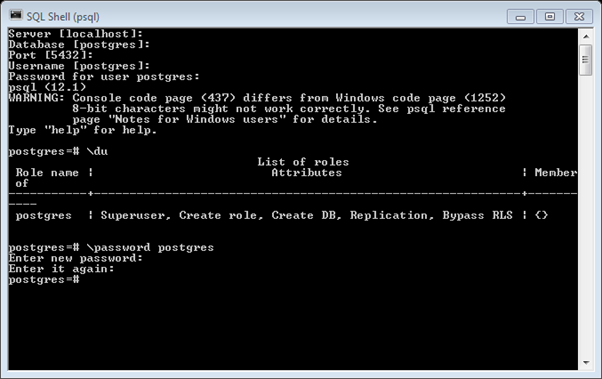
And then, set a new password for user postgres. And then enter that same password again. ENTER:
Good. After that, we’ll do a \du here and it will show all the users:
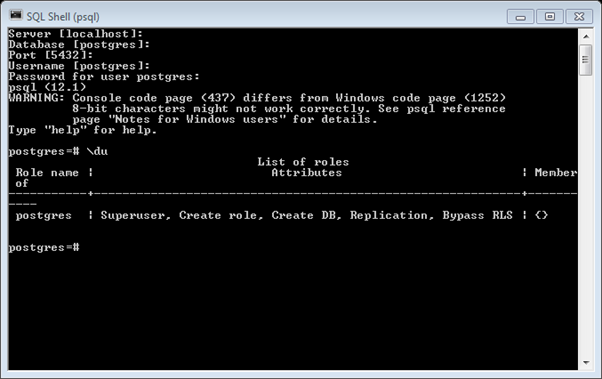
My only user here is postgres. We’ll set a password for this user by typing \password postgres. Hit ENTER:

So now this one’s up to you.
Done! Now we’ll connect our database to our project. Do CREATE DATABASE and then set a name for this one too. I’ll say portfoliodbase and then we’ll end it with a semicolon (;):
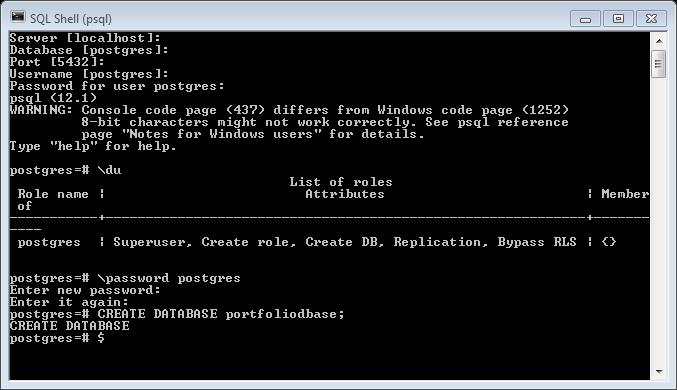
To know that you have successfully created your new database, you should have the message CREATE DATABASE after you’ve press ENTER. That’s it! You have just learned how to set up PostgreSQL on Windows!