Previous Lesson: Lesson 7: A Tour in our Django Project
In this lesson, you’ll learn how to create your own customized URLs and your own pages in Django. Also, you’ll learn about paths and HttpResponse.
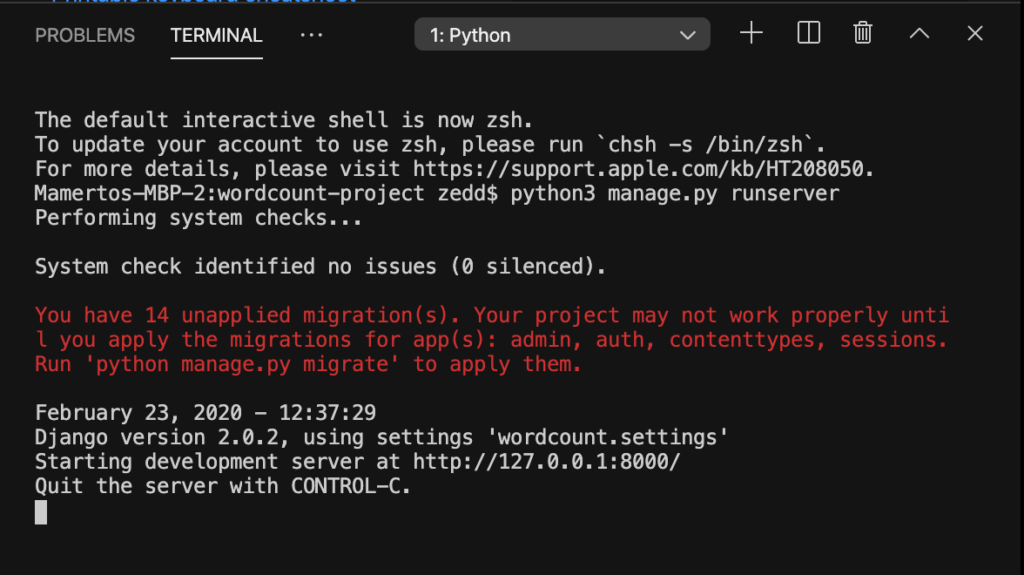
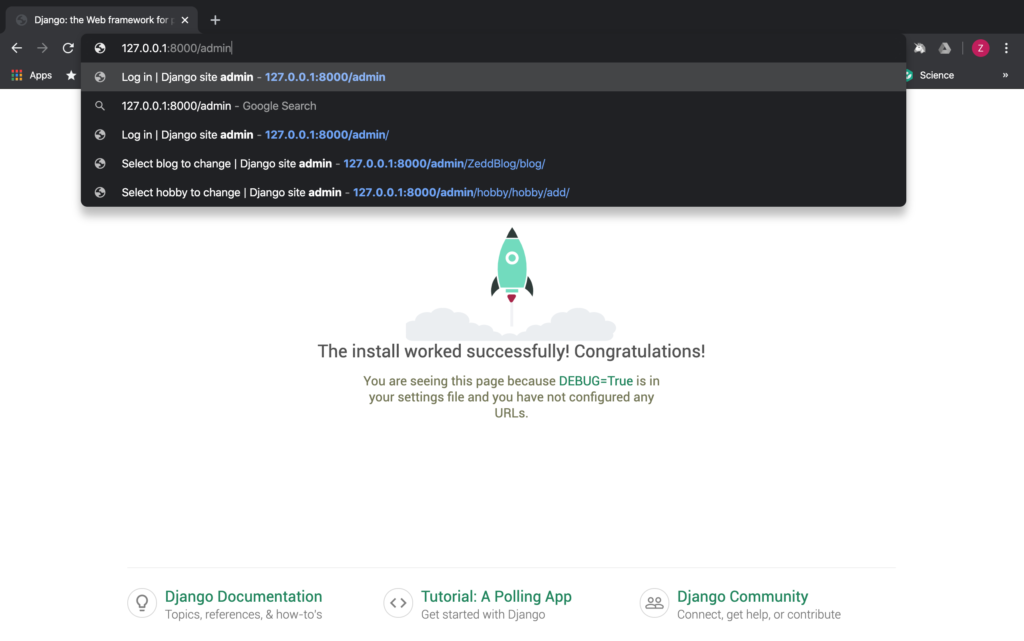
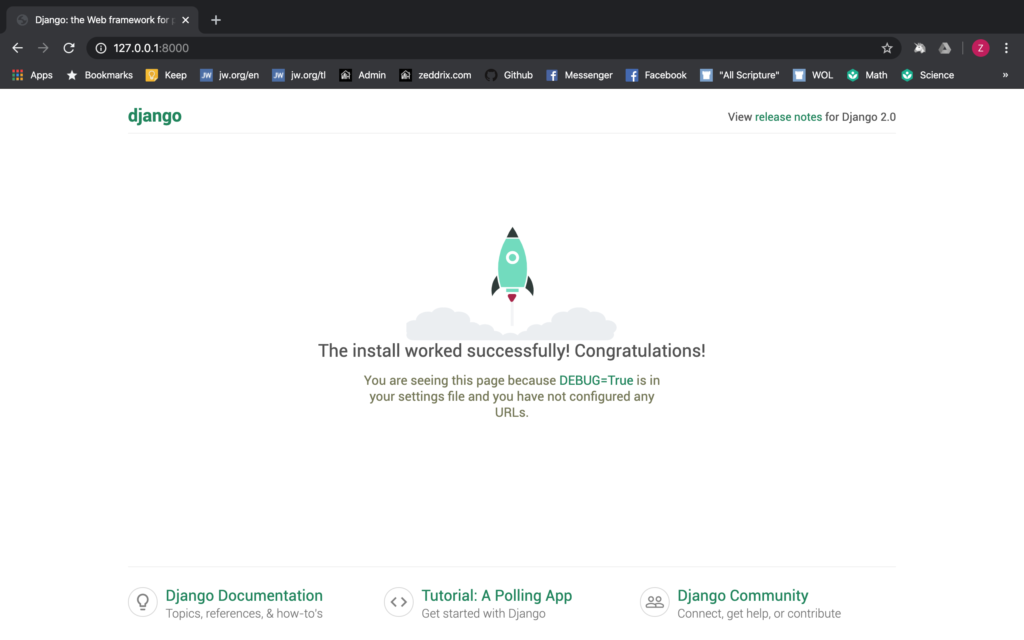
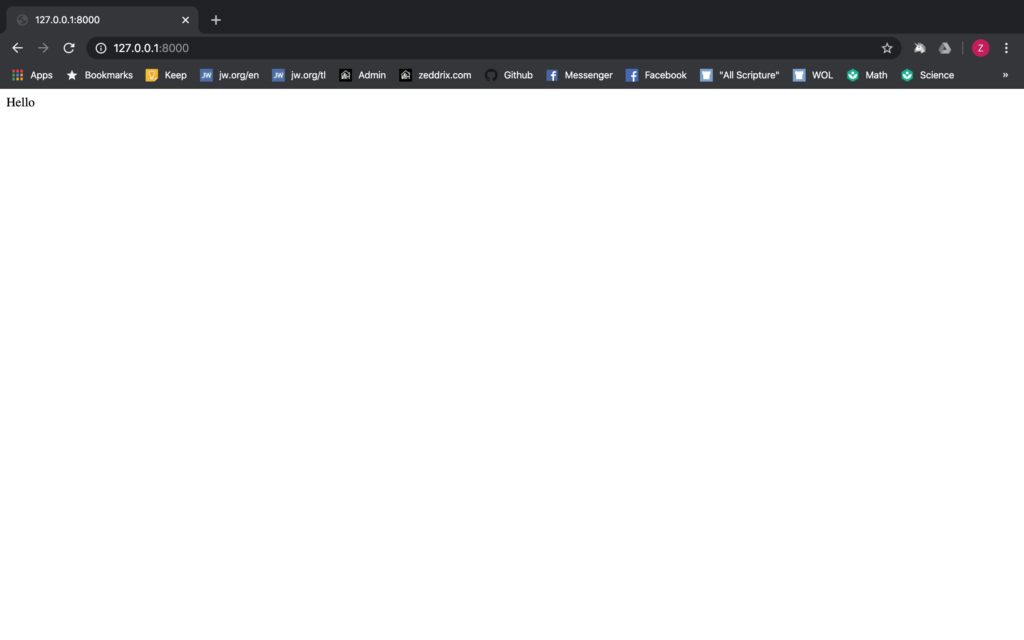
Let’s run our server:
It’s really awesome that we were able to get this page running:

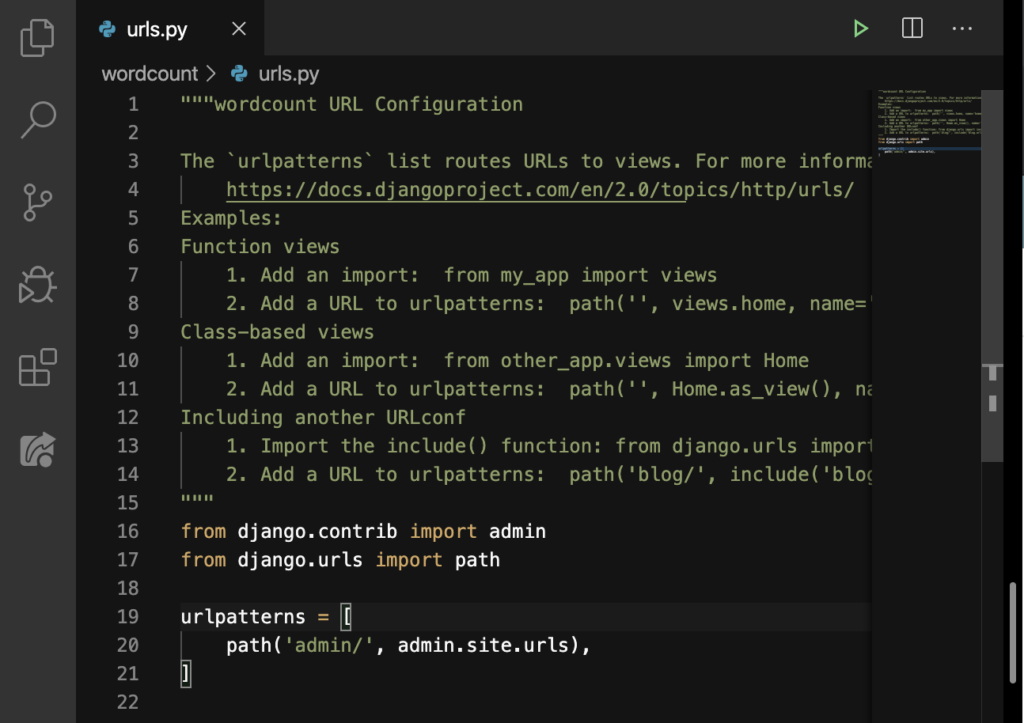
But to the truth is, this is not what we want to have for our wordcount website, right? So the question is: How will we route the users to a different page that we want? Like what what we’ve learned from the previous lesson, the urls.py looks for the URL that users enter on their browser:
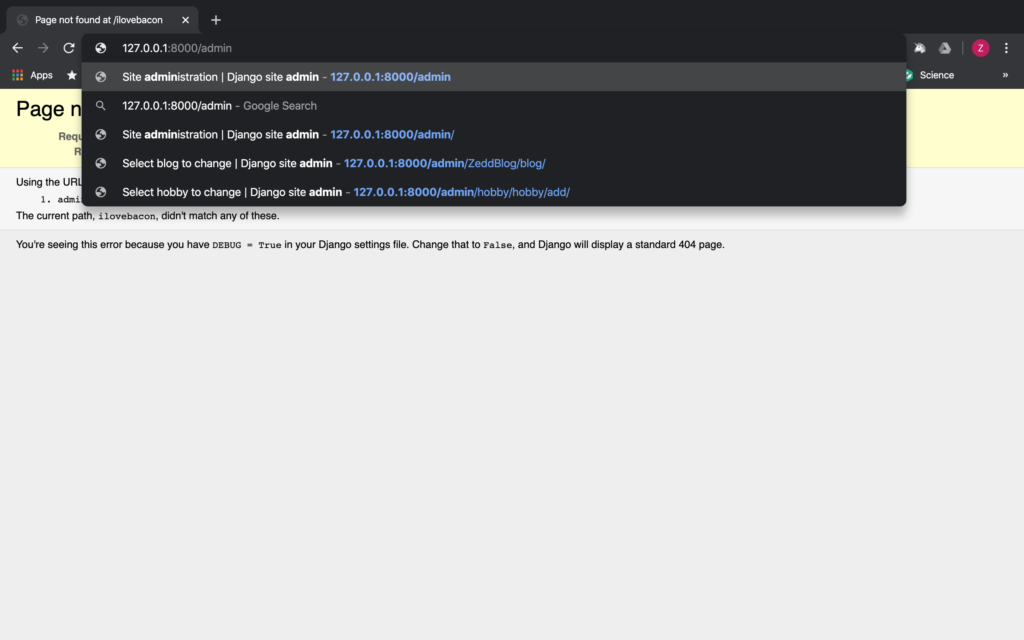
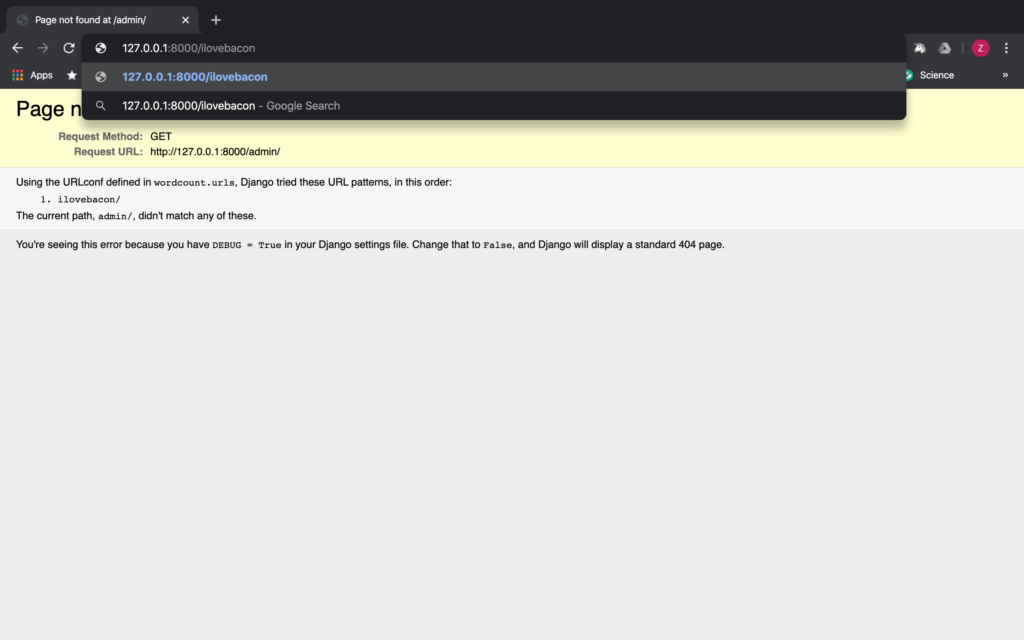
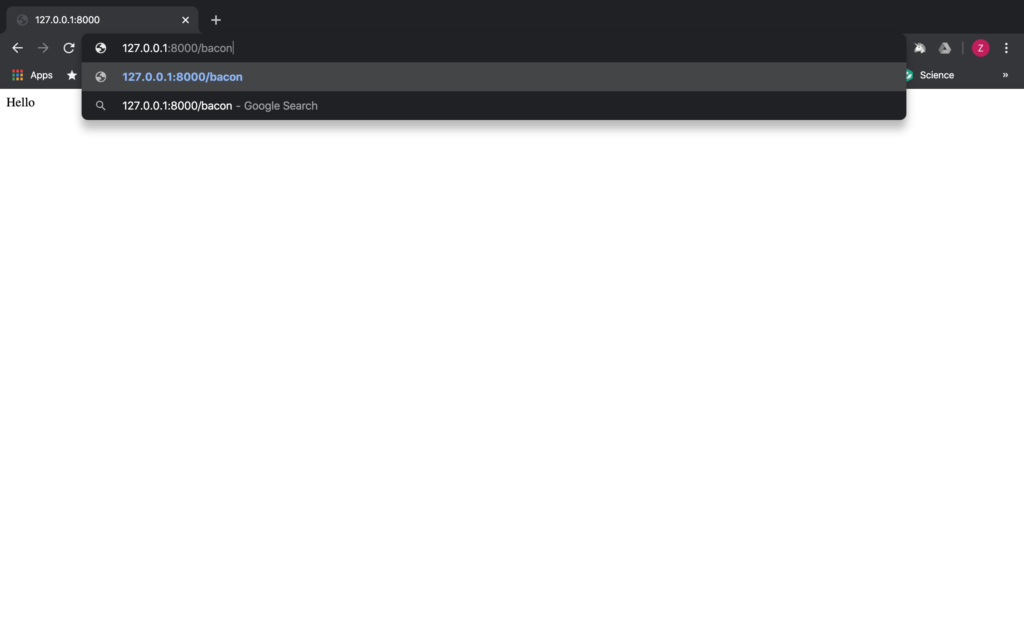
For example, do we have a URL for /ilovebacon here? No, we don’t have that. That’s why if we try to enter http://127.0.0.1:8000/ilovebacon on our browser:
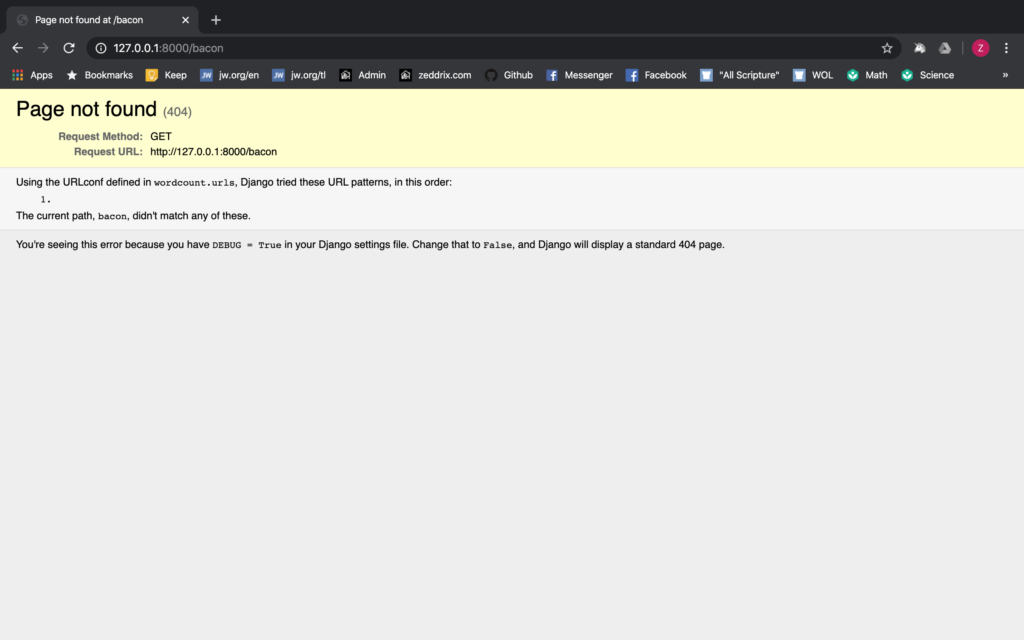
And then press ENTER, this will show up:
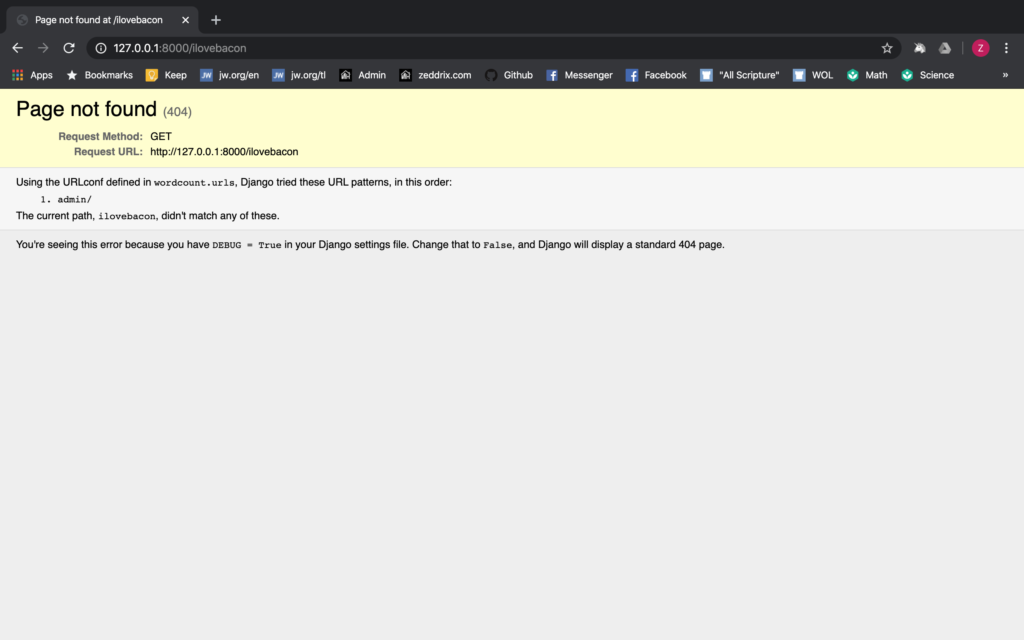
You’ll see The current path, ilovebacon, didn’t match any of these.
admin
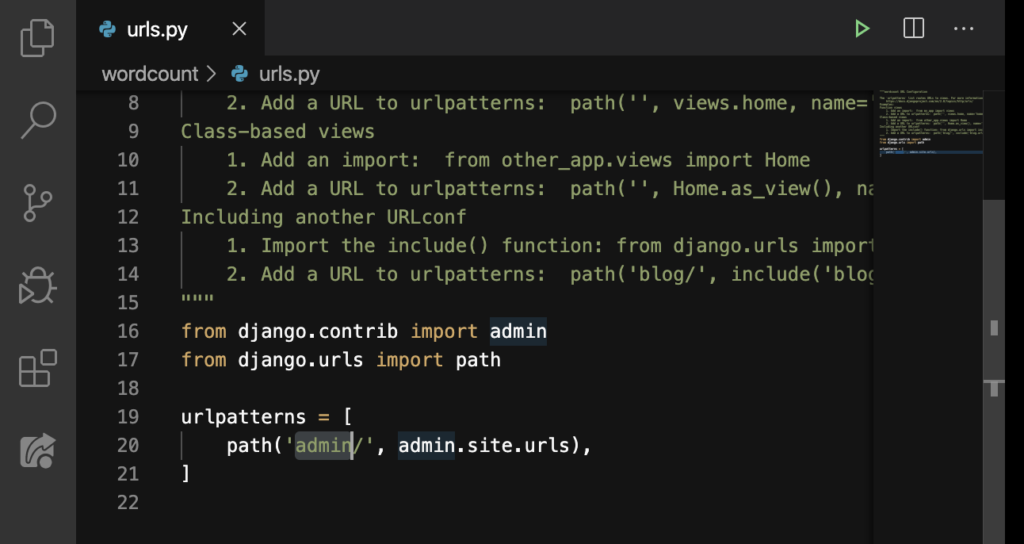
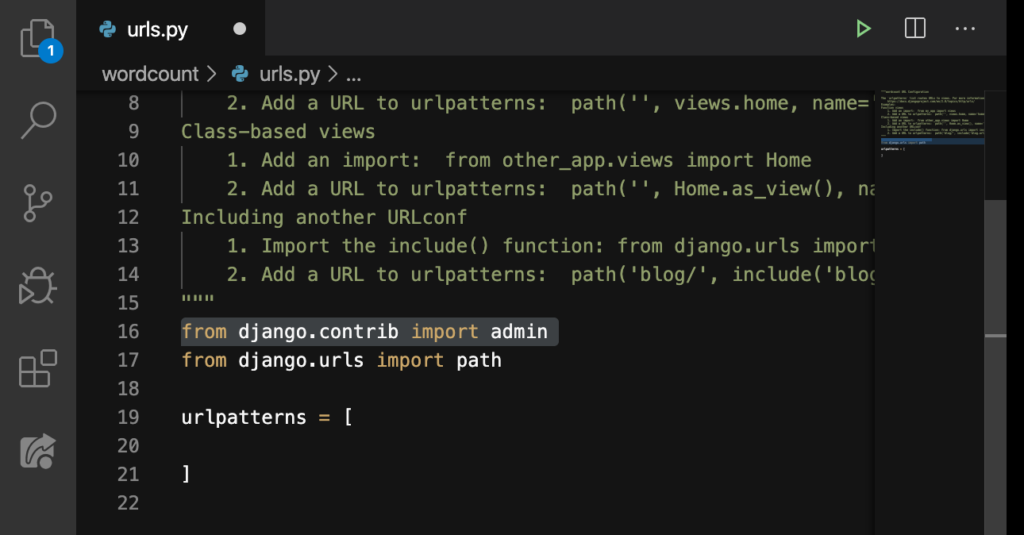
Let’s go back to our urls.py and notice something:
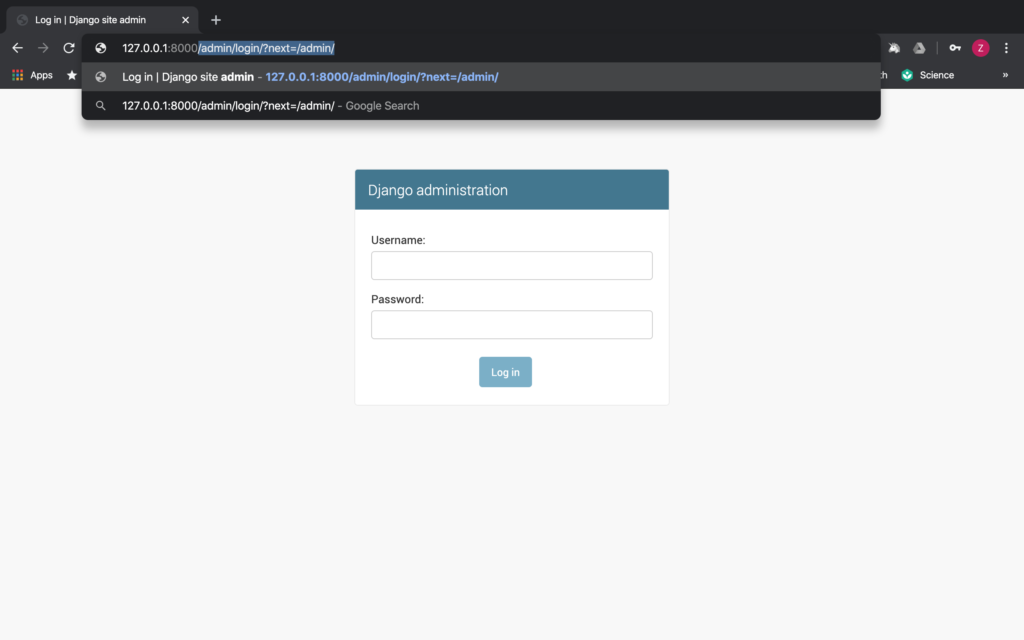
We don’t have ilovebacon/, but we have admin/ there on Line 20. Let’s try entering that in our browser like this:
And hit ENTER:

Cool! This page is so nice and simple. But let’s do something fun here.
/ilovebacon
What if I want to have /ilovebacon as a URL for this page, instead of /admin? That’s possible. But let’s first remove all of these from the URL:
After selecting, hit ENTER (which will automatically delete all selected items):

Nice. Let’s get back to urls.py and select admin:
Then change it to ilovebacon (or anything you want to have there):
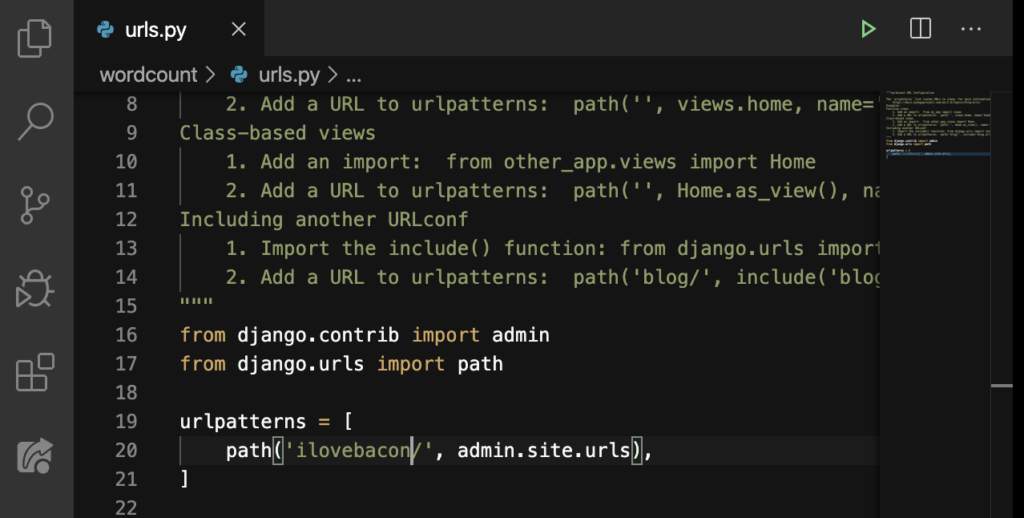
Save! Now let’s go back to our browser and add back the /admin:
ENTER.

Perfect. That’s perfect. Now, let’s change /admin to /ilovebacon:
Then ENTER:
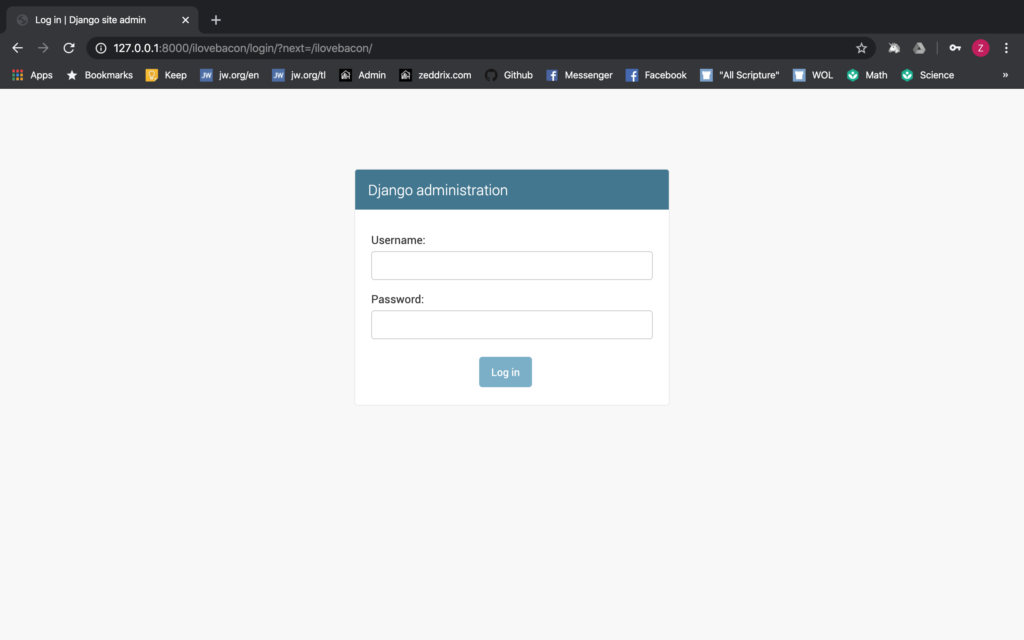
It worked! Unfortunately, we’re not gonna be working with this admin page, so we’ll remove Line 20 entirely:

DELETE:
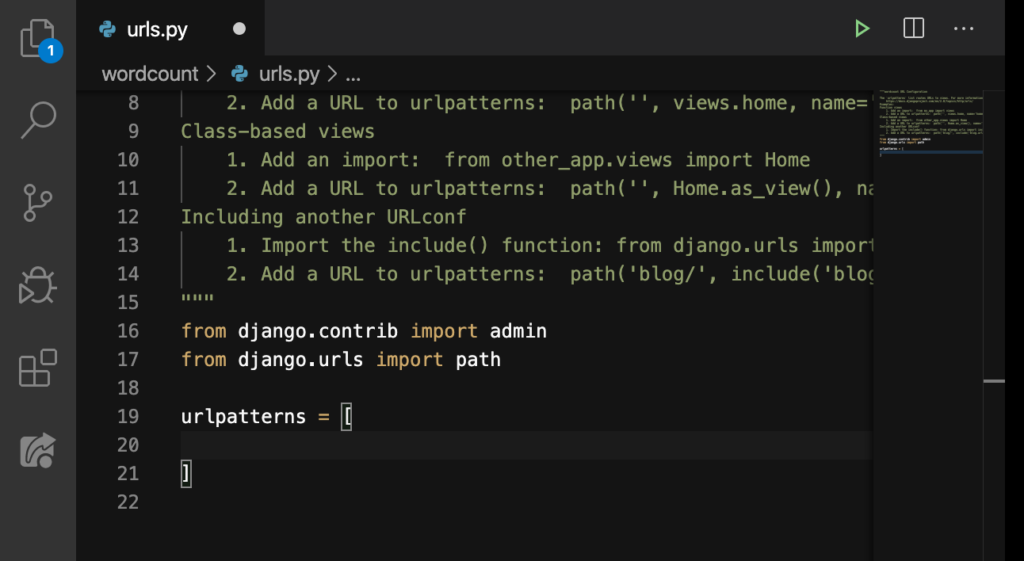
And we’ll also delete Line 16:
DELETE:
Good.
Our homepage
Let’s get back here:
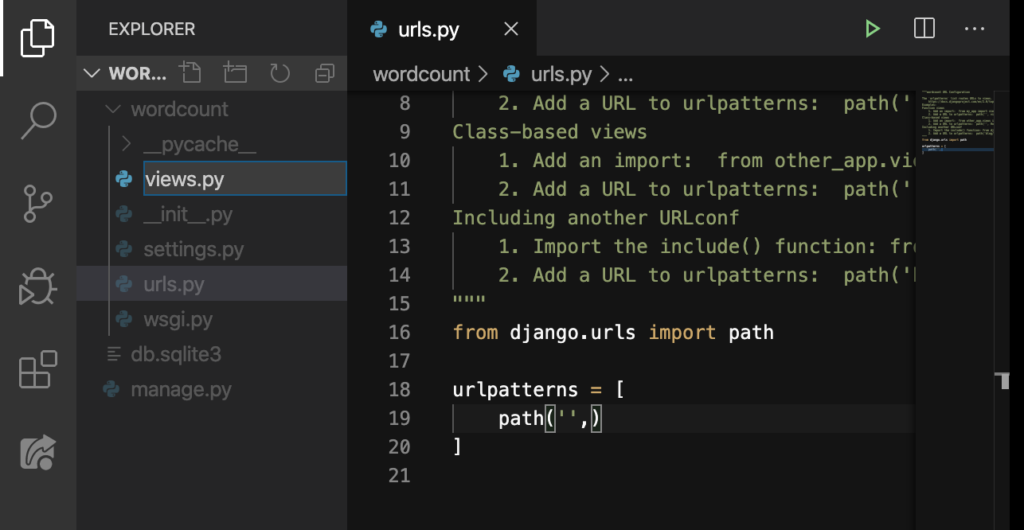
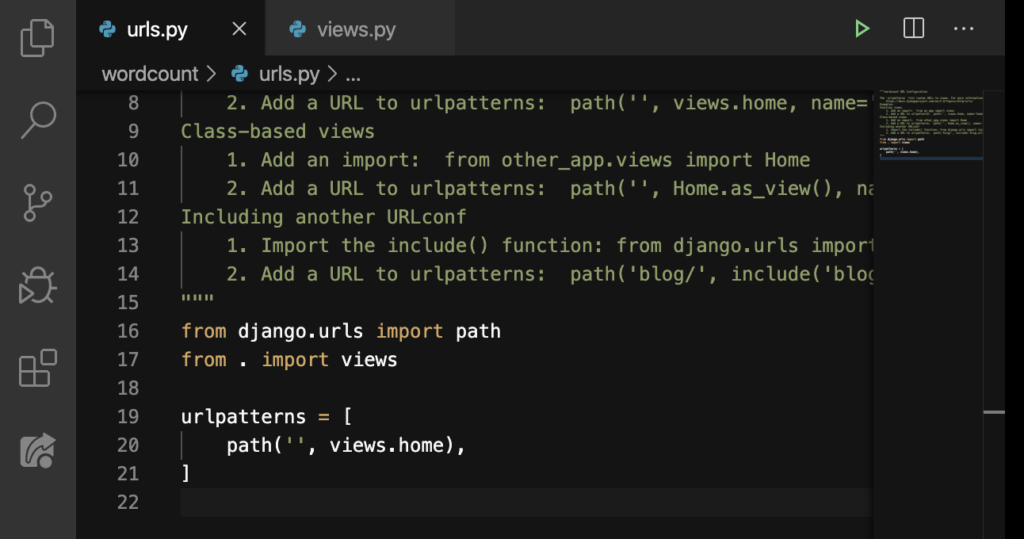
Okay. Then we’ll go to our urls.py to create a new path:
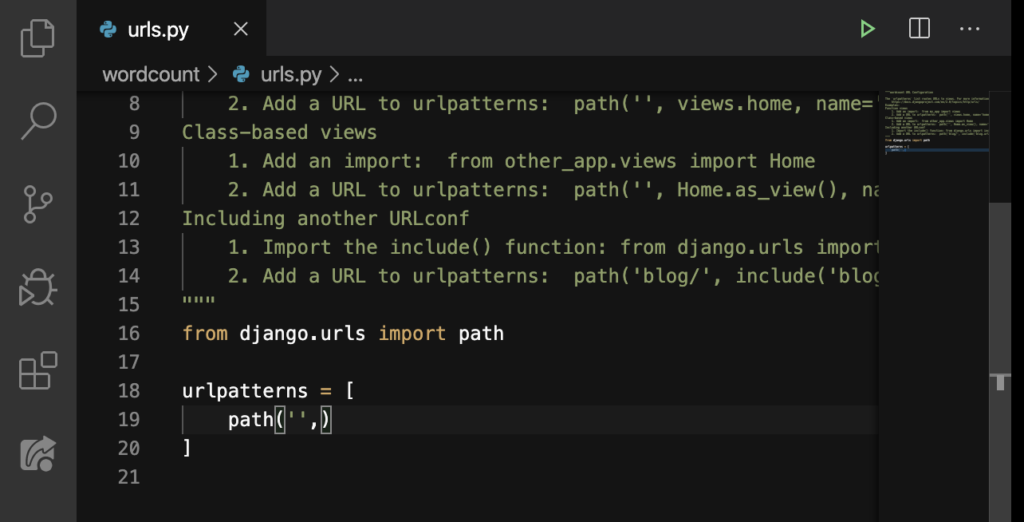
We typed path() and an empty string (‘ ‘). “Why have an empty string?” If a user didn’t type anything after our website’s domain (which is still http://127.0.0.1:8000/), what will get shown to them? Exactly! Our web’s homepage!
Although you have to know that we’re not done here yet.
views.py
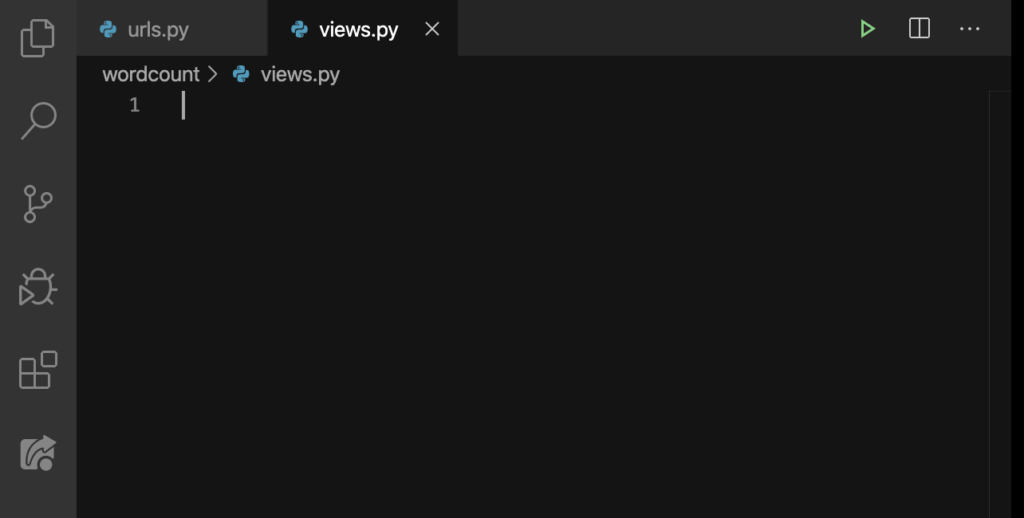
We first have to create a new file called views.py. You know how to do that on your editor:
Create:
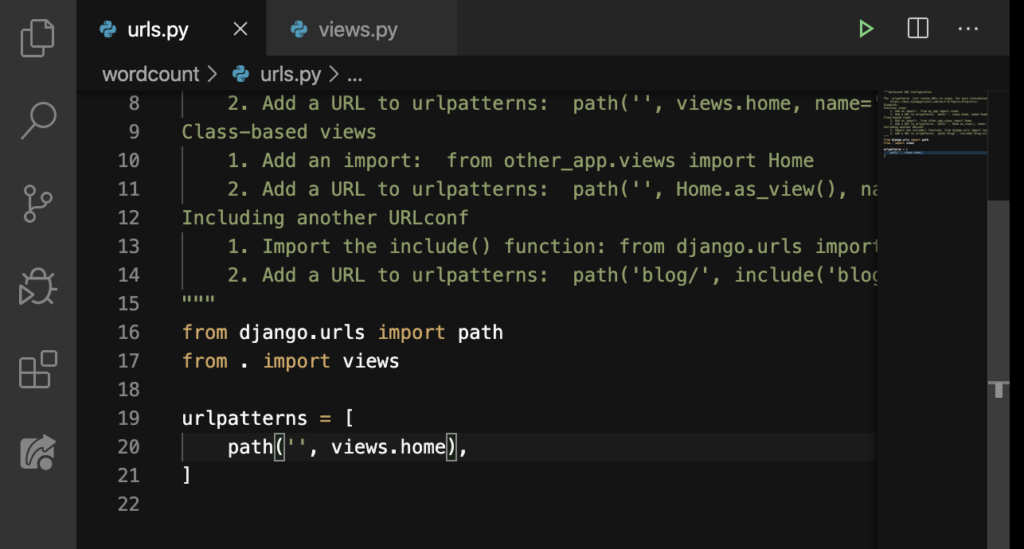
Good. After creating views.py, we’ll import this file on our urls.py by doing this:
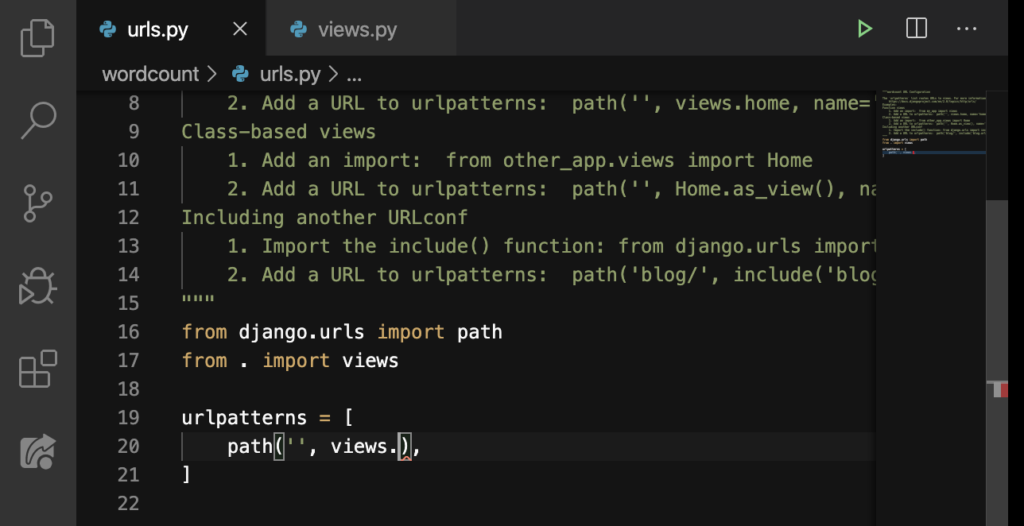
On Line 17, we said from . (meaning, ‘from this directory’) import views (which is our views.py). And then on Line 20, we added the name of our file and a dot. Then there should be the name of a function after that dot. So, we’re not done here yet ’cause we haven’t put any functions inside our views.py.
home
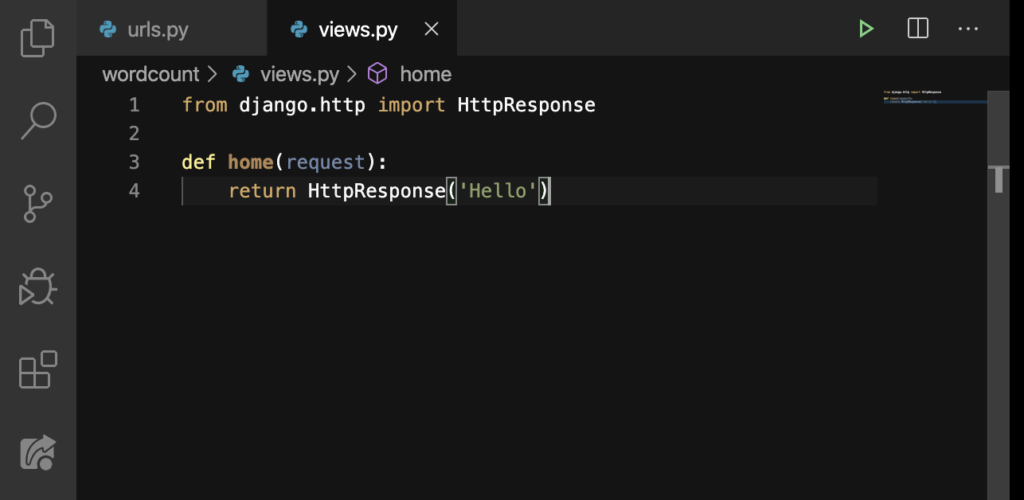
So on this file (views.py), we’ll define a new function:
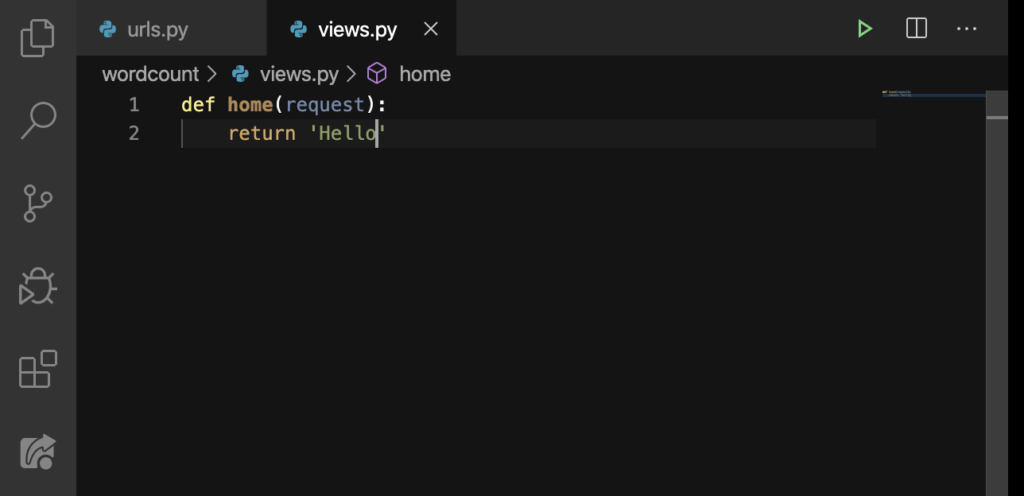
Our function’s name is home and we have request as its parameter. Finally, we did a return to return the string, ‘Hello.’ Finally, we could add the name of our function here on urls.py‘s Line 20:
Let’s go back to our browser (and make sure our server is still running) and hit f5 (on Windows); Command + R (on Mac):
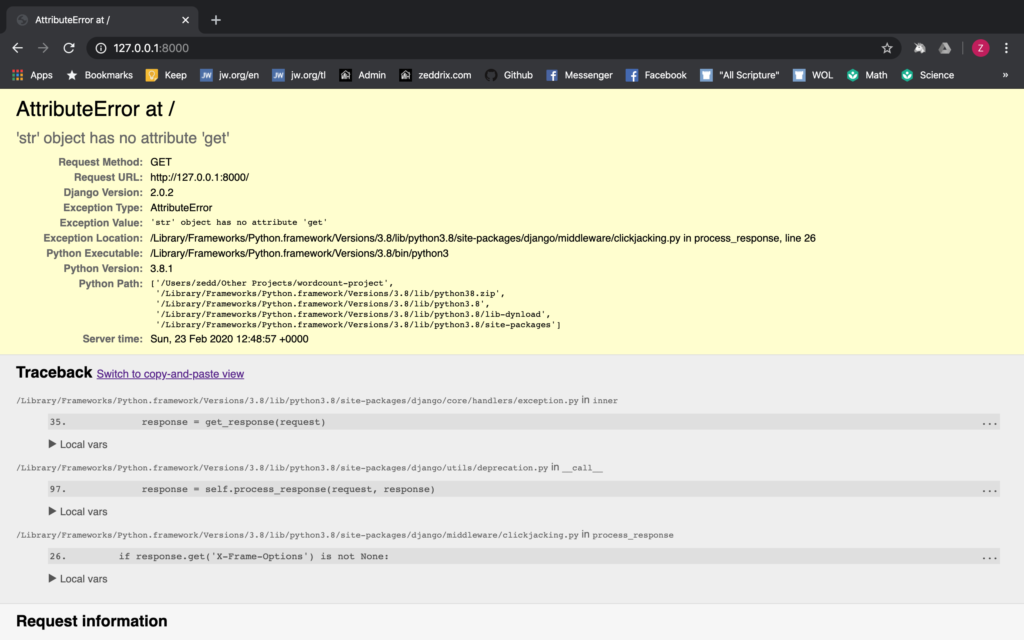
“What? What happened?” We didn’t get anything because we can’t just simply send a string back from our function (home).Rather, we should also have an HttpResponse.
HttpResponse
If you’ve clicked on that reference that I gave you just a while ago, you’ll notice that this was missing. So let’s click on that reference and see what it says:
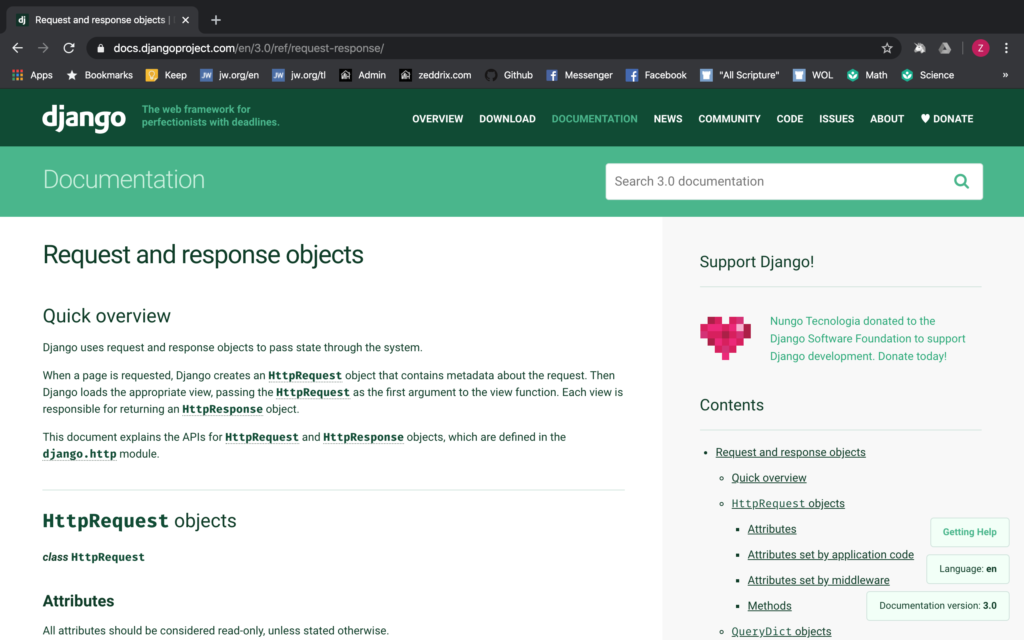
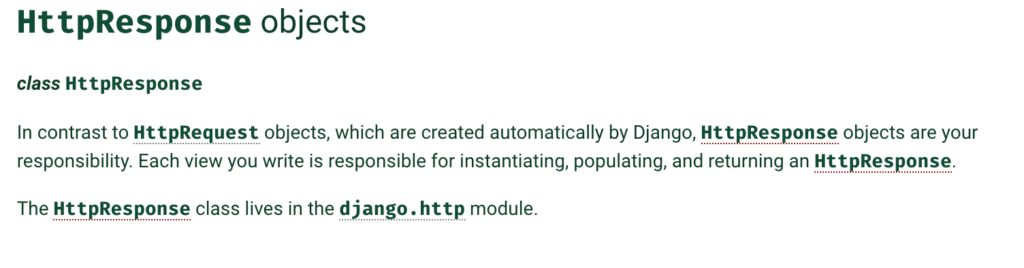
It says Each view is responsible for returning an HttpResponse object. True. But what does that mean? Just click on that HttpResponse link and we’ll see:
So, this HttpResponse is really our responsibility. But how do we apply it on our code? Type these in:

What we did on Line 1 simply allows us to have some package like an HttpResponse. Then on Line 4 (we did it right this time), we added HttpResponse. Lastly, let’s go back to our browser and refresh:

Yes! We did it! Before we conclude this lesson, I’ll ask you a question: Did you understand the flow of our code? If not, that’s okay; I’ll explain everything.
The flow of our code
Someone types in the URL of our website on their browser:

And then they pressed ENTER. That URL came through our urls.py:
And our file says: “Did that URL given to us match anything here? Oh! It matches the empty string here. Good. Now, I’ll send them to views.py‘s home function that is over here”:
“Right. There’s the function home that we’re looking for. Oh, and what this function will do is return Hello:

Yes! That’s tiny.
‘home’ into ‘homepage’
I just want you to know that we can change some things here. I don’t want you to feel that you have to do things exactly the way I do them. For example, if you want to, you can change our function’s name home to homepage, or anything that you want (that’s appropriate):
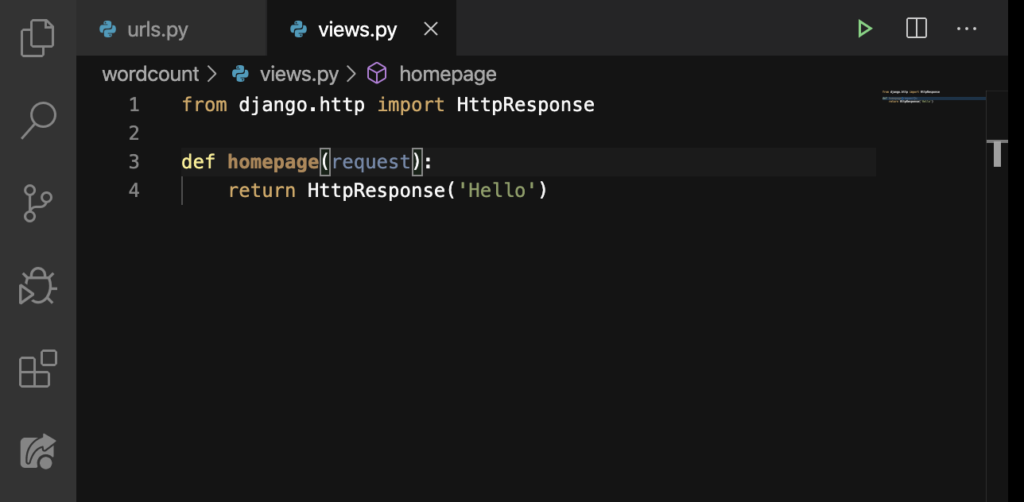
Note, however, that if you change the function’s name on our views.py, you would also rename that same function we’ve indicated here on our urls.py‘s Line 20:
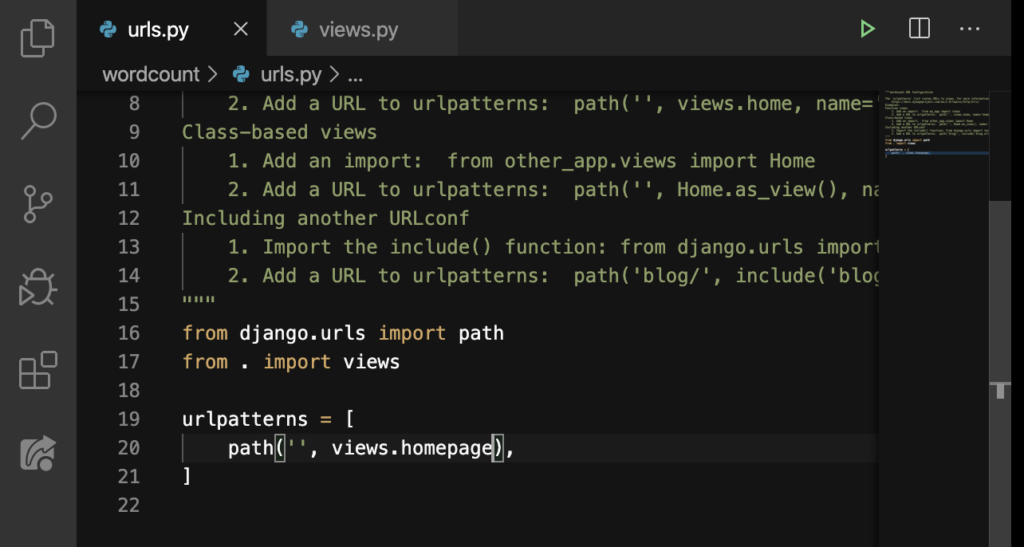
Let’s see if this works:
Excellent! Now let’s create another URL and let’s give it its own page.
/bacon
For example, if a user adds /bacon on the URL. If I do it right now:
ENTER:
We don’t have that of course. But, let’s go back here on our urls.py and create a new path for bacon:
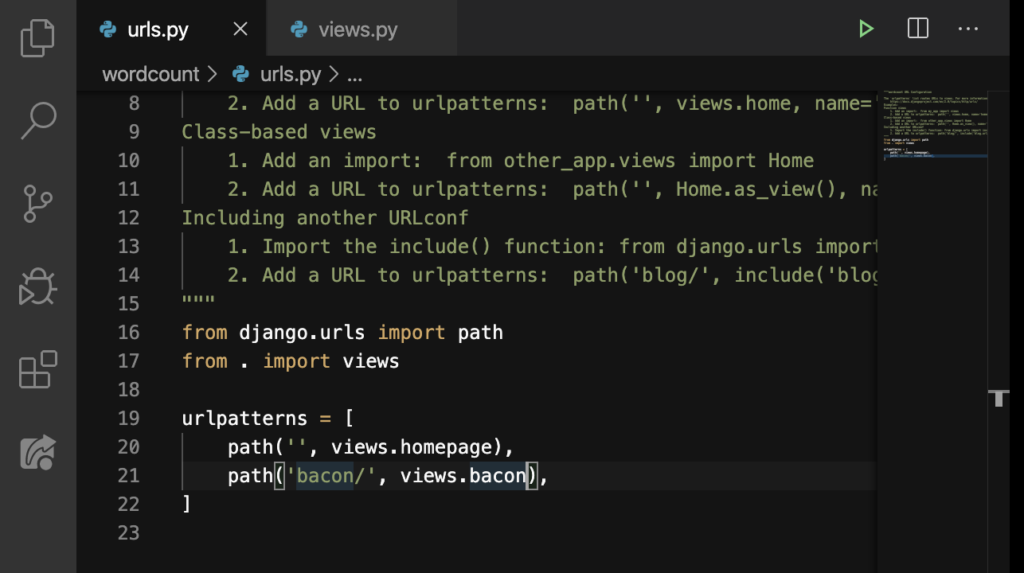
Make sure that you have a comma(,) between these two paths because we want this to be a running list. If someone gives me /bacon in the URL, we want to send them to the function bacon (which we haven’t defined on the views.py yet).
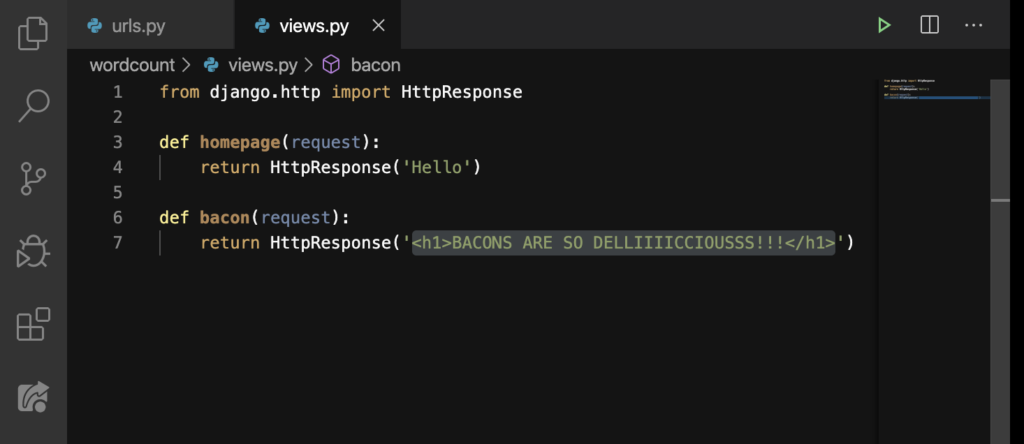
After saving that, let’s go to the views.py to make bacon a function:
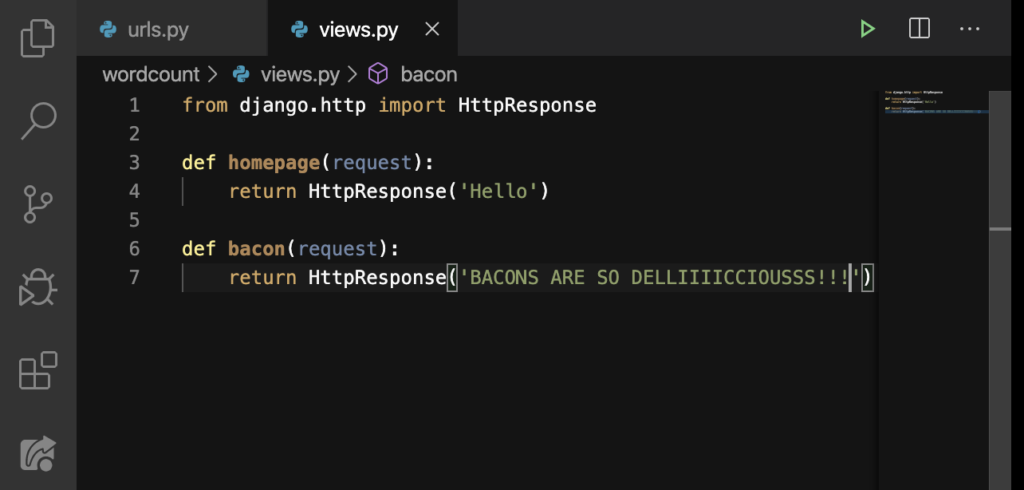
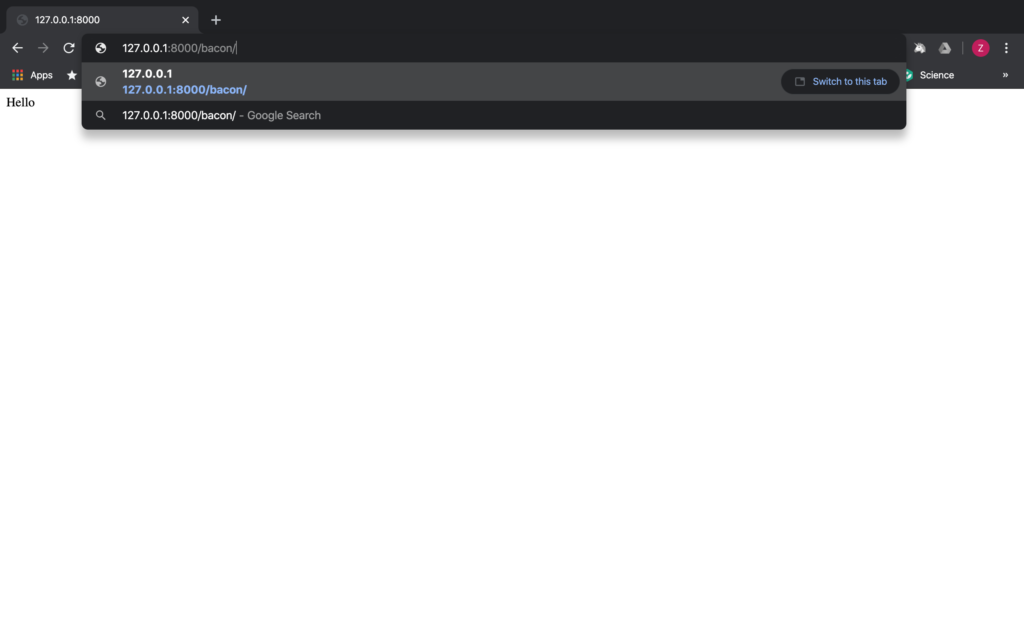
Now, we’re ready to run this again on our browser with the /bacon on the URL:
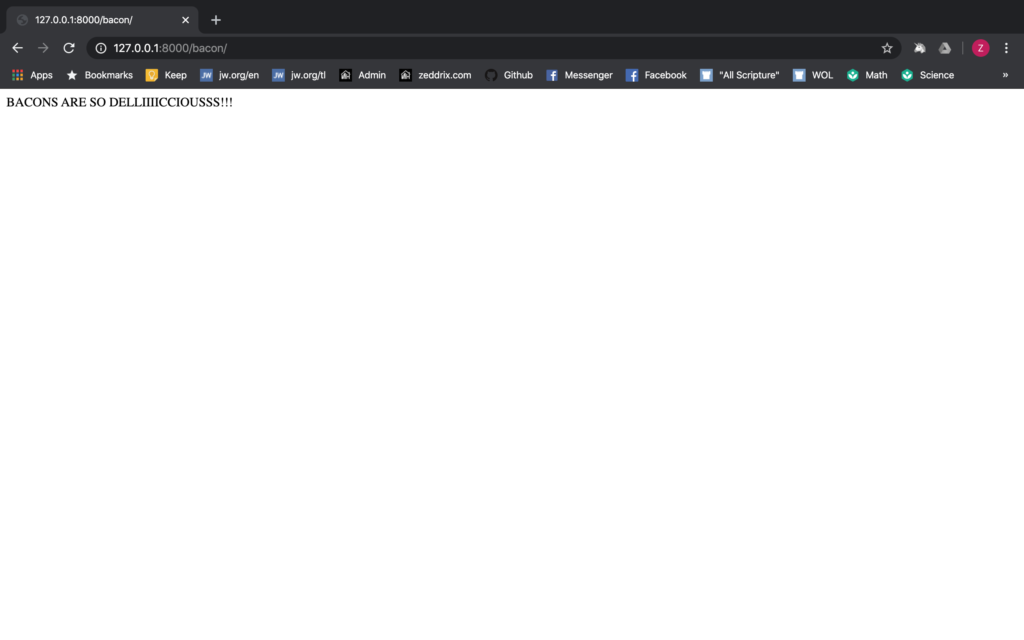
Boom! This is a great way for us to send back a text and some HTML, but how?
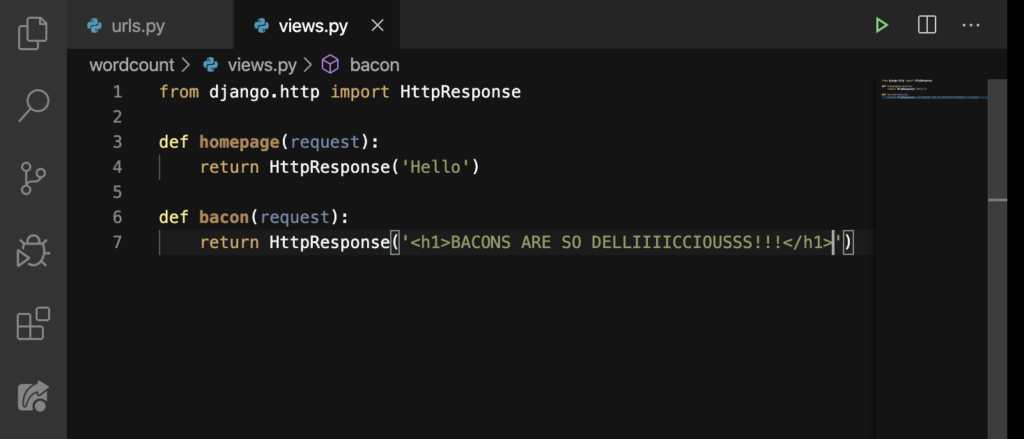
HTML Inside a Python file
Let’s go back to views.py and put some heading tags with our text in between:
Refresh:
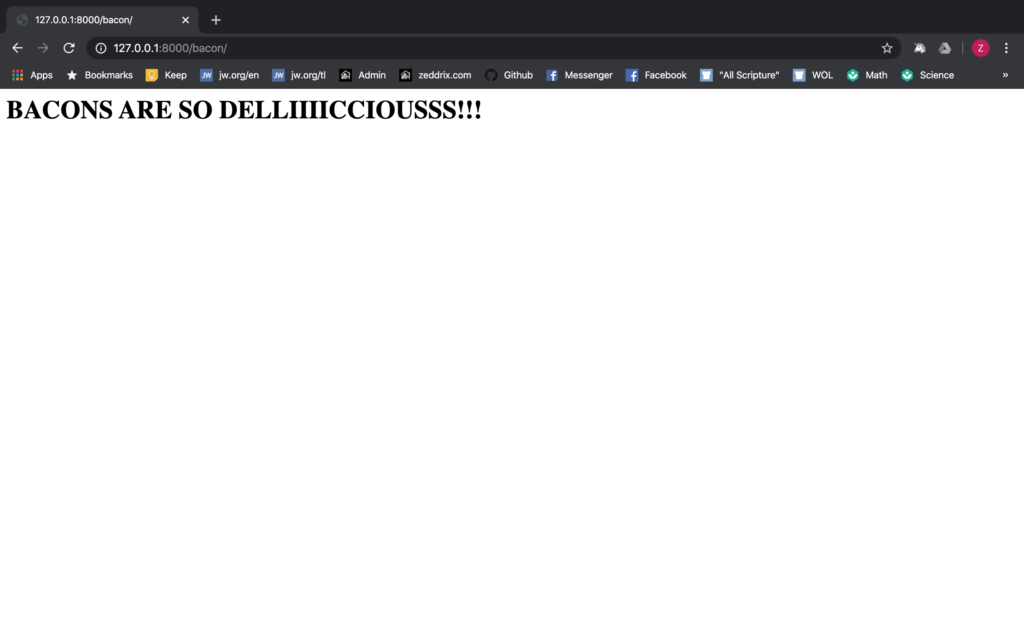
Cool! So if a user enters our homepage URL:

And then they wanted to go to the bacon page:
And hit the ENTER:

This is so nice because we now have two URLs and two pages in Django! And that’s it with URLs in Django. However, we don’t want to put all the HTML here on our Python file. Can you imagine typing down your whole HTML document right here inside this string?
That would be so horrible! Rather, we want to have a separate file for HTML so that everything is clean. But how are we going to do that? We need some templates and that’s what we would be talking about in the next lesson.