Previous Lesson: Lesson 6: Running Our Django Server
Let’s have a tour in our Django project! Know about the importance of manage.py, settings.py, and many other parts of this new-made project!
Renaming our Django Project
Before we have this tour in our Django project, let’s first rename our wordcount folder:
Note: That’s the outer wordcount folder, not the one inside it.

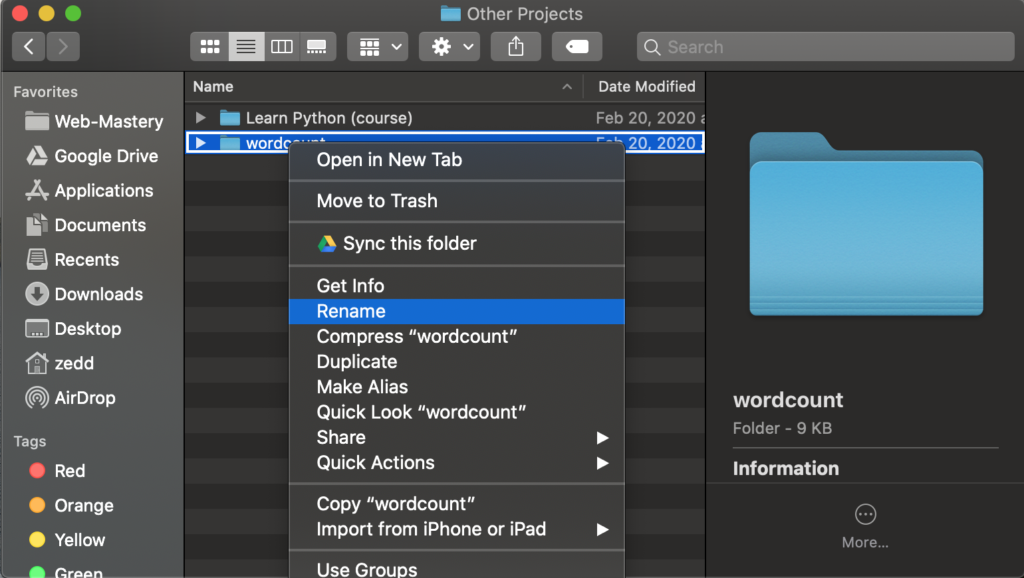
Click on the wordcount folder, and then press f2 if you’re using Windows; ENTER on Mac to rename this to wordcount-project. Or, on any operating system, you could simply right click and choose Rename:
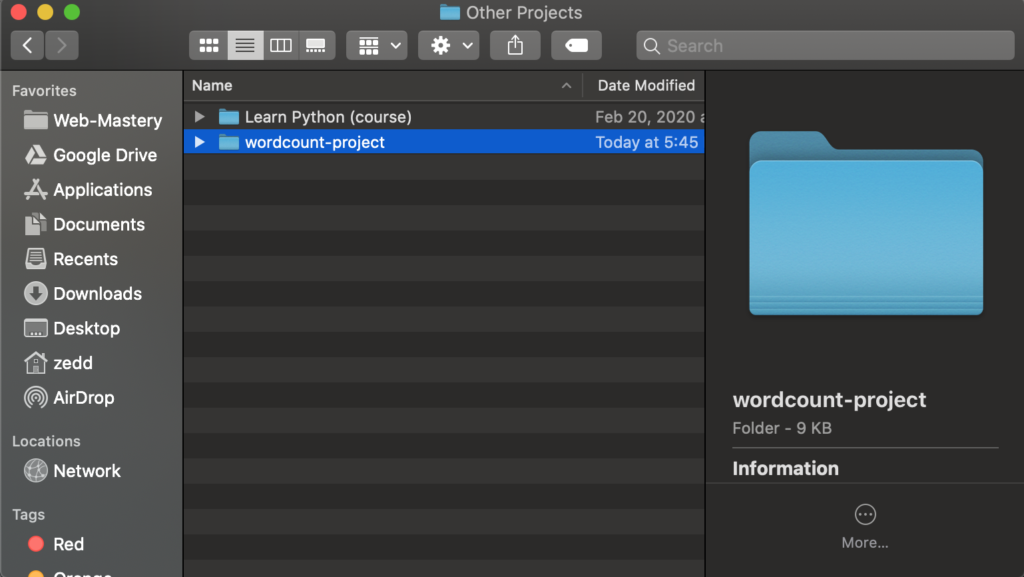
And then we’ll rename it to wordcount-project:
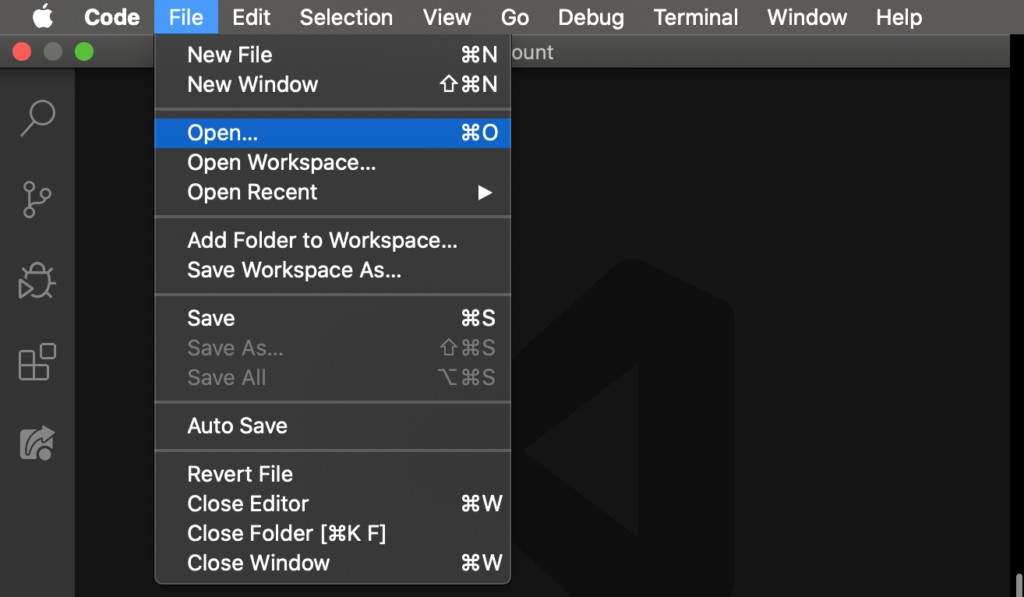
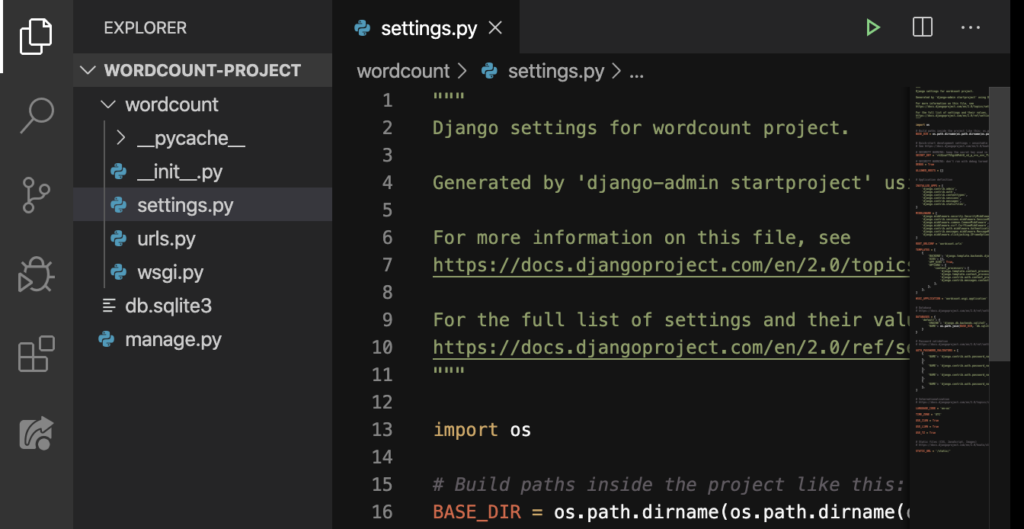
Good. Let’s go to our text editor and Open this renamed folder:
By the way, do you understand why we renamed this folder in the first place? That’s because this will help us distinguish the outer folder from the one inside it, which also has the name wordcount.
Open.
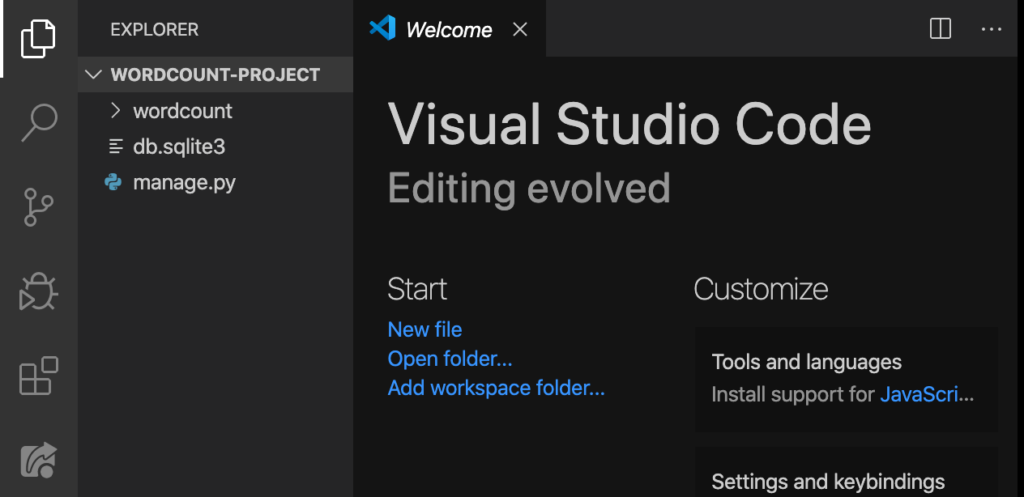
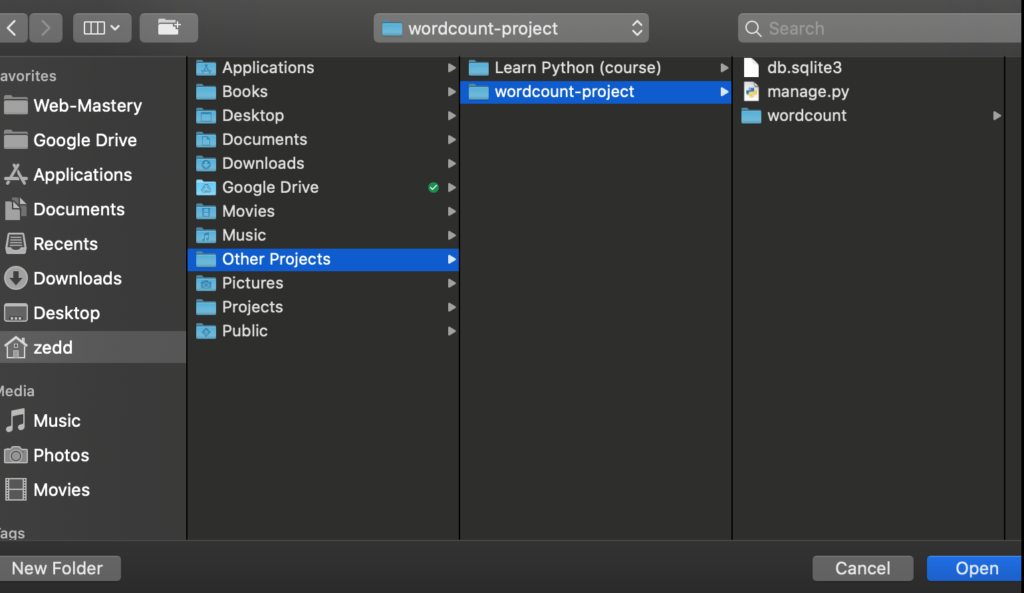
Nice. We can now see the wordcount, db.sqlite3, and manage.py. Let’s start with the manage.py.
manage.py
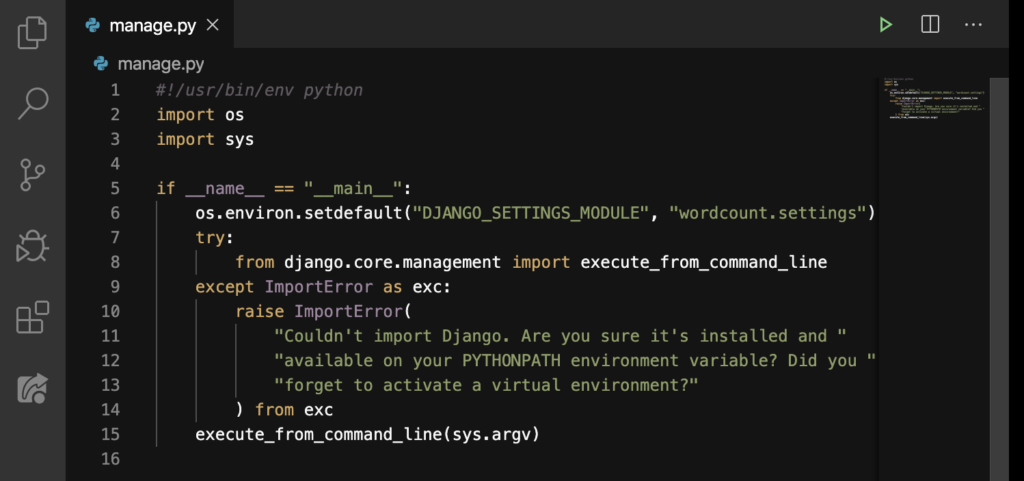
What’s this for? This file makes running our server possible. Additionally, this lets us do “top-level admin” things. For example: Open up the Terminal and type python manage.py help:
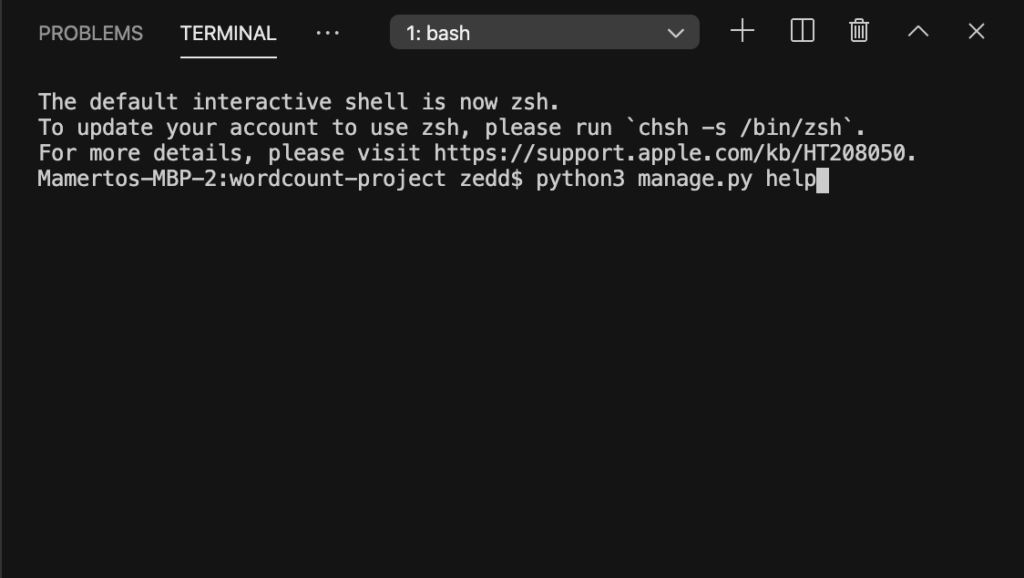
Then press ENTER.
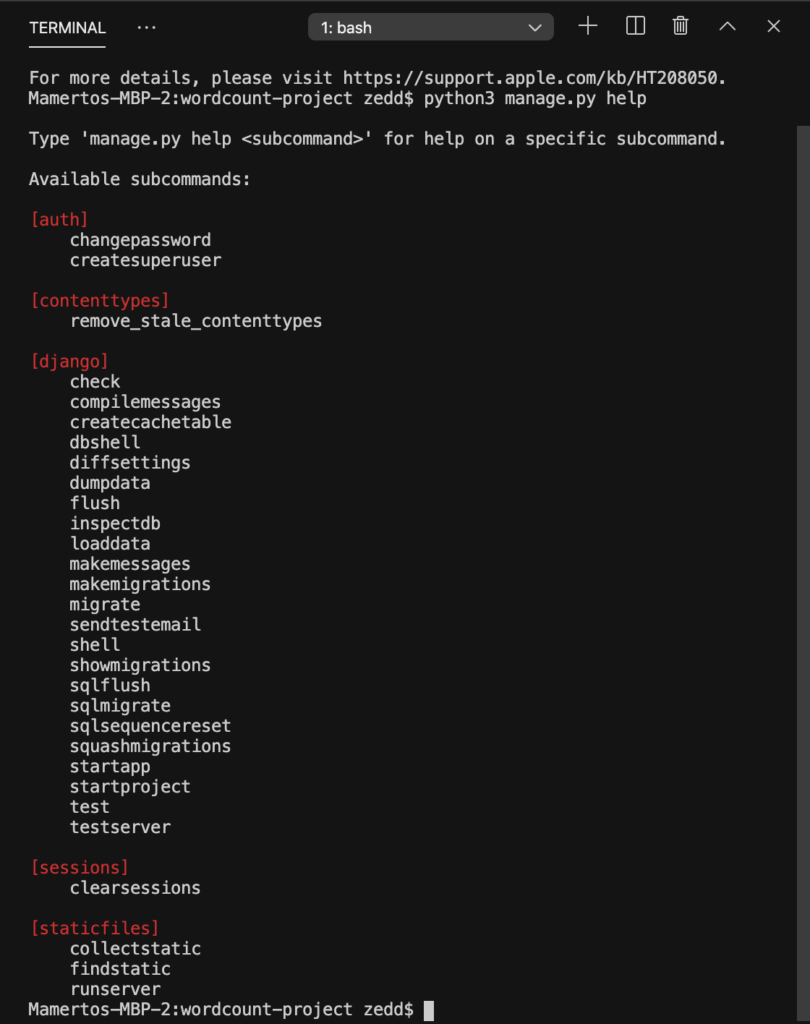
These are all the different things manage.py can do. An example is the collectstatic, which we use when working with files. That startapp is great for creating a new application. In the meantime, we’ll be using runserver.
Warning: Never edit the manage.py file, unless you are a django expert and there is a need to do so.
db.sqlite3
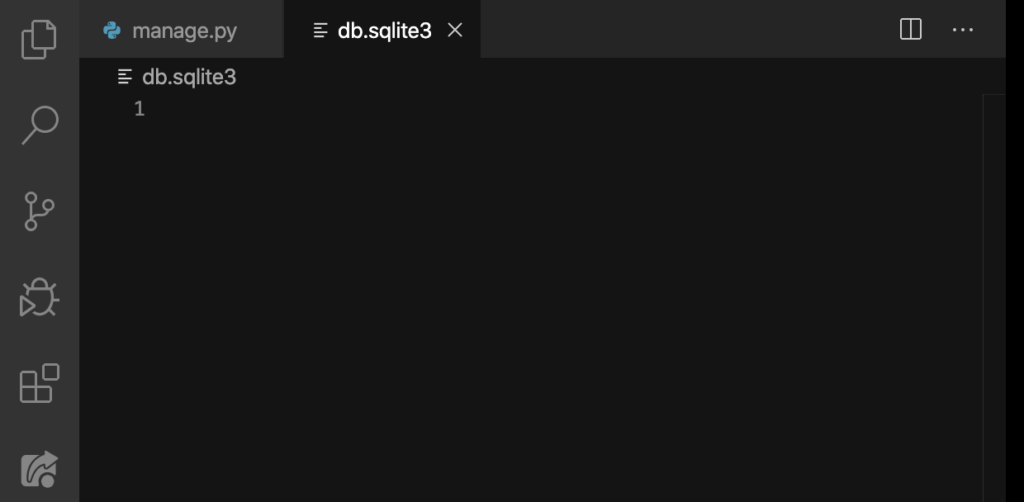
“That’s empty man.” Yeah, I know. But this file is a database. Also, it is auto-generated whenever we create a new project. Before, you’ll notice that this was not here when we first run the server.
So when did this come about? It was auto-generated after we’ve created the server. We’ll talk about the different types of databases on our second website. In the meantime, we’re not gonna touch it. For the moment, let’s move on to wordcount.
wordcount
I’ll tell you that this file here is the real money-maker. We’ll discuss its parts from top to bottom. Let’s start with __pycache__.
__pycache__
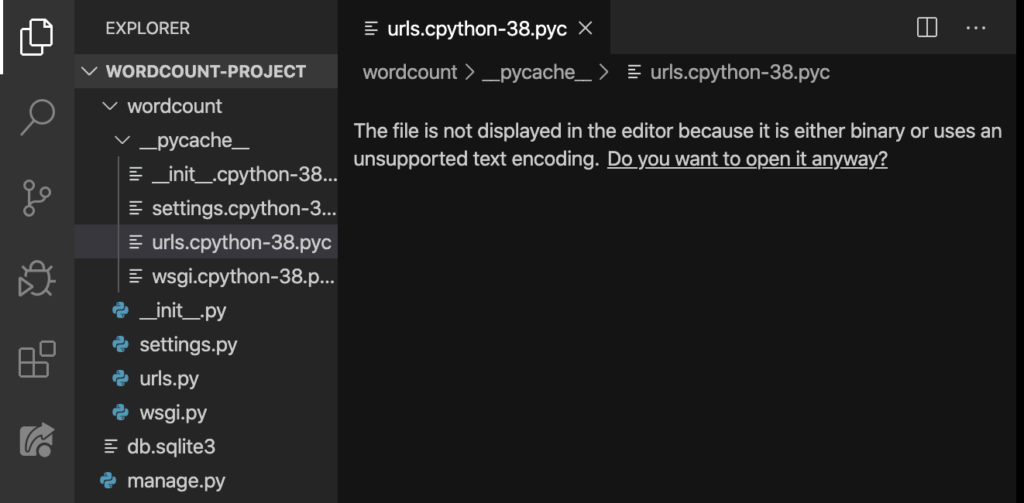
Like the db.sqlite3, the files inside this folder are all auto-generated after we’ve run our server. But, as you can see, Visual Studio Code here says that this is binary. Nonetheless, let’s open it anyway:
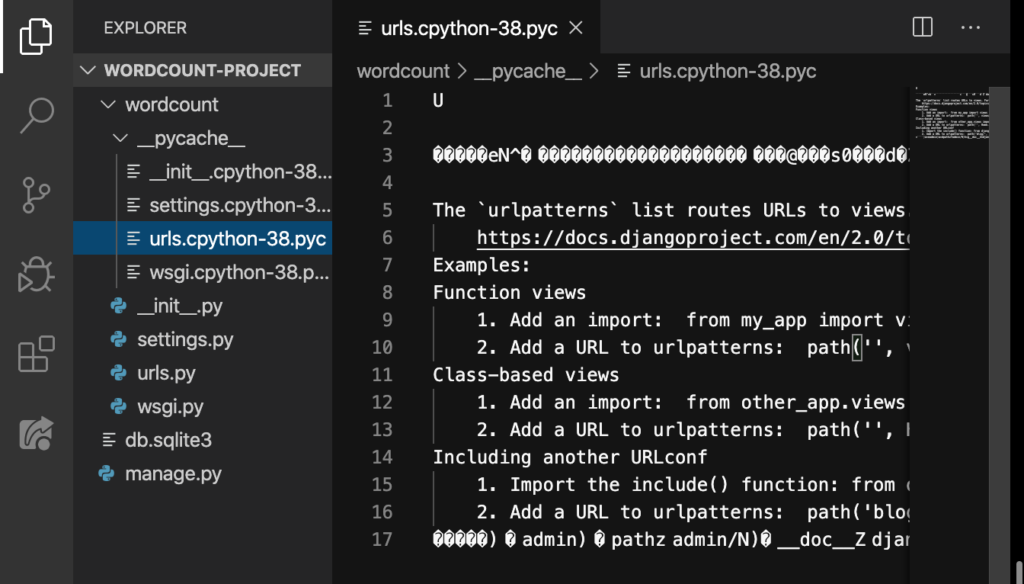
See? These are just internal files, which means we don’t have to worry about this file. Let’s move on to the next file: __init__.py.
__init__.py
This file is an advanced Django thing. We will not touch this. Don’t worry about this file either. But if you are still interested to know what this file is for, you can chech this reference. Moving on.
settings.py
Take note that we’ll be touching this file a lot while we are working on our project. There are at least 120 lines of code in here. But don’t worry, we’ll talk about each.
BASE_DIR
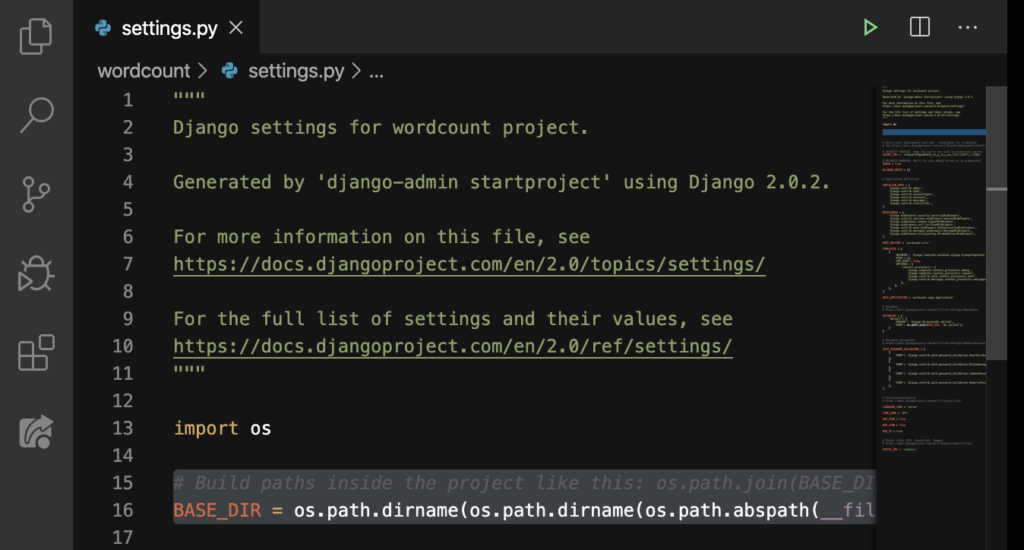
The base directory of this project is located here.
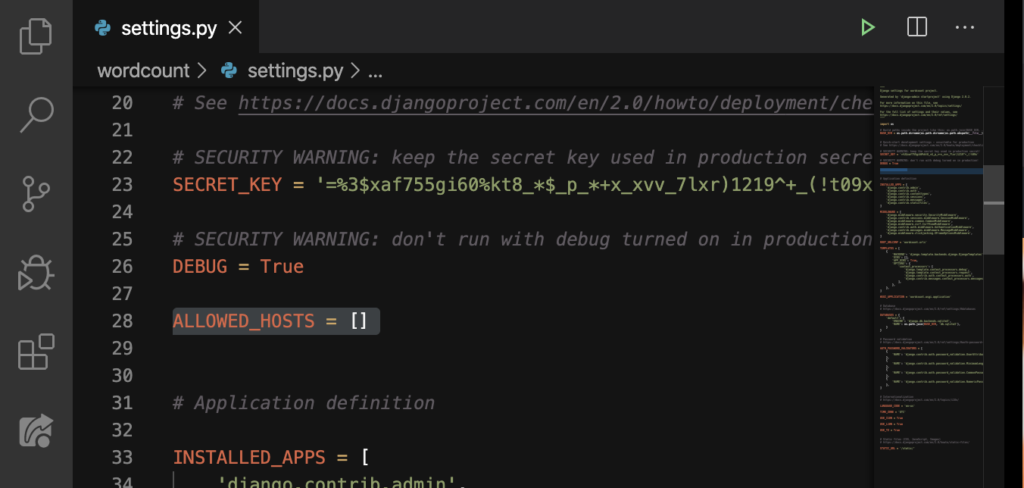
SECRET_KEY
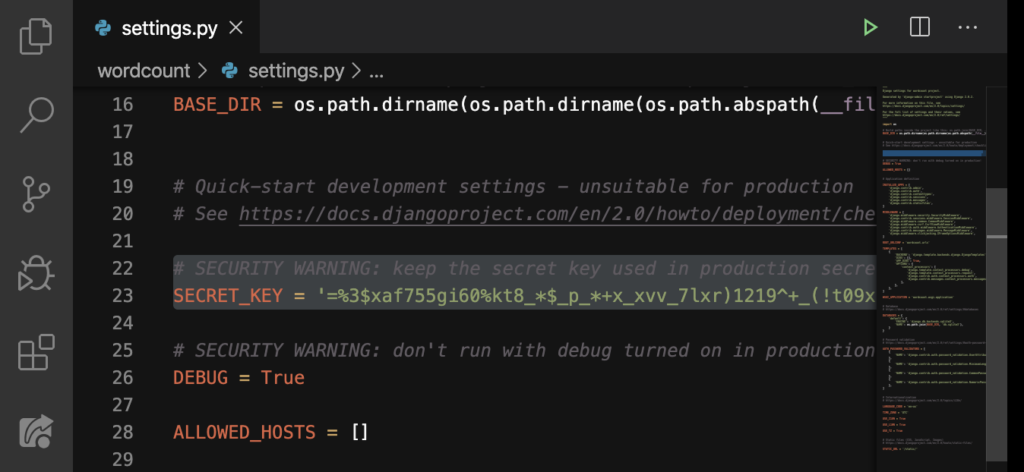
As you can see yourself, there is a secret key here, which means you should not show this to anybody, it’s a secret. Yet, you saw mine, but I’ll change it later anyway. That’s right, you can always change your secret key, especially when someone figured out yours.
DEBUG = True

This will ask for confirmation about working on a developing environment on your computer. This is important. For example, let’s run the server by typing python manage.py runserver on our Terminal, then press ENTER:
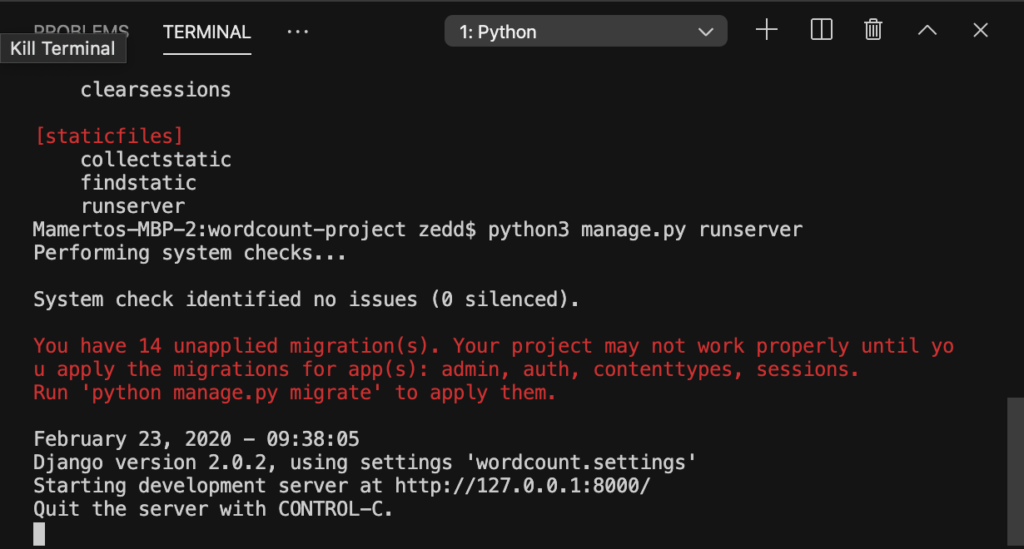
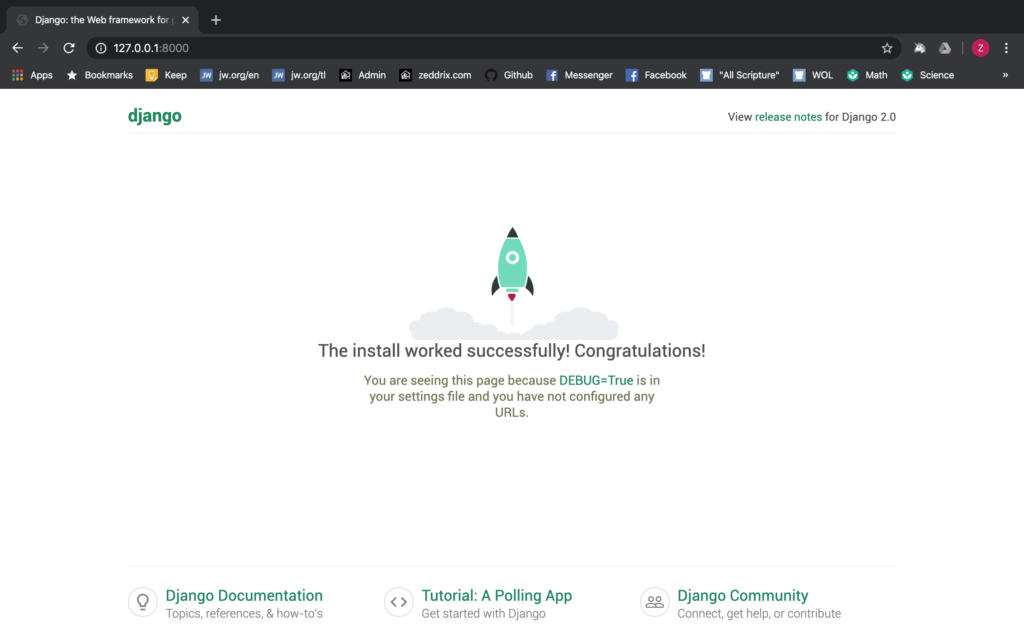
Afterwards, take a look at your browser:
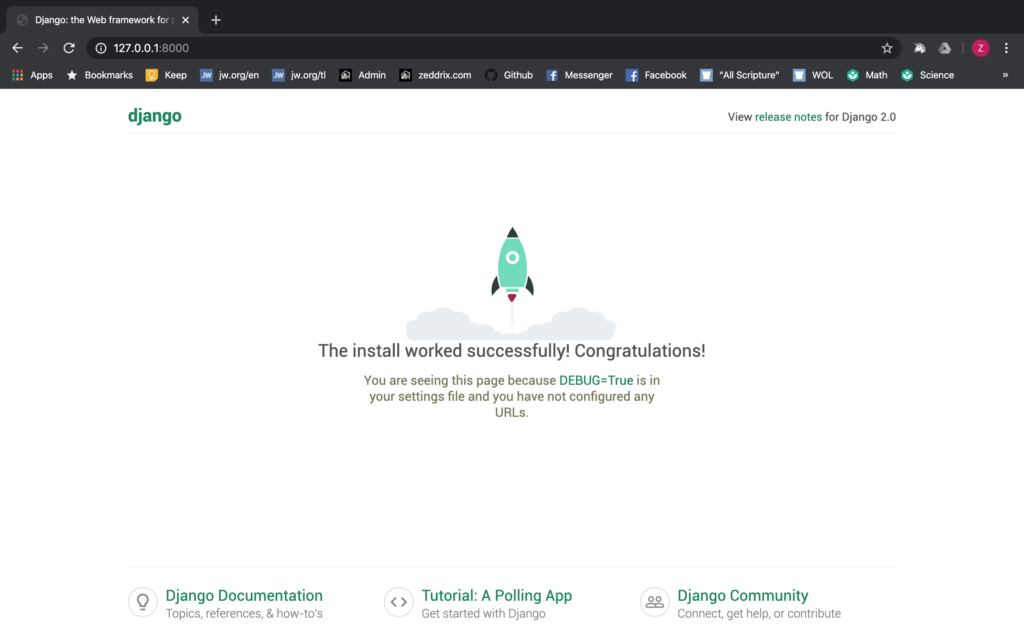
I know that we’ve already saw this from our previous lesson. But, I’ll show you something that you can try. Go ahead and type /hello after the :8000, like this:
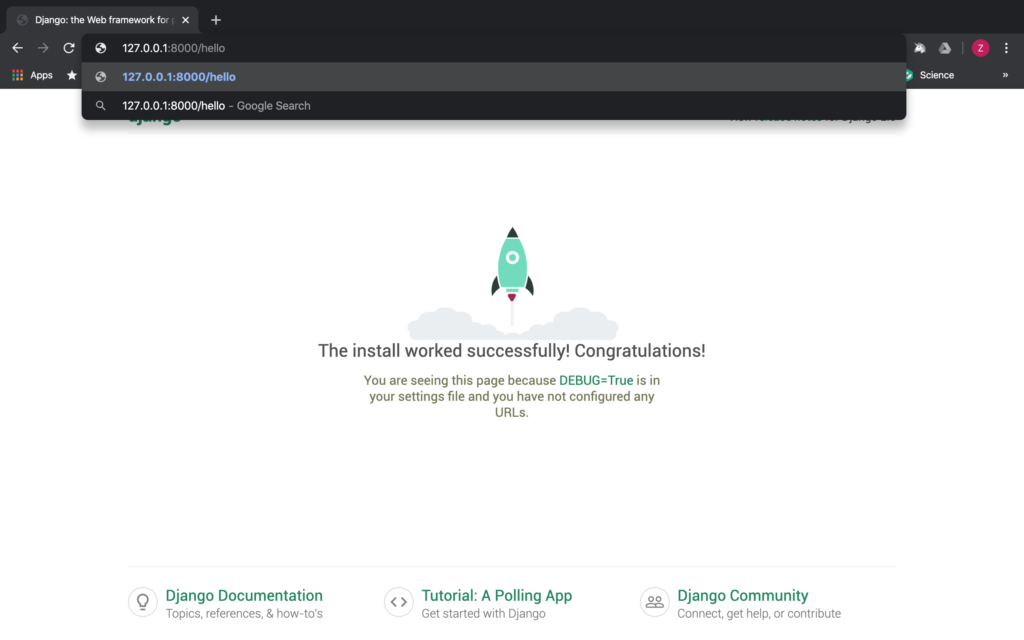
When we hit ENTER:
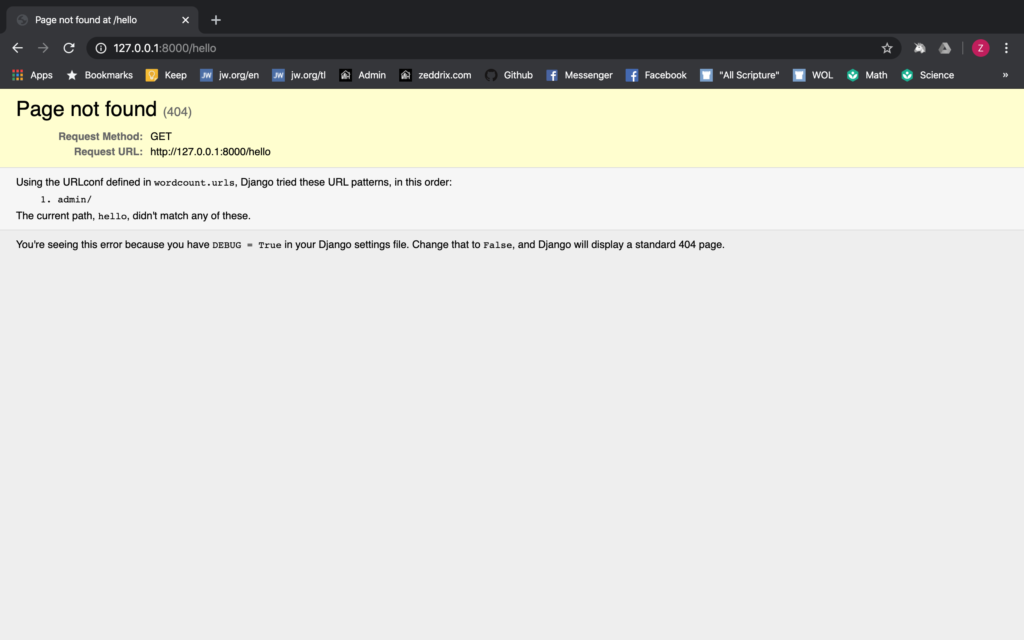
When DEBUG is equal to True, these details about our website will be shown to them. Working with these can be very helpful and informative about the problems and issues in our code. In that way, we’ll know how to solve these problems. So let’s move on to the next one.
ALLOWED_HOSTS
We’ll talk about this on the second website.
INSTALLED_APPS
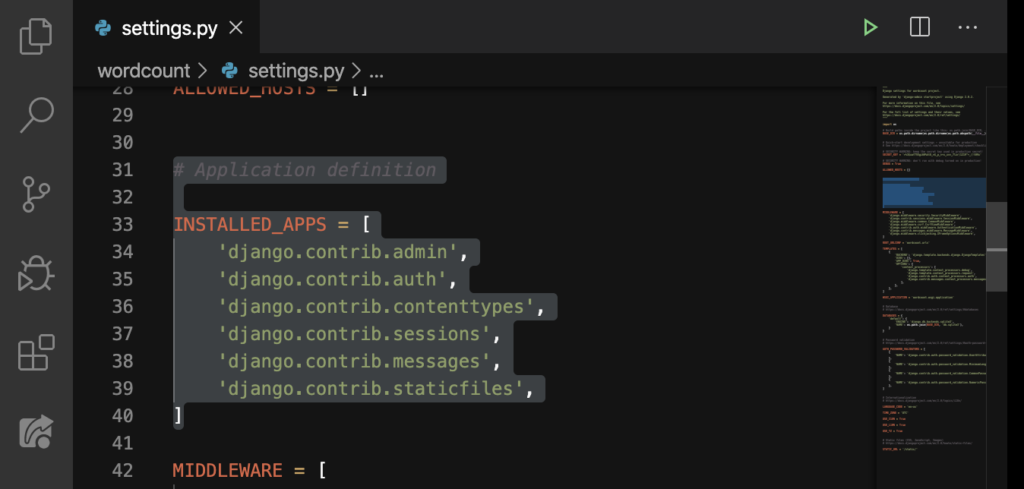
We’re gonna learn about apps (applications) on the second website.
MIDDLEWARE
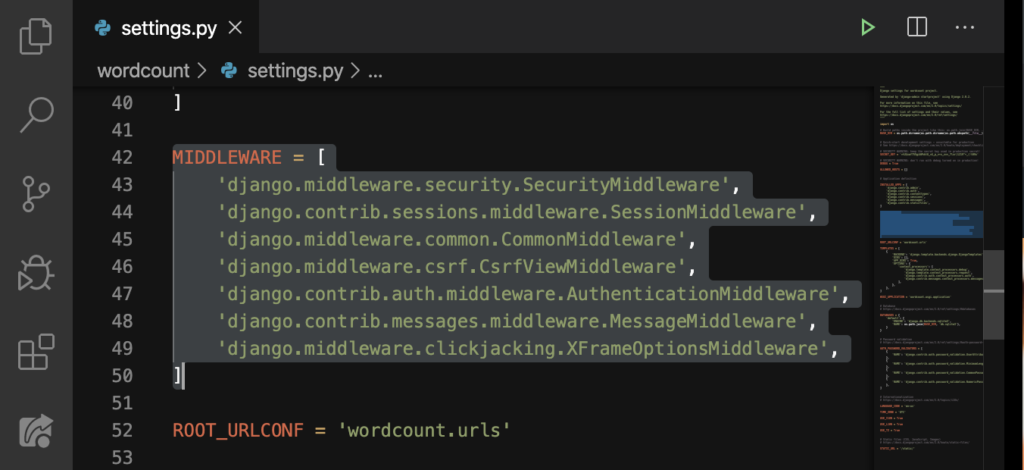
This is advanced stuff. Just think of this as auto-generated code by django. We’ll leave it as it is.
ROOT_URLCONF
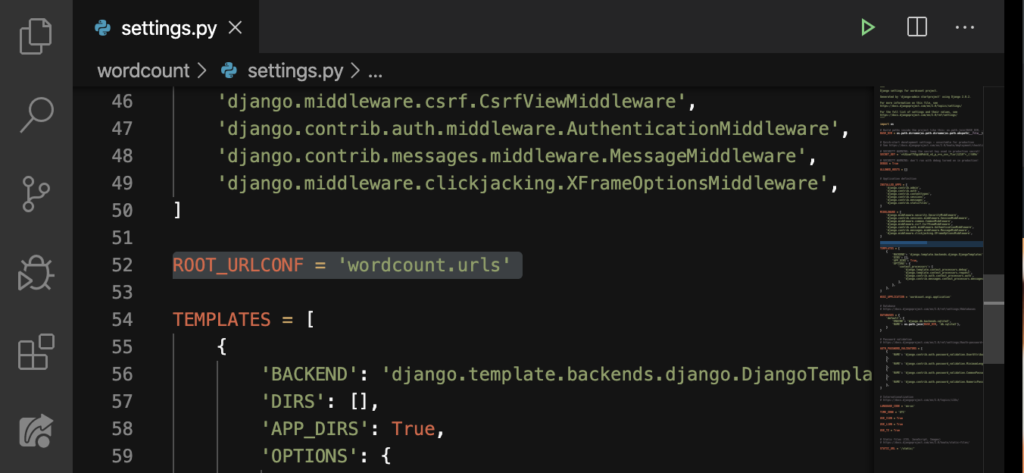
This says where our URL file is.
TEMPLATES
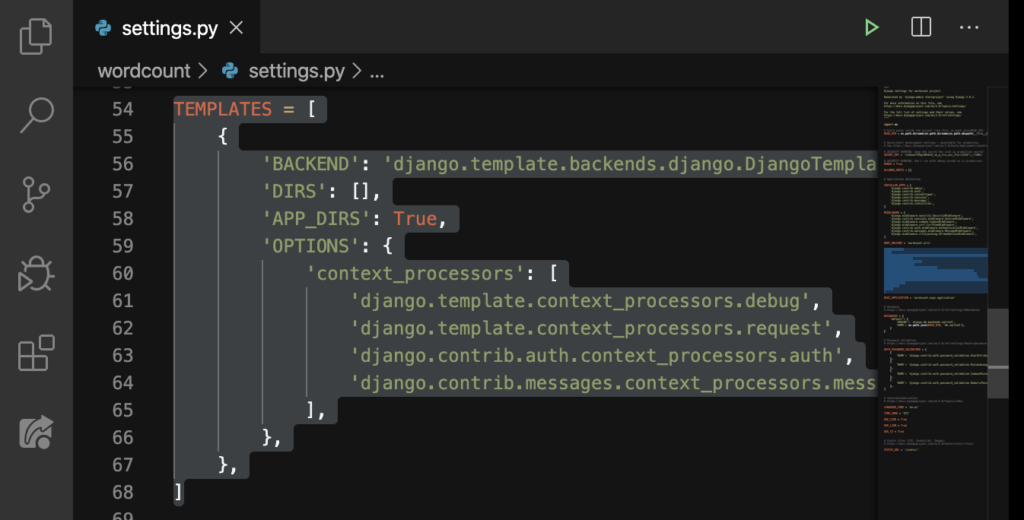
This turns our python code into HTML. When someone searches a certain website, the HTML will get displayed for them. Let’s get back to our website and remove /hello, then hit ENTER.
Good. Then press the right mouse button (right click), and then click on Inspect Element. Or, you can hit Ctrl + Shift + I if you’re using Windows; Command + Option + I on Mac:
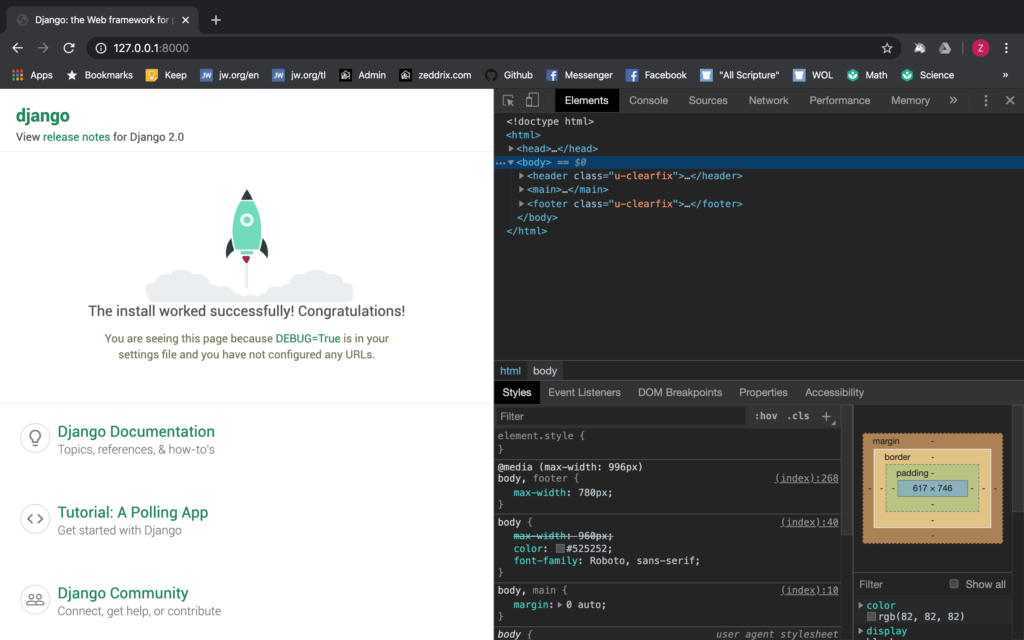
Good. That’s HTML and CSS. We’ll never mind that now. You can study these two on your own time. But, what I want you to do is to hit Ctrl + U if you’re using Windows; Command + Option + U on Mac:
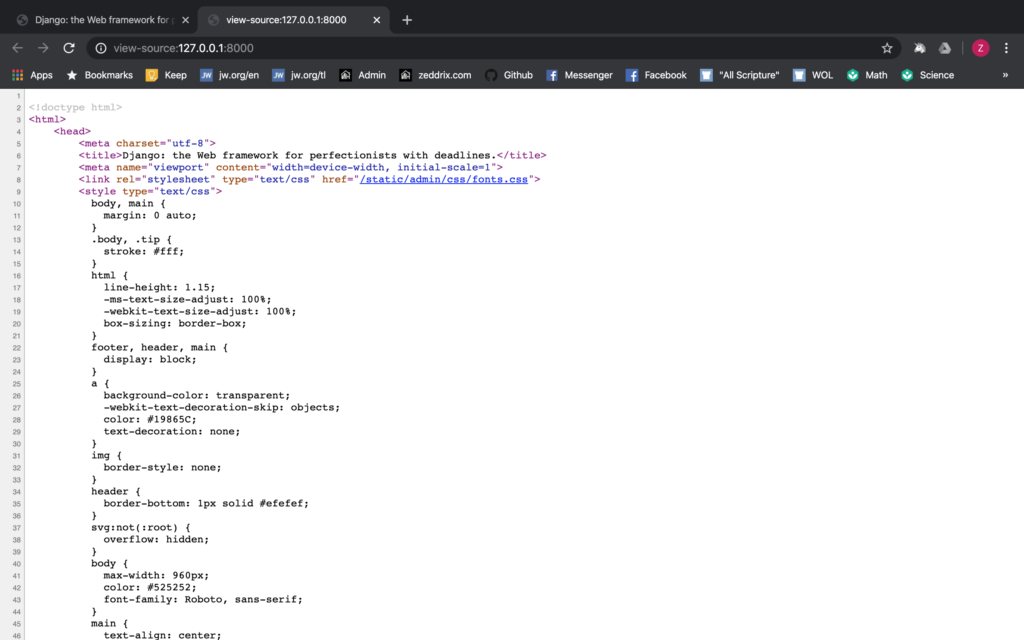
This is HTML and it is opened by our browser in a new tab; TEMPLATES makes all of these possible. Alright, let’s move on to the next one.
WSGI_APPLICATION
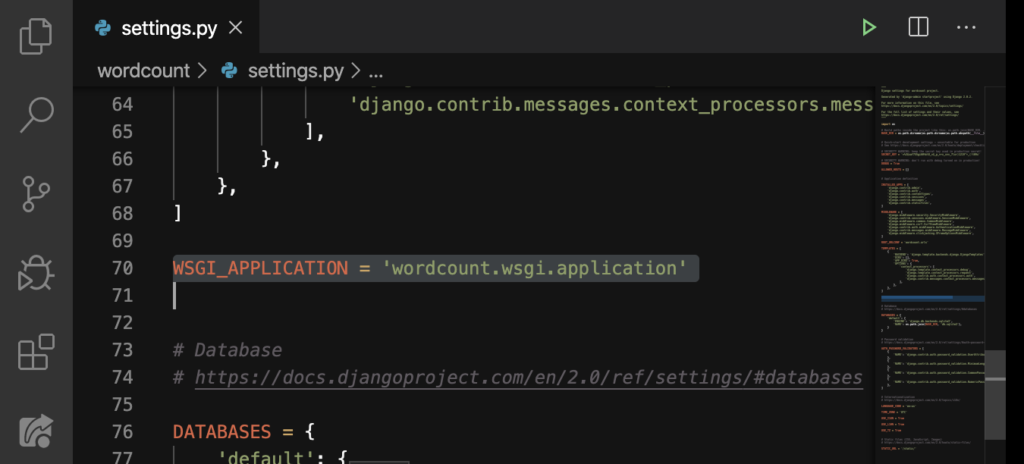
This is used when hosting our website live; pretty much on how all other people can connect with the website. The wsgi.py file is connected to this.
Okay, let’s move on.
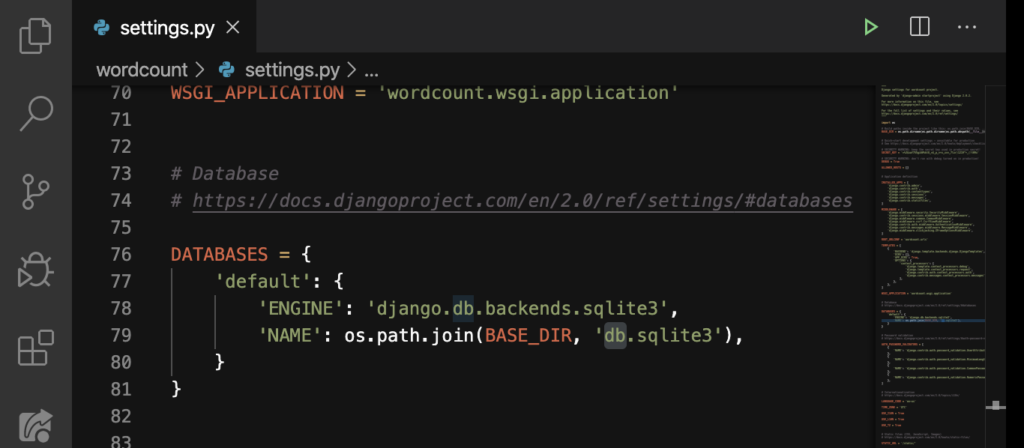
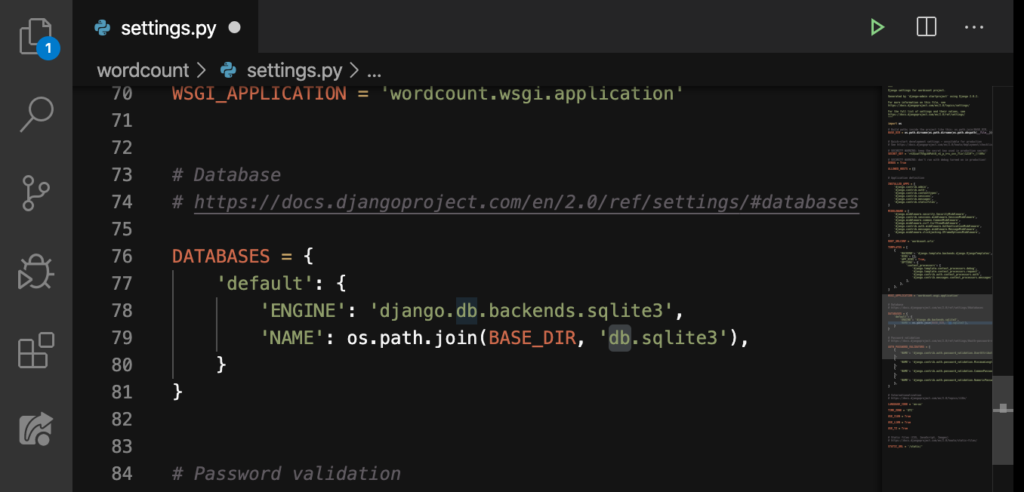
DATABASES
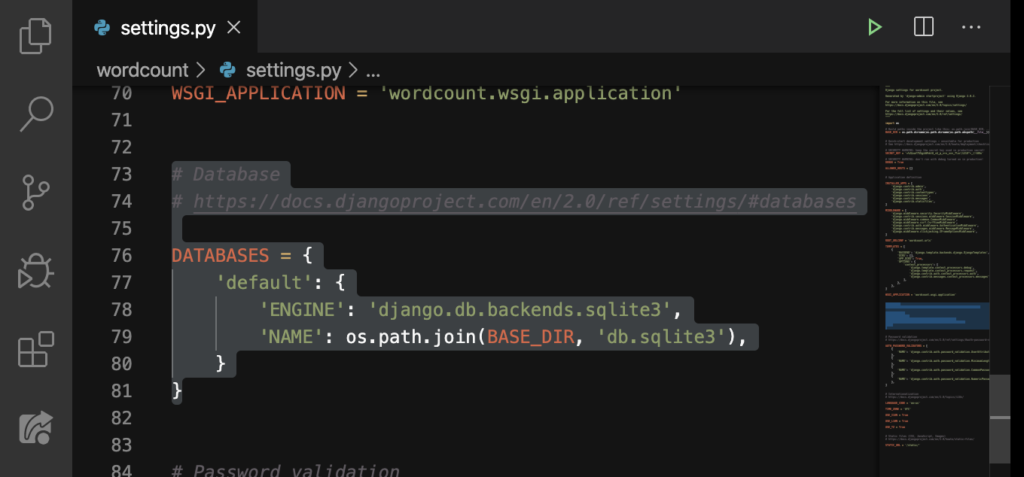
Do you remember the db.sqlite3? This was its origin. If we want to create a new database here, we’ll just simply change the db to bacon:
Change it to bacon:
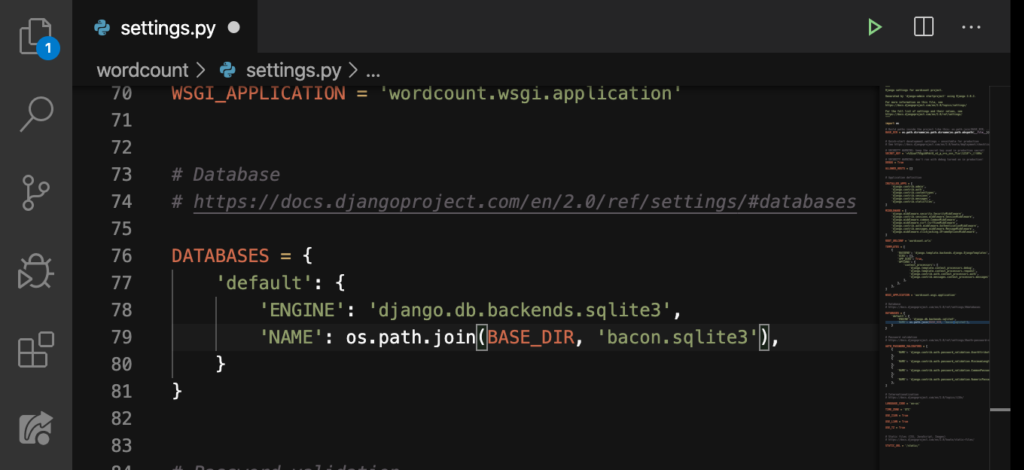
See what gets added on our left-hand side:
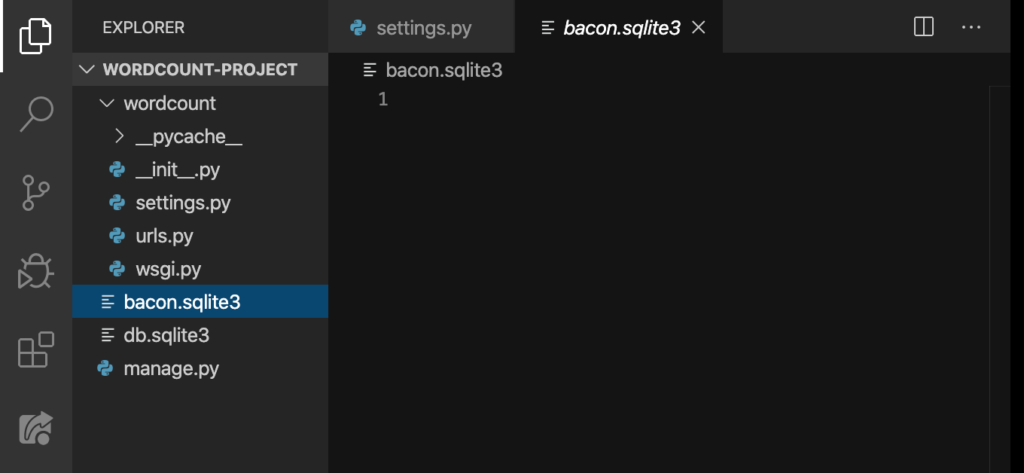
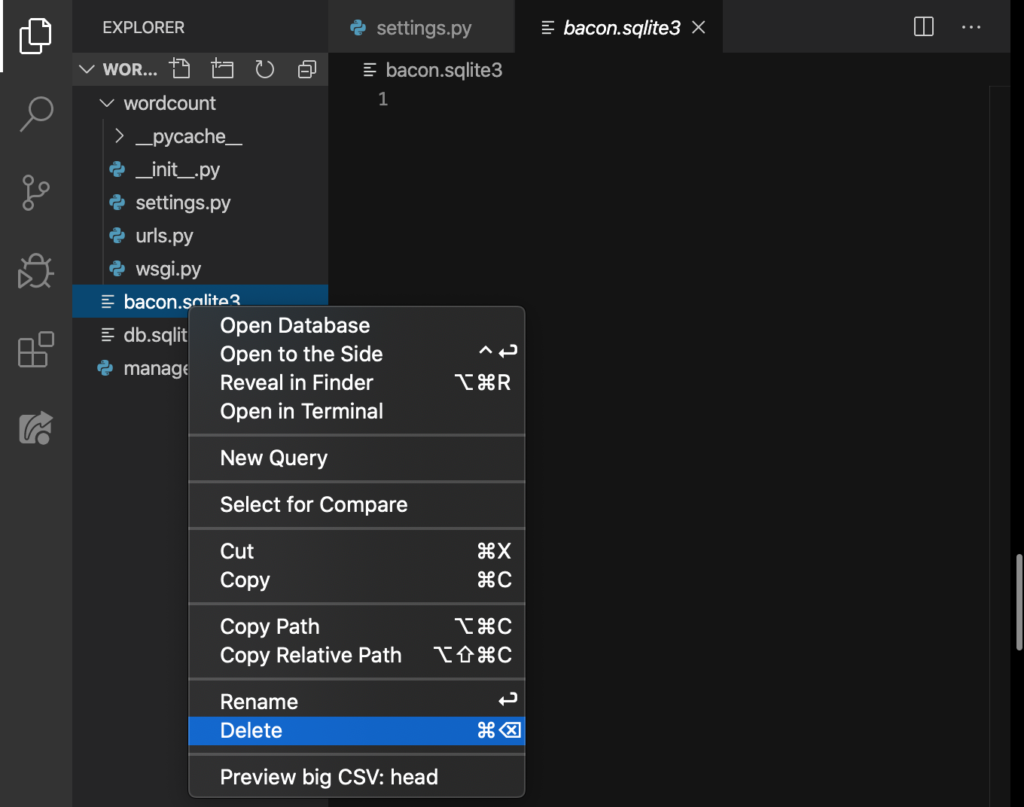
Yes! Now we have bacon.sqlite3! But I won’t recommend you to do this. I just wanted to show you where db.sqlite3 came from. Let’s delete this file:
Rename bacon back to db:
Save.
AUTH_PASSWORD_VALIDATORS
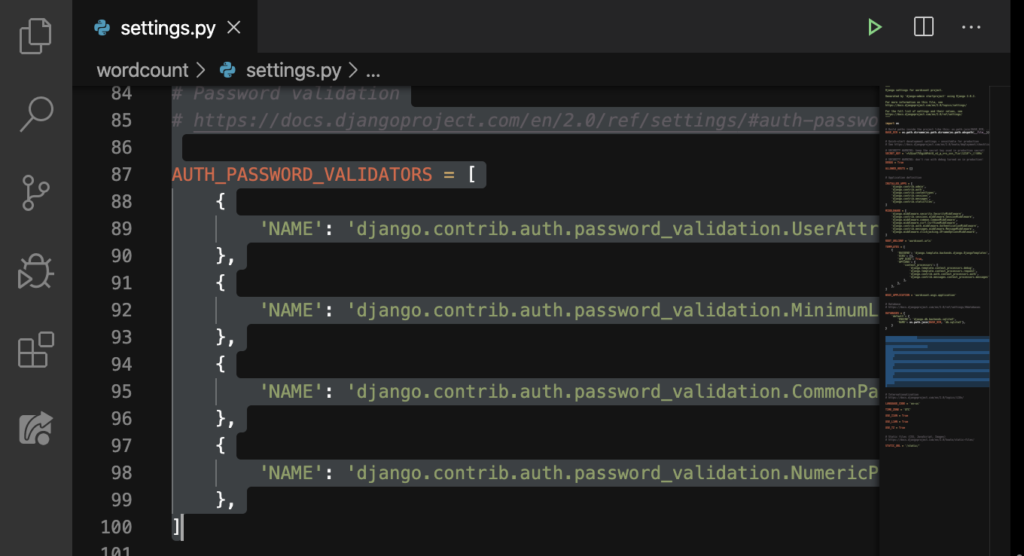
This is basically asks you: “Hey yo, when someone makes a new user account, what will you require? A password? An email address?”
#Internationalization
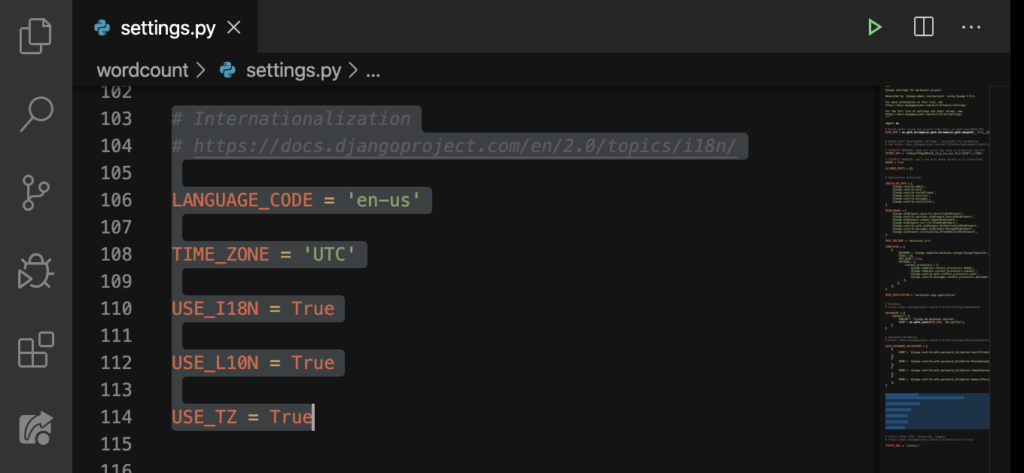
This is what makes your website unique. You can choose your website’s language. By default, en-us (English). There’s all that TIME_ZONE and all the other good stuff; let’s not worry about that.
STATIC_URL
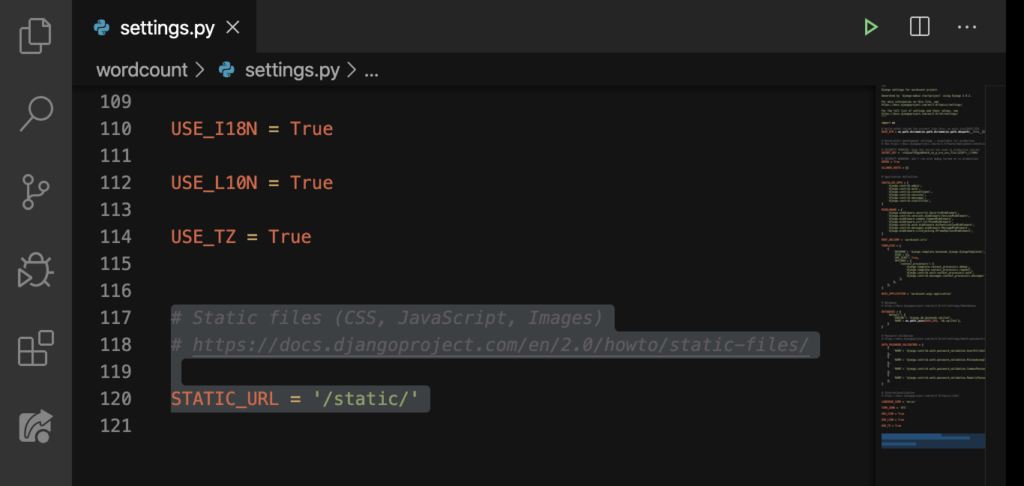
We’ll talk about this on the second website. Finally, we’re done with the settings.py! Let’s move on now to urls.py.
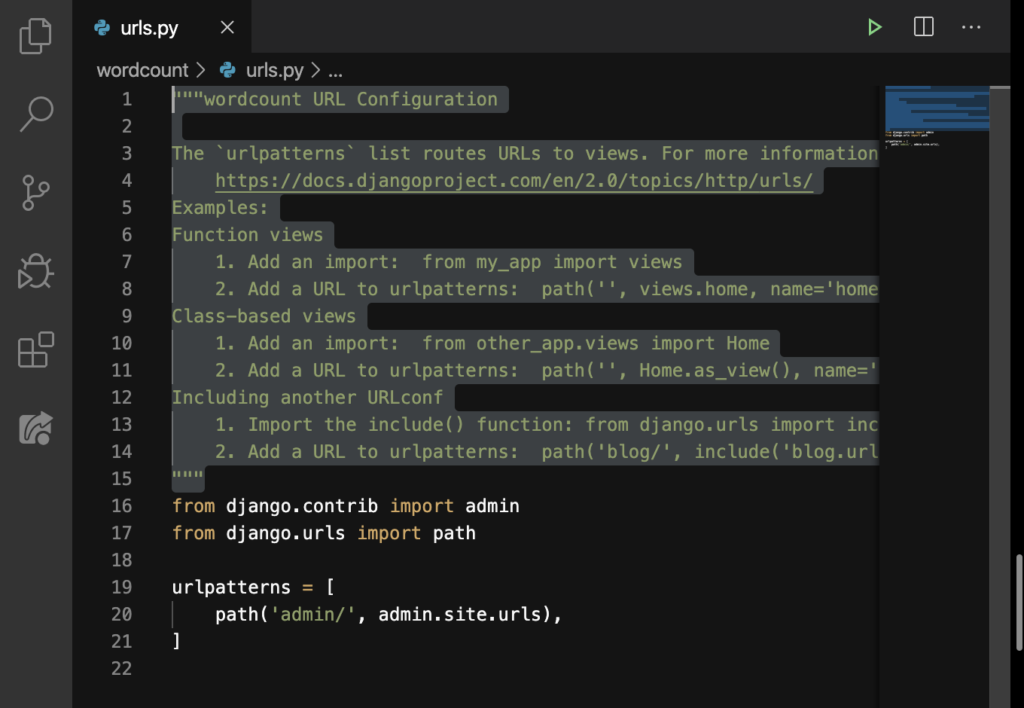
urls.py
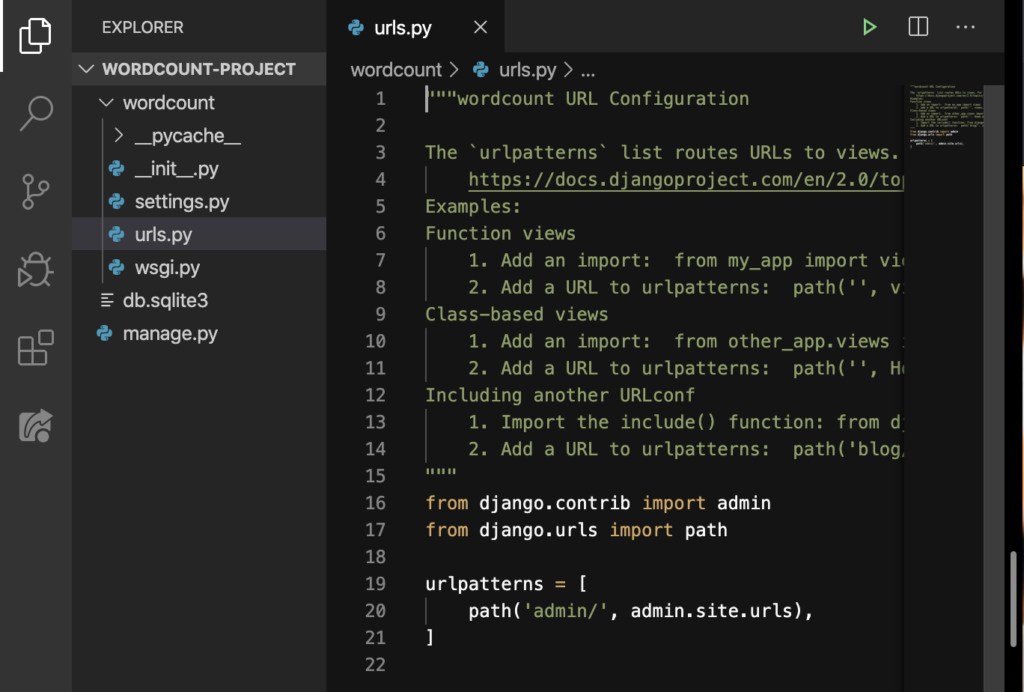
You’ll notice that there’s a bunch of documentations or comments Line 1 down to Line 15. We’ve talked about this on our Learn Python‘s Lesson 8 that can delete those without affecting our code:
DELETE:
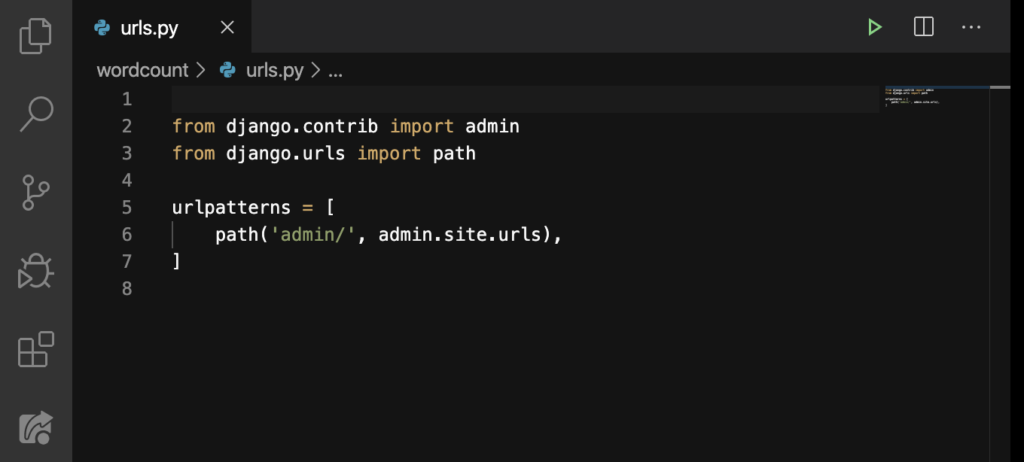
Neat. We can do this but I’d say that we keep it because it might come in handy in the future. Ctrl + Z or Command + Z:
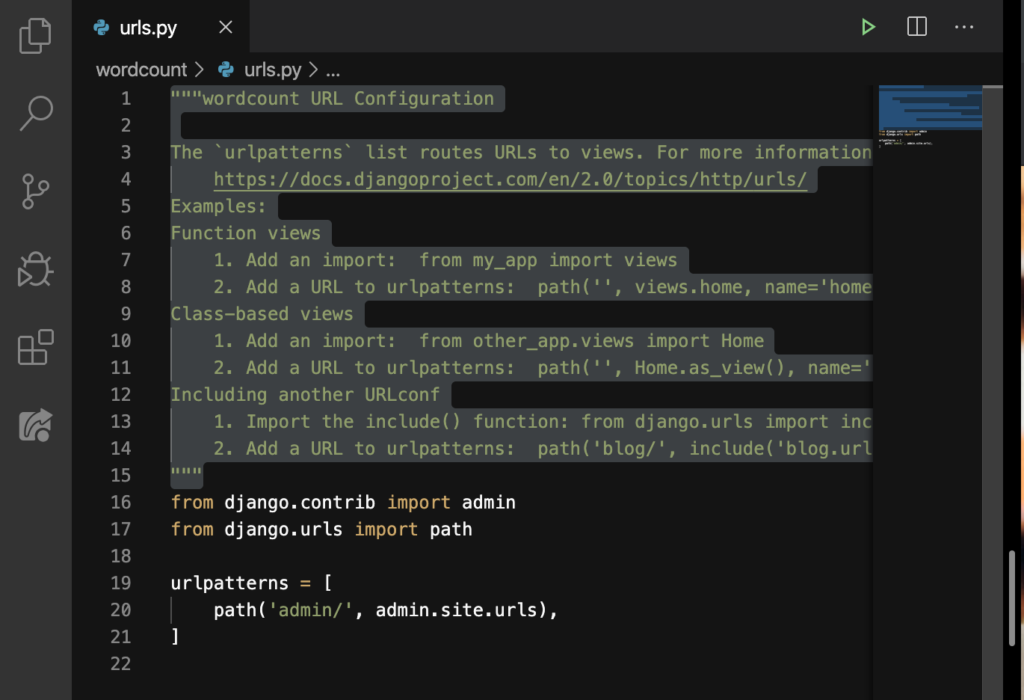
Anyway, let’s talk about what this file does. Every time someone goes to our website, this file directs them to a page we want to display. The urlpatterns on Line 19 decides the user’s destination. We’re not gonna talk about the admin/ on Line 20 until our second website. But we’ll add our own paths inside this file.
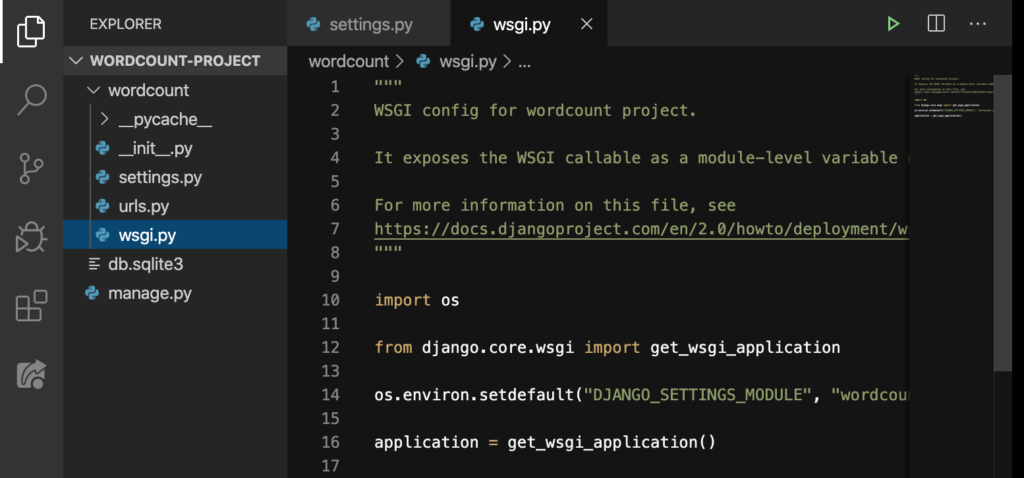
wsgi.py
Finally, the last file for this tour in our Django project!
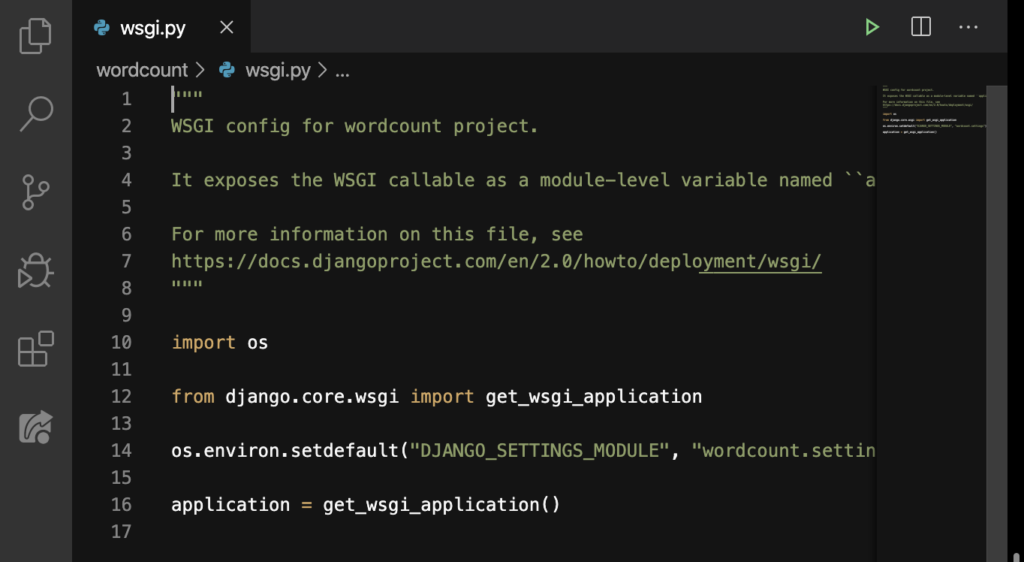
What does this file do? This is for hosting your website so that other people can access it.
Thanks a lot for hanging with me here! I know it was a lot but I hope you’ve enjoyed the tour! If you have any questions about this lesson, post it on the Comments section down below. On the next lesson, we’re gonna make our first custom page for our website.