Previous Lesson: Lesson 45: Blog Template From Bootstrap
In this lesson, we’ll beautify our Blog’s NavBar together. We’ll first delete the default. And then we’ll duplicate the same NavBar we have on all pages.
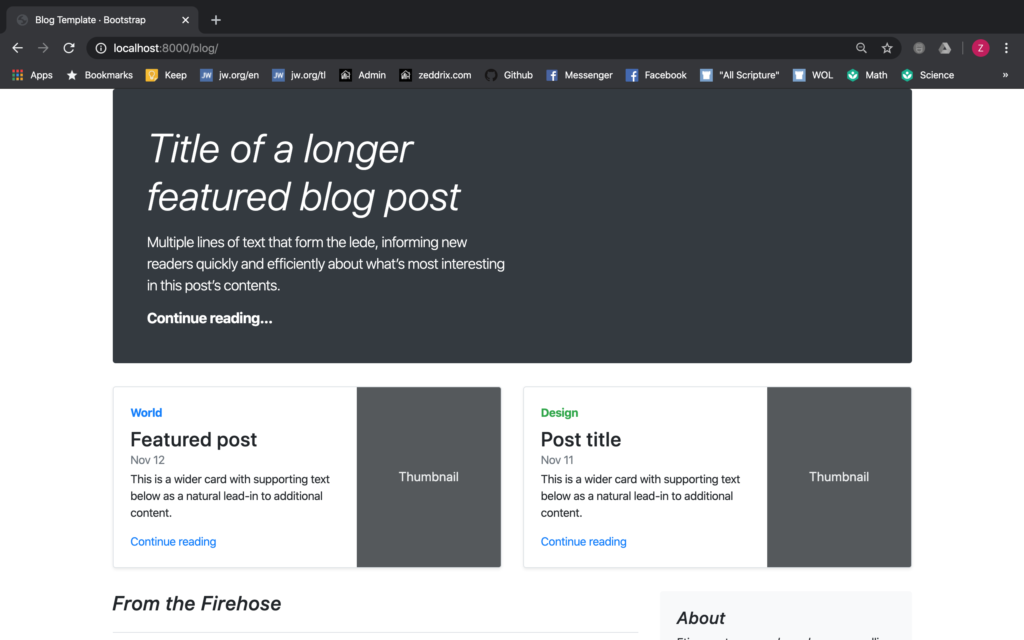
It was really great to know that Bootstrap have their free templates for us to have a head start for making our portfolio’s blog page. As you can see, we don’t want to have this menu buttons at the top of our Blog page (localhost:8000/blog):

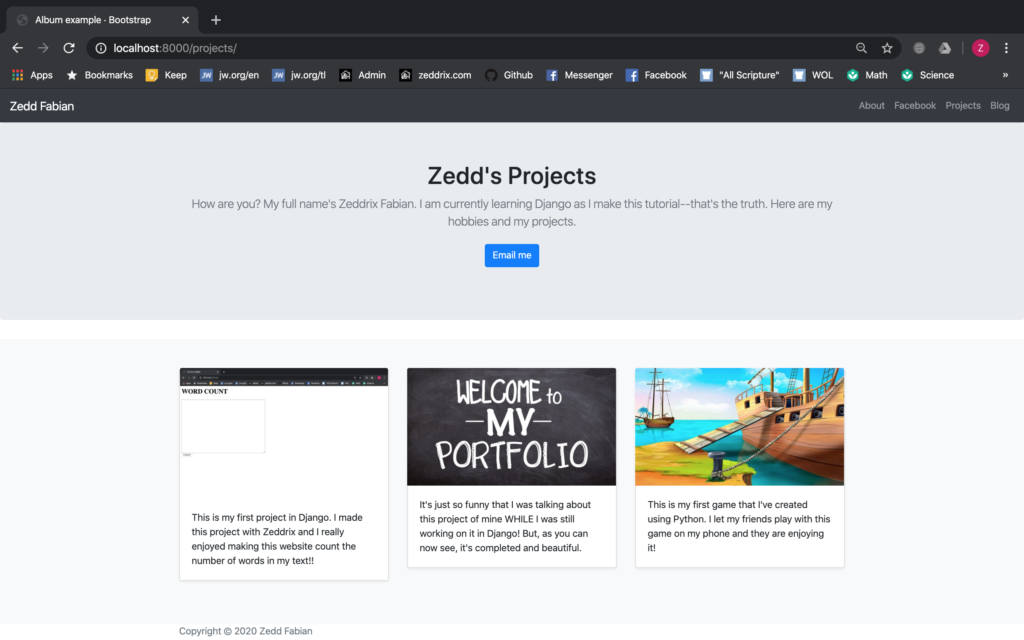
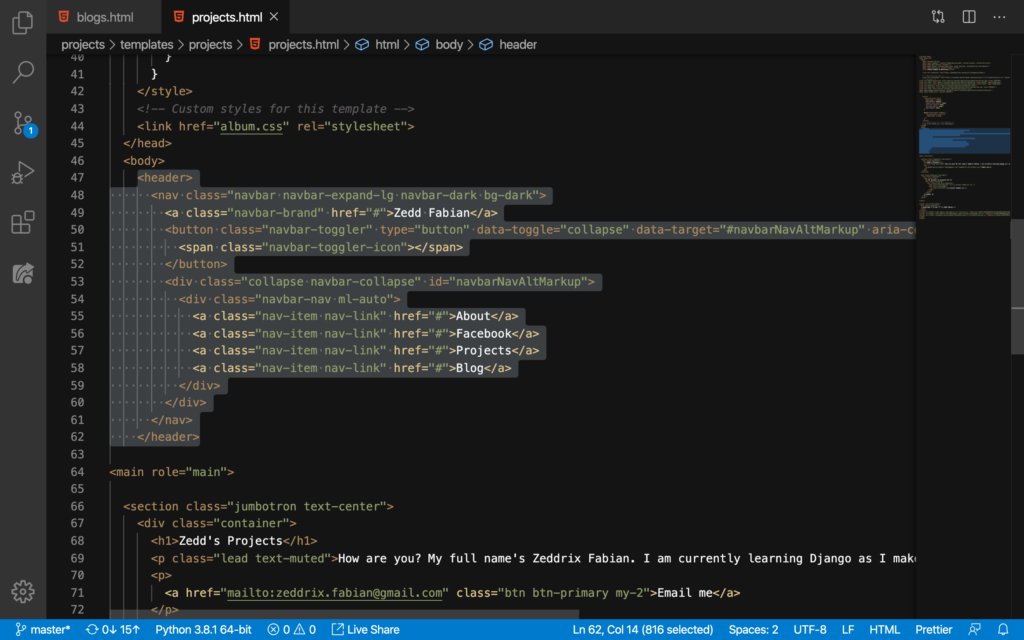
Instead, what we want to have for our NavBar is the menu buttons here on the Projects page (localhost:8000/projects):
Yup, we want to have that same NavBar. To do that, we’ll first delete those menu buttons from the Blog page here on our blogs.html:
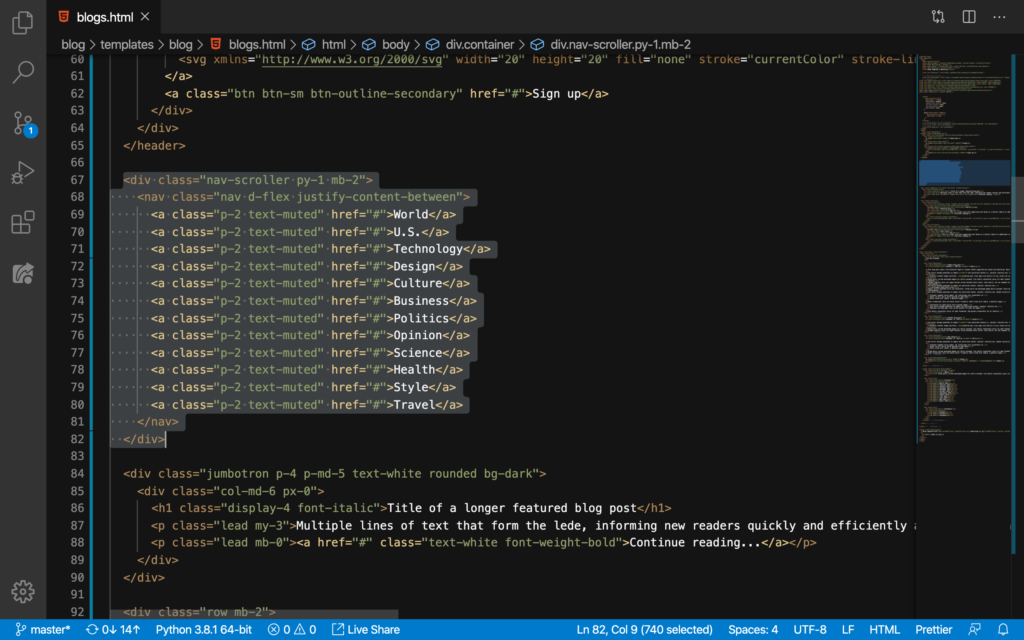
DELETE:

Good. Now, let’s refresh our Blog page:

Nice. But we don’t also need those Subscribe, Large, and Sign up for our NavBar. And the code for this one will be right here::
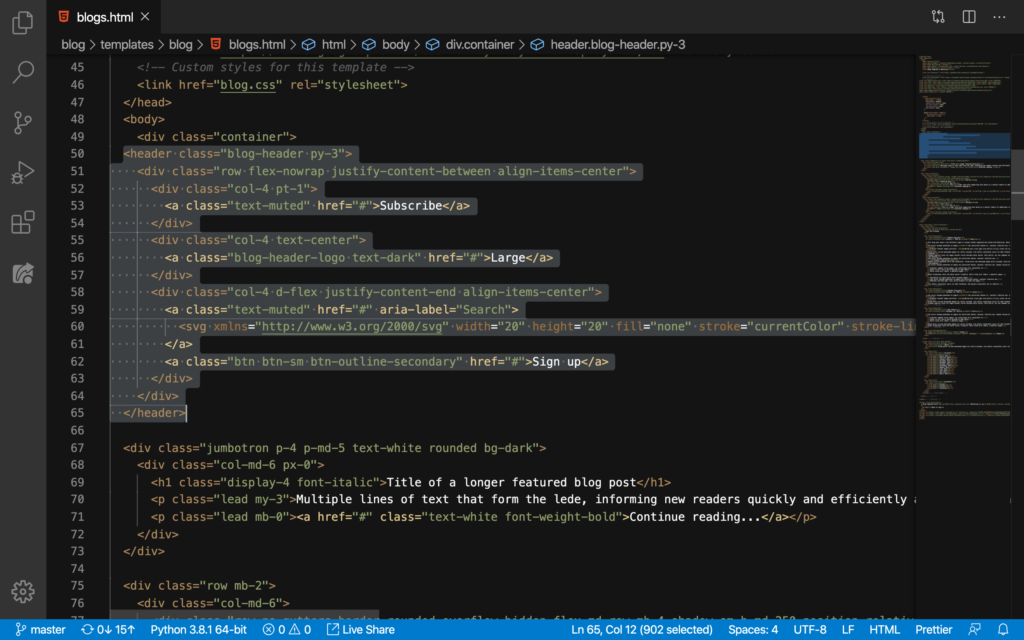
DELETE:
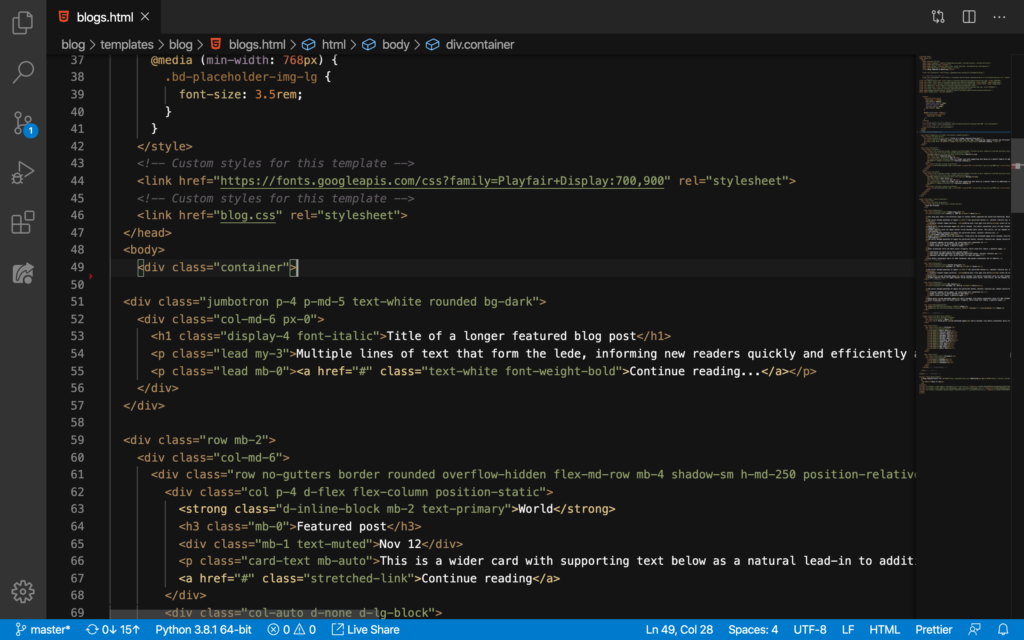
Let’s see:
Neat.
Beautifying our Blog’s NavBar using the Original NavBar
Now, it’s time to place our original NavBar (that we have on the Projects page) here on our Blog page. But how do we do that? We’ll simply go here on our projects.html and copy these lines:
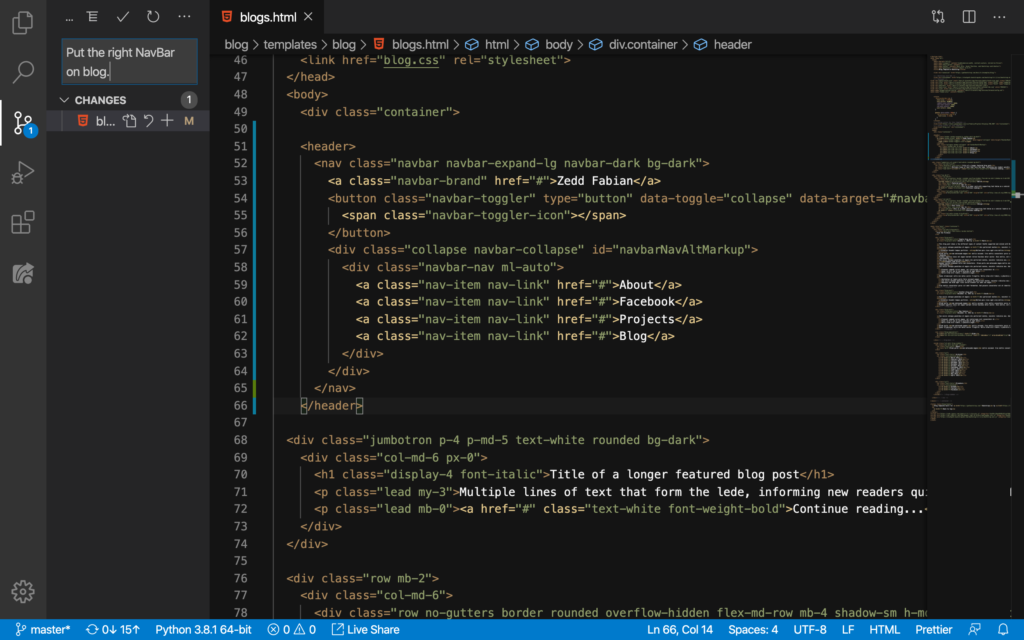
After copying, we then go to our blogs.html, and paste it right here:

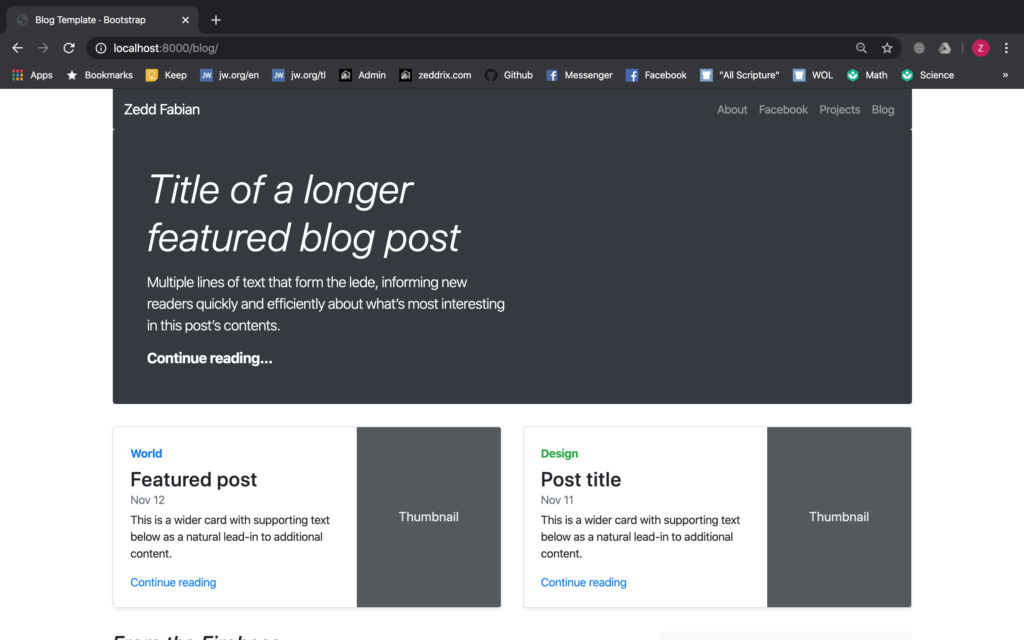
Nice. Now let’s take a look at our Blog page:
Cool! Let’s commit this change to GitHub:
On the next lesson, we’ll match our blog posts’s titles with their corresponding browser tabs. We’ll also continue on beautify the Blog’s NavBar. See you there!