Previous Lesson: Lesson 54: Make ALL NavBar Buttons Clickable Links
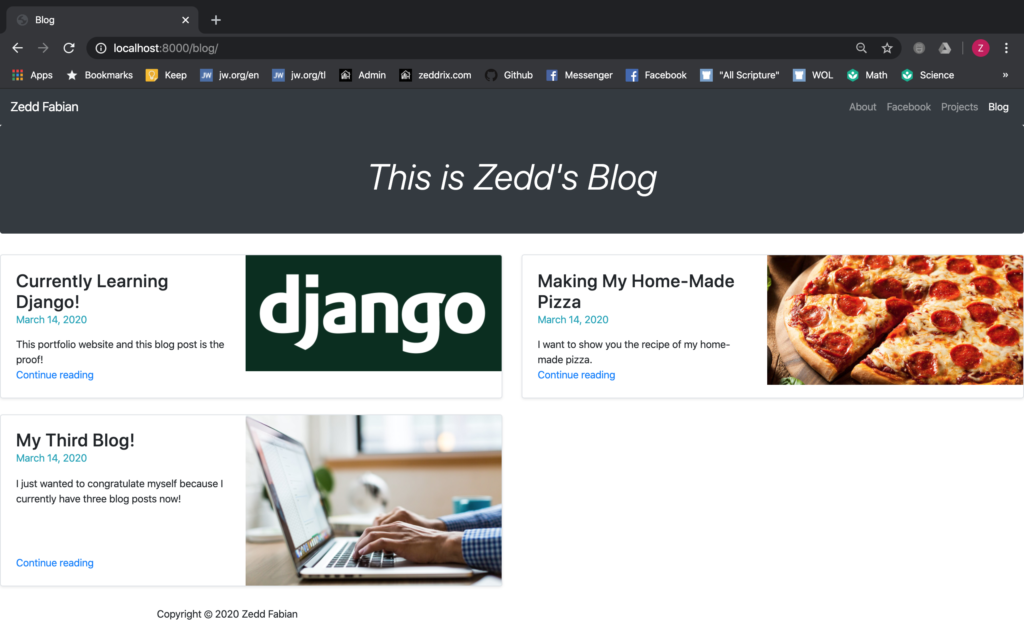
In the previous lessons, we’ve been developing all the other aspects of our portfolio. Now there’s only one thing left to take care of. And that’s our blog posts’s contents. In this lesson, you’ll learn how to show each blog content in Django.
If we try clicking on the Continue reading, it would take us nowhere.
But, as you can remember, we have set a URL for each and every one of the blog posts. For example, if we add a /1 on the URL like this:
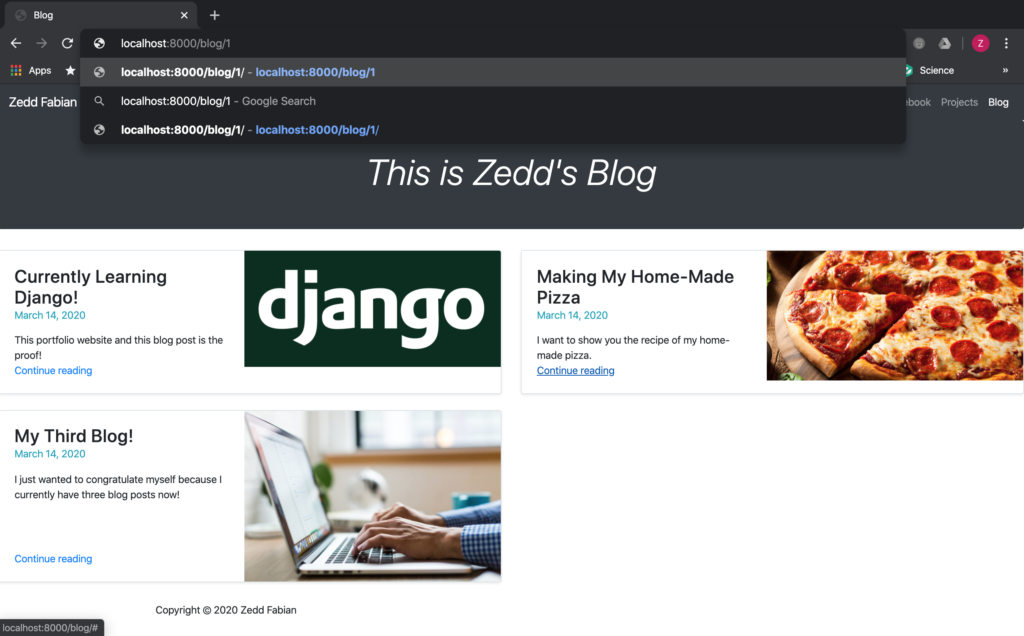
And press ENTER:
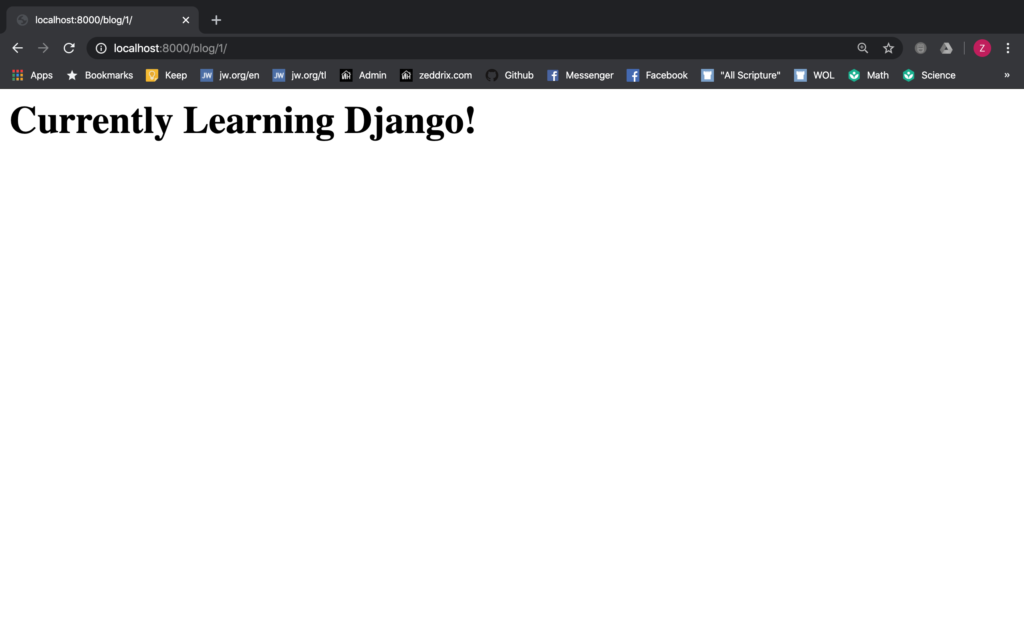
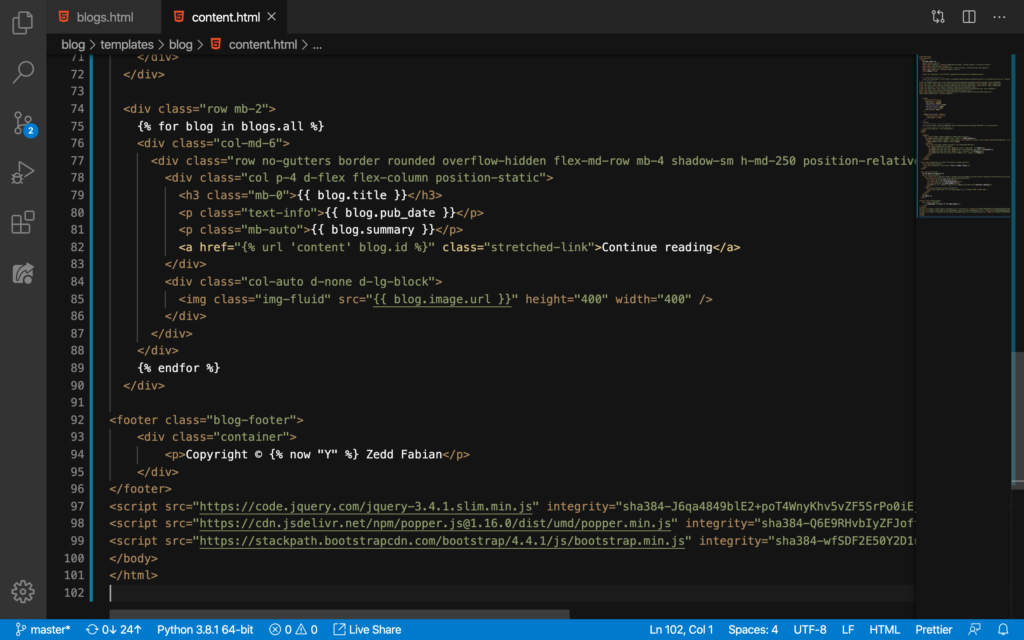
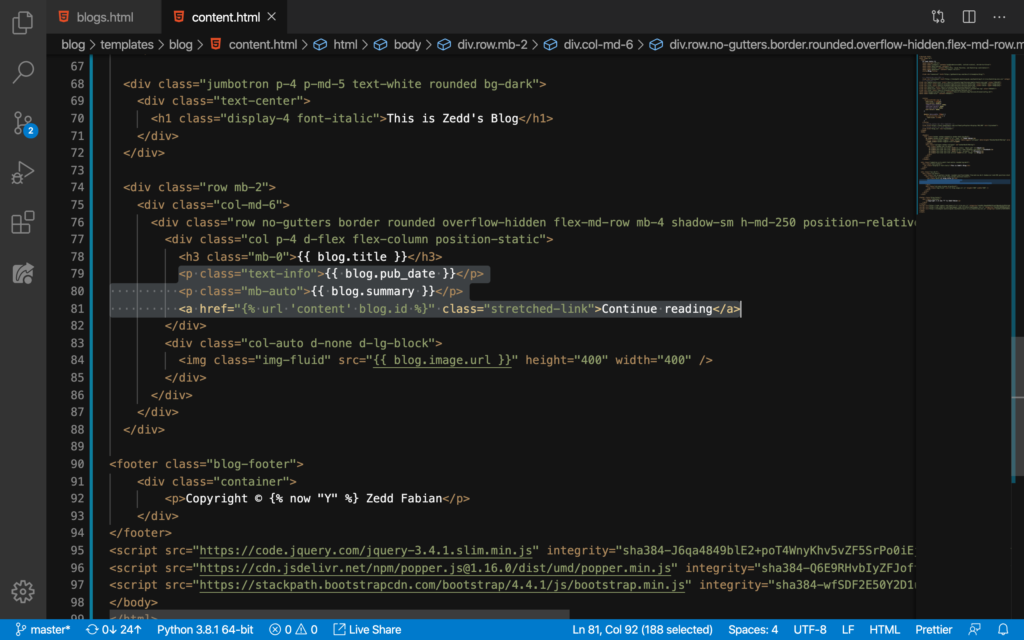
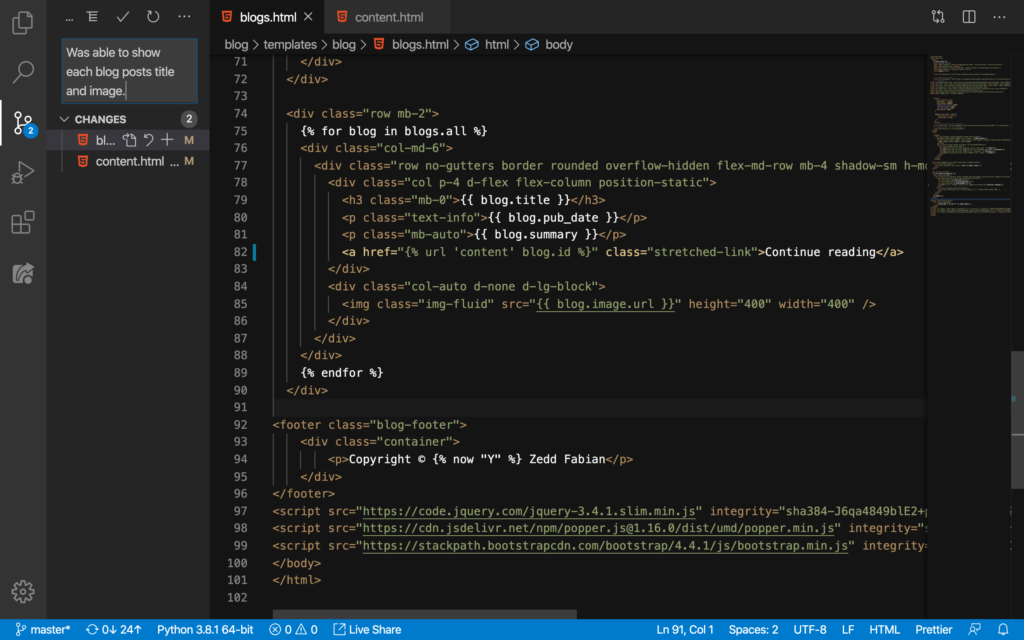
Nah. This sucks. This is not what we want. But we can do something about this, fortunately. Here on our blogs.html:
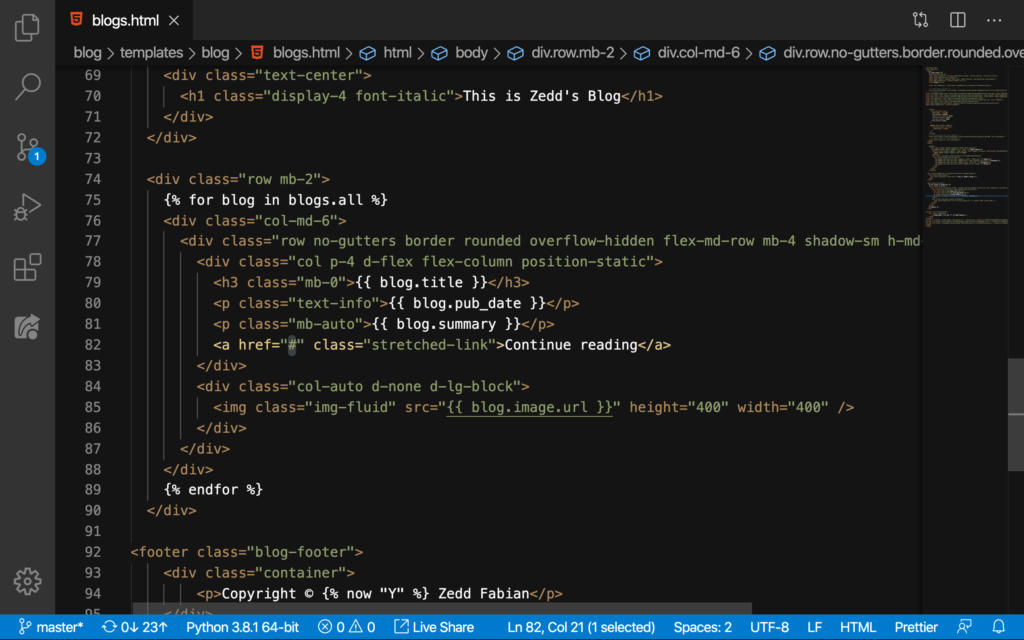
Do you see that href=”#” beside the Continue reading? We’ll change the # to this:
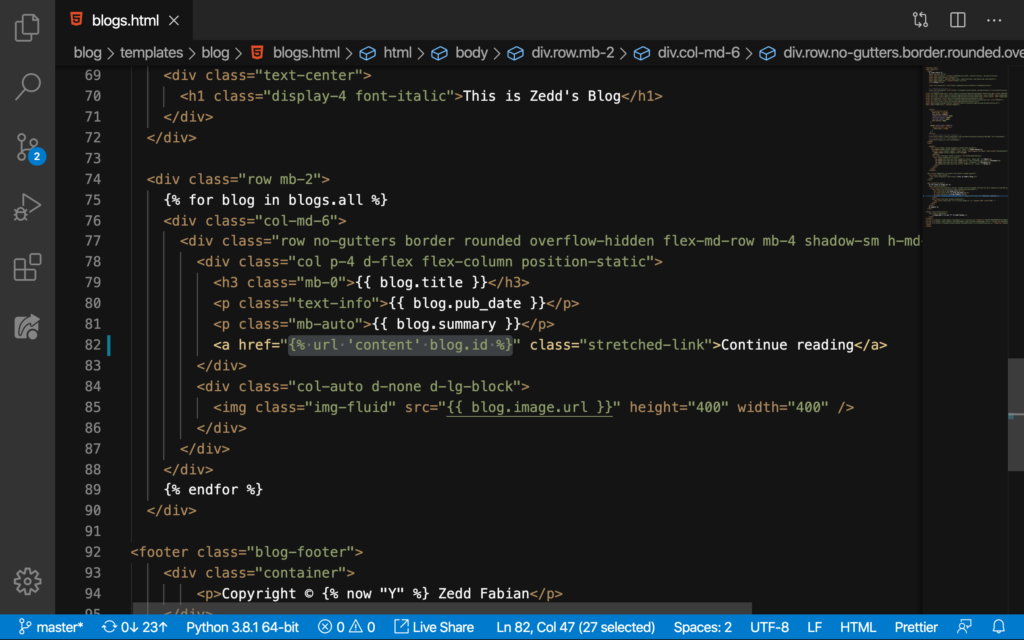
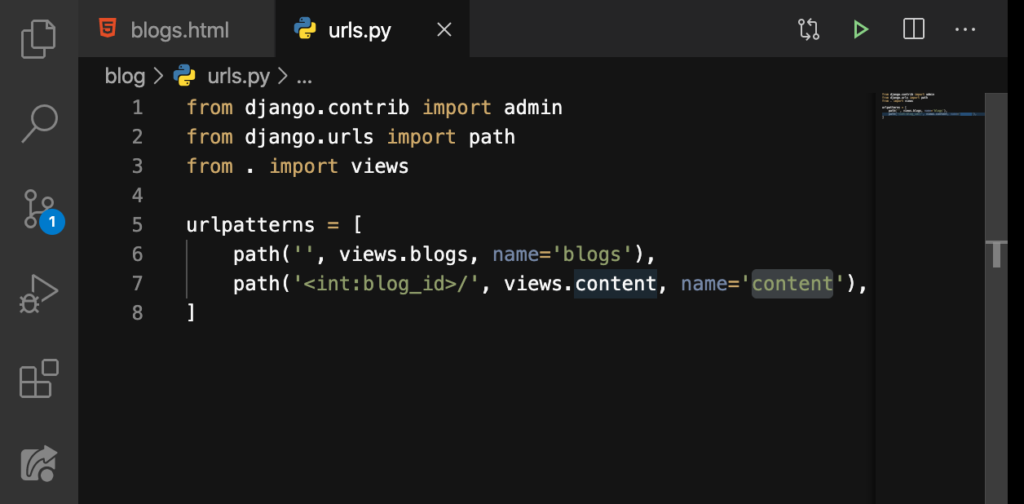
The ‘content’ came from this one here on our blog‘s urls.py:
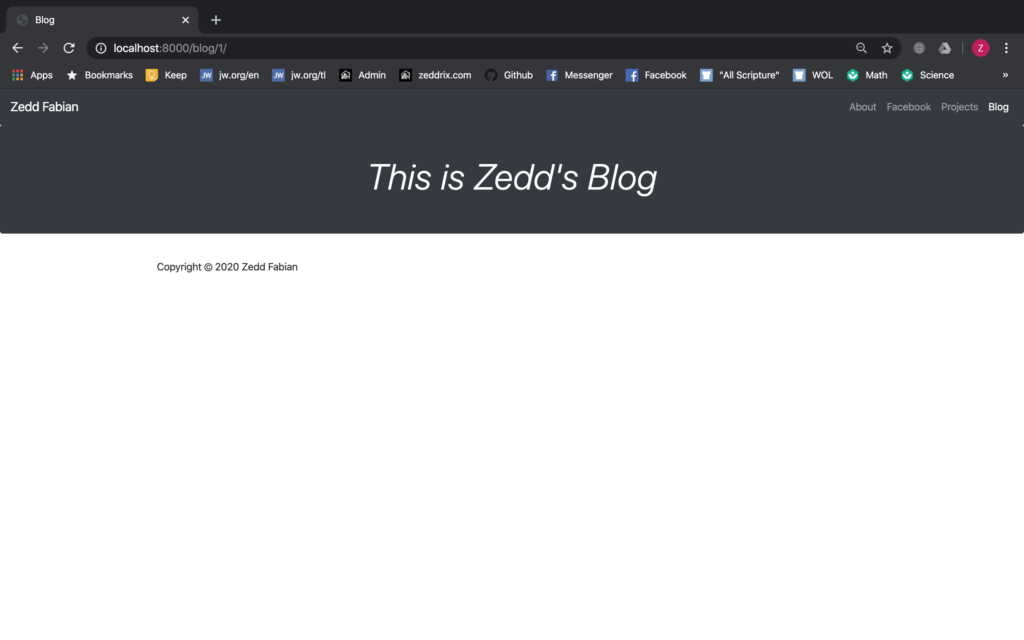
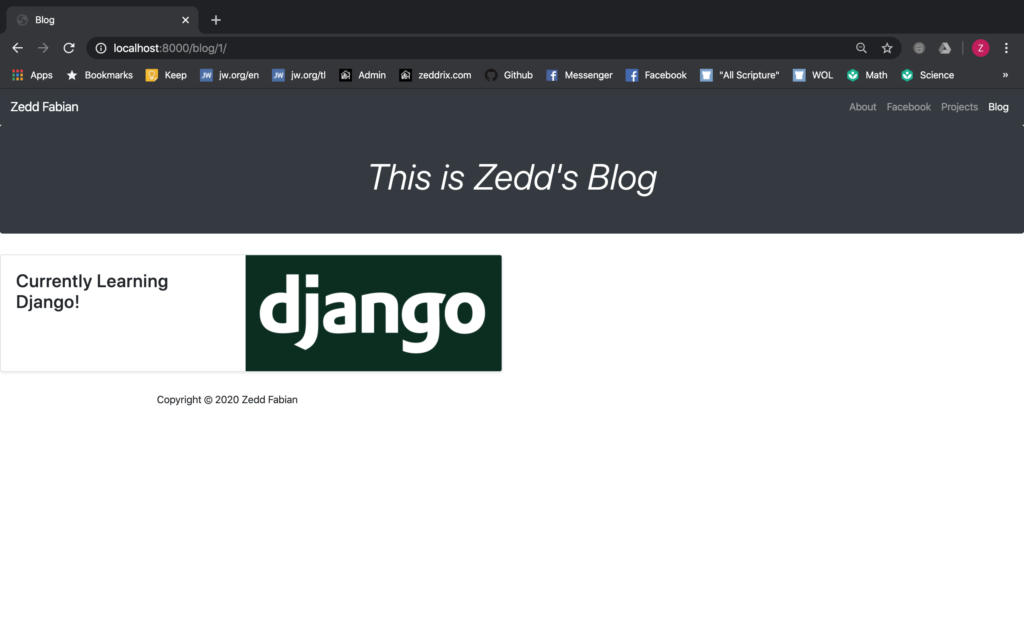
Now let’s try clicking on every Continue reading on each blog post:
Cool! But as you may have noticed, we don’t have anything that we can read on every blog post besides the title. How are we going to do that?
Blog Post’s NavBar
Of course, we’ll have to make each blog post have the same look of the NavBar like that of the homepage. So we’ll copy all the code from blogs.html:
And then we’ll paste it here at the content.html:
We’ll DELETE this line first of course. And once we’ve done so, we’ll paste all of it:
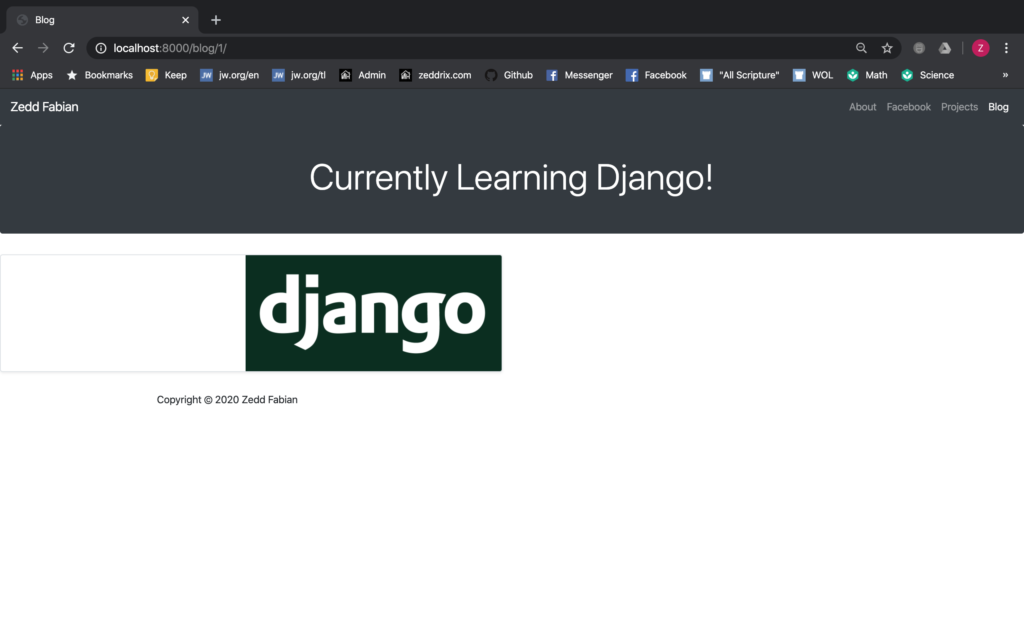
Whichever blog post you click on, it will look exactly like this:
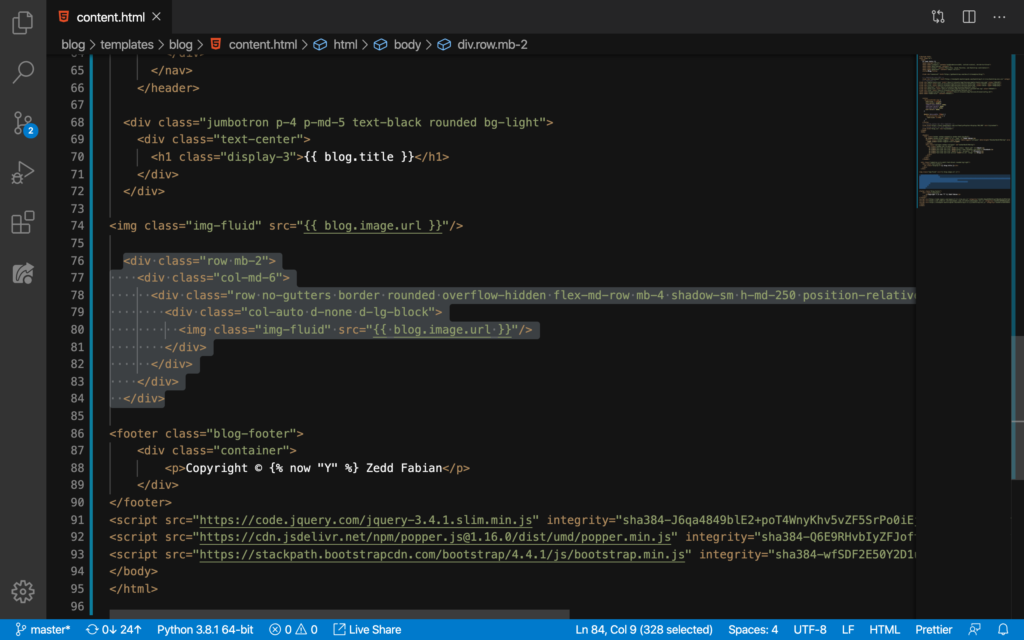
That’s cool. But we’ll delete some lines here because we don’t need it:
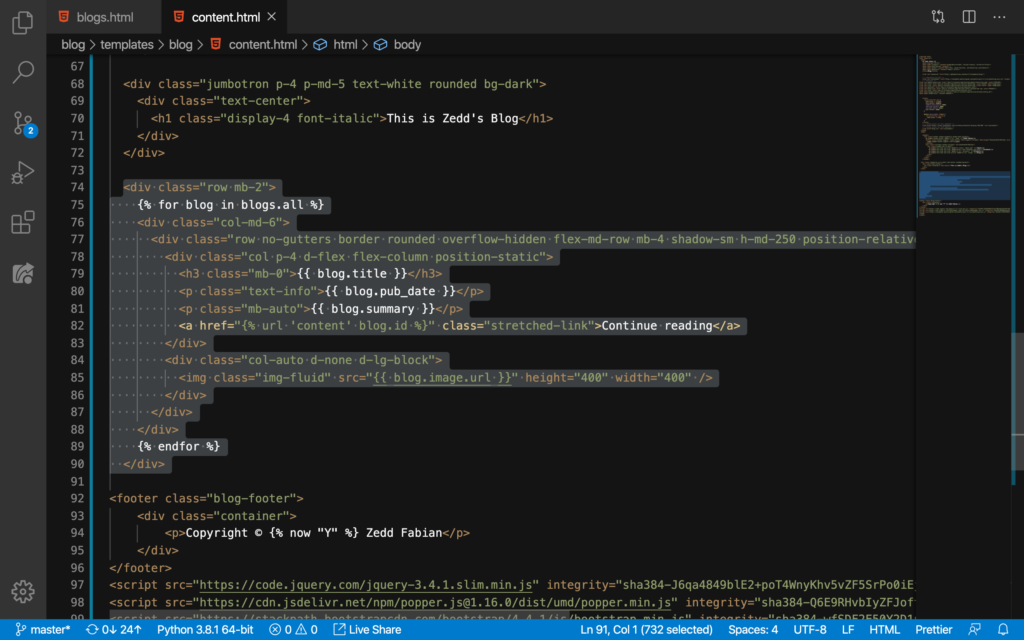
First, we’ll delete the for loops on Line 75 and on Line 89:
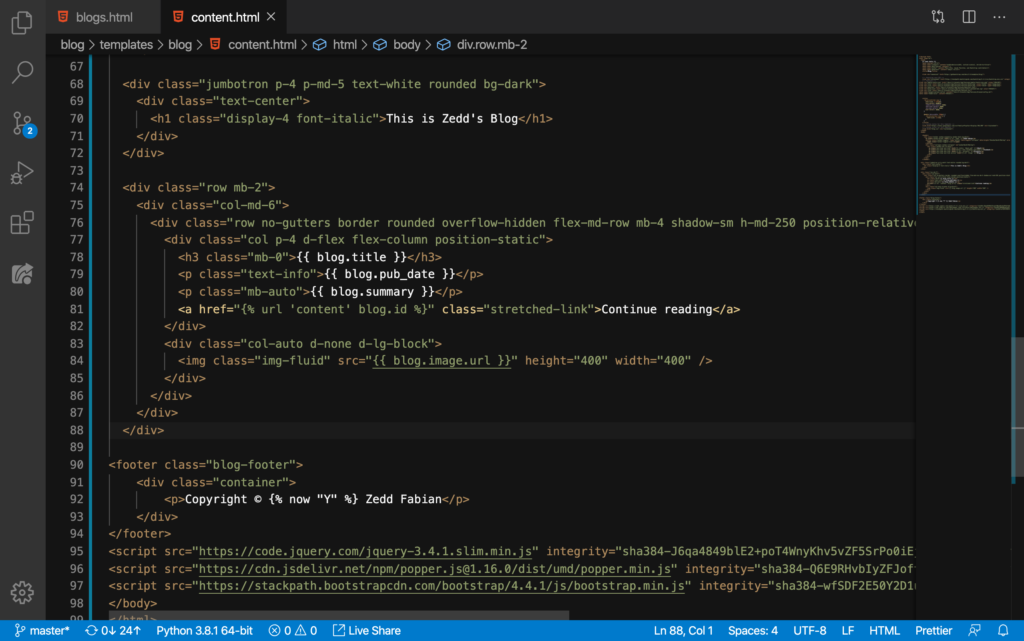
Then we’ll delete these lines, all except for the title and the image here:
Okay. Let’s see how this looks:
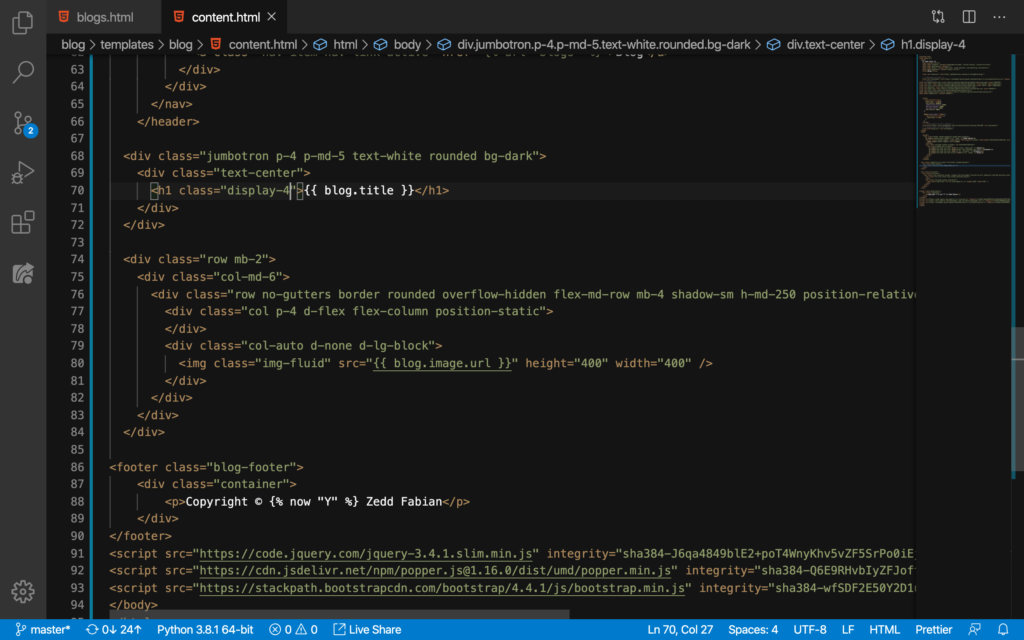
We should change the This is Zedd’s Blog to the blog posts’s title.
Blog Posts’s Title
As a start, we’ll DELETE this:
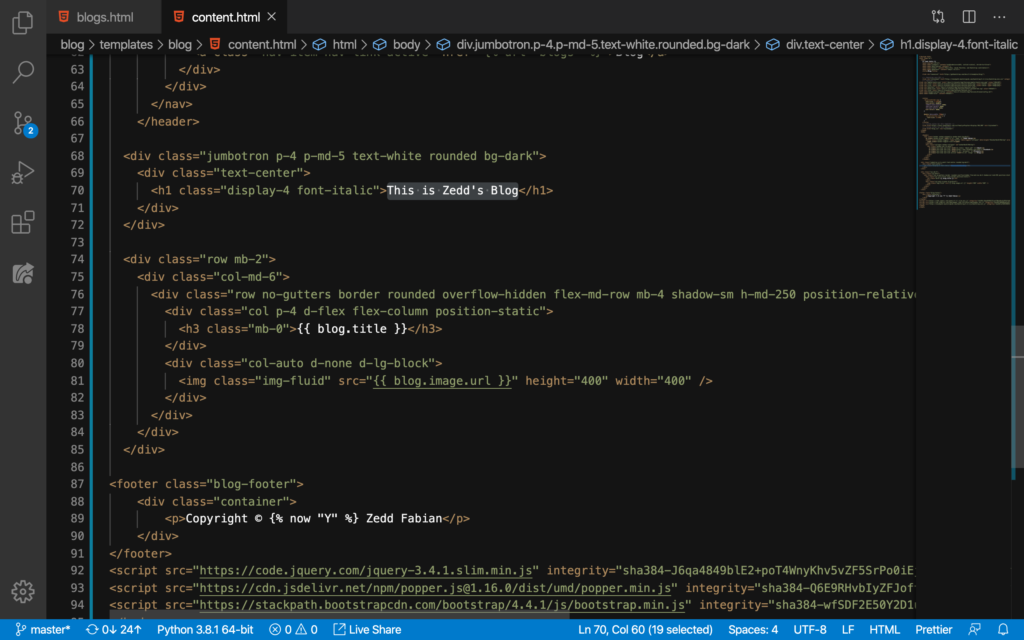
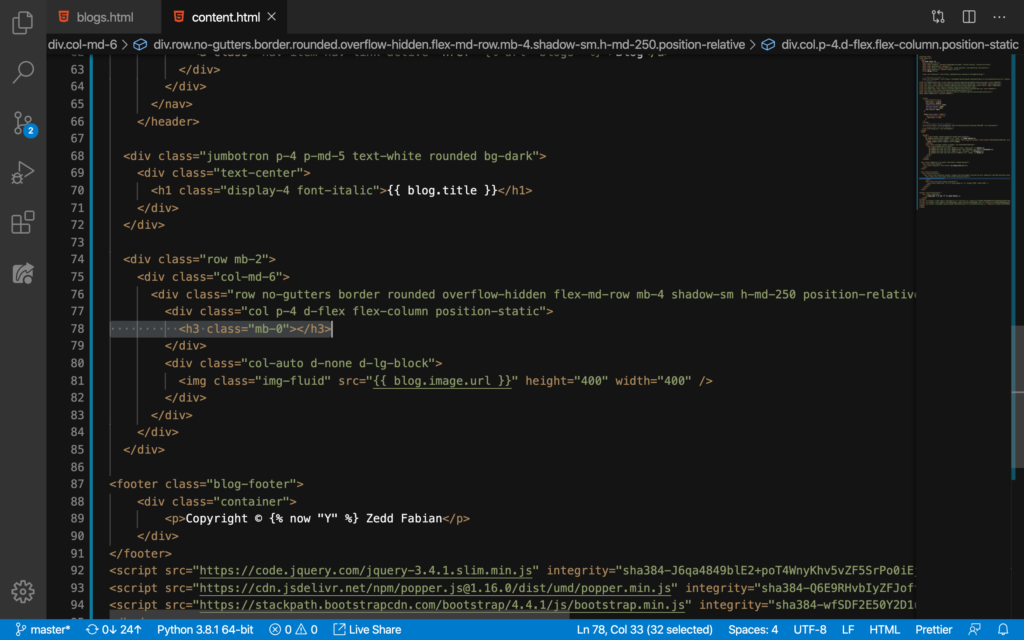
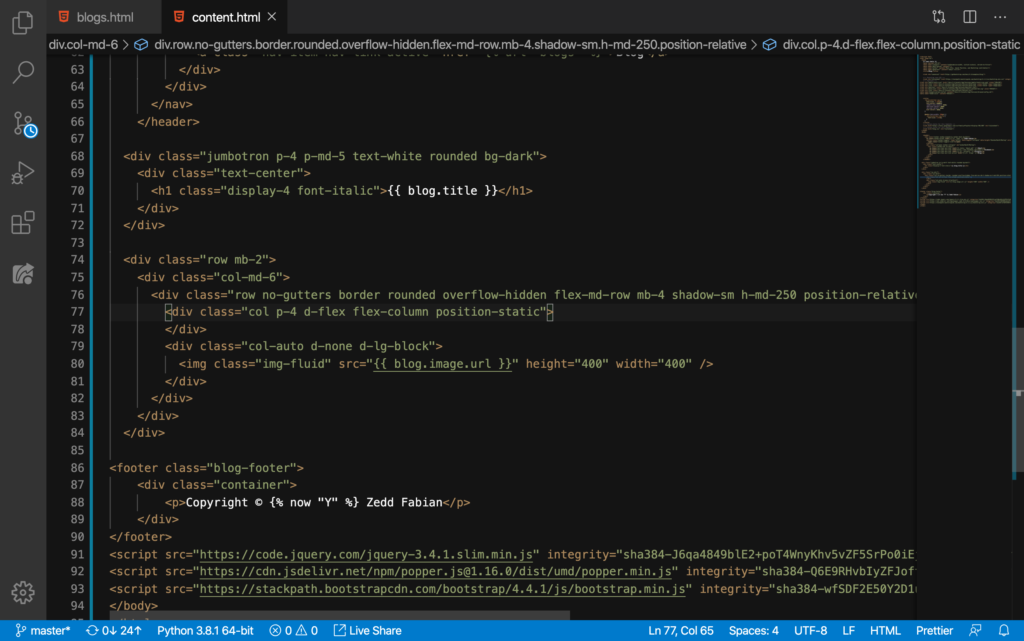
And then from Line 78, we’ll place the blog.title here on Line 70:
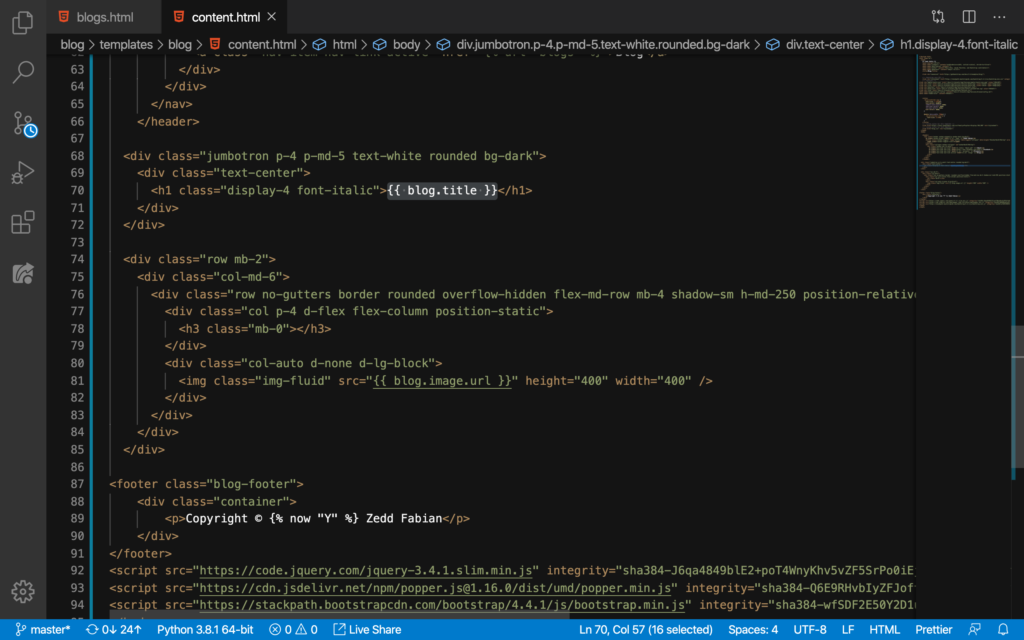
And then we’ll DELETE the h3 tags here on on Line 78:
DELETE and make sure that your code looks exactly like this:
Let’s check it out:
Nice.
Italicization
Now if you don’t want to have your blog title italicized, just simply delete this one from Line 70:
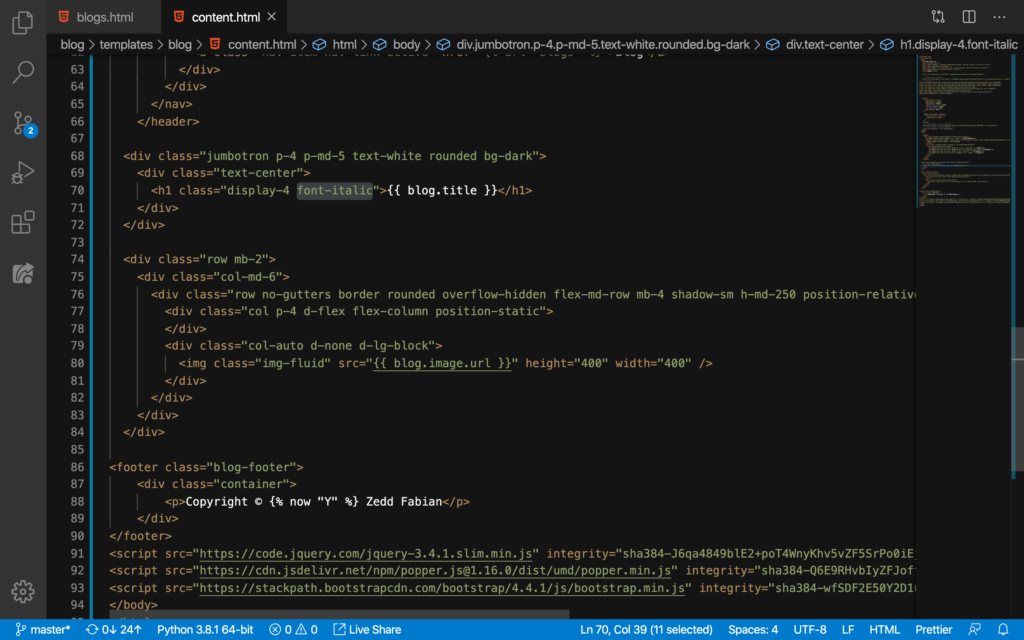
DELETE:
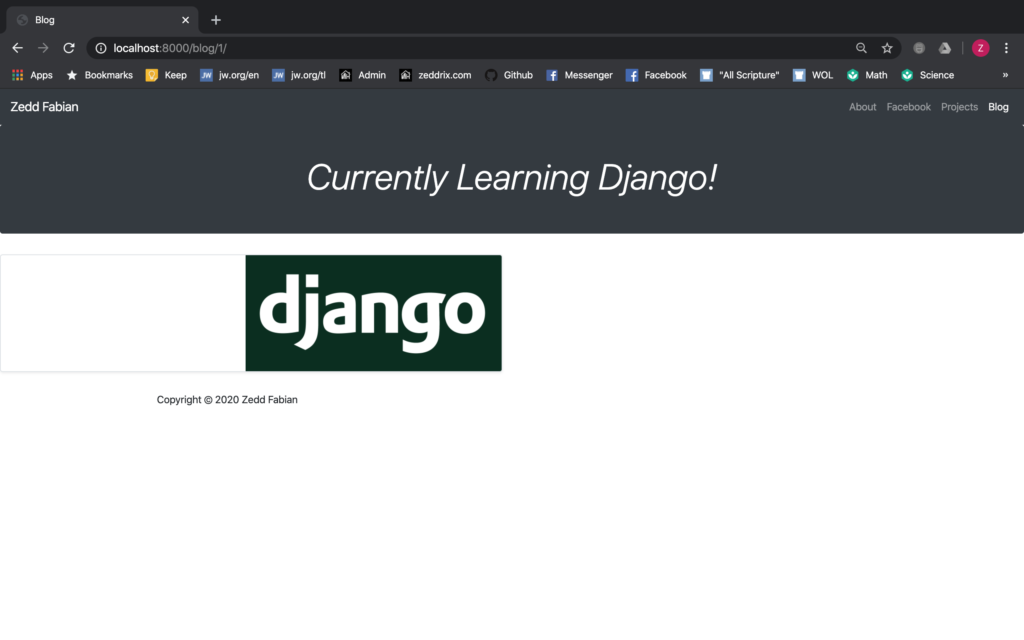
Let’s take a look at our blog post:
Nice.
Color
You know, I think it would be better if the background color for our blog post’s title would be white. So let’s do that:
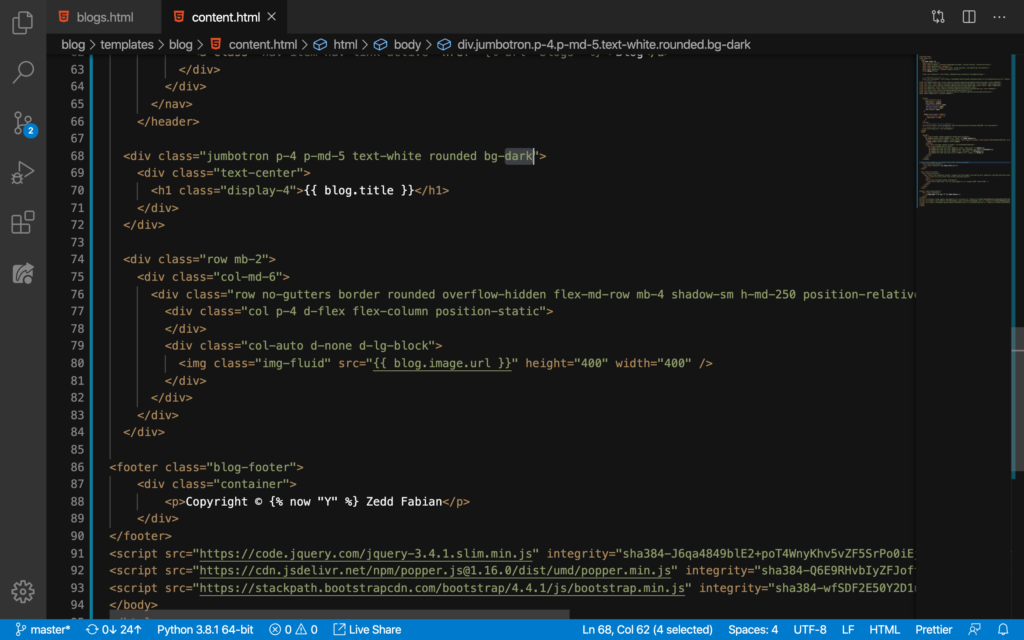
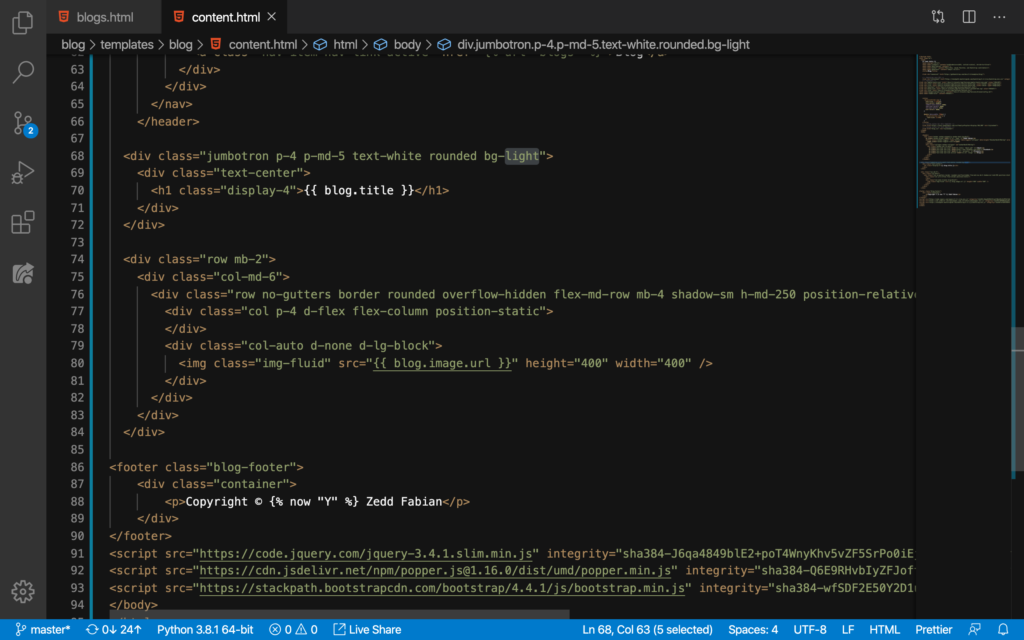
From dark, to light:
And then, from white:
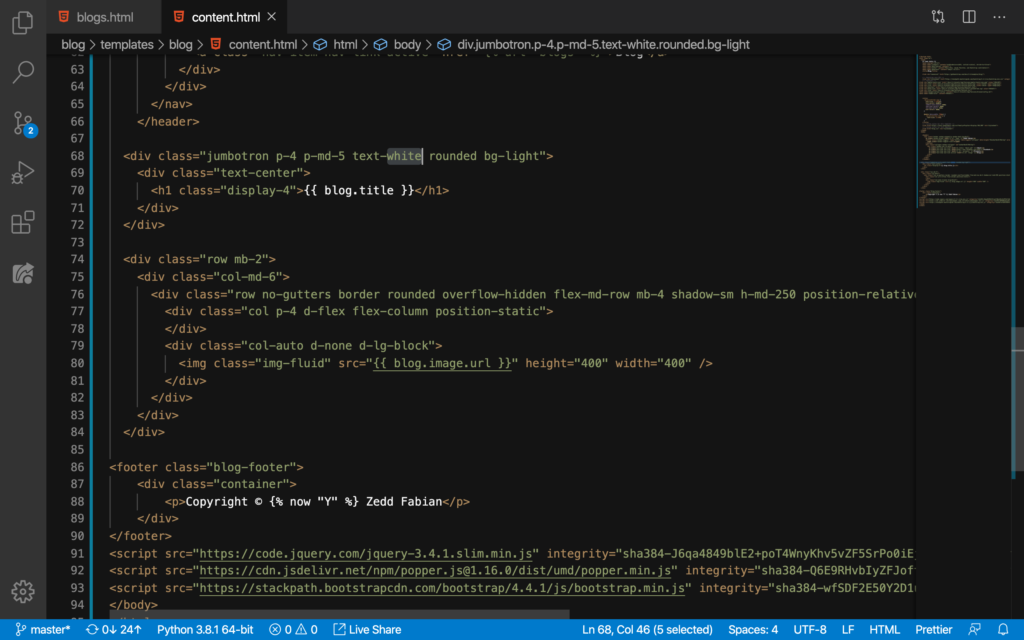
To black:

Save and refresh our page:
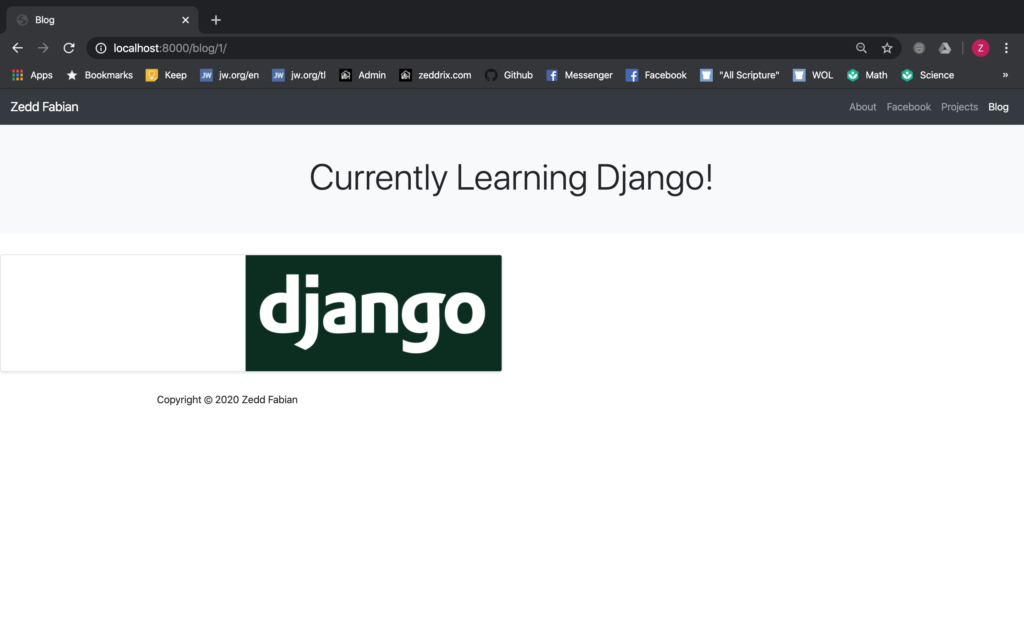
Cool.
Size
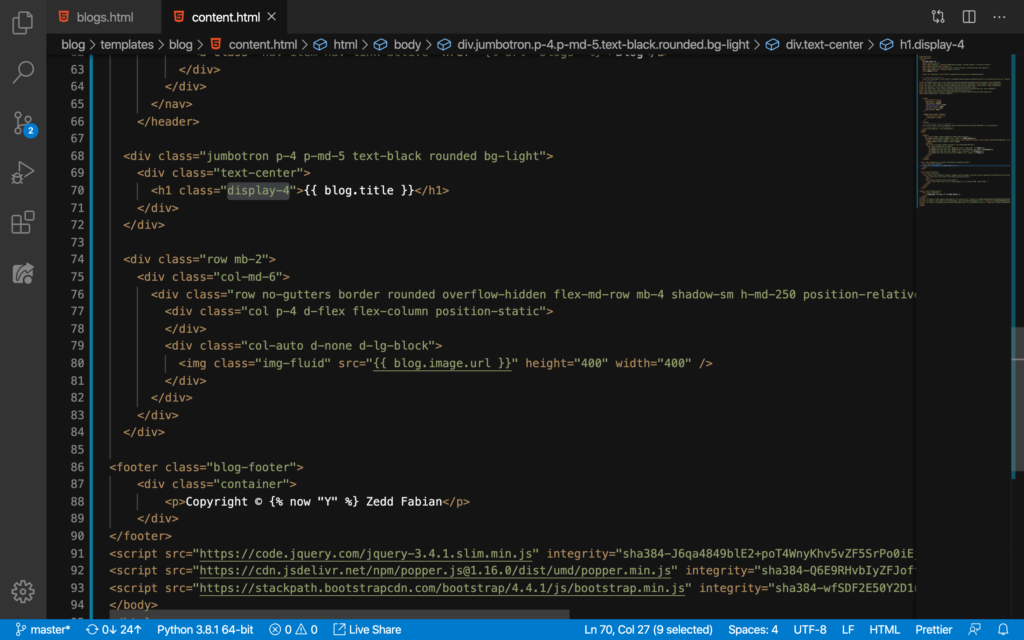
Now I think I would like to have my display-4 to be display-3 to have a larger text:

Let’s see:
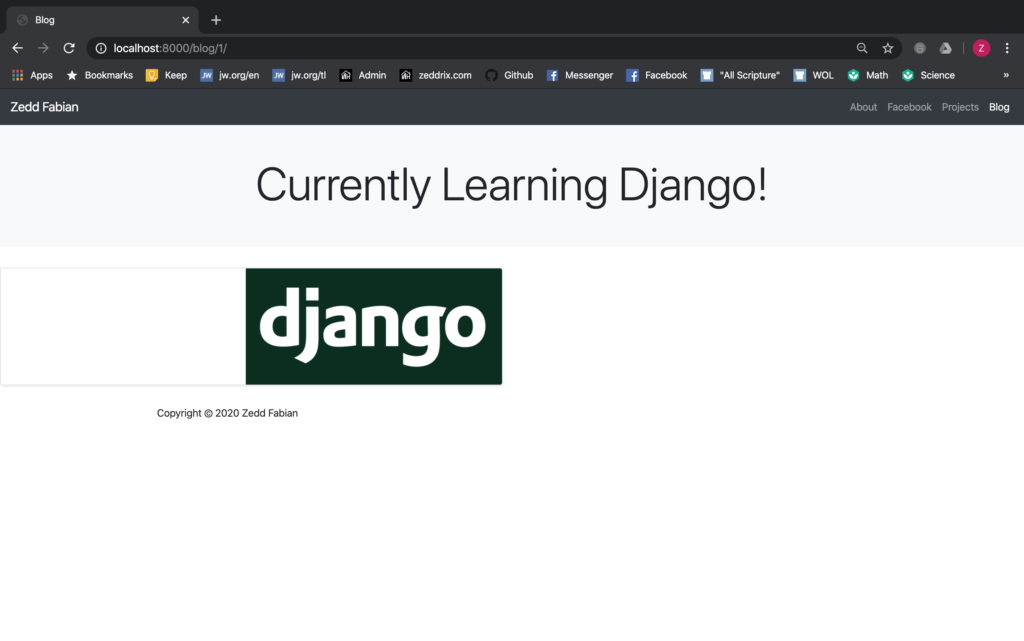
That’s better. You know, you can go with whatever font, text color, or style you want. The Bootstrap Documentation is always available at their website.
Blog Post’s Image
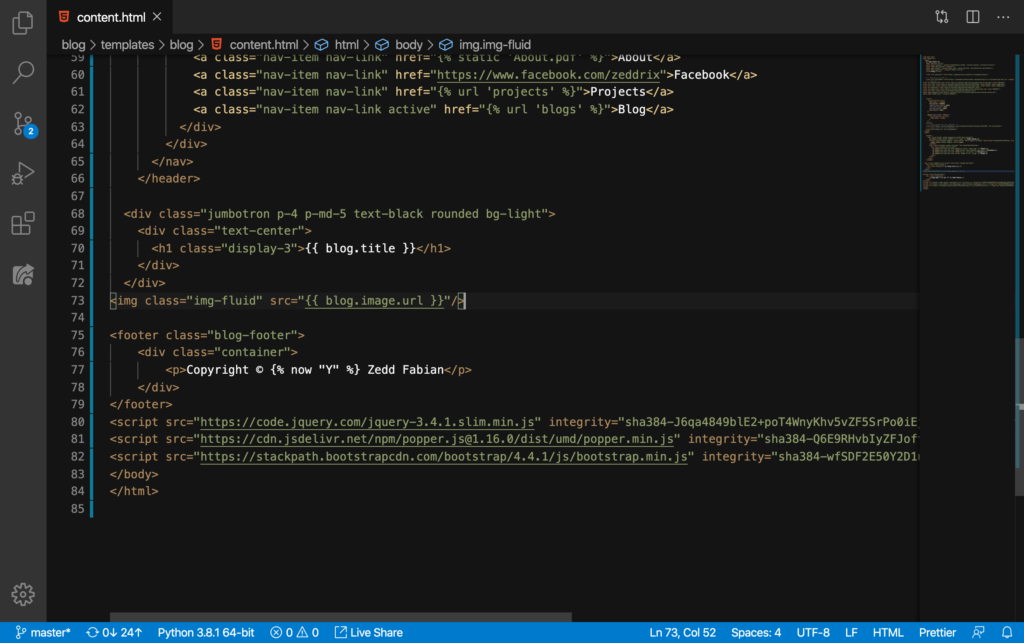
Now, I just want to delete this line of code here:
DELETE:
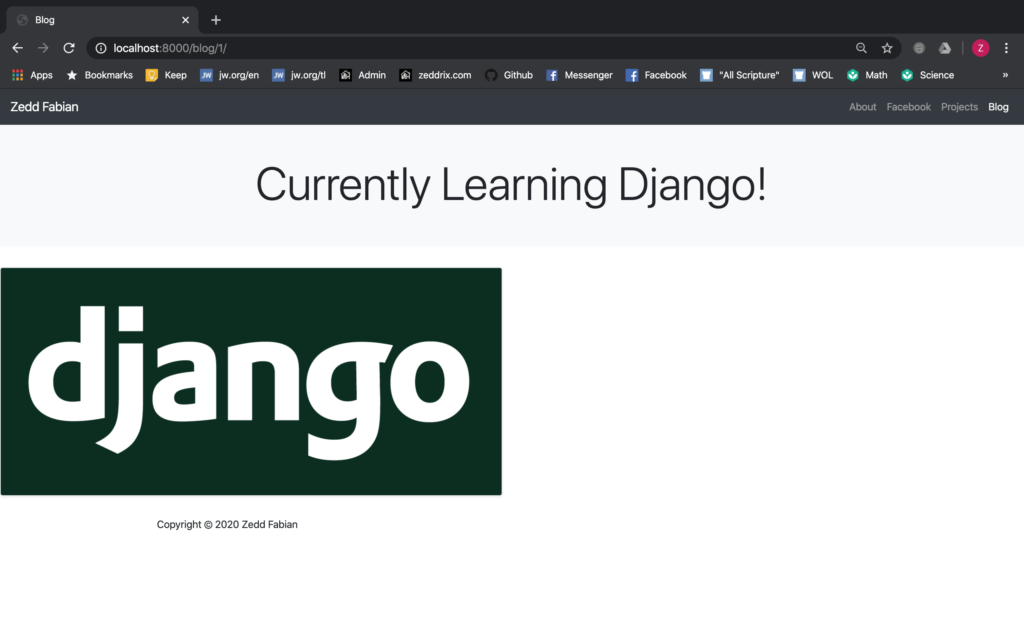
Let’s see what this looks like now:
Alright. We got rid of that box surrounding our image.
Size
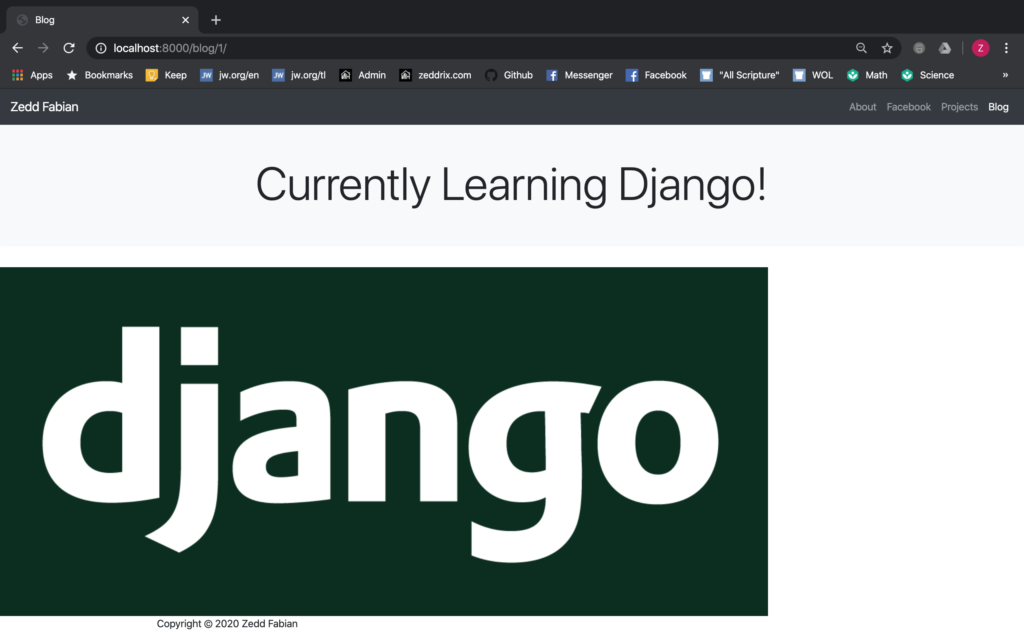
Now I want the image to be full-sized. In order to do that, we’ll just get rid of the sizing:
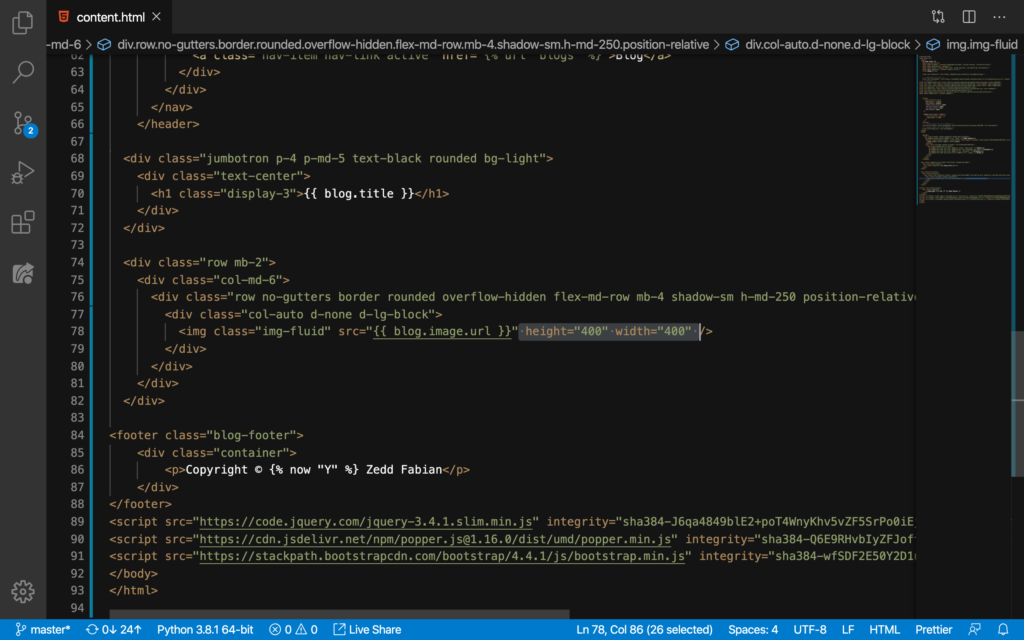
DELETE:
Reload:
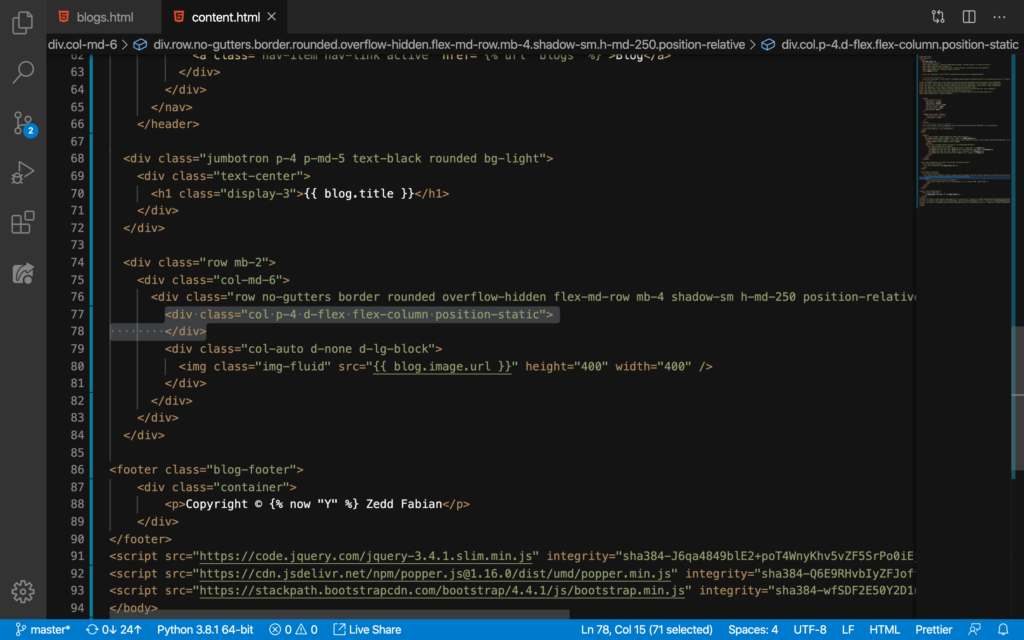
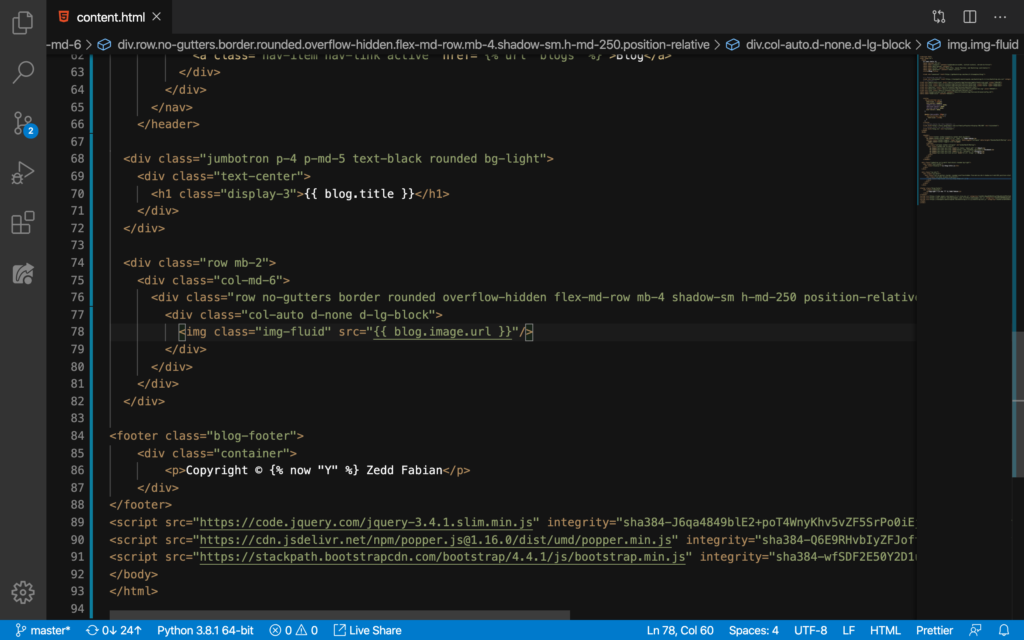
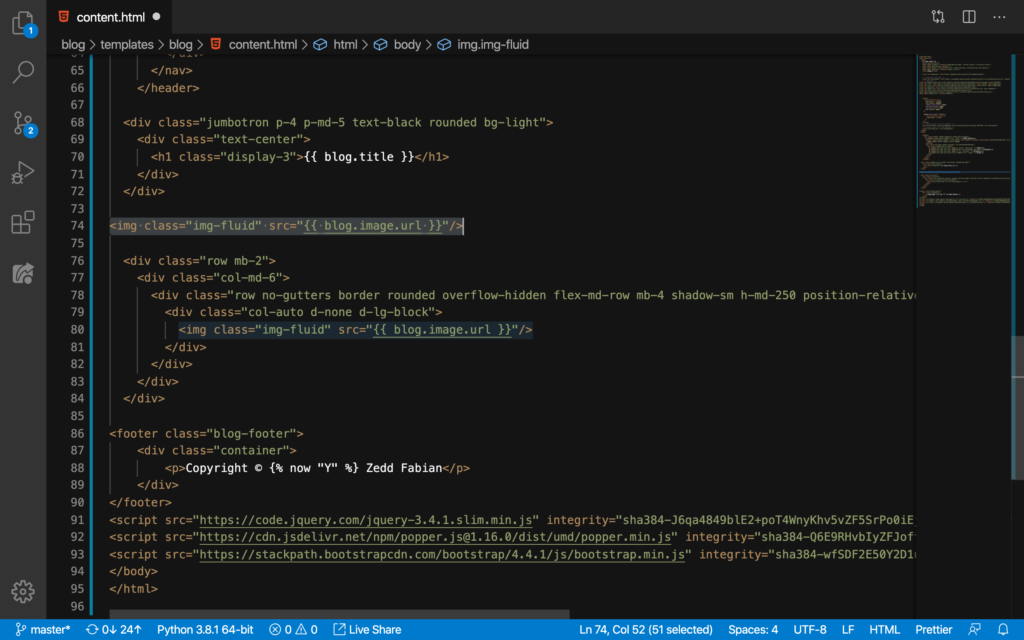
Okay. Now I want this image to get to the center. Now, I want you to copy this line of code on Line 78:
And then paste it here on Line 74:
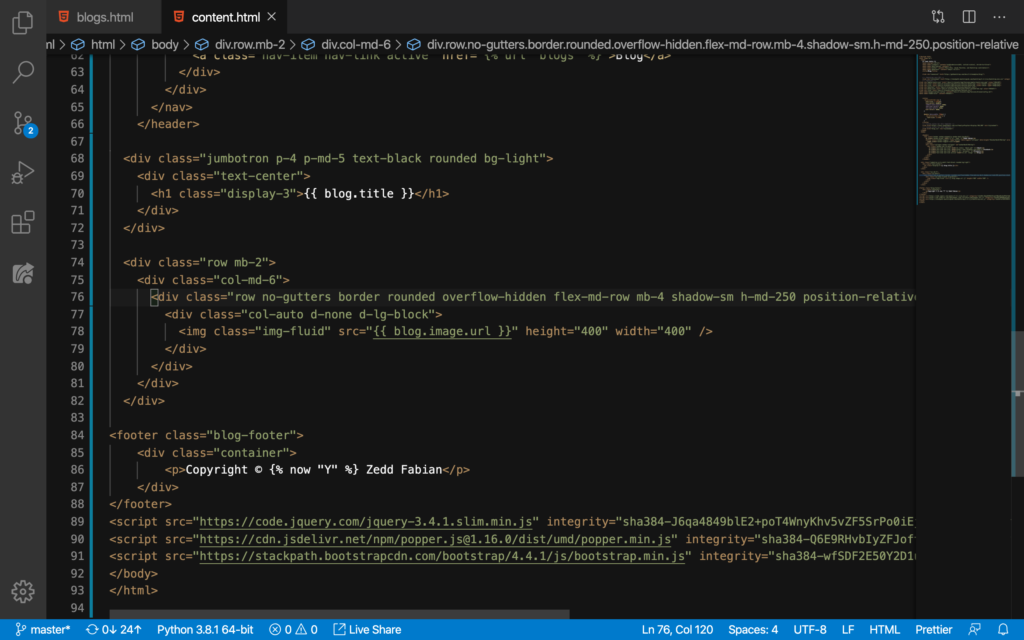
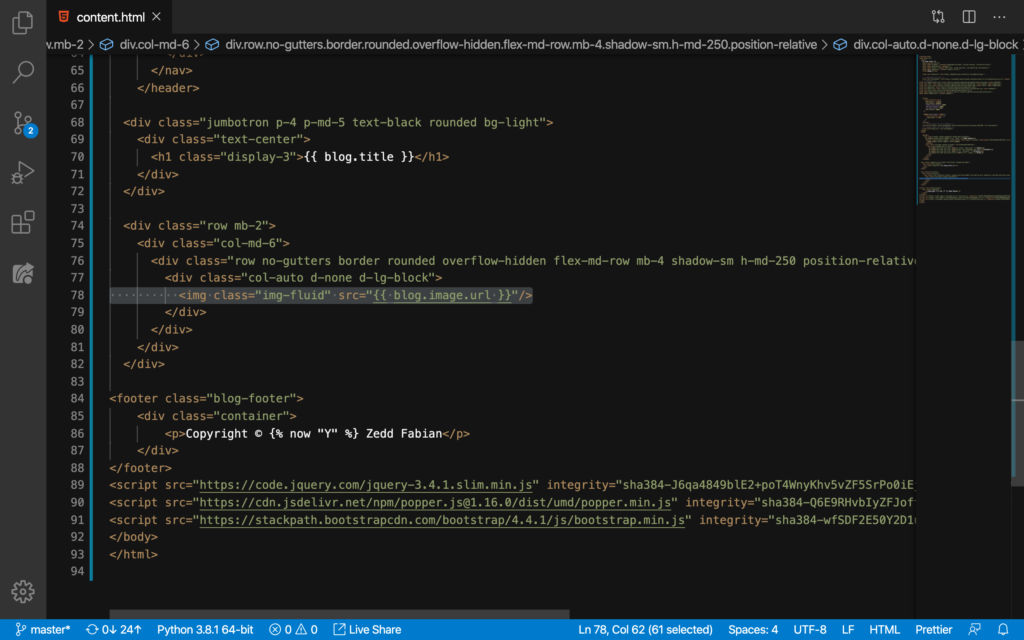
We’ll select these:
And then we’ll DELETE it:
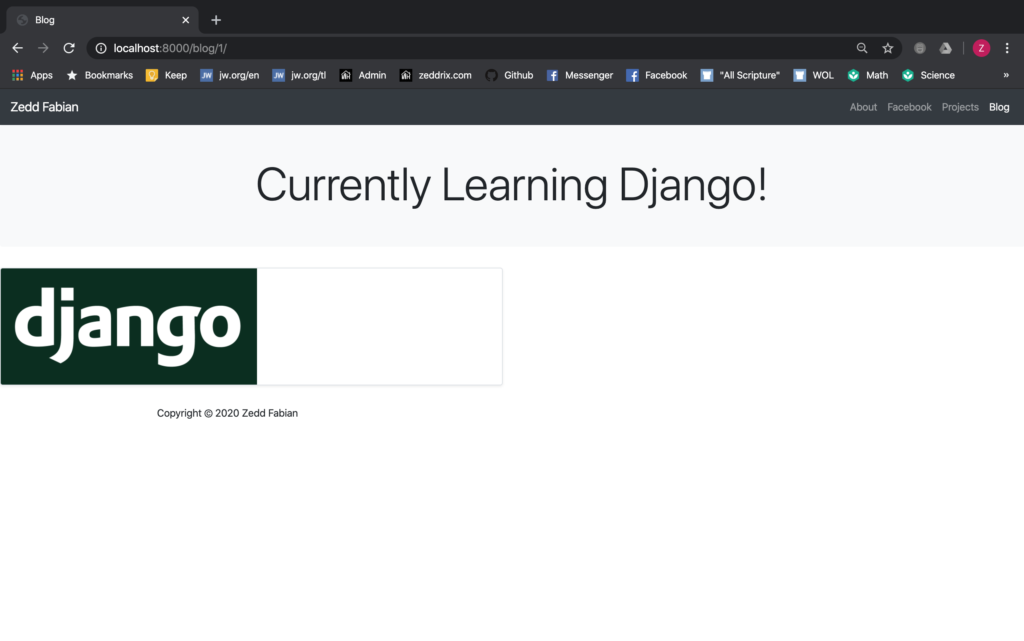
Save and reload:
Good.
Alignment
Now, I want this image to be at the center. So we’ll put this img tag inside div tags with a class of text-center:

Let’s see:
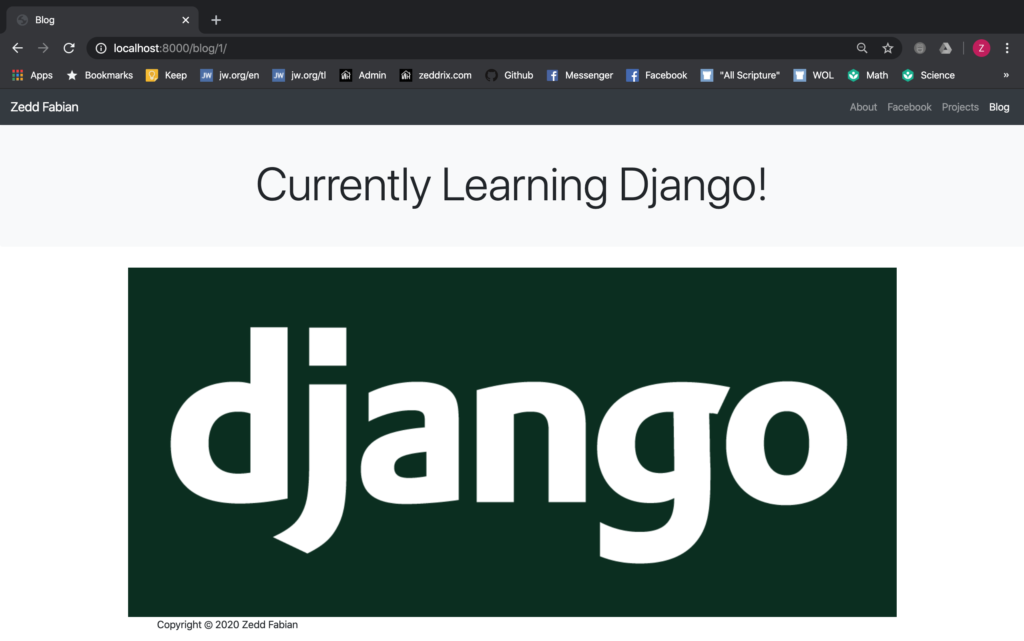
Nice. Let’s commit these changes to GitHub:
Did you understand how we were able to show each blog content in Django? If you have any questions because something’s not that clear, you are always welcome to post your questions down on the Comments section.
Once you understand this, I’m sure you’ll understand the next lessons. Because on the next lessons, we’ll show the pub_date and the body of each and every one of our blog posts. See ya!