Previous Lesson: Lesson 56: Using ‘For’ Loop to Show Our Blog’s Contents
In this lesson, we’ll control the image size of our images inside the blog posts using CSS. If you don’t have a background in CSS, I’ll teach you.
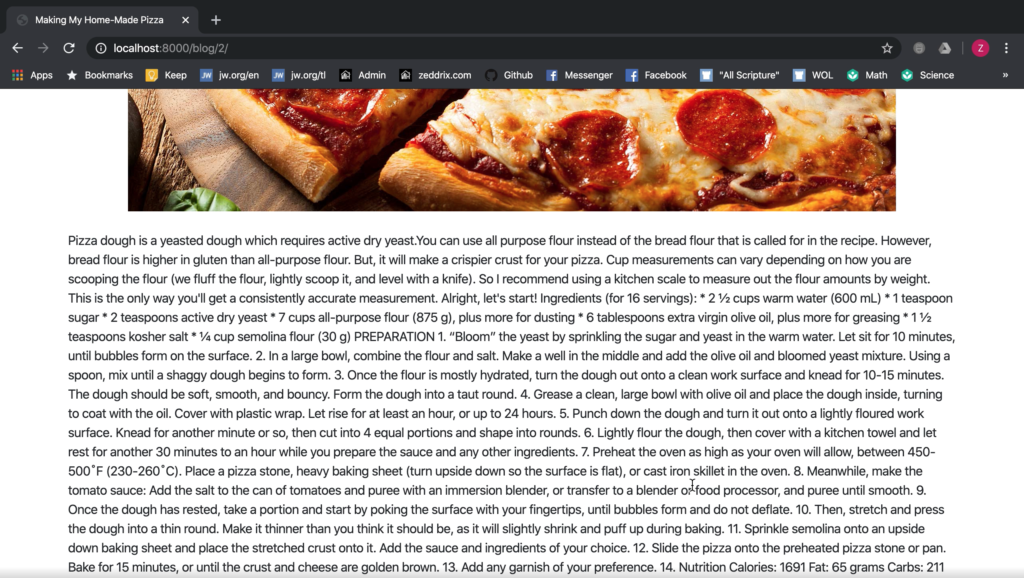
Before you learn how to use autoescape, (which is on the next lesson) I think we should take care of some things first. An example is the images in our blog posts:
I think the pizza’s way too big and the other blog posts’s images are not that great in terms of size. But there is a way to make each image have a uniform size. I wanna show you something that’s may be new for you.
Fortunately, we can control the image size using CSS. Let’s do it! We’ll add something here on our style tags. This is CSS right here:
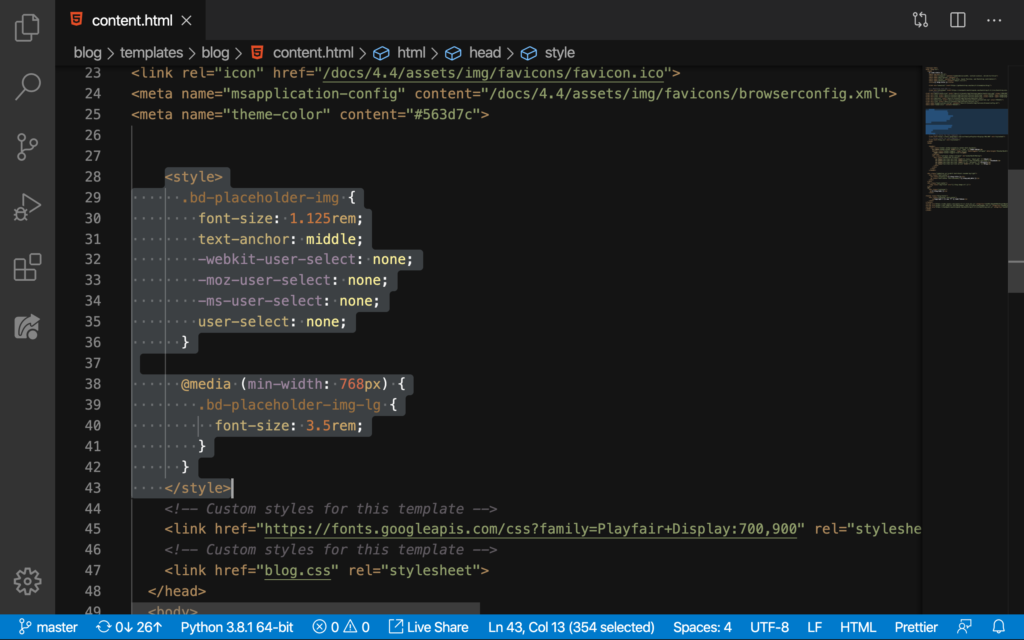
We’ll add this on Line 38 down to Line 41:
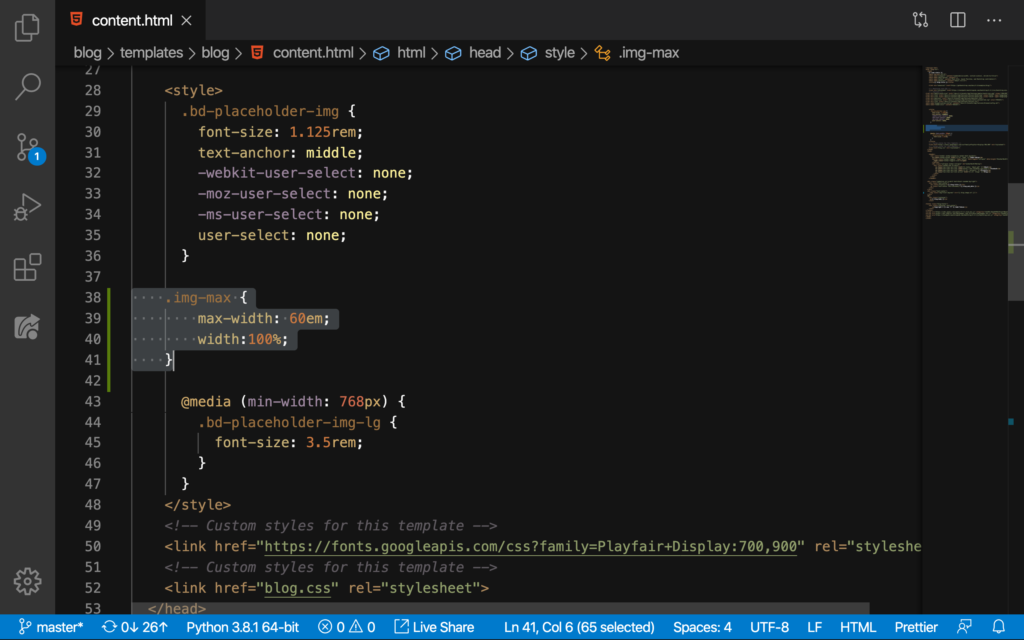
Having that max-width and width will really control the sizes of all or images. As you can see, we were selecting the class called img-max there. So, we are not yet having this on our code–not yet.
Experiment: In fact, I want you to save this right now and refresh the page. Then come and take a look at your blog posts’s images and see if anything happened with them. Nothing right?
That’s because we’re not done yet and we’re not applying this on our HTML code yet. So, to apply it, we’ll simply do this:
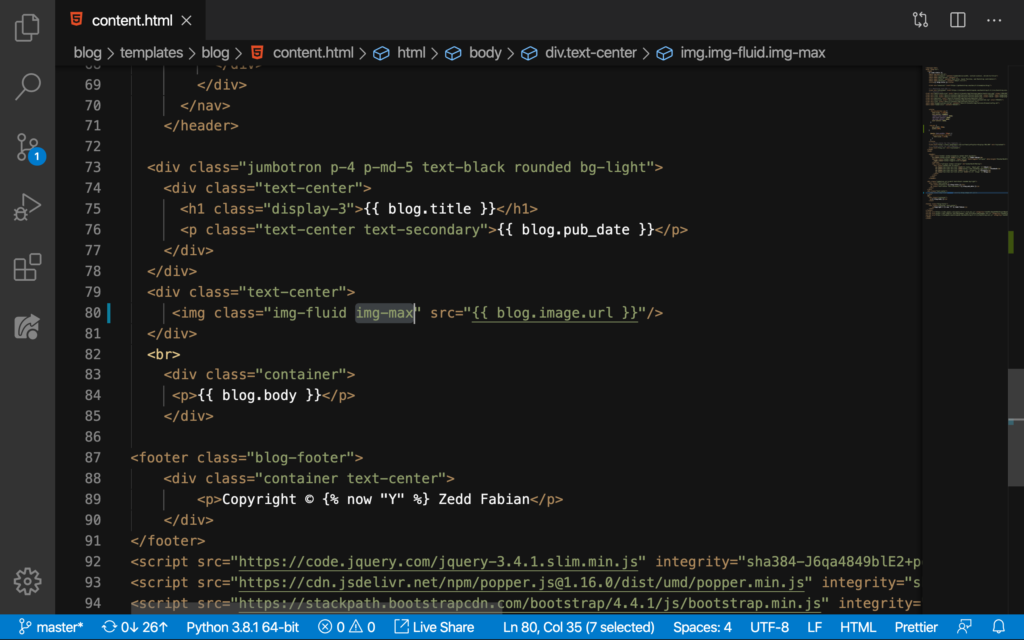
That’s right we simply add the class name. Let’s see what this did to our images:
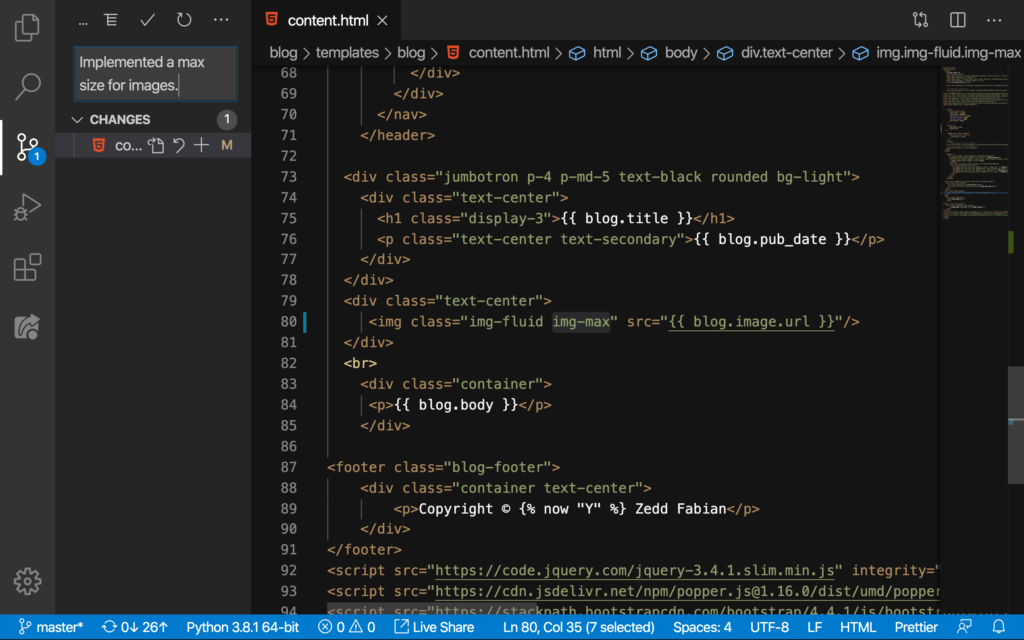
Cool! Let’s commit this change to GitHub:
But you’ll notice, especially if you have a longer essay (like 5 paragraphs), there is no format for the text. For example, my blog post about making a home-made pizza:
We’ll take care of that on the next lesson.