Previous Lesson: Lesson 18: Sketching Our Portfolio Website in Django
In this lesson, you’ll know why we need a virtual environment for our projects. You’ll also know how to install and activate it on your own computer!
“What is a virtual environment?” It is where you can install anything you need for a certain project. Additionally, each project can have its own virtual environment. Furthermore, having a virtual environment for each of your projects will not affect the others.
“So, we could have given our WordCount website its own virtual environment?” Yes, we could have done so. But it was too advance for that time, that’s why we’re covering it right now.
“Is it required to have a virtual environment?” No, it is not. But it is used and encouraged to use by the Django community, and all other communities in that case. Now let’s start!
virtualenv
Open up the Terminal:
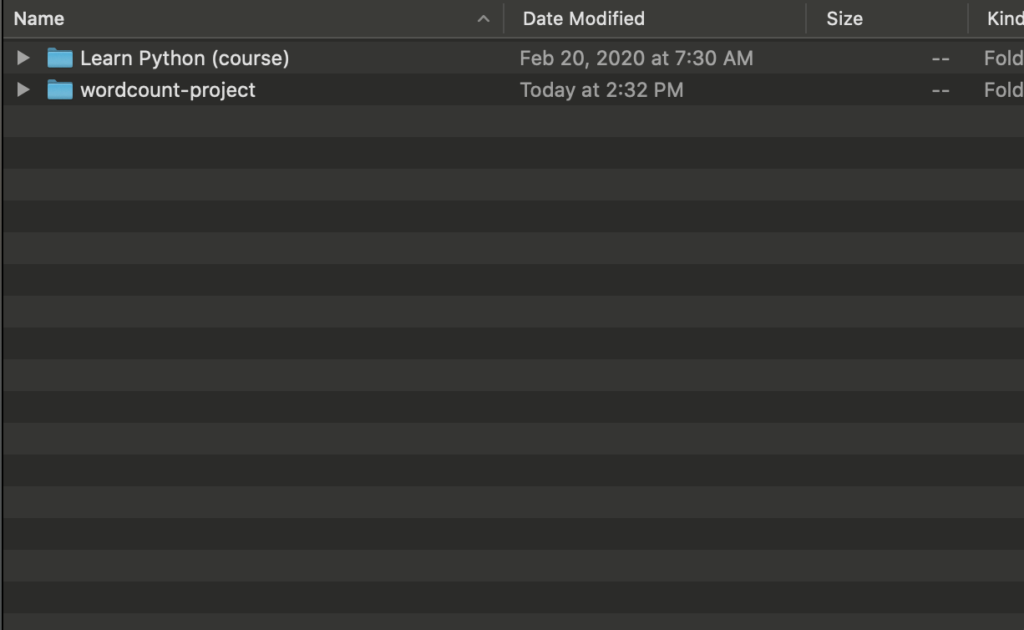
Make sure that you are on your “Projects” or “Other Projects” folder, where you have these (or just the wordcount-project):
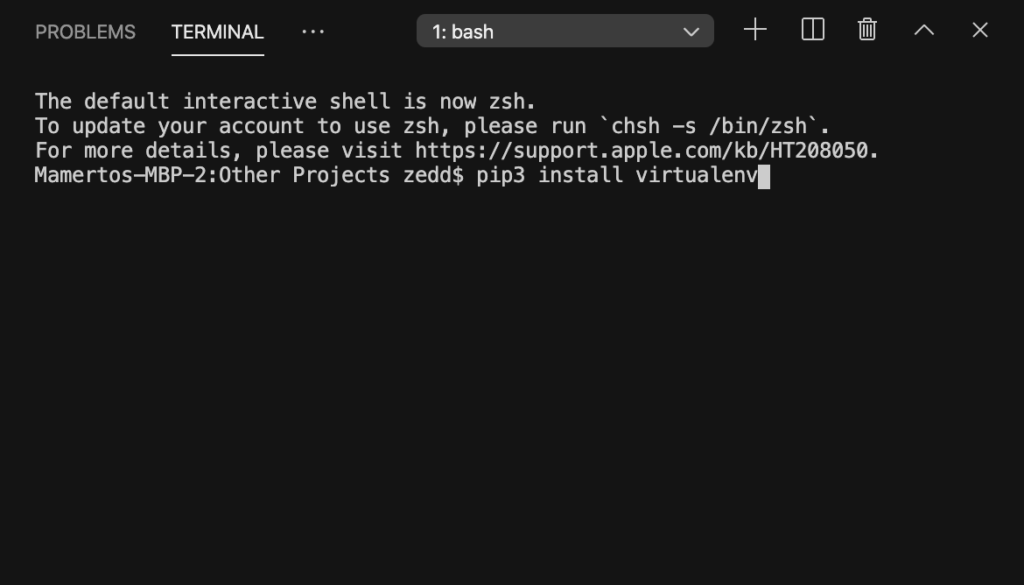
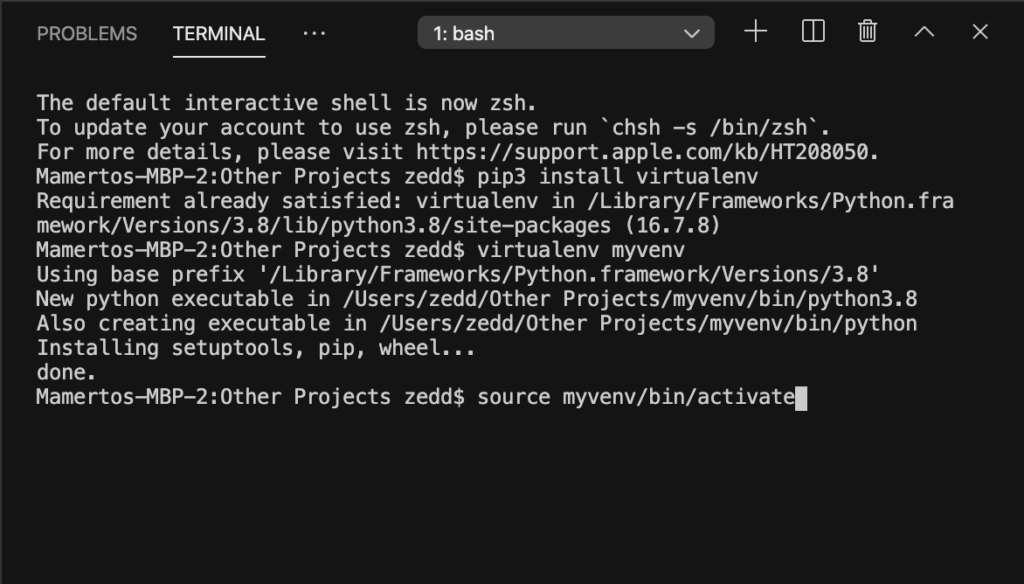
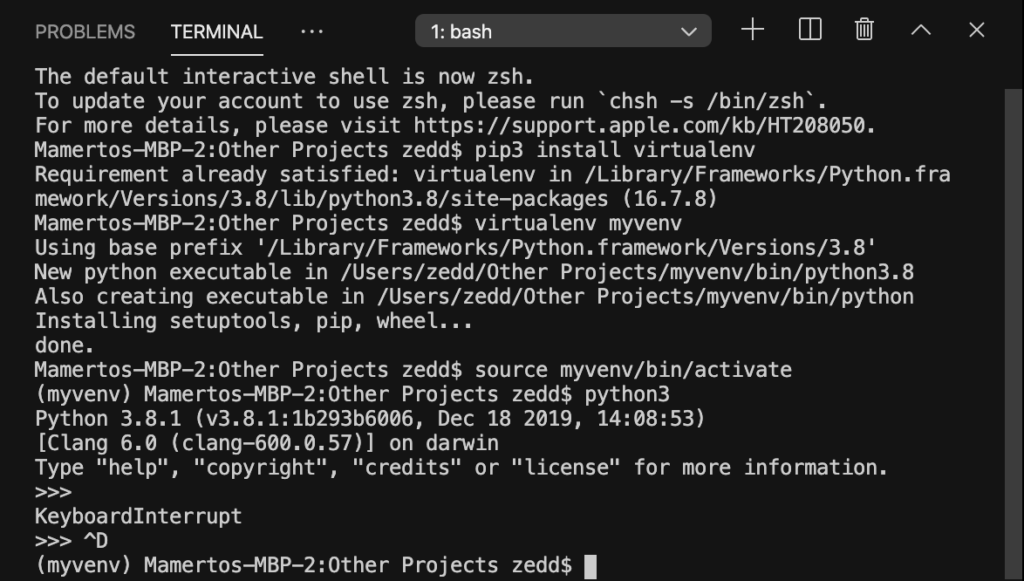
Once you’re on that directory, type pip3 install virtualenv (type this one exactly) on your Terminal:
ENTER:
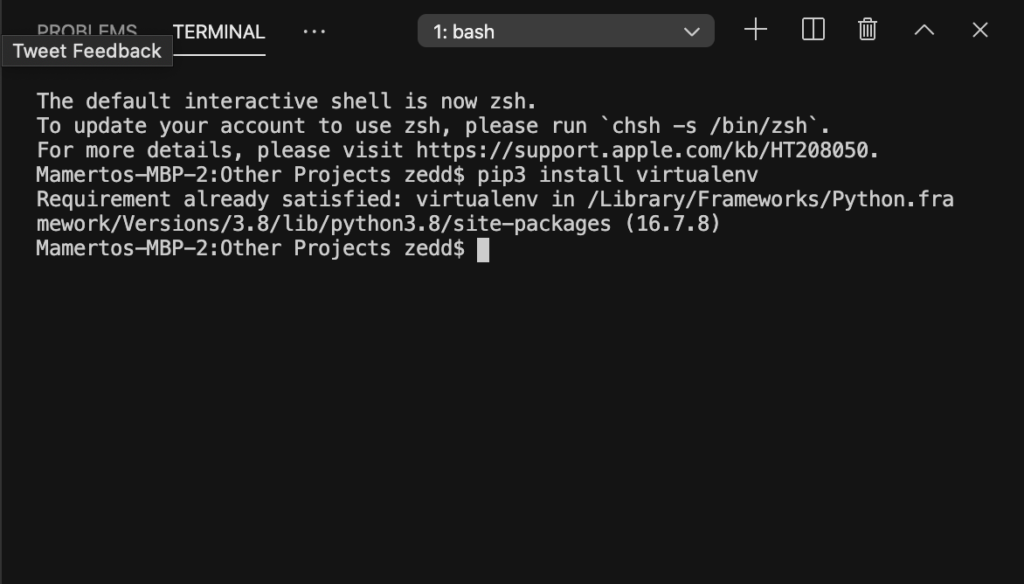
Looks like I’ve already installed my virtual environment on my computer. So don’t worry if yours won’t look like this when your venv (or virtual environment) was installed.
Wait! We’re not done yet! We need to give our venv a name. “A name? Why give it a name?” Remember? We can have multiple virtual environments on different projects. So it is important to give each a unique name.
myvenv
You can give yours with anything you want. But if you work the same as me, you can name it myvenv, too. And we’ll do that by doing this:

ENTER:

Done. When we take a look at our folder:
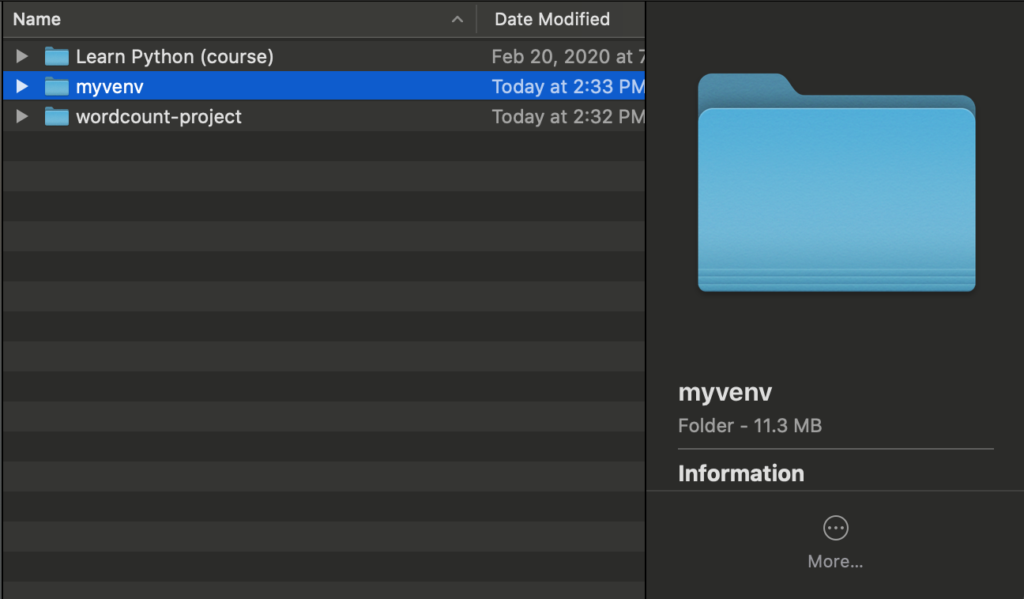
Our venv is now created! But how will we use or activate it?
Activate virtual environment
Note: You don’t need to get inside your virtual environment’s folder to activate it. If you try to do that, you’ll get this:
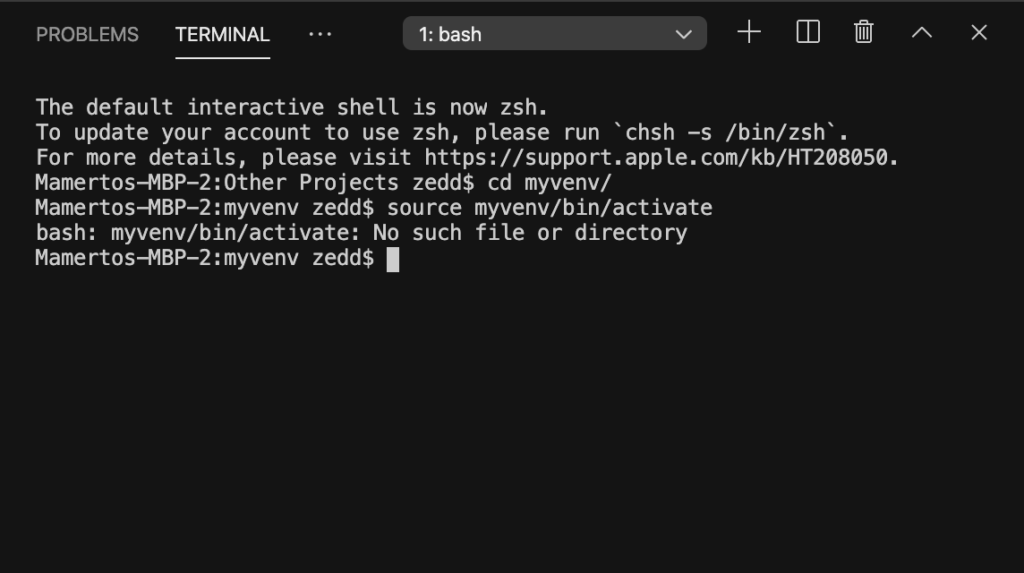
Note!
- On macOS or Linux, use: source (name of your venv)/bin/activate;
- On Windows, use: (name of your venv)\Scripts\activate;
In my case, I’ll use source myvenv/bin/activate:
ENTER:

Once you got that (myvenv), your venv is already activated!
Python Version inside virtual environment
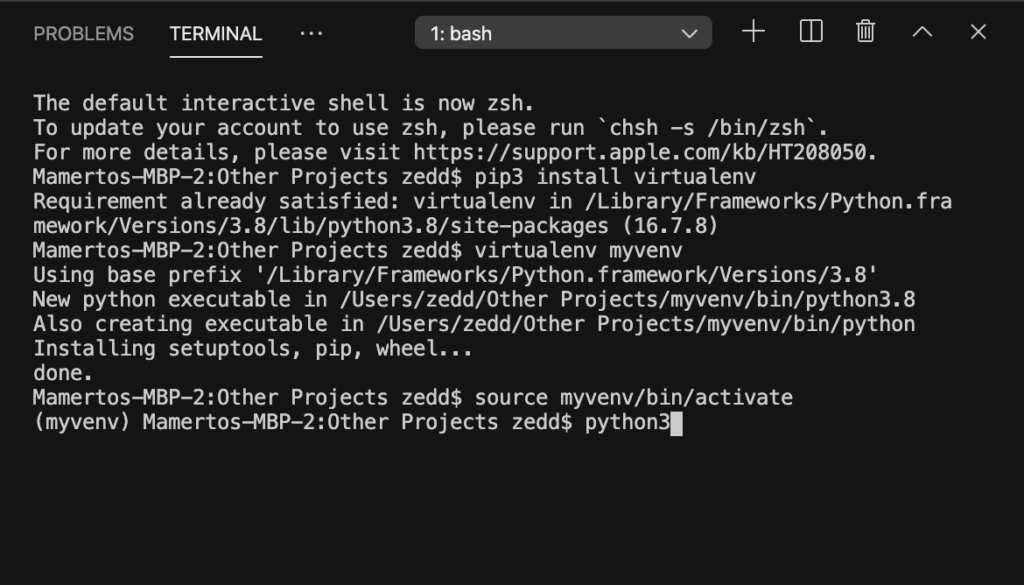
Now we’re inside our venv, let’s try typing python3:
ENTER:

You can exit Python by doing Control + D:
Try this: Type just “python” without the “3” inside your venv. Then, compare the version to the Python version outside the venv.
“What is the importance of this?” Did you do the experiment? You’ll see and realize that you can have different versions of Python and Django (and other programming languages as well) inside different virtual environments.
For example, if you want to use Django 2.0.2 for a certain project, and if you want to use the latest Django version for another project, you can separate these projects (and their programming versions) on different virtual environments. How cool is that?
Learn more in this reference!
Deactivate virtual environment
To get out the venv, just type deactivate:

It’s that simple. Then hit ENTER:
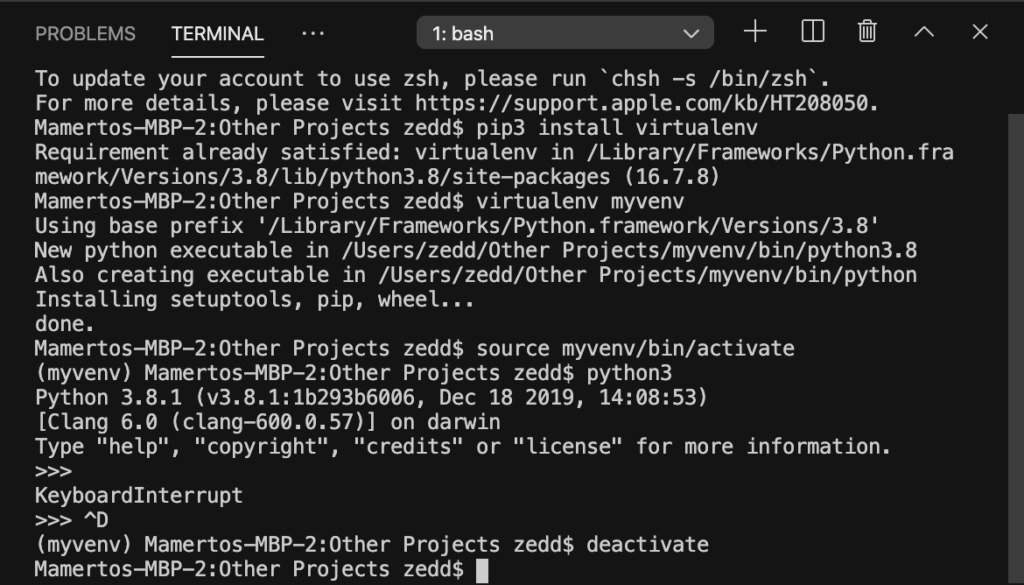
Note: After deactivating, activate it back. I just wanted to show you how to deactivate your venv.
Actually, after you’ve activated your venv, let’s do a clear:

Now hit ENTER:
Neat! All along, we were just setting up our venv. How do we start our portfolio project? Let’s talk about that in the next lesson.