Previous Lesson: Lesson 19: The Virtual Environment
Like what we’ve learned back on our Lesson 5, we’ll do a startproject in Django for our portfolio website. But in this lesson, you’ll learn how to do this inside your virtual environment.
startproject in Django
Do you remember how to start a new project in Django?
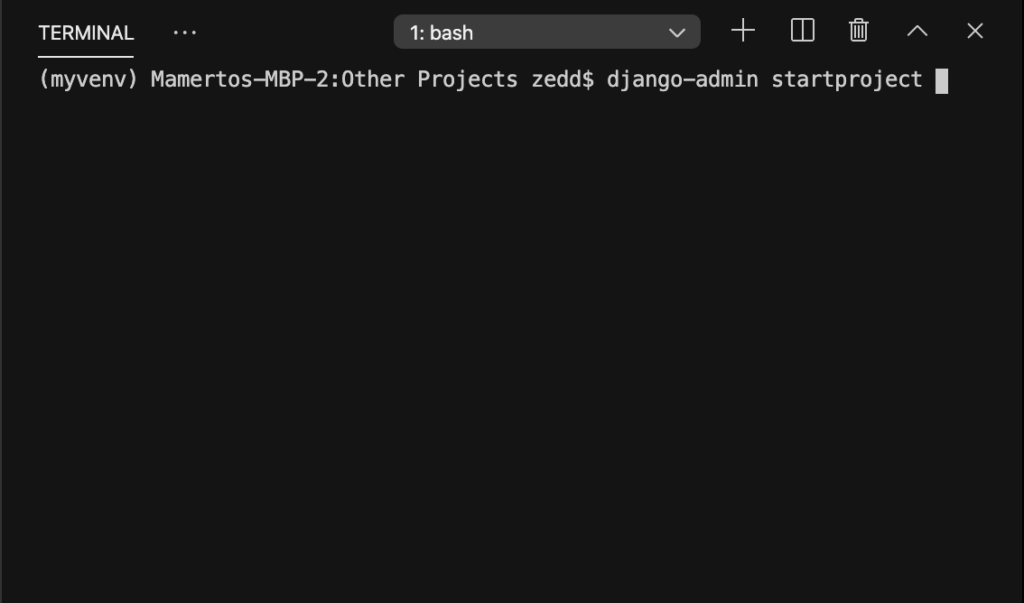
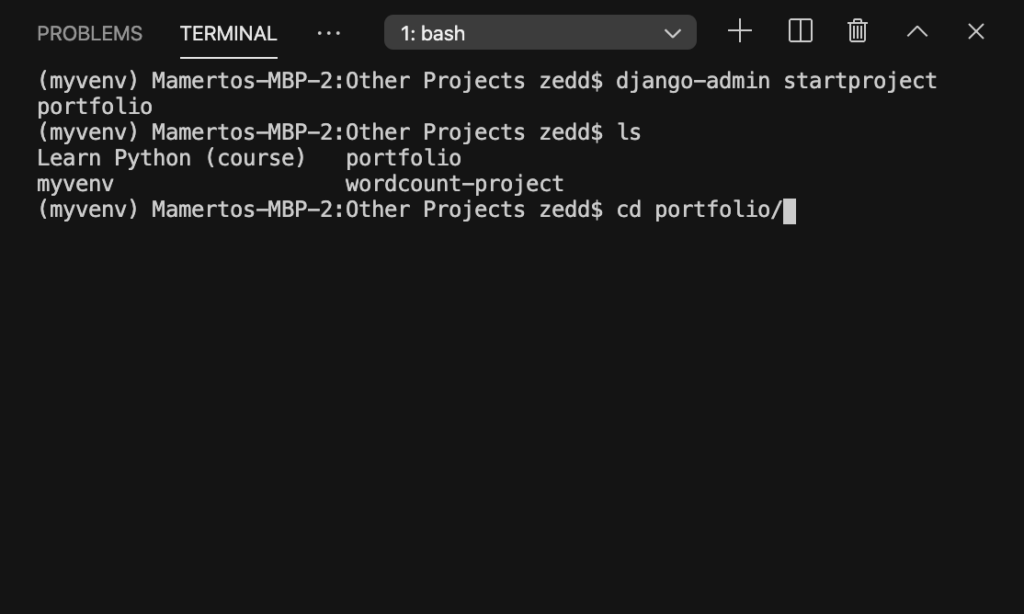
Yup! Our django-admin pal! We can do a lot of things with it, remember? And one of them is startproject. DO NOT ENTER YET! We still need it a name. I want to give this project simply the name portfolio:
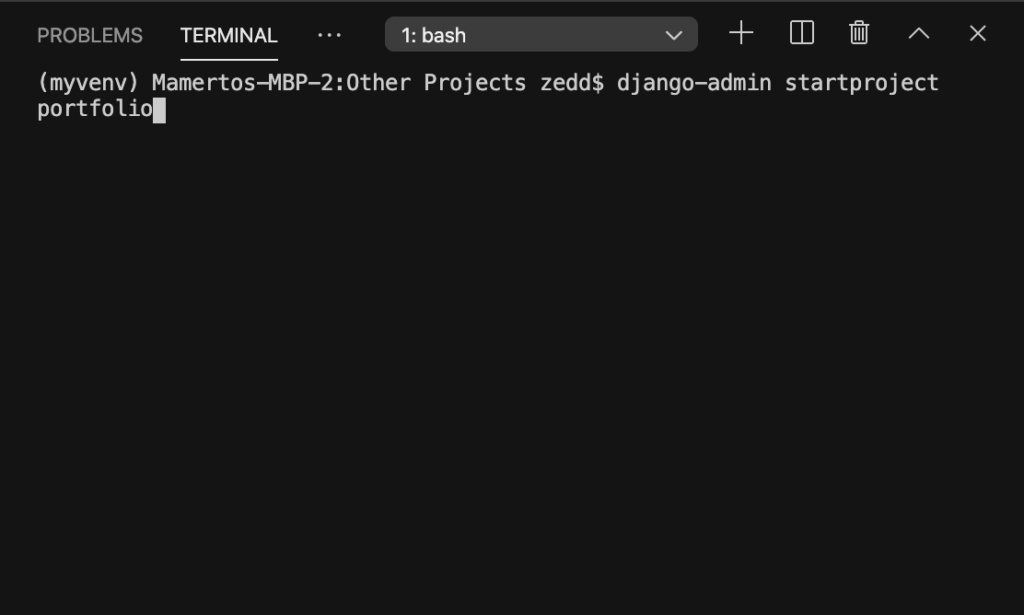
Hit ENTER:

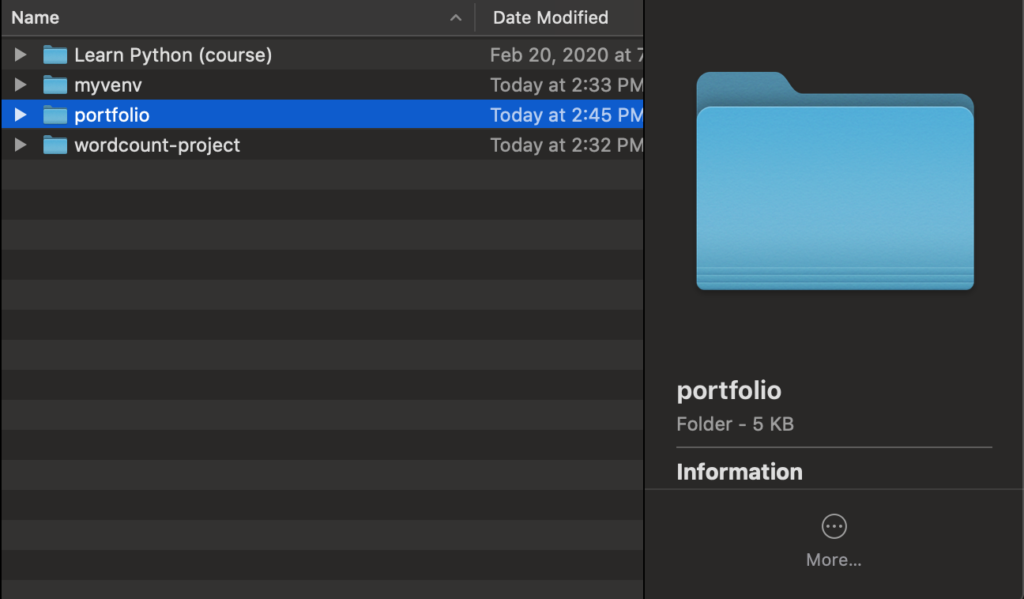
“What in the world happened? Did it work?” Yes! Lookee here:
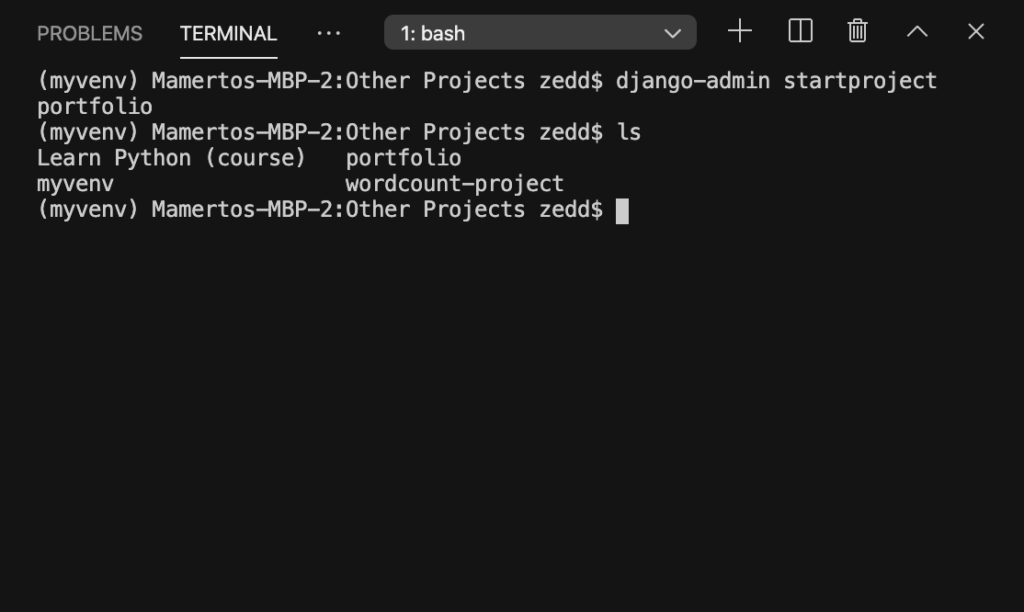
Nice. Now let’s get inside that folder. Remember our Terminal commands? If you don’t remember, just follow along with me. Let’s just do an ls or a dir (on Windows) to see the contents and press ENTER:
See the profolio folder? Let’s go inside it! But what command will we use this time? Right, the cd:
Hit ENTER. Now, do an ls or dir again to see if you’re really inside the portfolio folder:
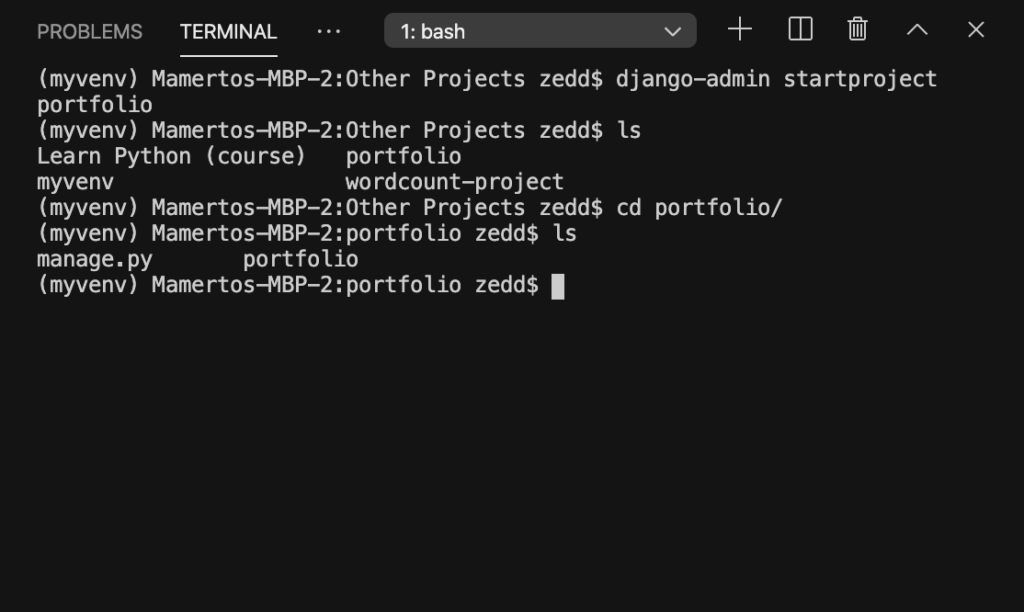
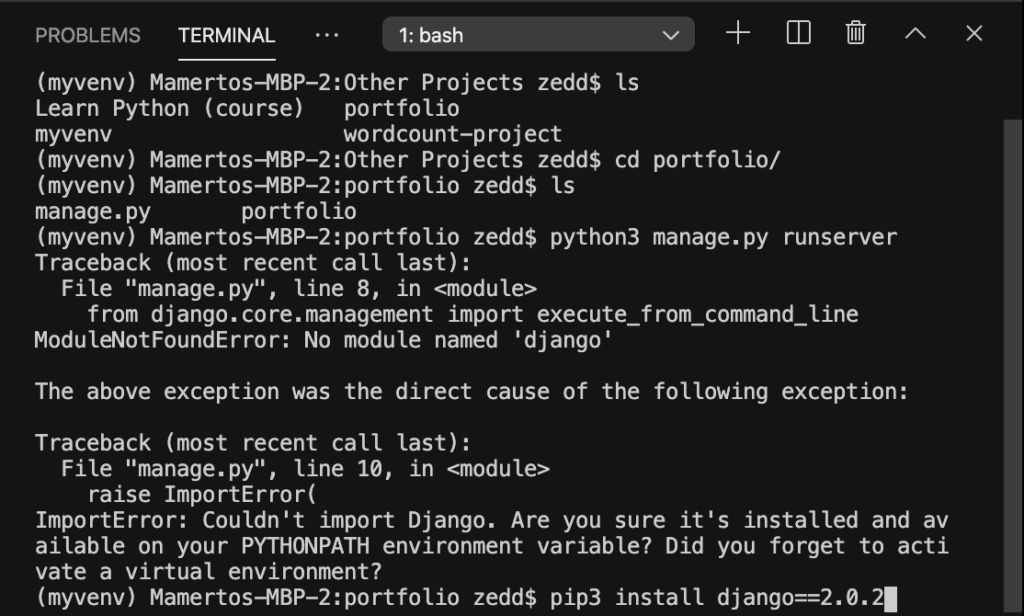
Good. You’ll see something here that you’re already seen before. Can you guess what that is? Right, the manage.py! And of course, another portfolio folder inside our project.
runserver
Let’s now run the server. Do you remember how to do it? Of course you do!
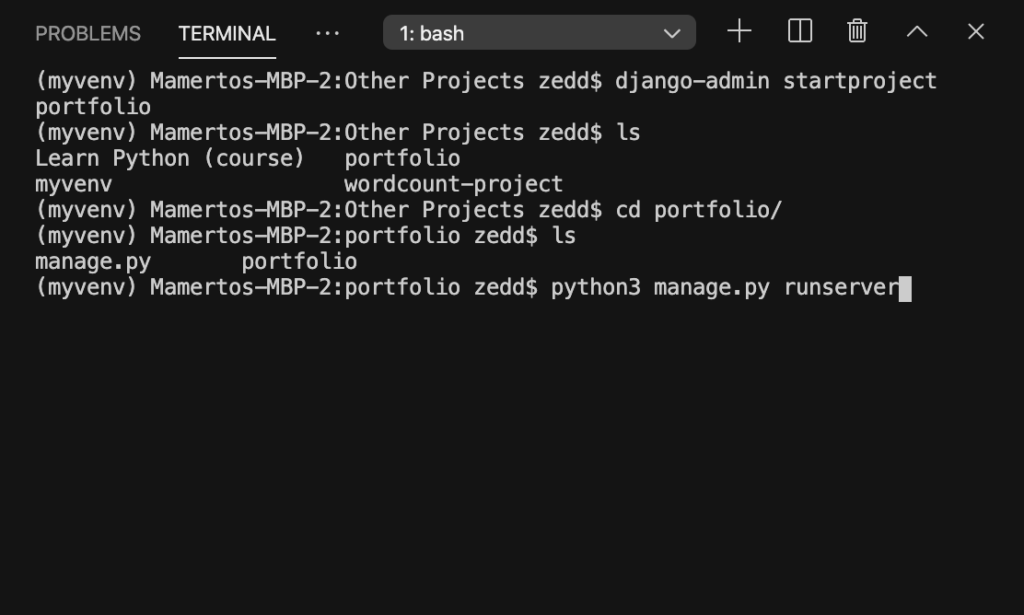
Hit ENTER:
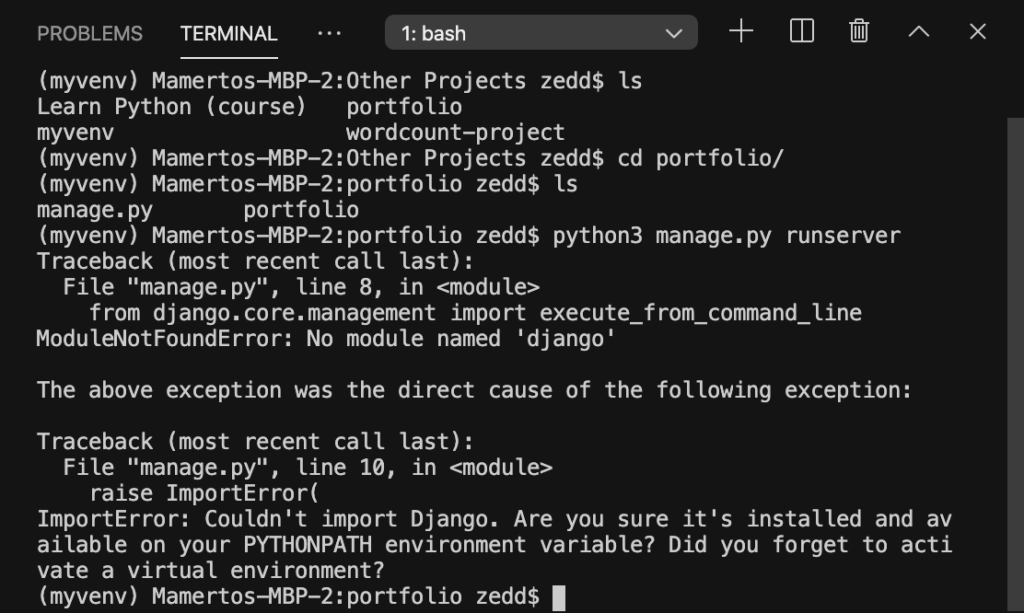
Oops! What’s wrong? Well, let’s read what our Terminal says. Couldn’t import Django. “Haven’t we already installed Django here on our computer?” Yes, we did.
“But then why does our Terminal complain? We didn’t even forget to activate our virtual environment, right?” Yes, that’s true. And, actually, you just said the answer–we are inside our virtual environment. Which means that we are on a different environment–an environment where there is nothing installed, not even Django.
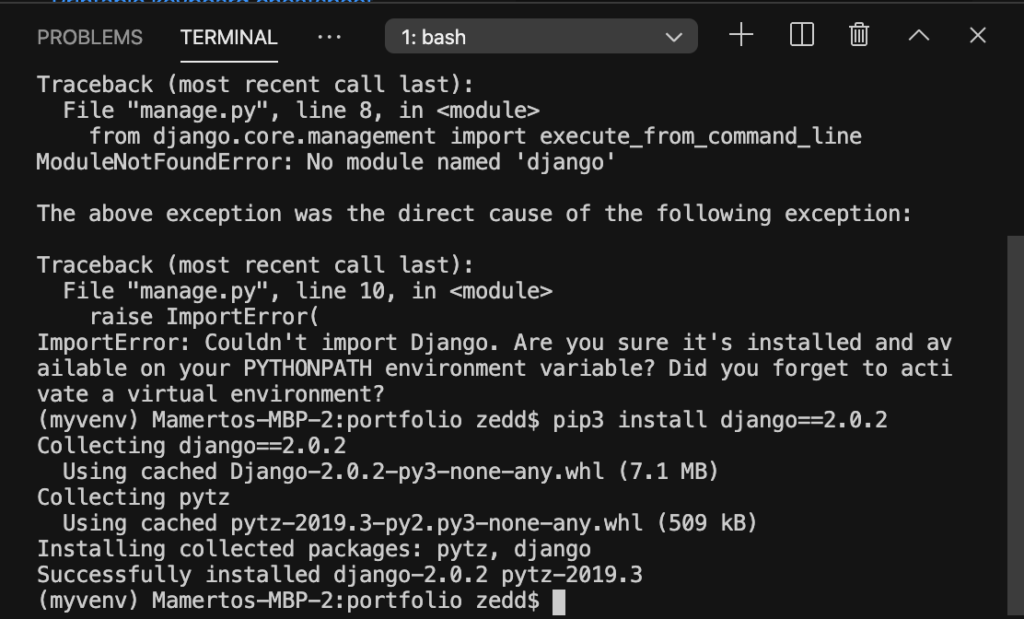
So let’s install it!
Install Django
Remember how to install Django?
Hit ENTER and let it download for a while:
Good. Make sure that your virtual environment is activated. And then let’s run our server:
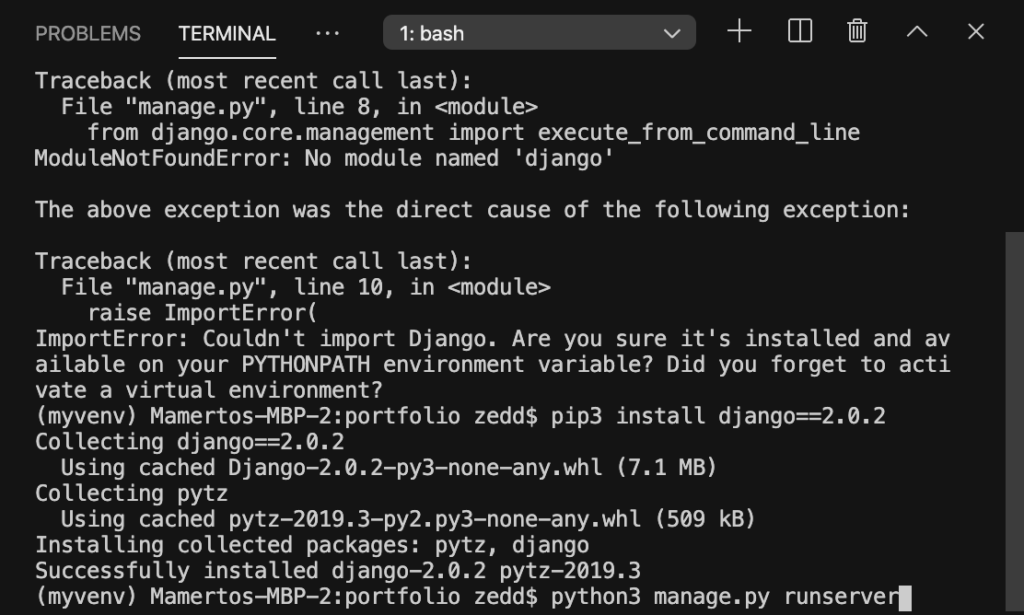
Hit ENTER:
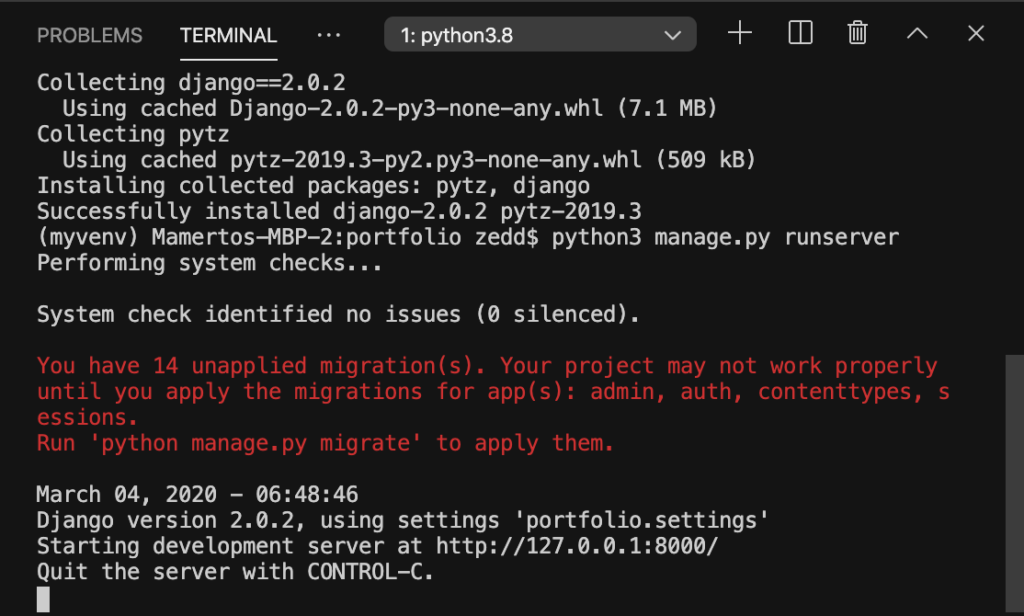
Yes! Our server is now running! That’s it for startproject in Django! On the next lesson, we’re gonna be talking about Git and GitHub.