Previous Lesson: Lesson 20: Startproject in Django
In this lesson, you’ll understand why Git and Github are both very significant to learn and use when building projects in coding.
Background of Git and GitHub
What is GitHub?
GitHub is an open-source repository hosting service, sort of like a cloud for code. It hosts your source code projects in a variety of different programming languages and keeps track of the various changes made to every iteration.
The service is able to do this by using Git, a revision control system that runs in the command line interface.
Do many people use GitHub?
You can check out how many people in the world uses this hosting service today at work, and even at schools, in this website. I’m telling you, it has millions of users.
Why do we need GitHub?
Imagine yourself: You’ve been working on a very big project for your own business. It may be a big website or a game or an application. And you’ve been working on that project for a whole year on your own computer. But one day, someone fires a missile on your computer. Your computer is disintegrated to ashes along with all your code. What now?
But! If you have a place where you can always put all your codes on that place; a place where even if your computer got disintegrated by a missile, you’ll feel safe. And that is GitHub. It is like how Keep works but it’s way much better than that.
Why? Because on Keep, yes you can access your notes everywhere you are on any device. But, you won’t see the history or the changes that you’ve had on your notes. In GitHub, you’ll see every change that you’ve had in your code in every commit.
Sign up or Sign in on GitHub
Don’t worry if you don’t understand what I mean by all these “histories” and “commits”, because we’ll learn about all these while working on our portfolio website. So for now, let’s go to their official website: github.com.
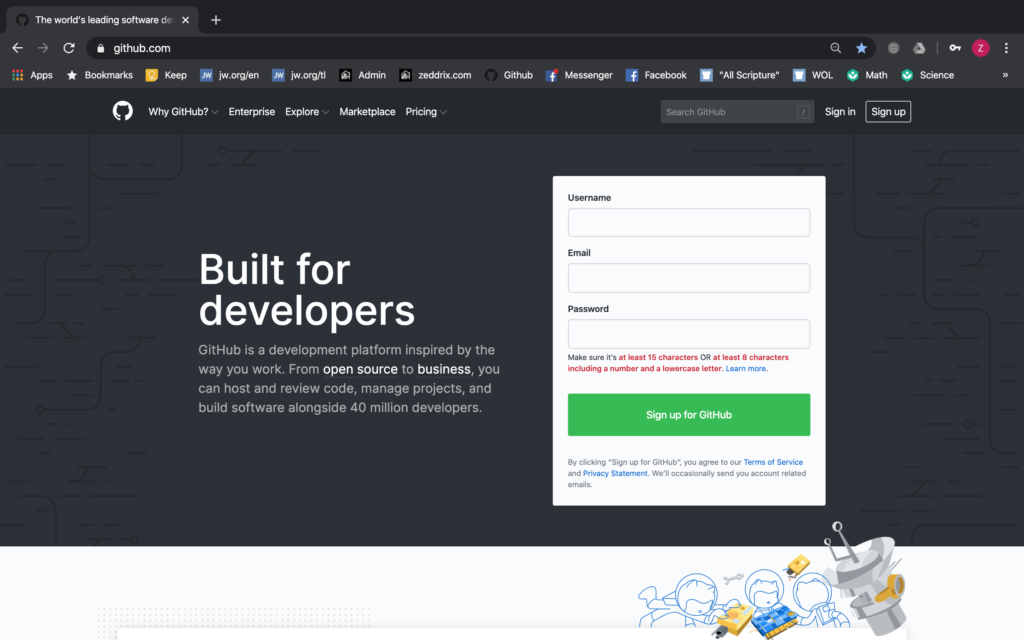
Now, if you don’t have an account for this one, I want you to go ahead and sign up. But if you already have an account (like me), you can always sign in:
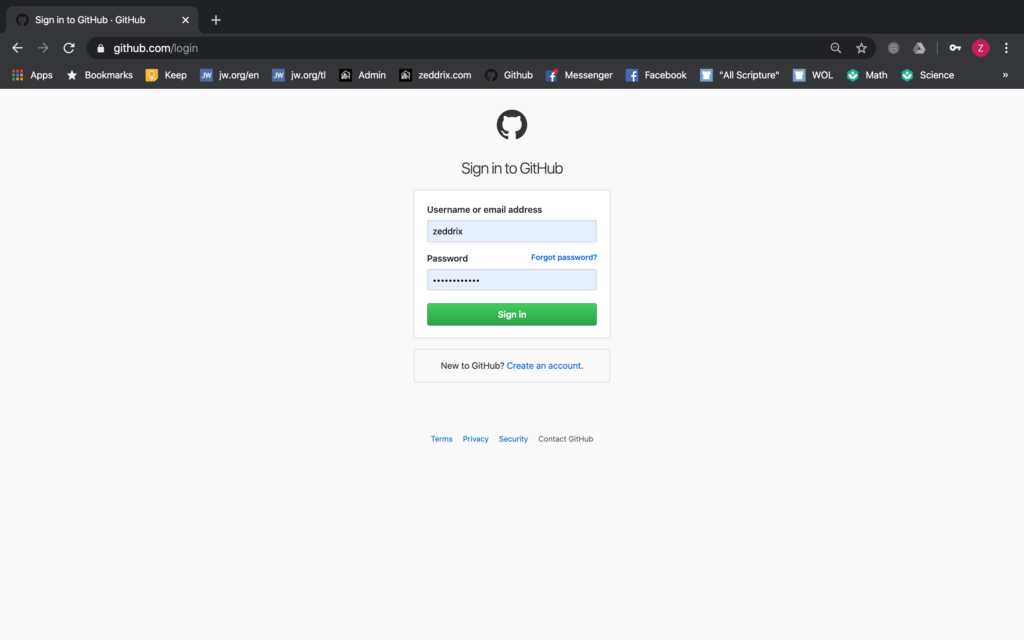
After signing in:
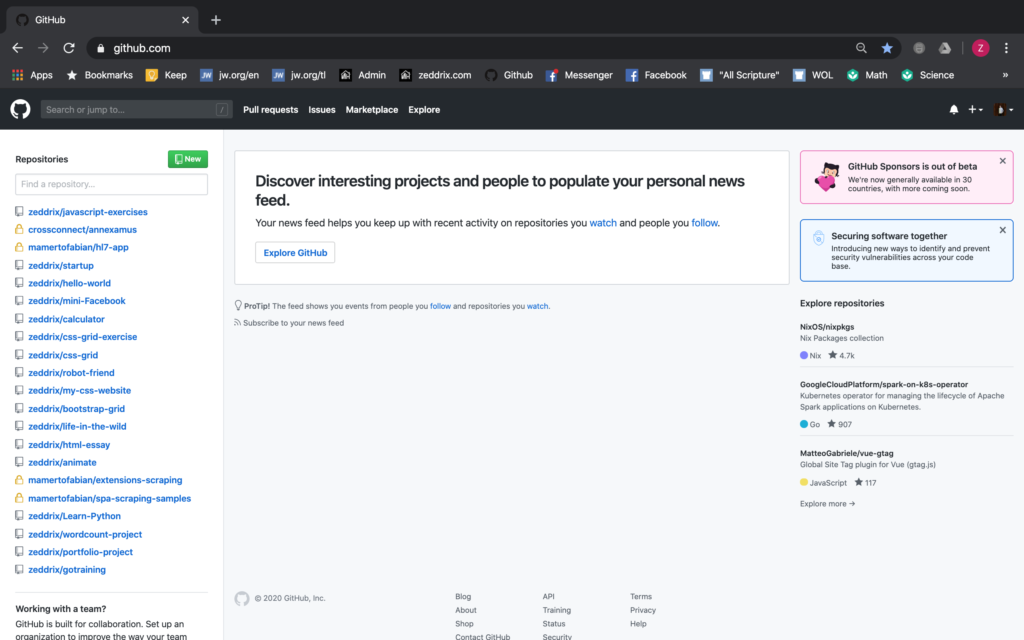
You don’t have to understand all these nonsense for now. And you don’t have to worry if yours doesn’t look like this. Just follow along, and I’ll teach you how this works.
Honestly, I didn’t learn how to do this in one blow. Rather, I learned this as I was doing the commits regularly to GitHub.
Now, I want you to download GitHub Desktop:
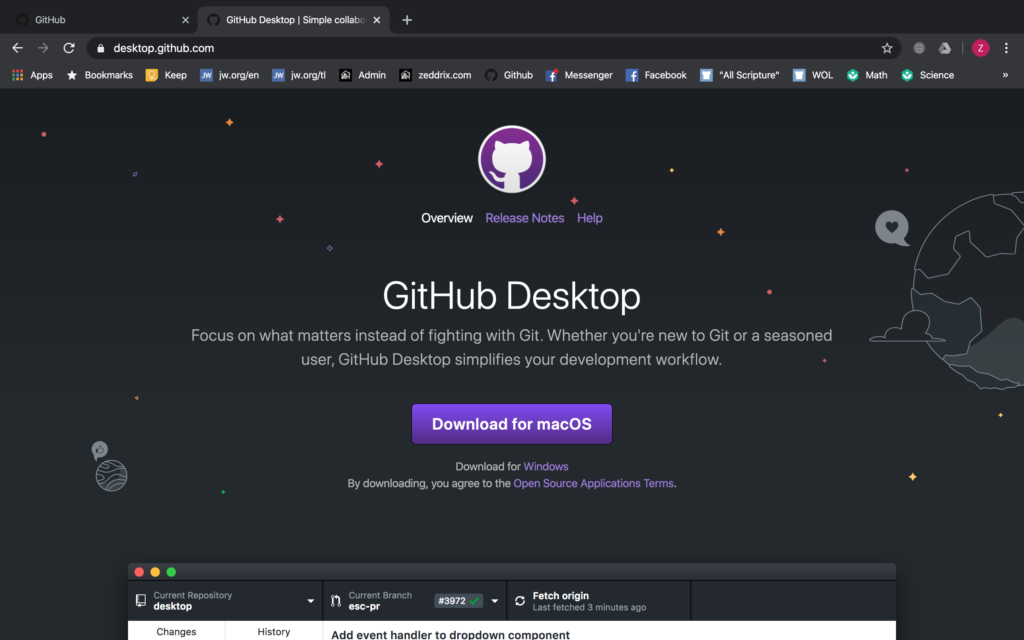
It’s easy! You just click on that Download button with your computer’s operating system. Of course, because I’m on Mac, MacOS is displayed here. Wait for it to download.
Our First Commit in GitHub!
And as we wait for it to download, let’s open up Visual Studio Code, or your own text editor:
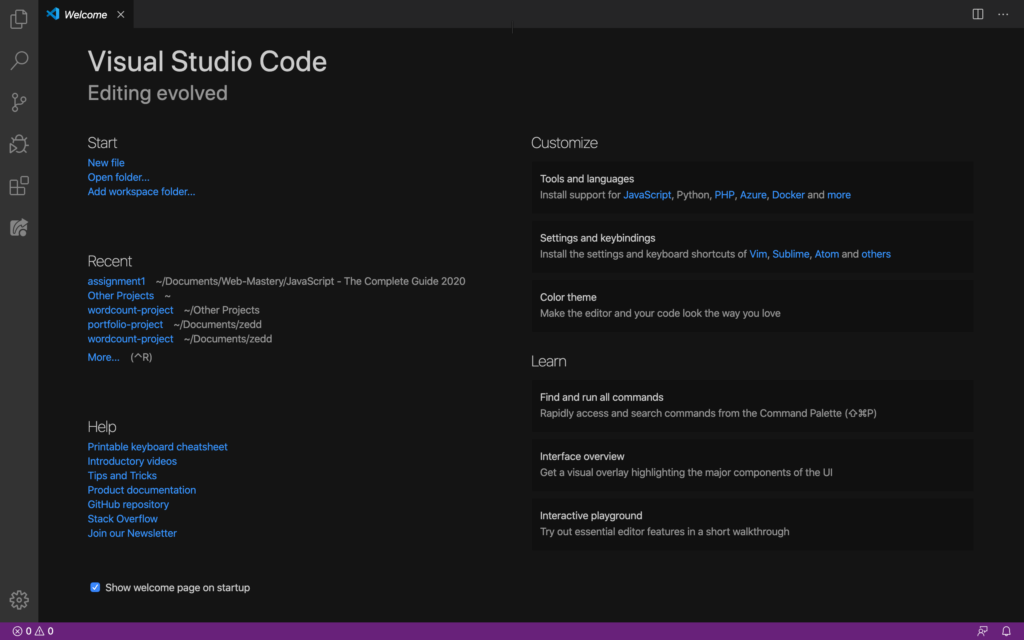
Good. And then let’s open up our wordcount-project, remember that first Django website that we’ve created together?
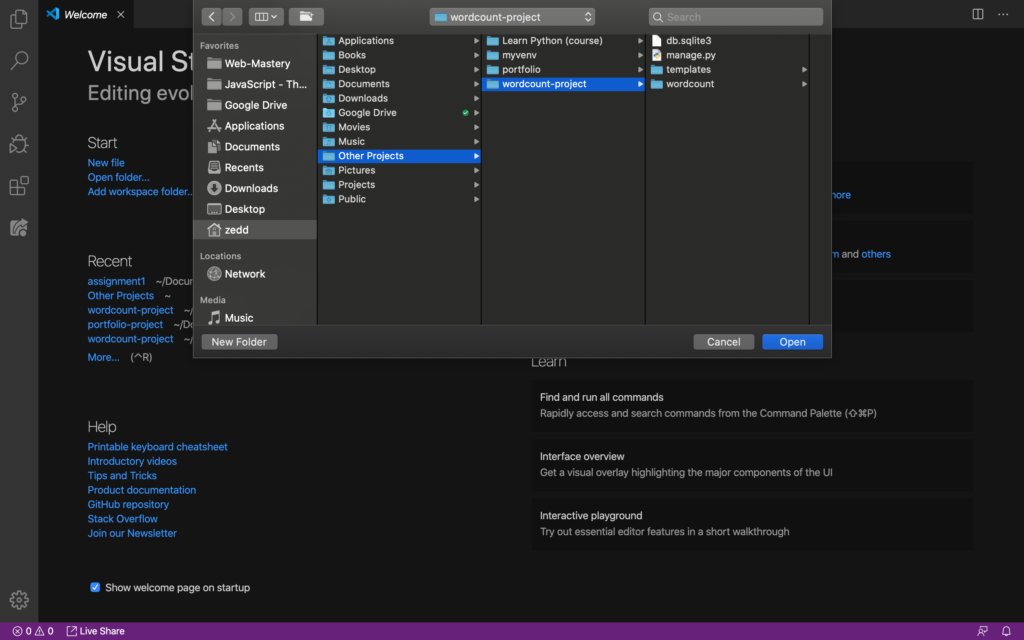
Remember, just follow along and everything will be clear as I explain what we’re doing and what these are for. Now, once the wordcount-project directory is opened, you’ll get this:
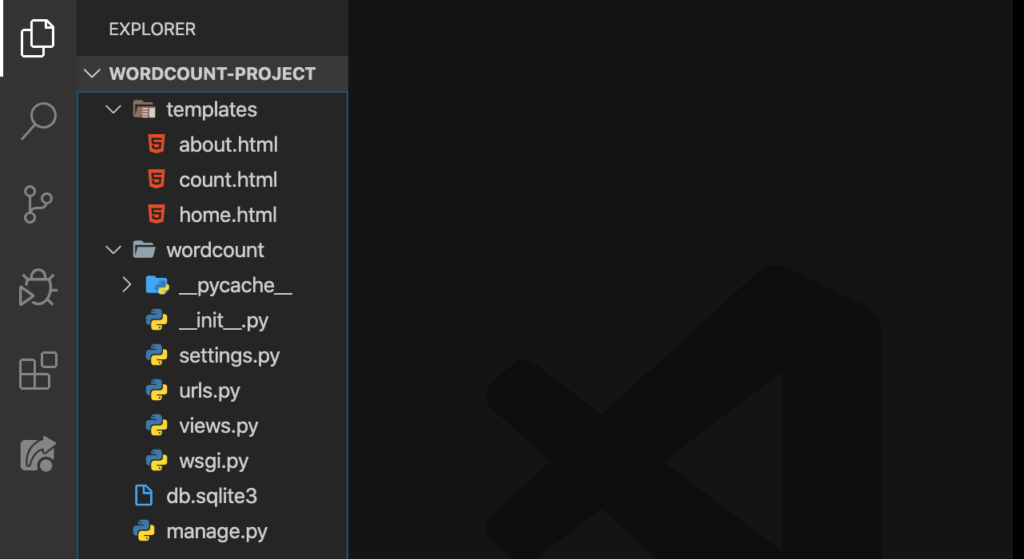
Right. Now, on the sidebar of your Visual Studio Code, I want you to click on that letter-y-like button. And then you’ll see this:
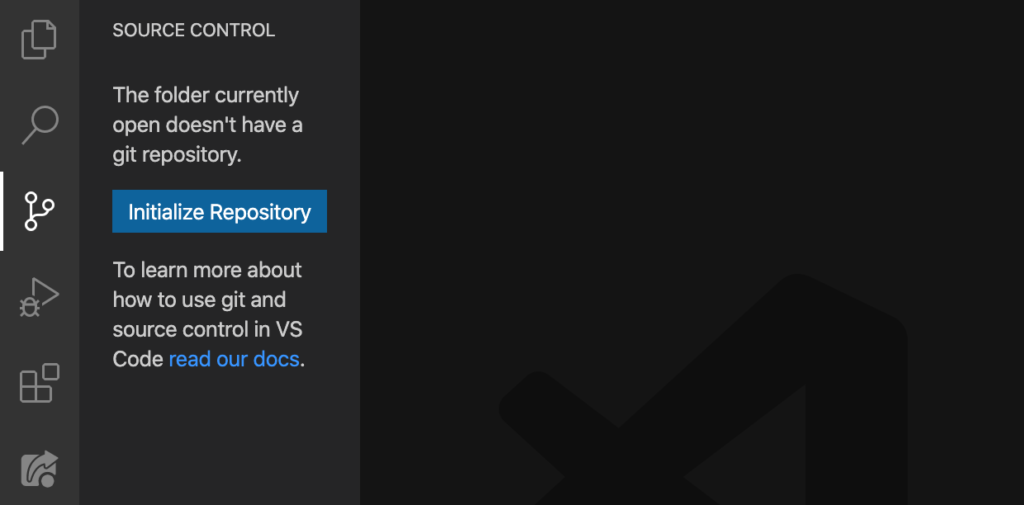
You’ll know what source control means later on. But right now, I want you to Initialize Repository:
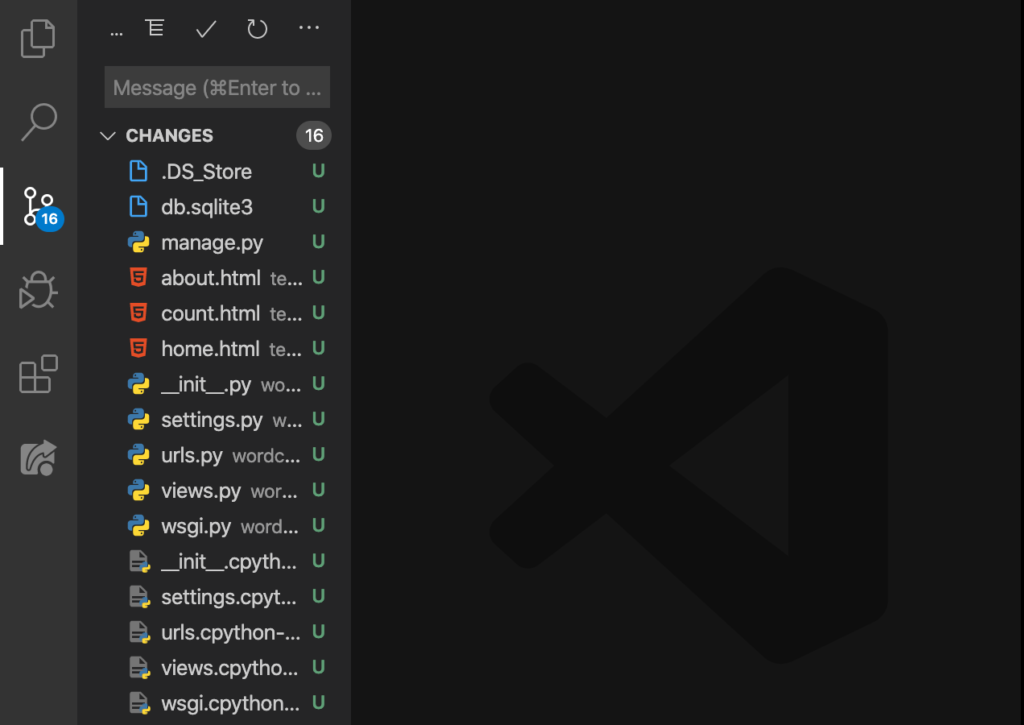
The U means “untracked,” which means that these files are not yet on our GitHub repository. You’ll notice that I keep on saying some terms that you might not understand yet.
Don’t you worry, because I was as stupid before. Besides, I have listed all these terms and their meanings at the very bottom of this lesson. Now, we want to say something about all these files. Let’s say something like this:
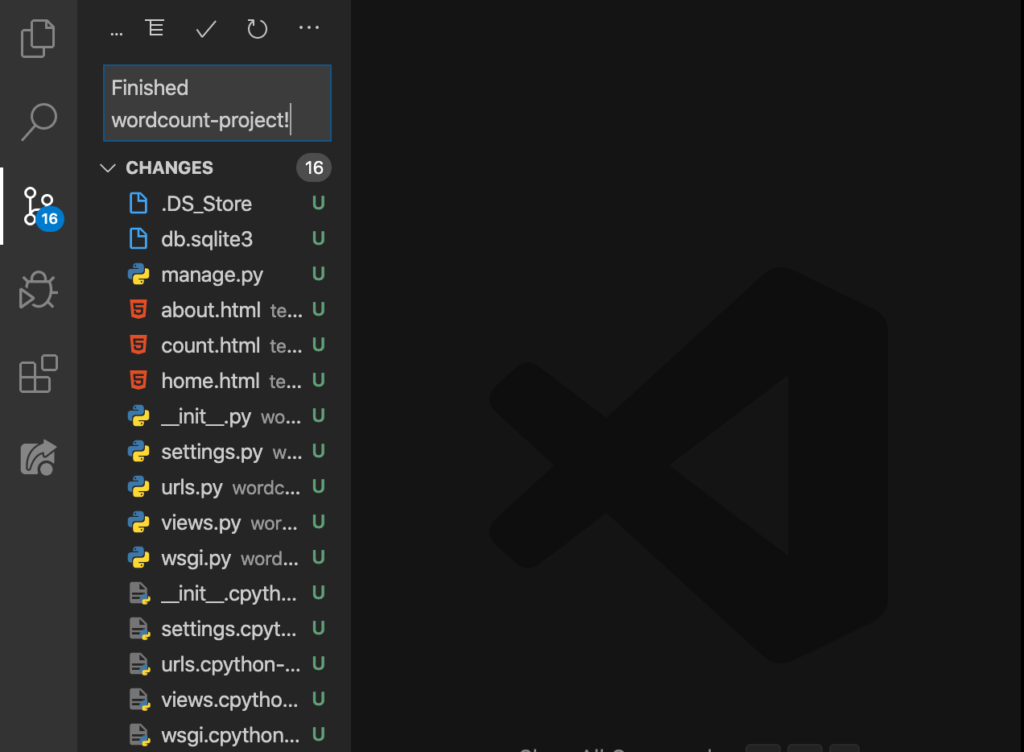
That’s an appropriate commit message because we’ve really finished that WordCount website of ours already. Now hit ENTER:
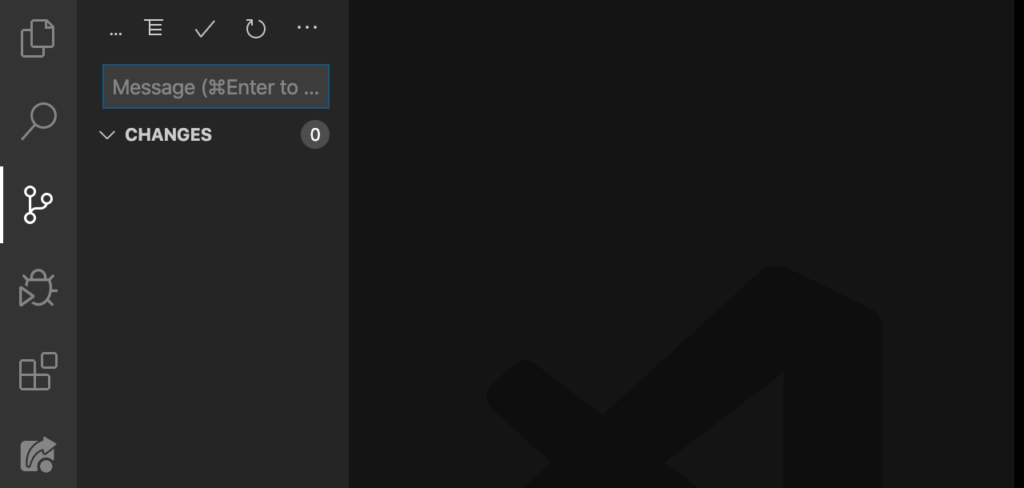
Now they’re all gone. Just kidding, they’re still here on our computers:
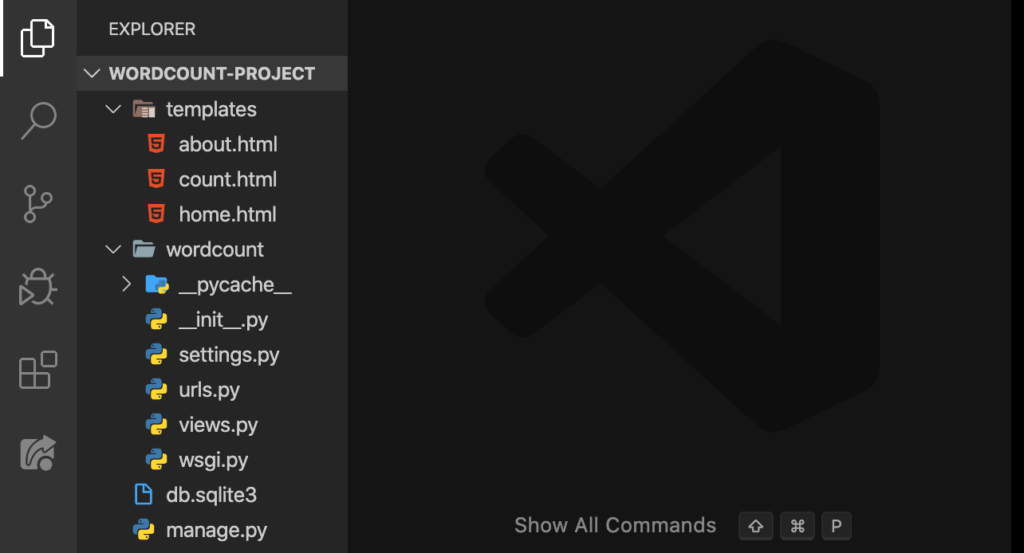
Good.
Creating a New Repository in GitHub
“But what happened to those files that we’ve committed?” We’ll take care of that by going back here on our GitHub:
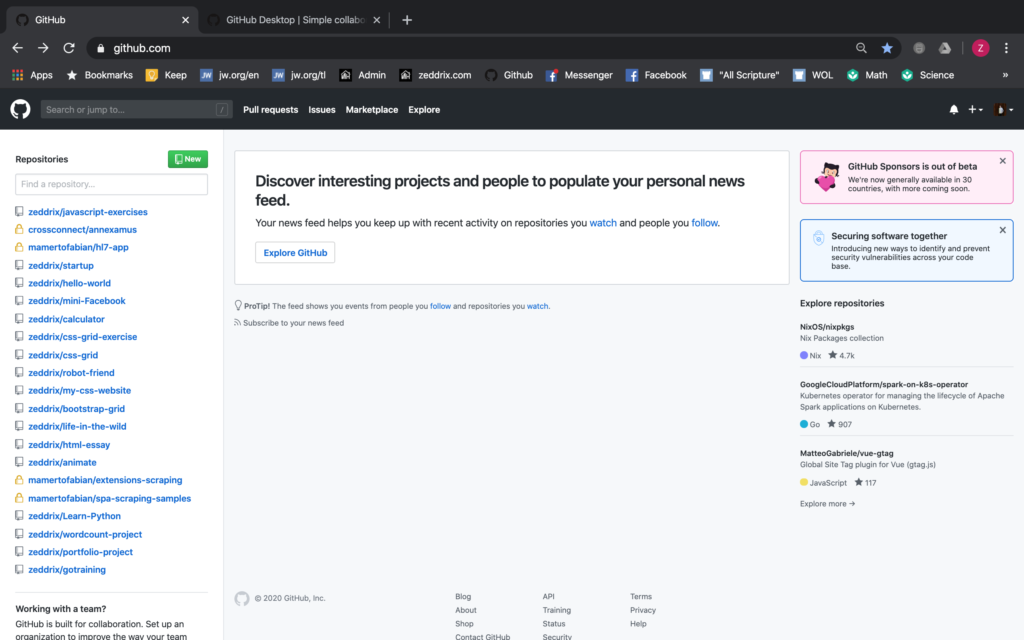
Now, do you see that New inside the green button? Click on it to create a new repository. Okay? Once you clicked on it:
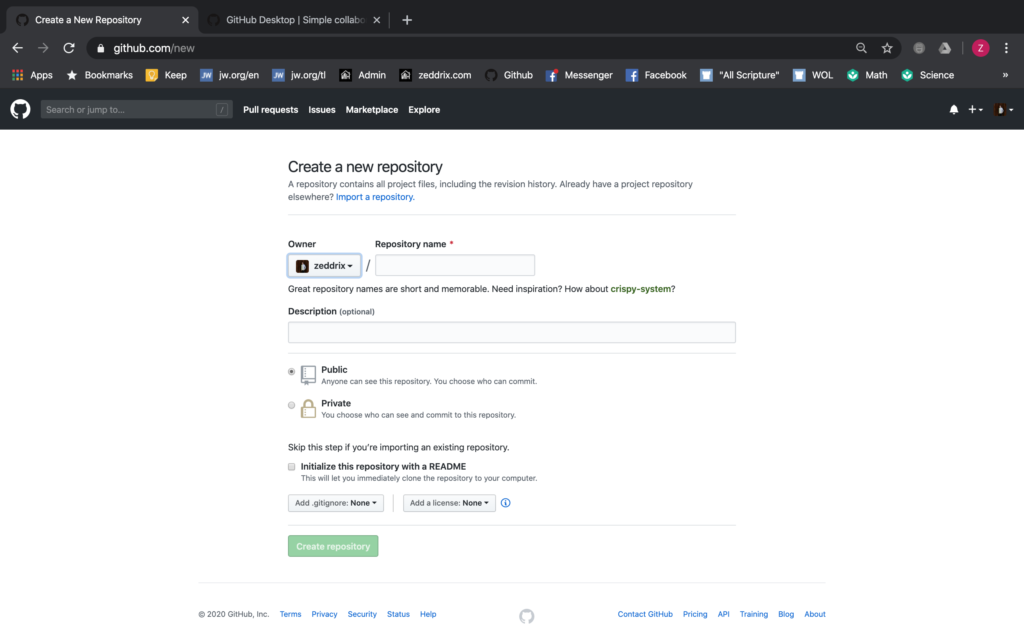
Now, you’ll notice that our word repository is already defined at the top part of our page. It says: “A repository contains all project files.” As simple as that! It contains all our files in for a project. After that, let’s give our new repository a name!
Tip: When giving name to a repository or a project that already exists, which in other words is just importing our existing project in GitHub, make sure that the repository’s name is the same as the project’s name. For example, the existing folder called wordcount-project. If we’re gonna create a repository for this project, it should also be named wordcount-project. Why? For clarity.
Then let’s do it:
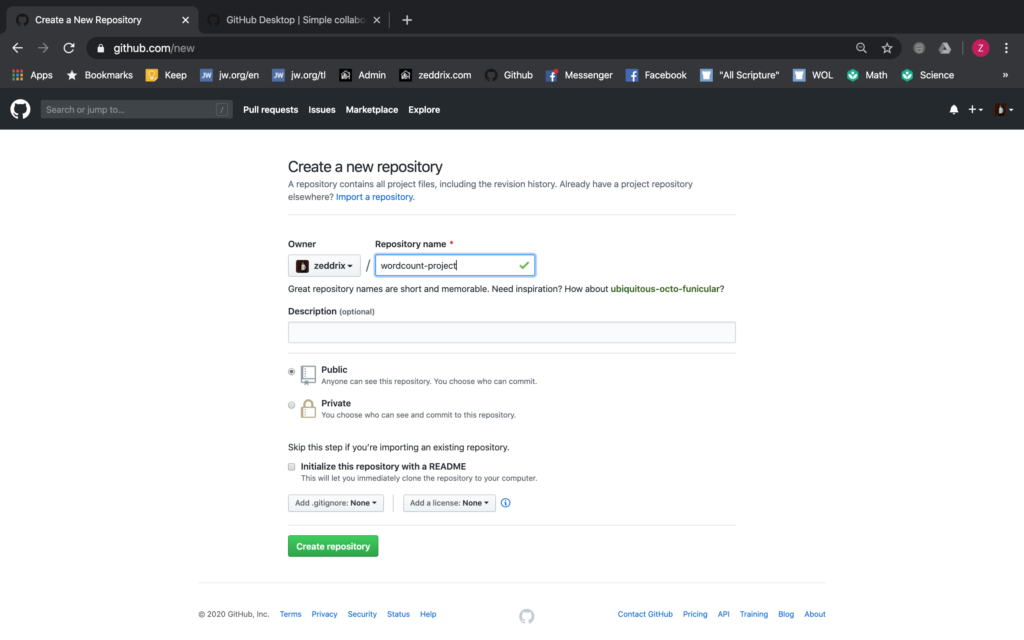
Additionally, you will decide if this repository will be public (which means that other programmers can see it too), or private (for personal purposes only). But for me, I’m okay with Public.
Below all that, it says that we should skip this step if you’re importing an existing repository. Since we are importing an existing repository, we’ll skip this step. You’ll also see a button about .gitignore. Don’t mind that. We’ll talk about that in the next lesson.
Finally, click on that Create repository:
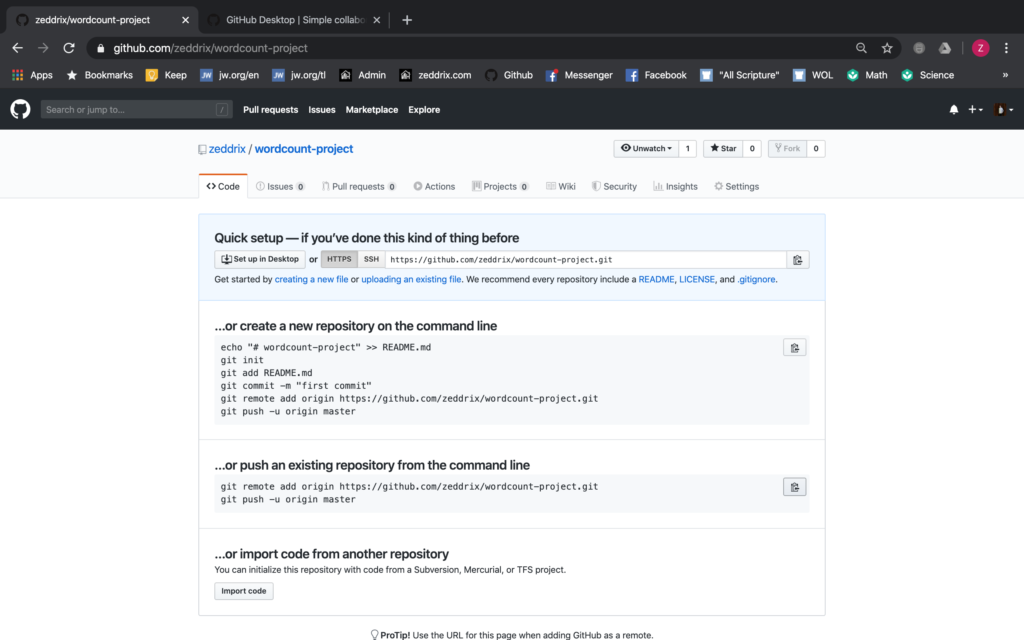
Pushing an Existing Repo to GitHub
We’ll go with that …or push an existing repository from the command line because that’s what we want to do. We want to push this project to GitHub. In order to do so, we’ll click on that small button in-line with it. This button will copy that code lines. Or, you could just simply select these lines like this:
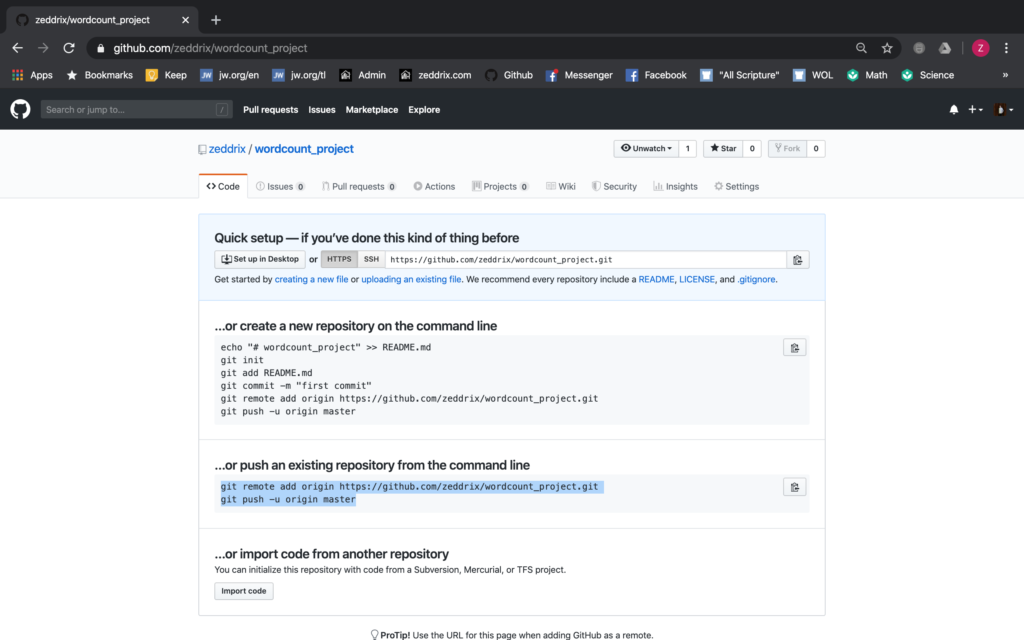
And do a Command + C on Mac, or Ctrl + C on Windows (shortcut for copying). Afterwards, let’s create a Terminal. Make sure that you’re inside the wordcount-project folder:
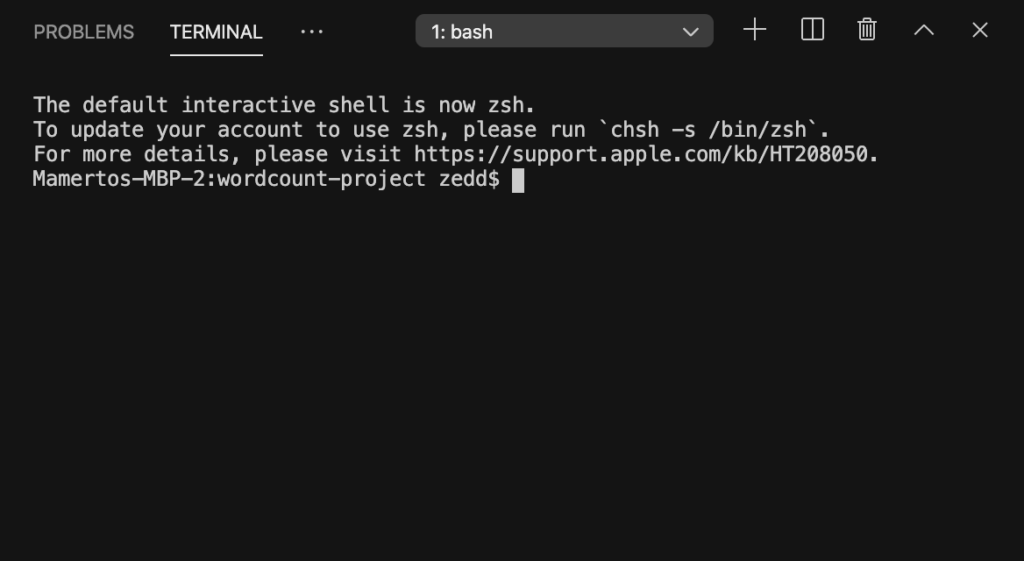
And Command + V on Mac, or Ctrl + V on Windows (shortcut for pasting):
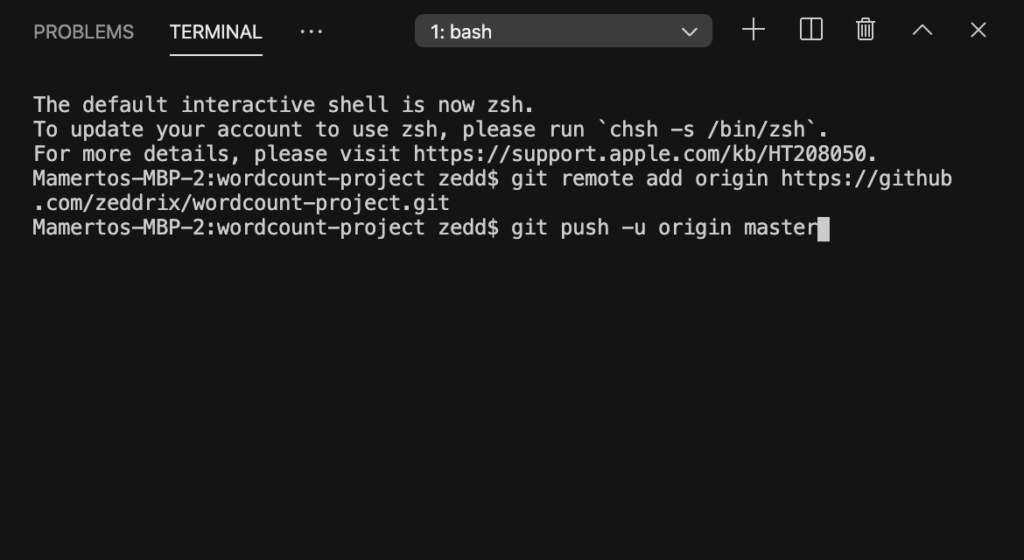
ENTER and wait for it to finish:
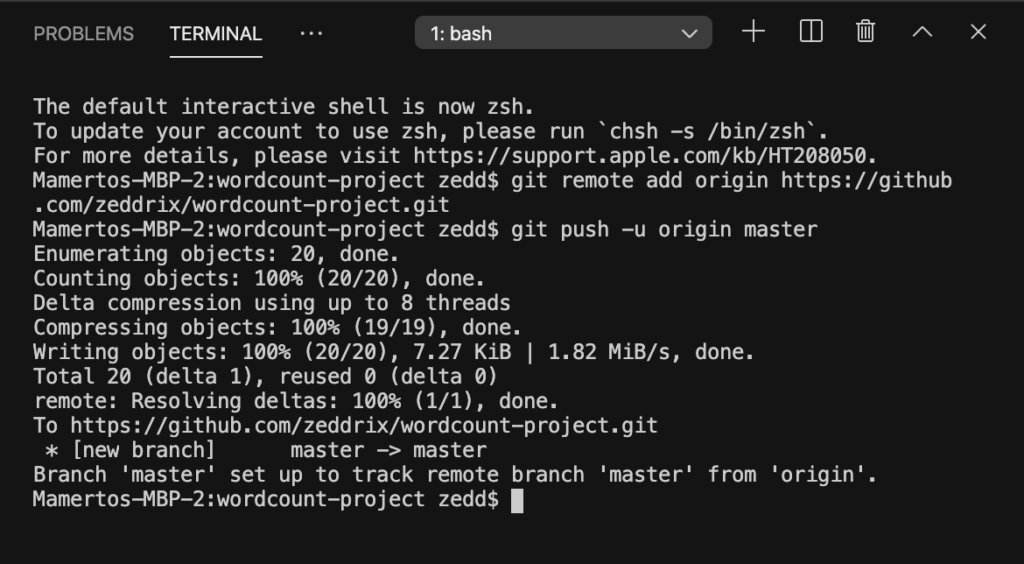
Good. Now let’s get back to GitHub:
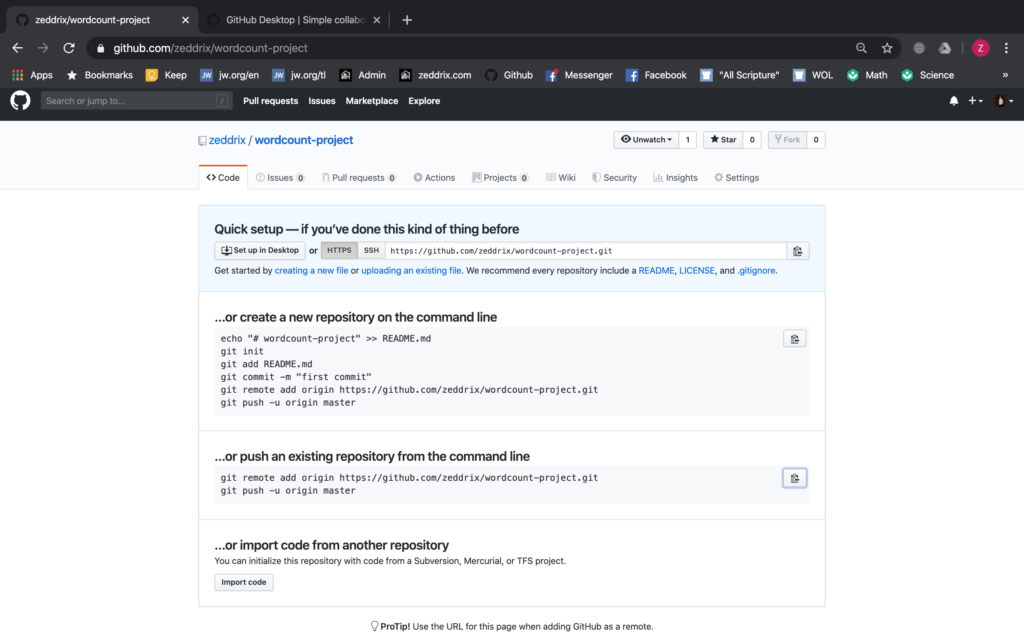
Then Command + R on Mac, or f5 on Windows (shortcut for refreshing). And you’ll see something like this:
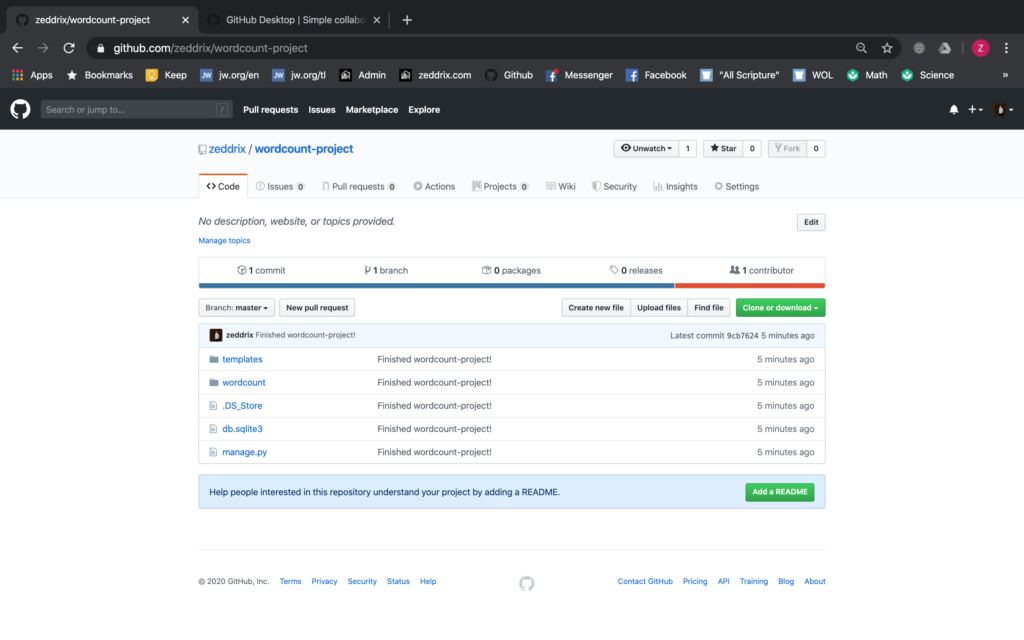
Nice! Our code is now safe and sound on GitHub! Let’s go back to our homepage by clicking on that back button (->). And you’ll see this new repository that we’ve just created:
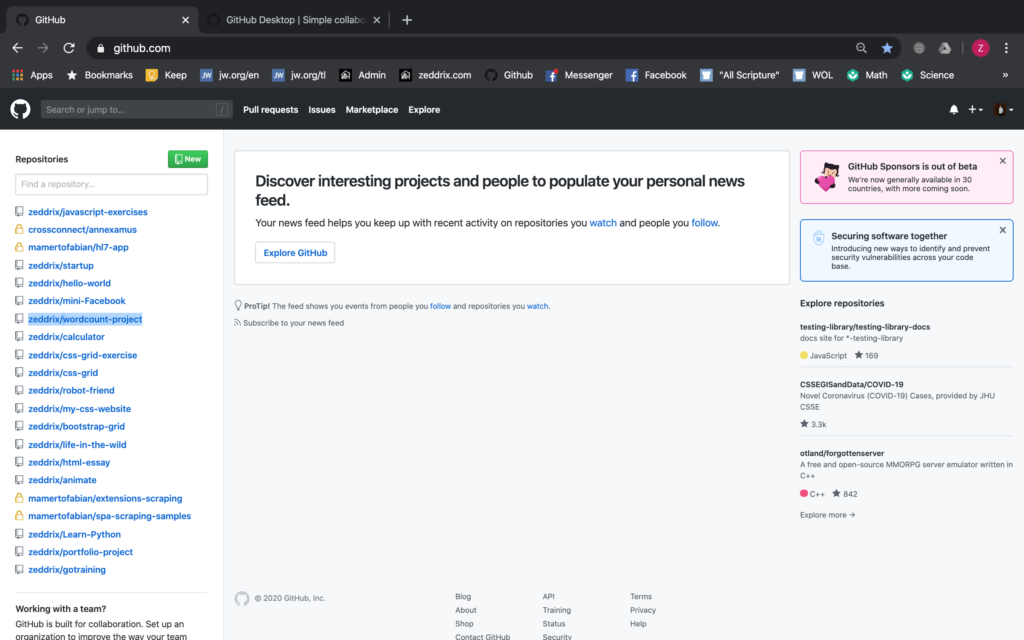
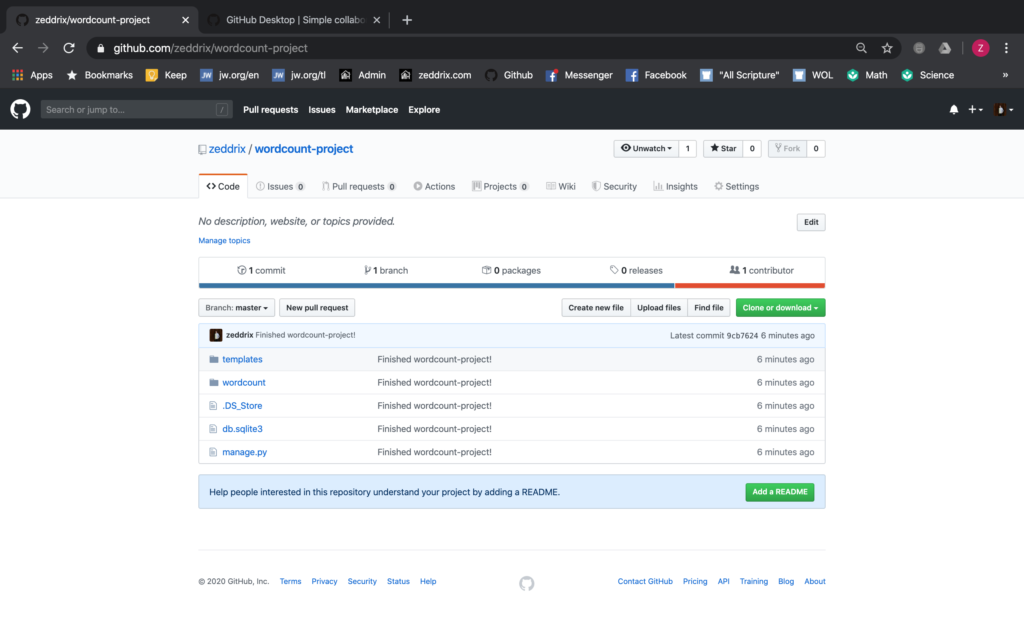
Success! Of course, because it’s already here on GitHub, you can always click on that repository to see your files:
Now, I’m not expecting that you have memorized all the steps we did just to have a new repository and to commit. So, I’ll give you this reference so that you can have a guide:
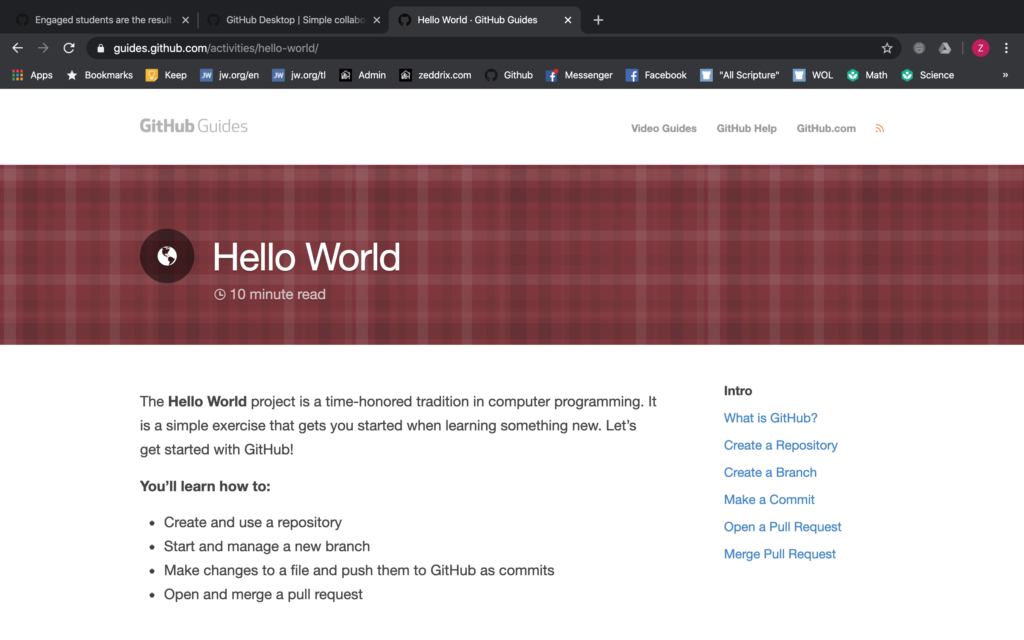
“But what was the importance of that Github Desktop?” Don’t worry, you’ll soon find out as we develop our portfolio website. Just promise me that you won’t uninstall that application from your computer because it is very important for GitHub, though it’s really optional.
Terms in Git and GitHub
- commit – According to Merriam Webster’s Dictionary, commit means: “to put into a place for disposal or safekeeping.” That’s exactly what we just mean when we say “commit”–we put our code on GitHub for safekeeping.
- commit message – It is a short sentence that goes along with your commit.
- source control – Source is your project files. Control allows you to control changes you’re making on your project over time. It gives you granular access to your project at certain points in its development, allowing for more detailed editing.
- initialize – It is to set (something, such as a computer program counter) to a starting position, value, or configuration.
- push – refers to sending your committed changes to a remote repository, such as a repository hosted on GitHub.
- repository – It contains all your project files in a certain project.
Exercise!
I want you to do the same thing for our portfolio project. Don’t worry, you already know how to do that right? Just follow along all the steps that we’ve done above.
By the way, let’s rename our project filename:
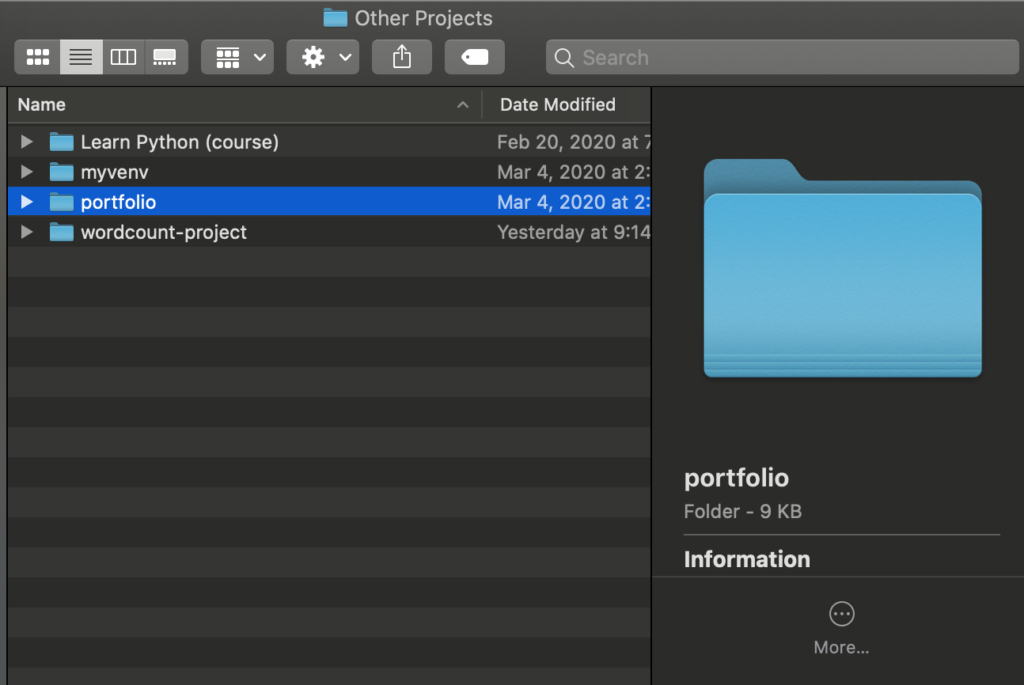
Rename it to:
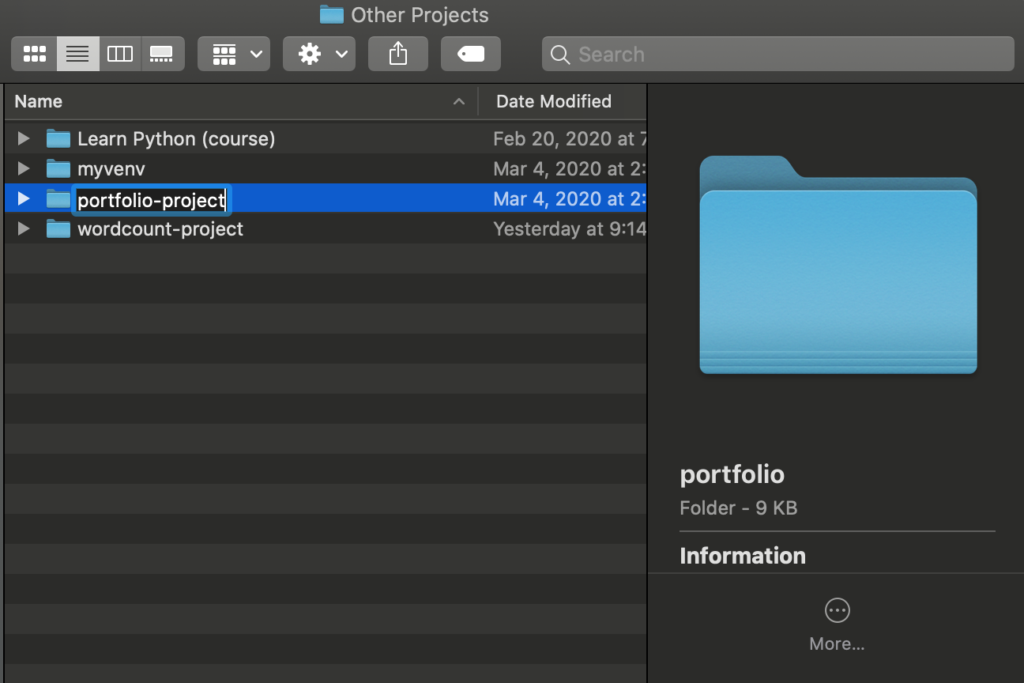
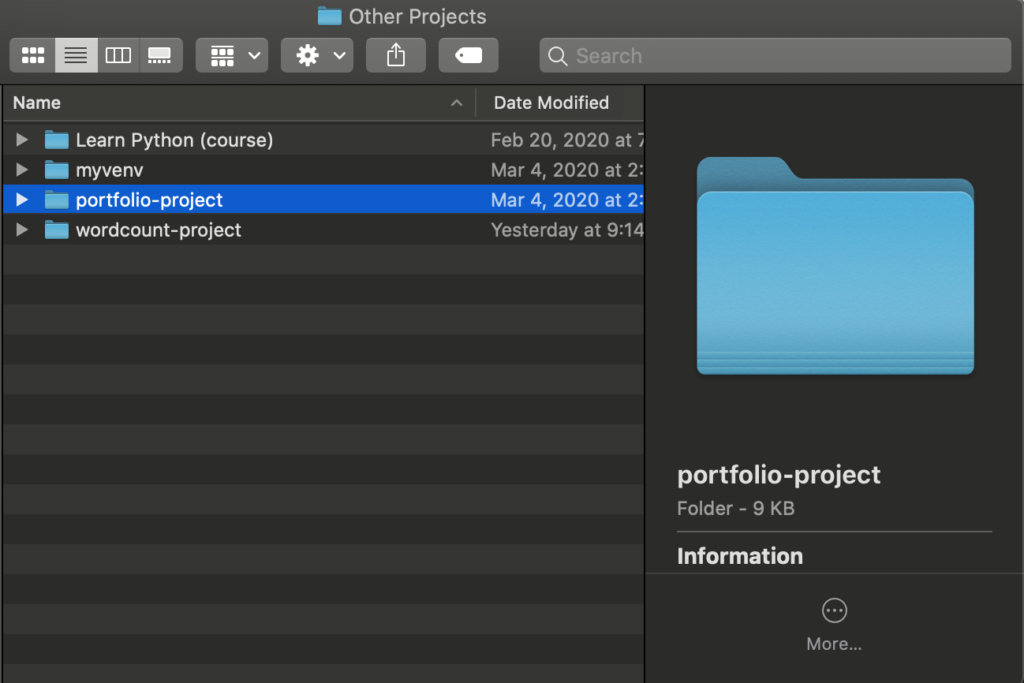
Good. Here are the steps.
Steps:
- Register your source control.
- Commit and have a commit message.
- Create new repository on GitHub.
Note: Remember, you need to give your repository’s name the exact name of your folder or existing repository. - Push our existing repository from the command line.
- Done!
And if you have any questions, just post your question down on the Comments section. I’ll help you with everything.
