Previous Lesson: Lesson 26: Exceptions Using Python
Now that we’ve learned the different kinds of exceptions that we might encounter, in this lesson, we’ll discuss how we can implement exception handling in Python.
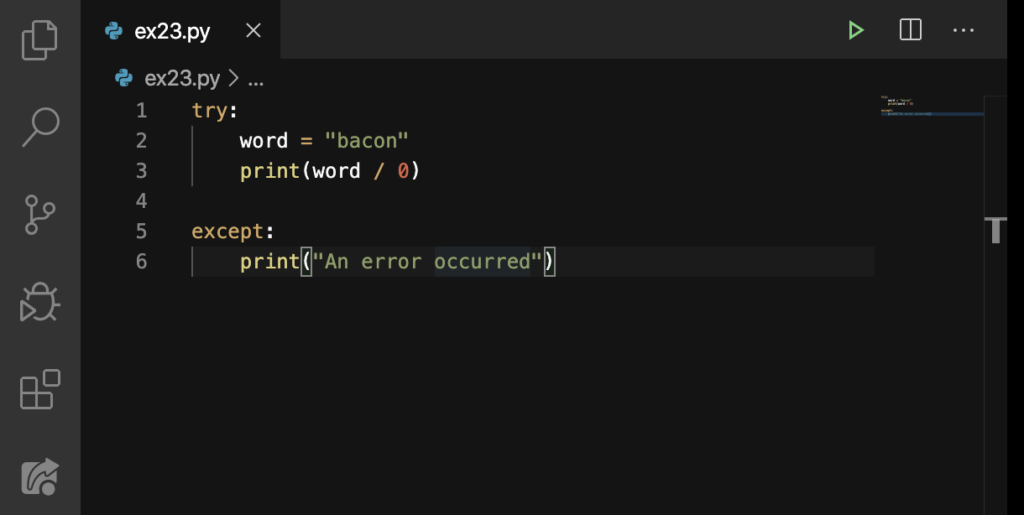
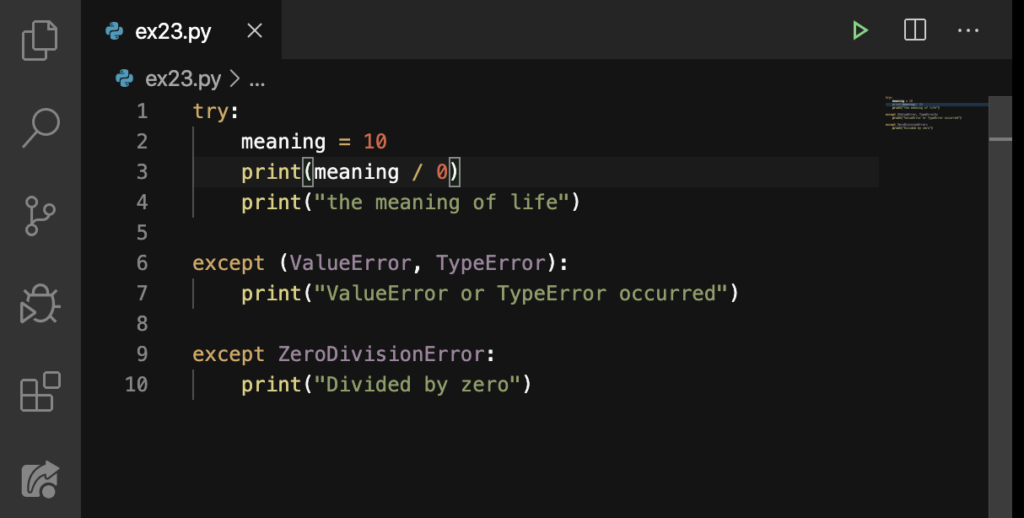
To handle exceptions, we use try-except statements. Type this in ex23.py:
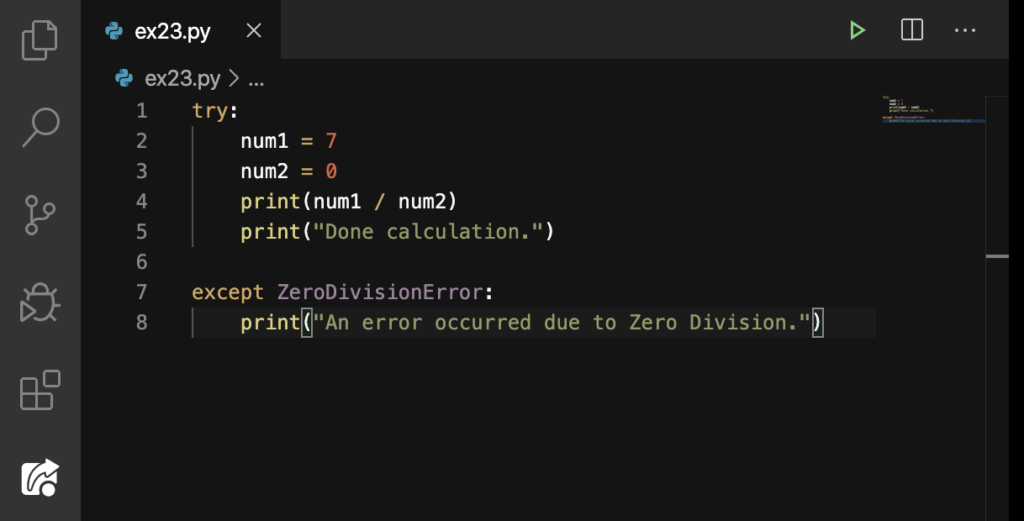
As you can see, it’s like creating an if-else statement. There is the keyword (try or except), and then a colon(:), and finally, an indented block under where you can specify what that block does. The except statement defines the type of exception to handle. In this case, the ZeroDivisionError. Let’s try it:
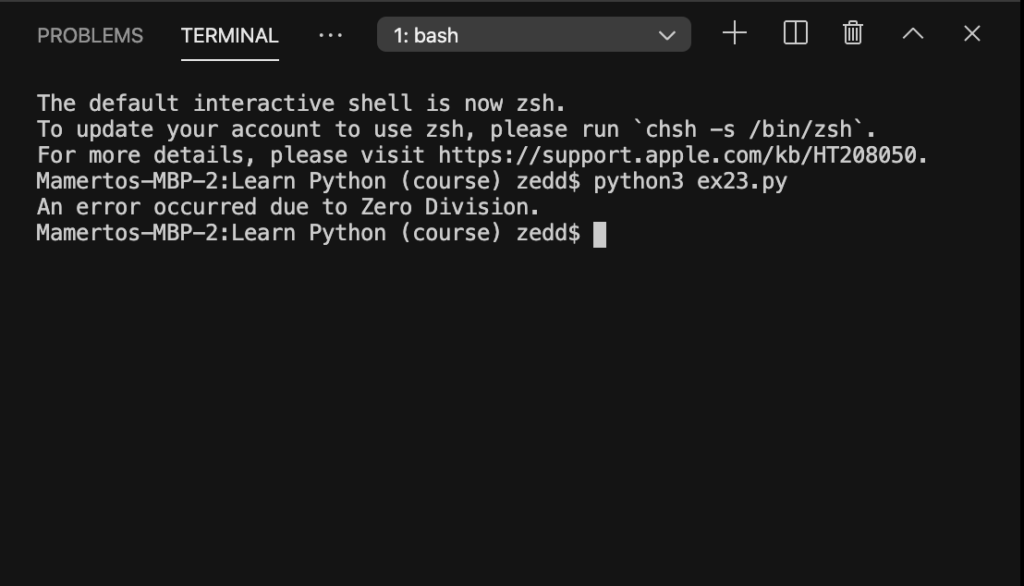
Like what we have learned from the previous lesson, we can rely on the Terminal’s response when determining the cause of the error. Or we can have a string that we can create which states the kind of error that has occurred.
Multiple Excepts
We can have multiple different except blocks to handle different exceptions. This time, it would be like having a if-elif-else statement. Type this in:
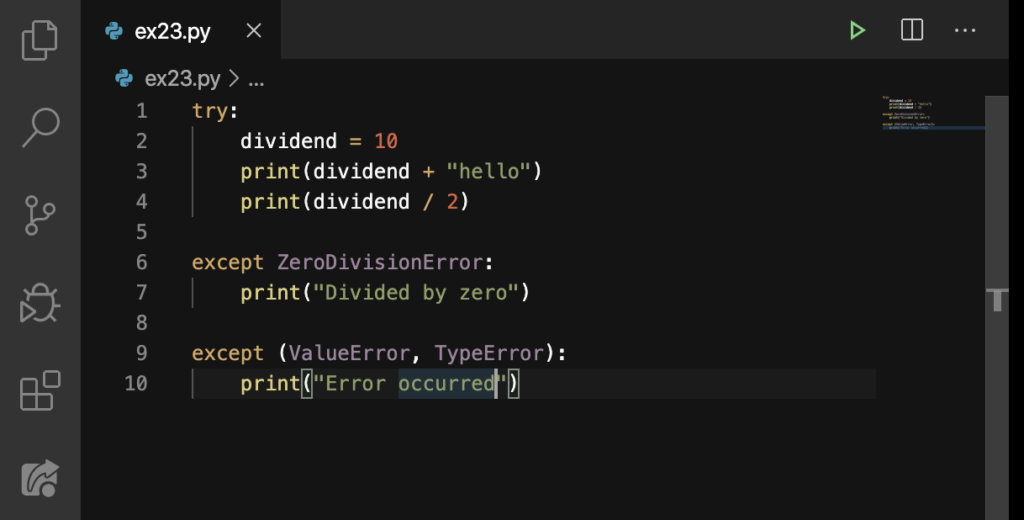
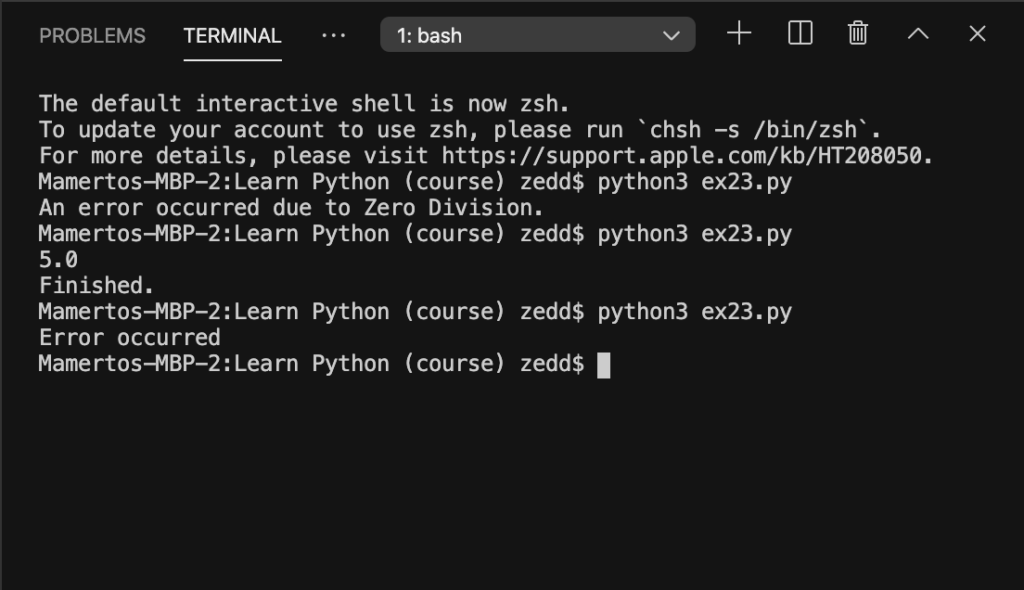
As what you may have noticed, multiple exceptions can also be put into a single except block, which, in turn, handles all of them. Now let’s see what will get printed out:
Okay.
An Except Without Exceptions
An except statement without any exception specified will catch all errors. However, this should be used sparingly, as they can catch unexpected errors and hide programming mistakes. For example:
Run:
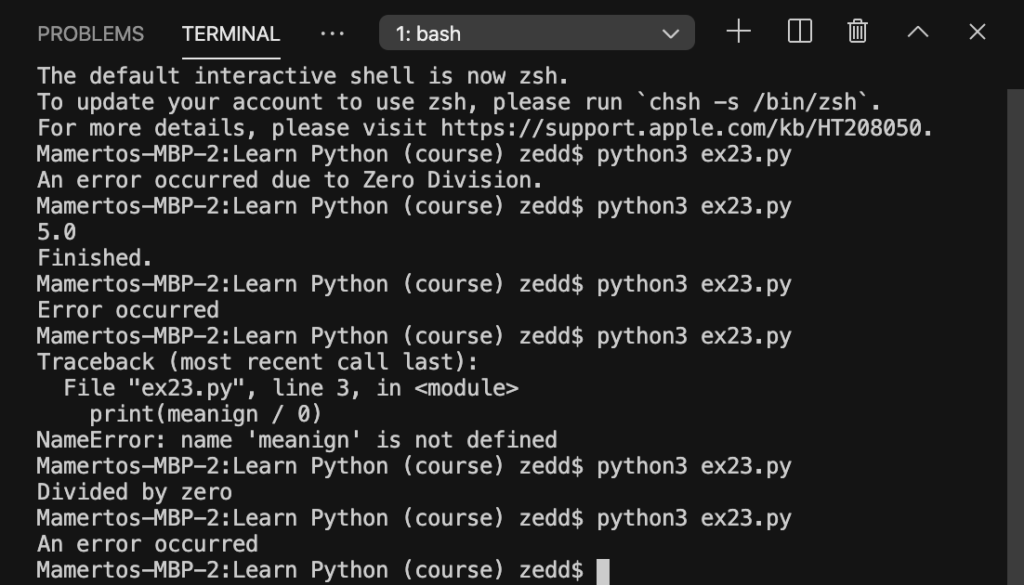
Did we know what kind of error has occurred? No, we didn’t.
Exceptions in Prompting
Particularly, exception handling is useful when dealing with user input. For example:
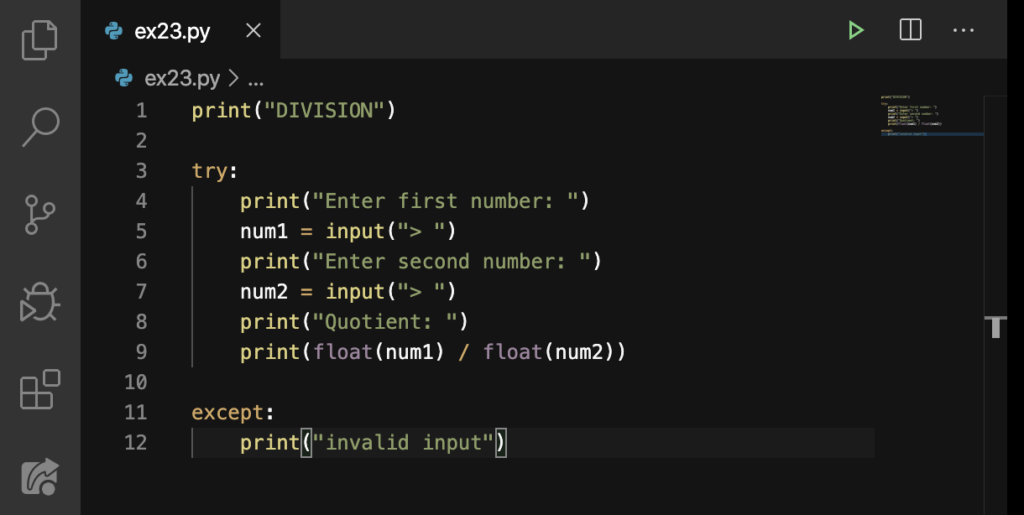
So here, we should input a float or a number, not any other values like str or Boolean. Or else, the except block will run. Here’s me inputting correctly:
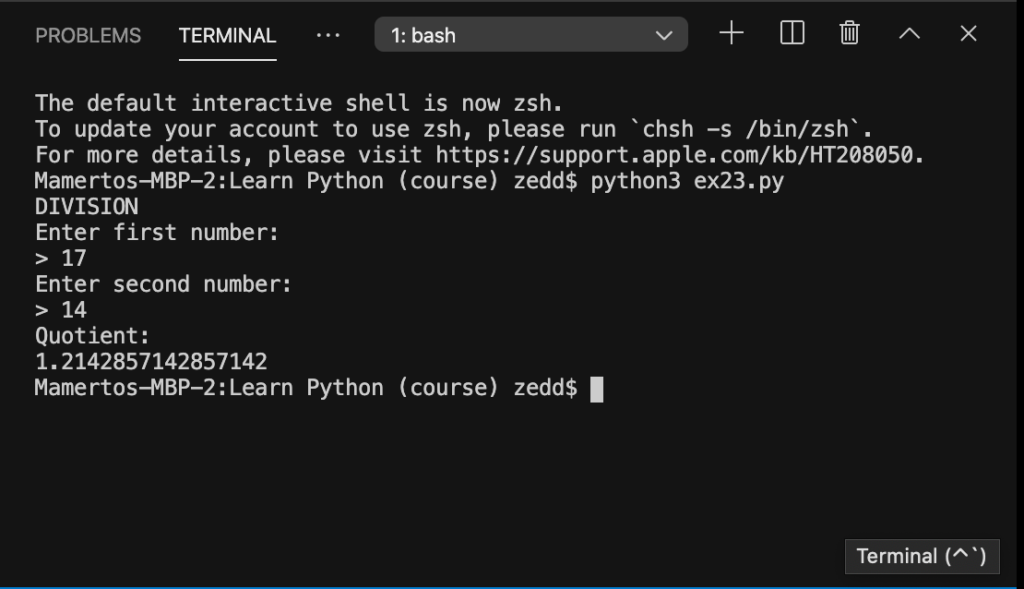
Good. But, if I will do this instead:
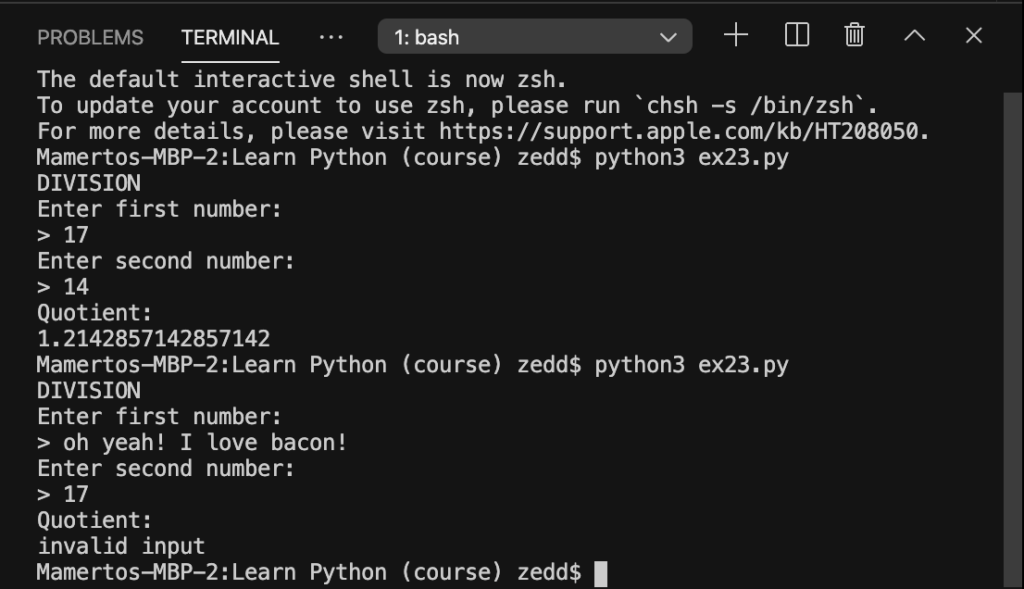
Then our except runs. This will tell our user to enter the correct type, in this case, a float or an int.
Quiz for Exception Handling in Python
Quiz #1
What is the output of this code?

Quiz #2
What is the output of this code?
Note: Put both of your answers on the Comments section below.
Congratulations! You have finished this course! I hope you have learned a lot in our lessons. But this is not where we’ll end, because you can take on the next course: Learn Django. In that course, you’ll learn how to build your own websites!