Previous Lesson: Lesson 27: The Django Administration
In this lesson, you’ll learn how to set up PostgreSQL on your Mac. You’ll also know how to create your new database on the Terminal.
We’ll replace our db.sqlite3 with PostgreSQL. Why? A small project in a small local environment will be just fine. But our project will keep on growing and will continue to have more and more data. So, we’ll need something more robust like the PostreSQL.
We’ll have to move our data to another database to save the pain of having a lot of migrations. So now, we need to set this up. It will not be that hard. Go to postgresql.org:
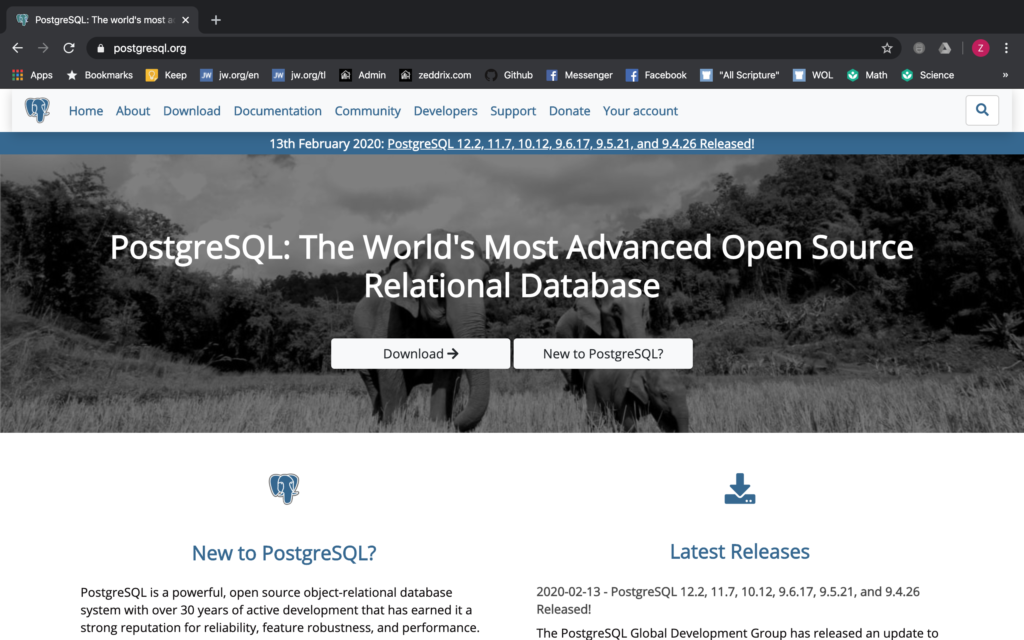
Press on that Download-> button:
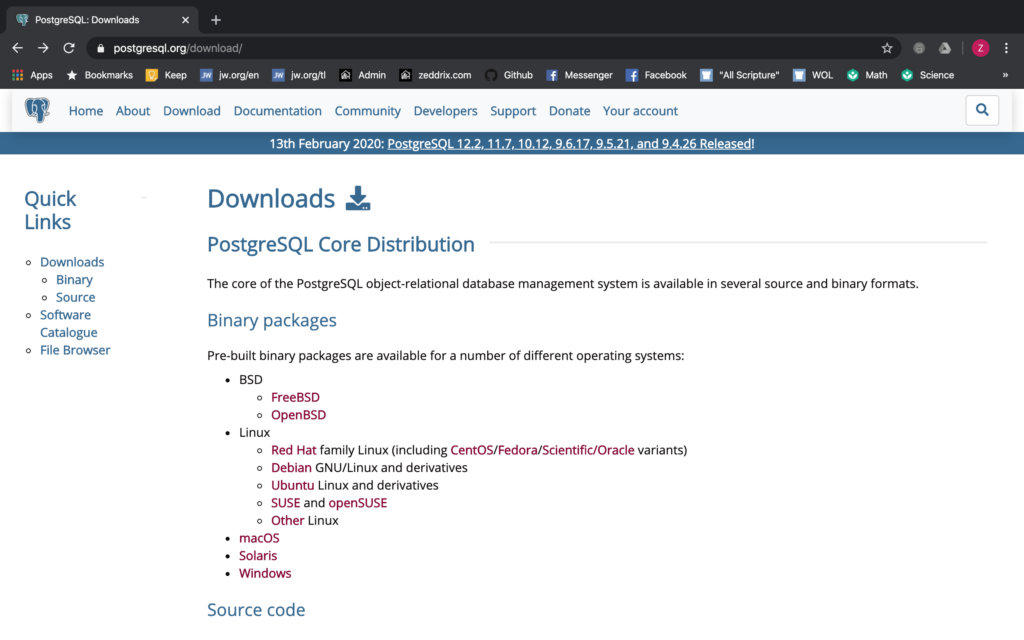
Now you’ll see these packages. Let’s start!
Downloading PostgreSQL
Click on that macOS:

It will take you here:
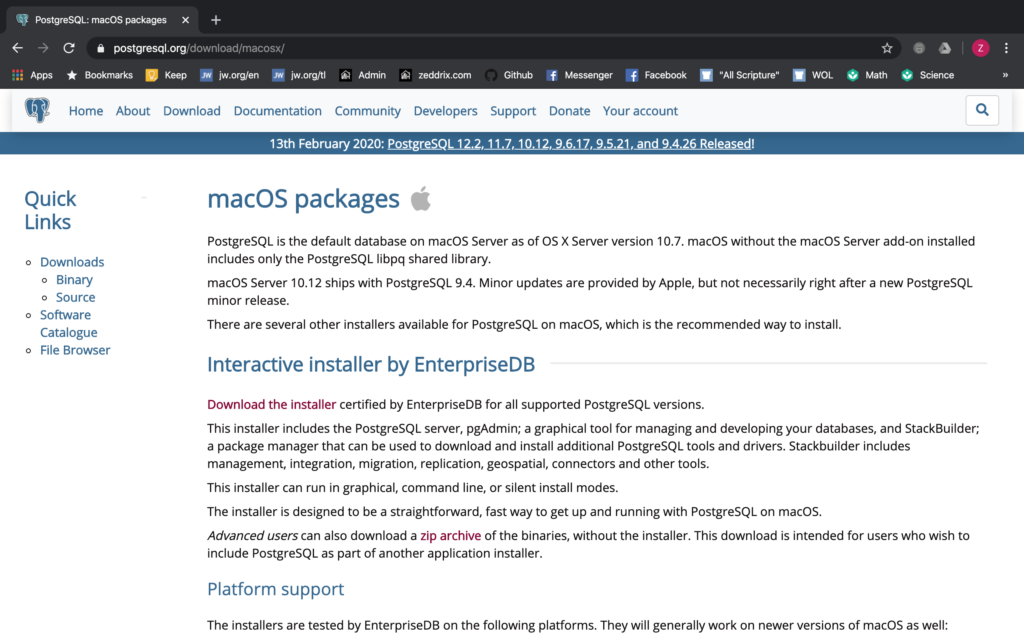
Now, click on that Download the installer and then it will take you to another page. Then, I want you too scroll down a bit on that page and you’ll see this:
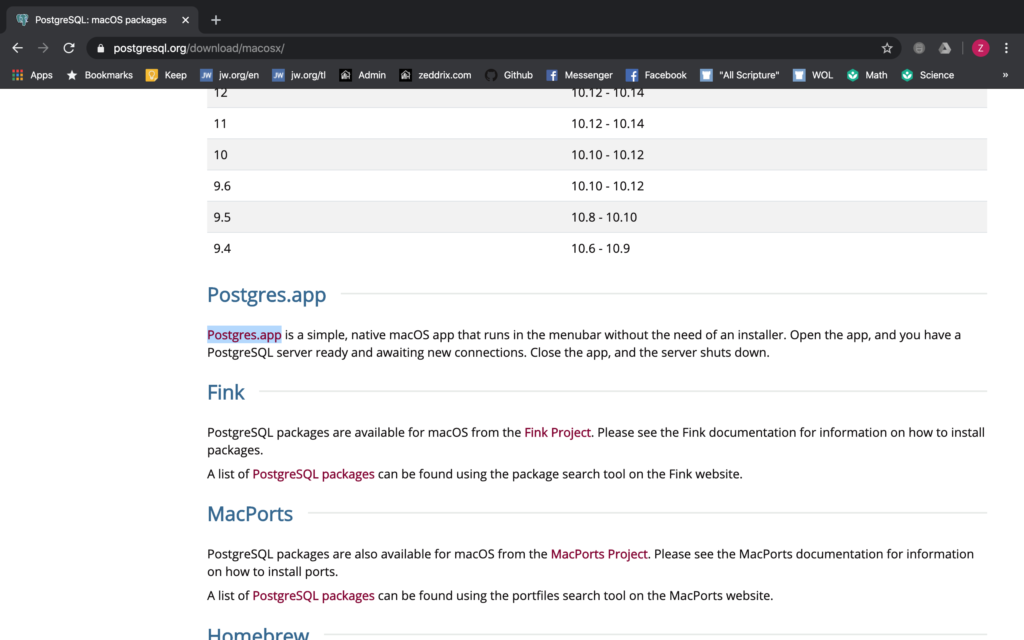
Next, click on the Postgres.app:
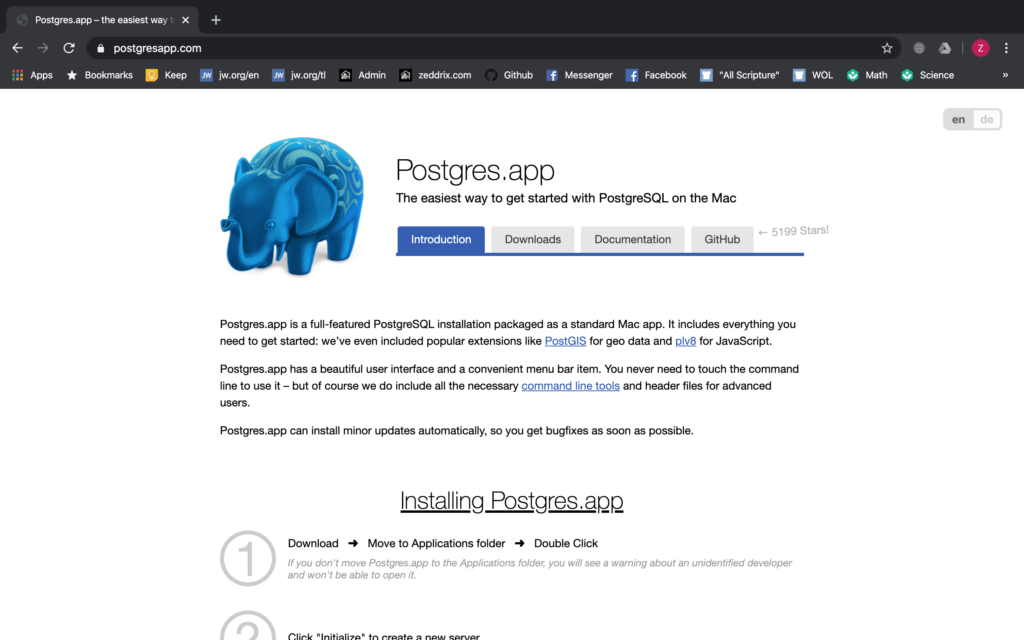
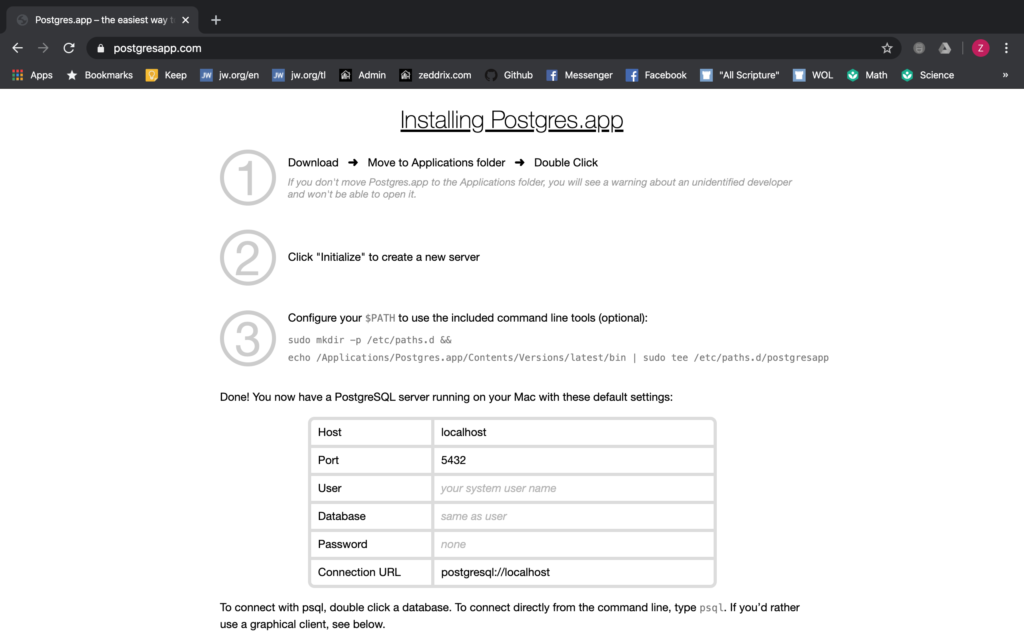
Finally, you can now go ahead and follow the steps indicated here:
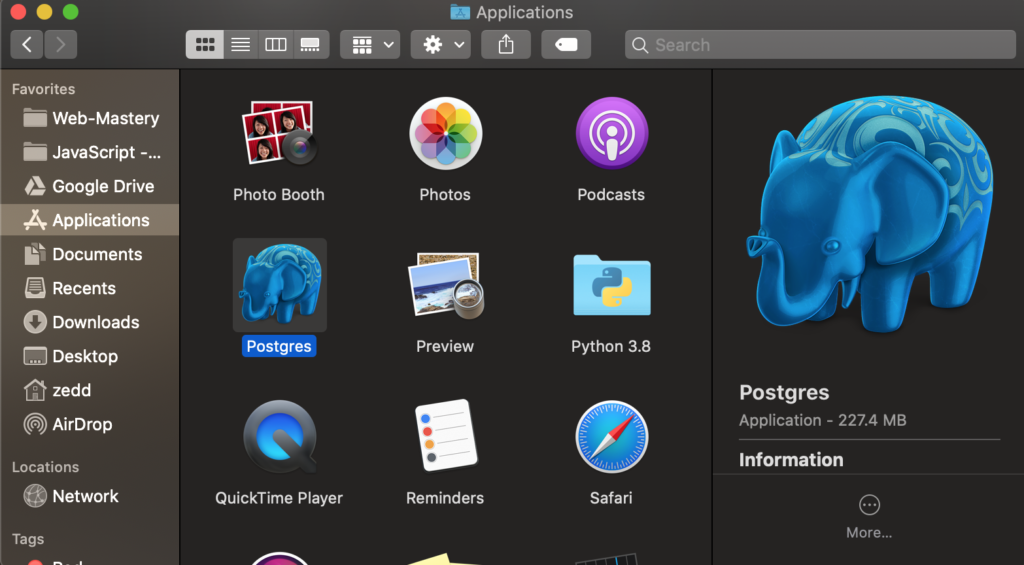
Be sure that you move this Postgres application to your Applications:
Now, let’s create a database for our project.
CREATING DATABASE on Mac
After you’ve opened Postgres, you’ll have this:
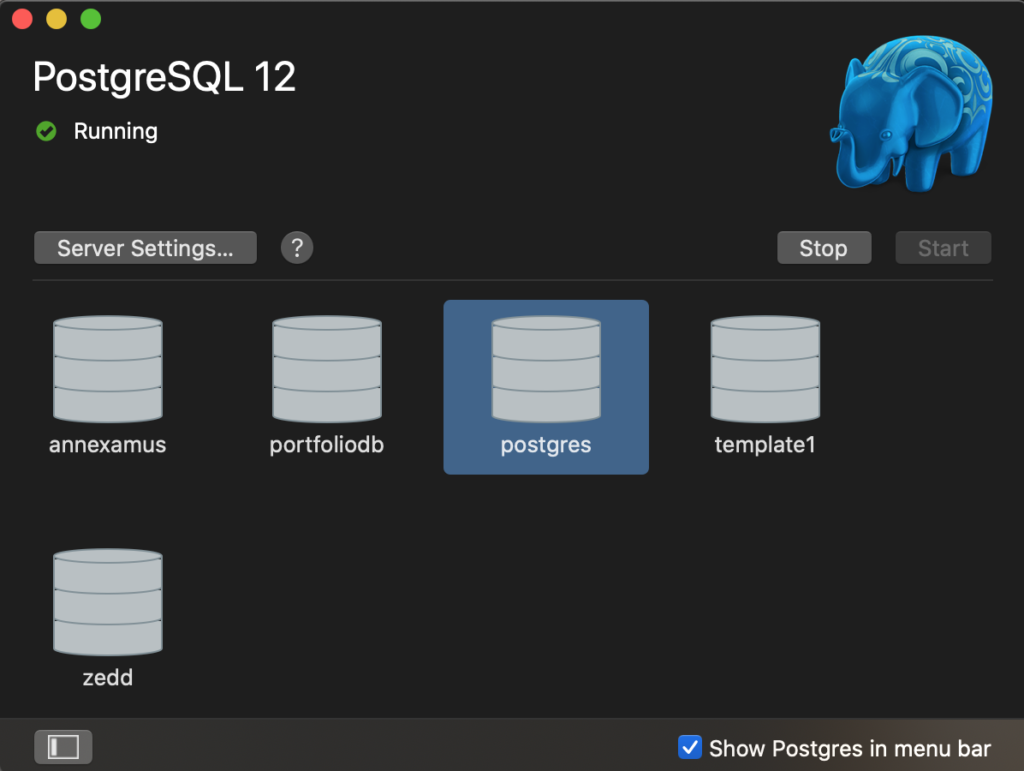
(Please don’t mind the other databases that I already have.) What you will have in yours surely is that postgres. Now, double-click on it:
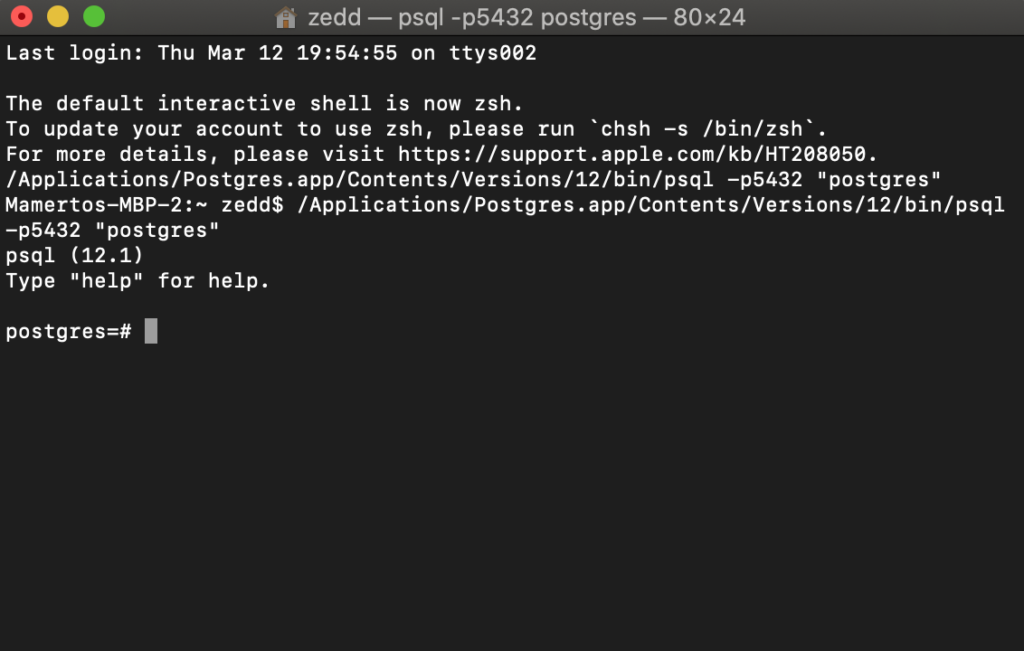
Do this:
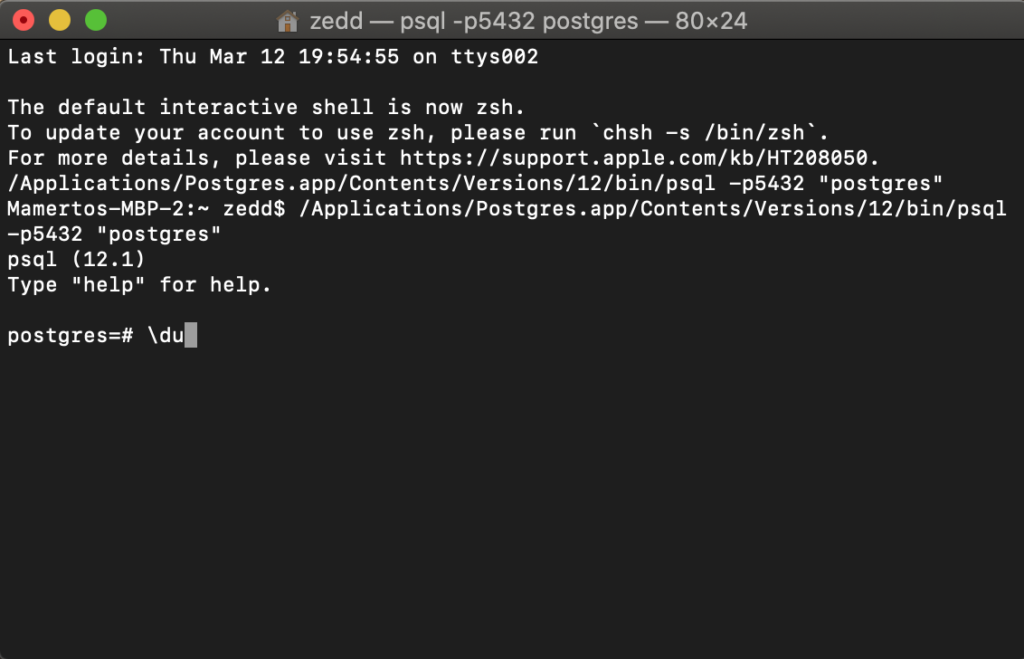
ENTER:
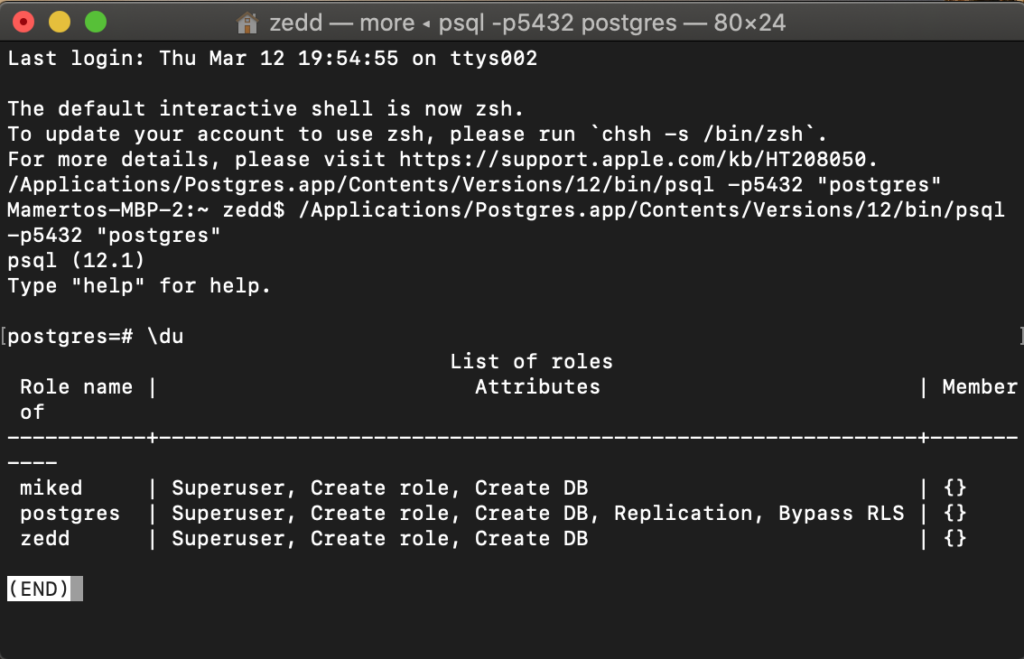
This will show all the users for your Postgres database. It will just be postgres if you haven’t use this before. Now, let’s hit ENTER and then type \password postgres to create a password for postgres:
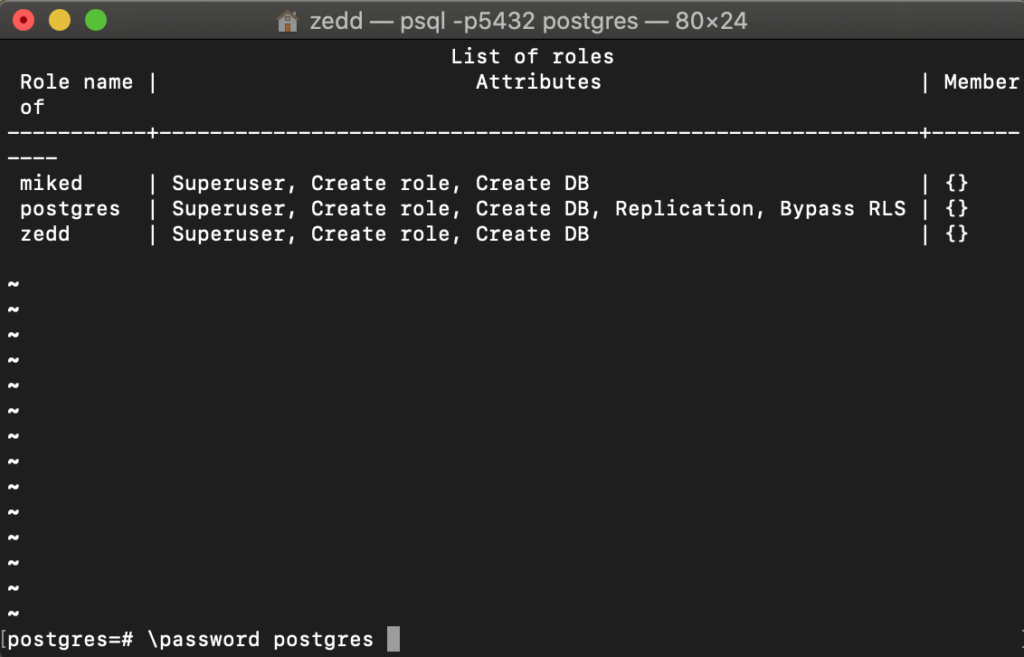
ENTER:
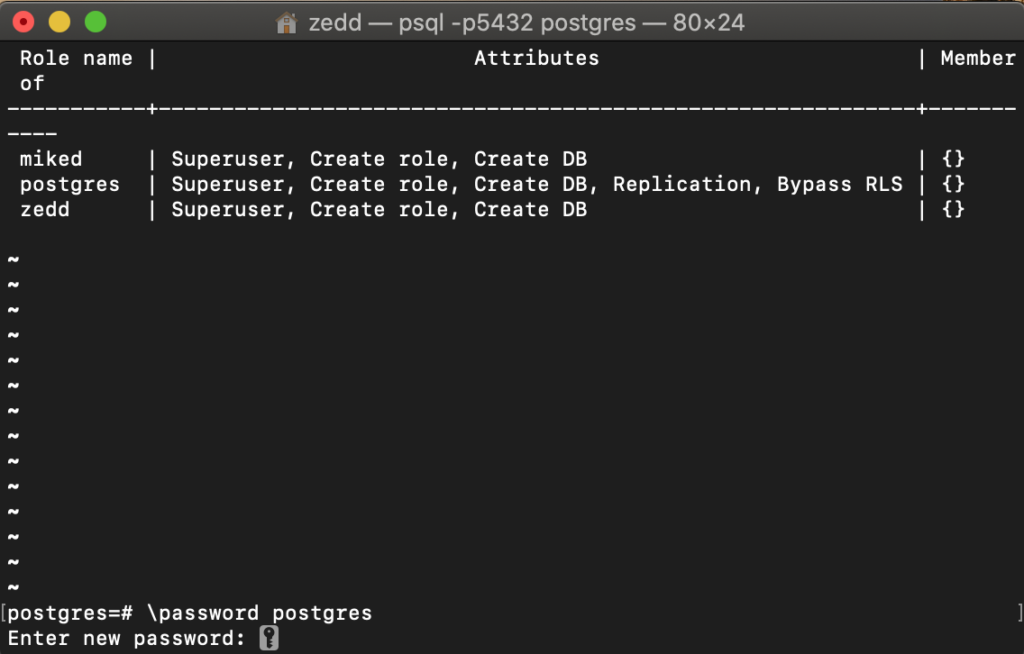
Now, enter new password and enter it again. Then ENTER:
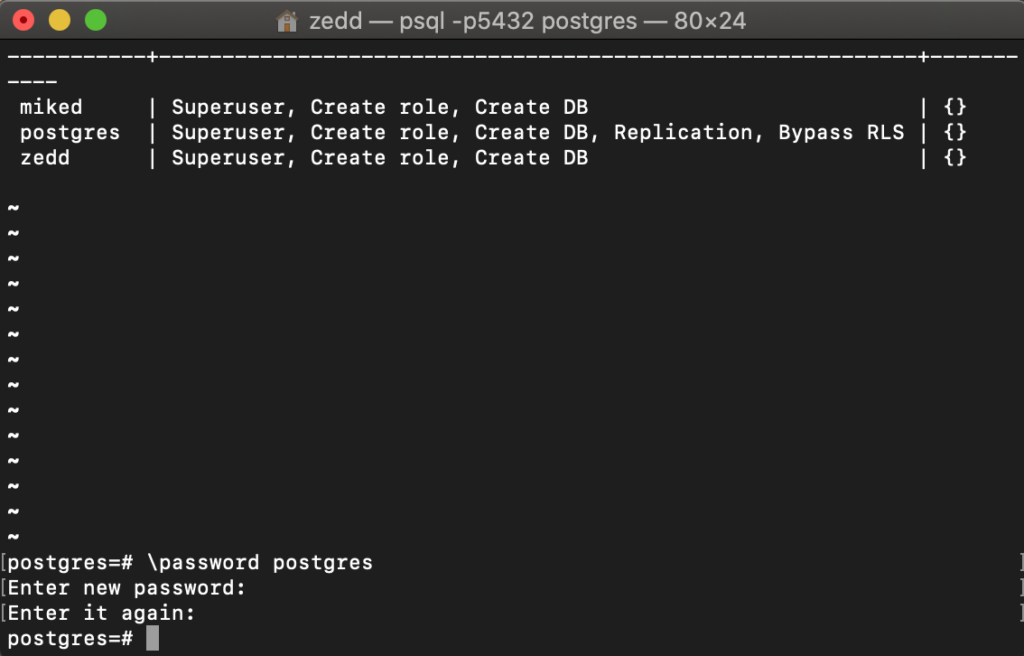
Finally, I want you to type CREATE DATABASE and it’s up to you what name you will give your new database. In my case, I’ll have portfoliodbase (Don’t forget the semi-colon (;)):
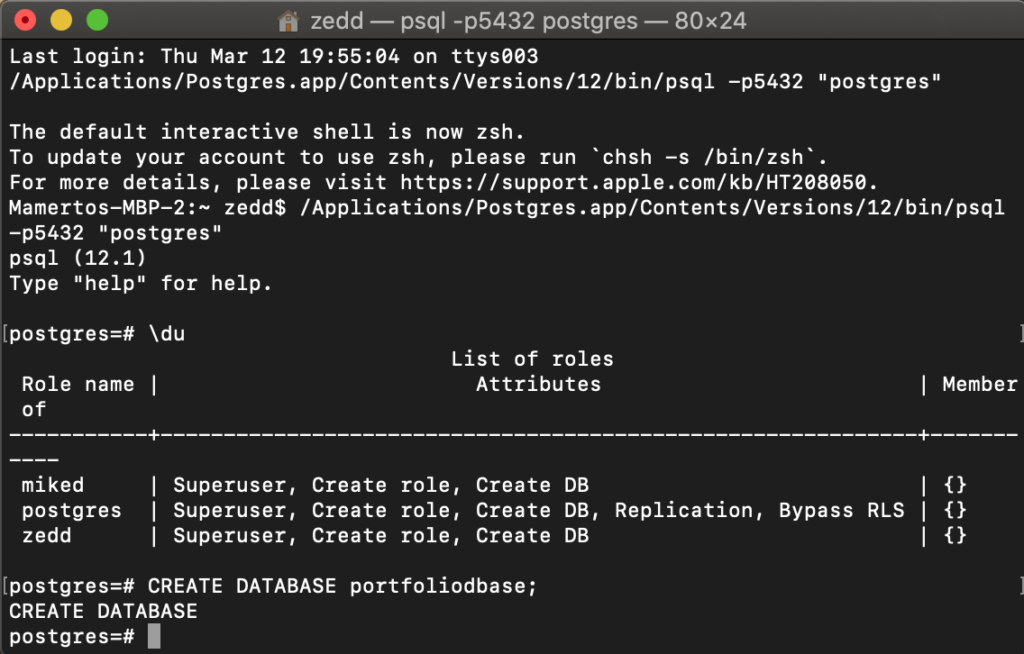
To know that you have successfully created your new database, you should have the message CREATE DATABASE after you’ve press ENTER. That’s it! You have just learned how to set up PostgreSQL on Mac!
