Previous Lesson:
If you are using Mac, Lesson 28: How to Set Up PostgreSQL On Mac
If you are using Windows, Lesson 29: How to Set Up PostgreSQL On Windows
In this lesson, you’ll learn how to connect PostgreSQL to our code, whatever your operating system is. You’ll learn things that might surprise you.
In settings.py:
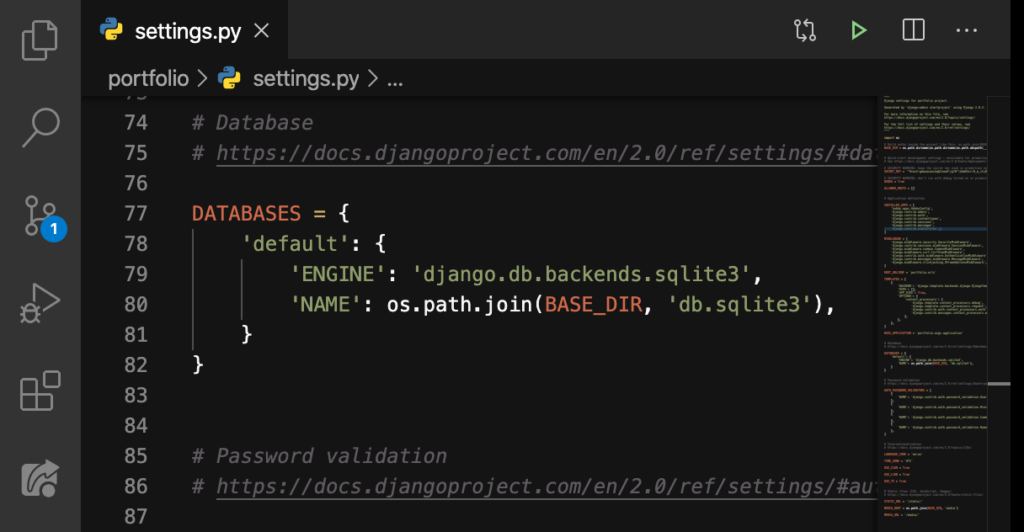
We’ll select sqlite3 like this:
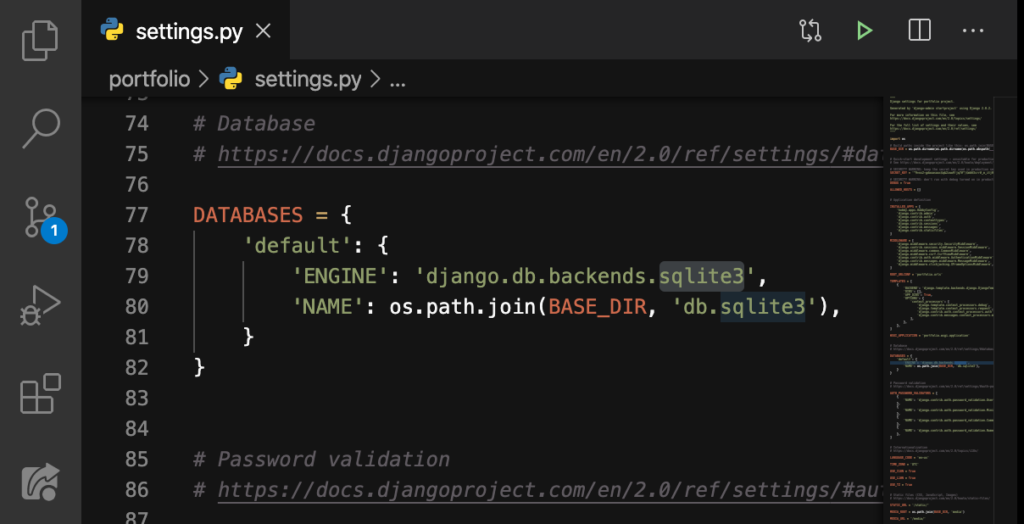
And then we’ll rename it to postgresql:
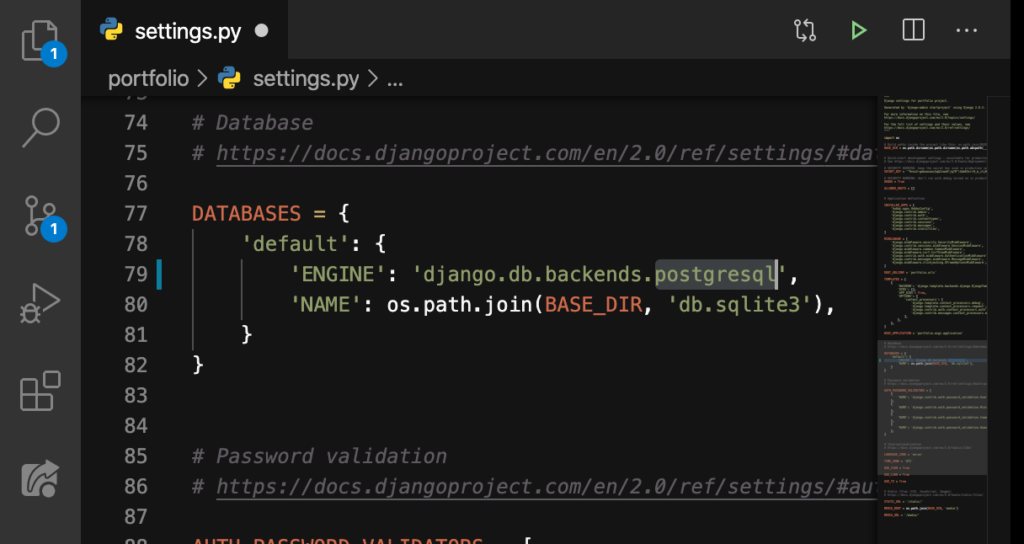
After that, we’ll delete these:
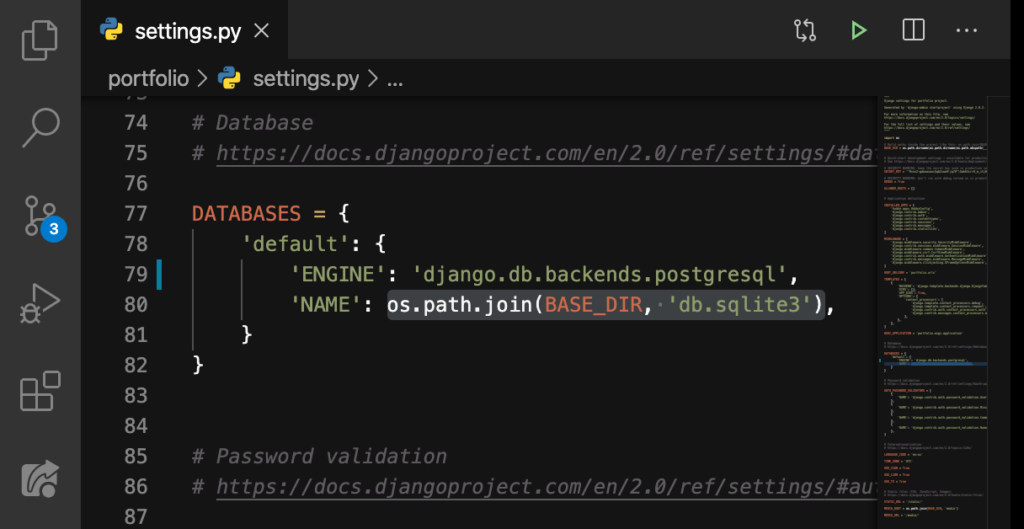
DELETE:
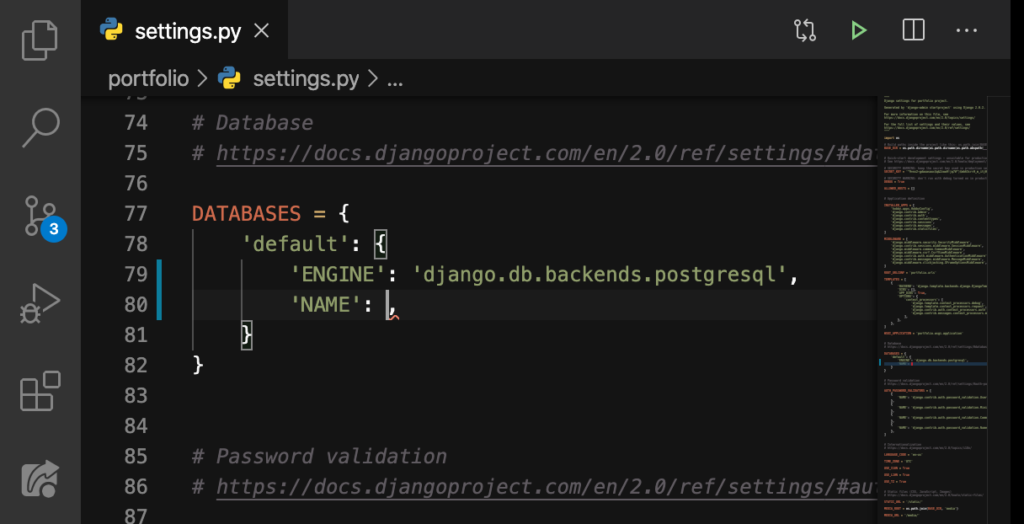
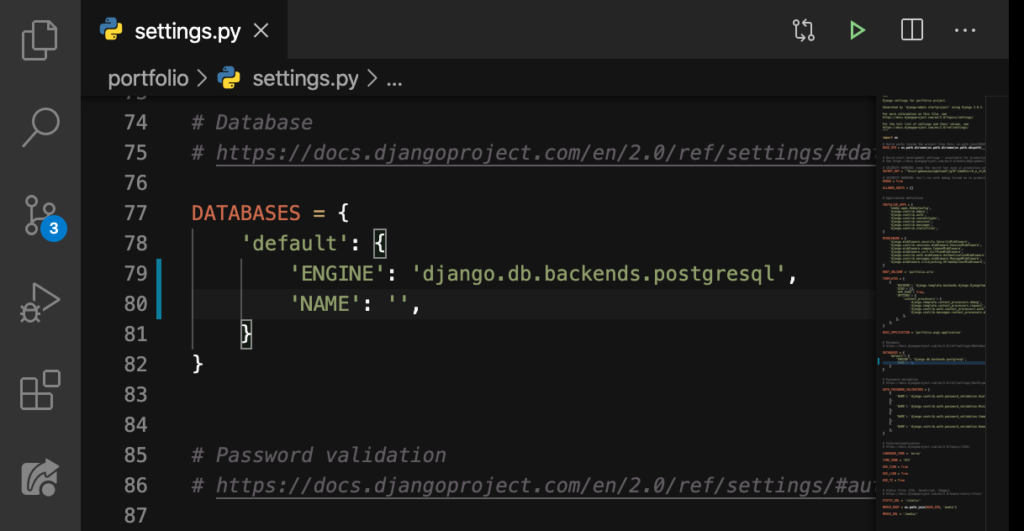
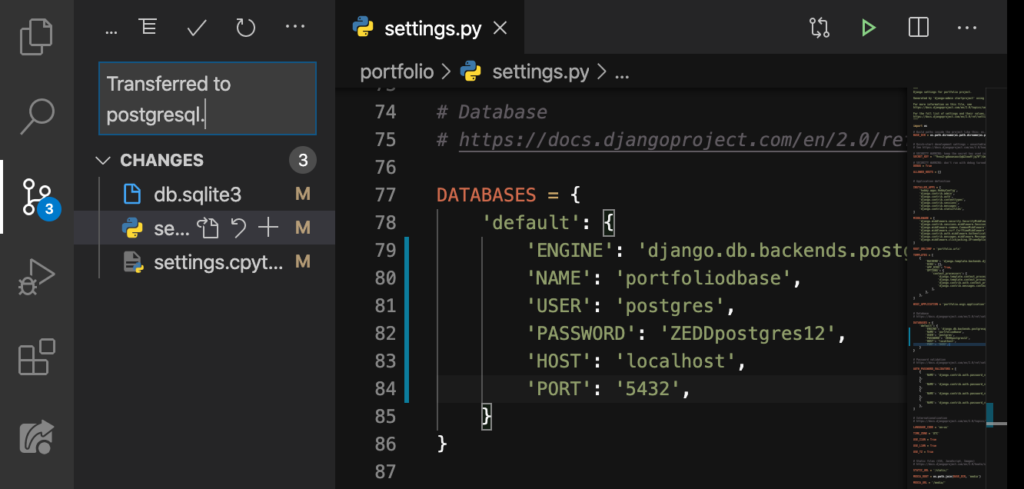
Afterwards, put single-quotes:
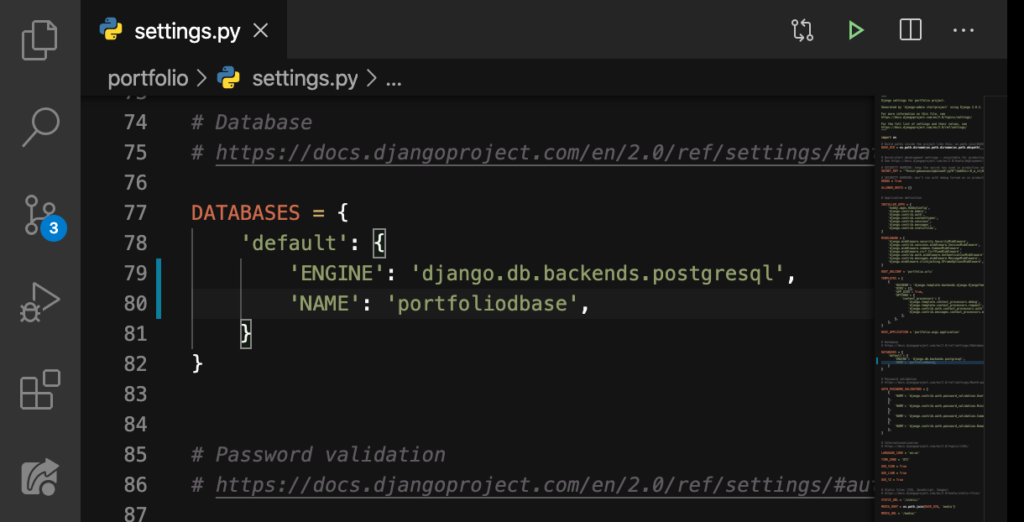
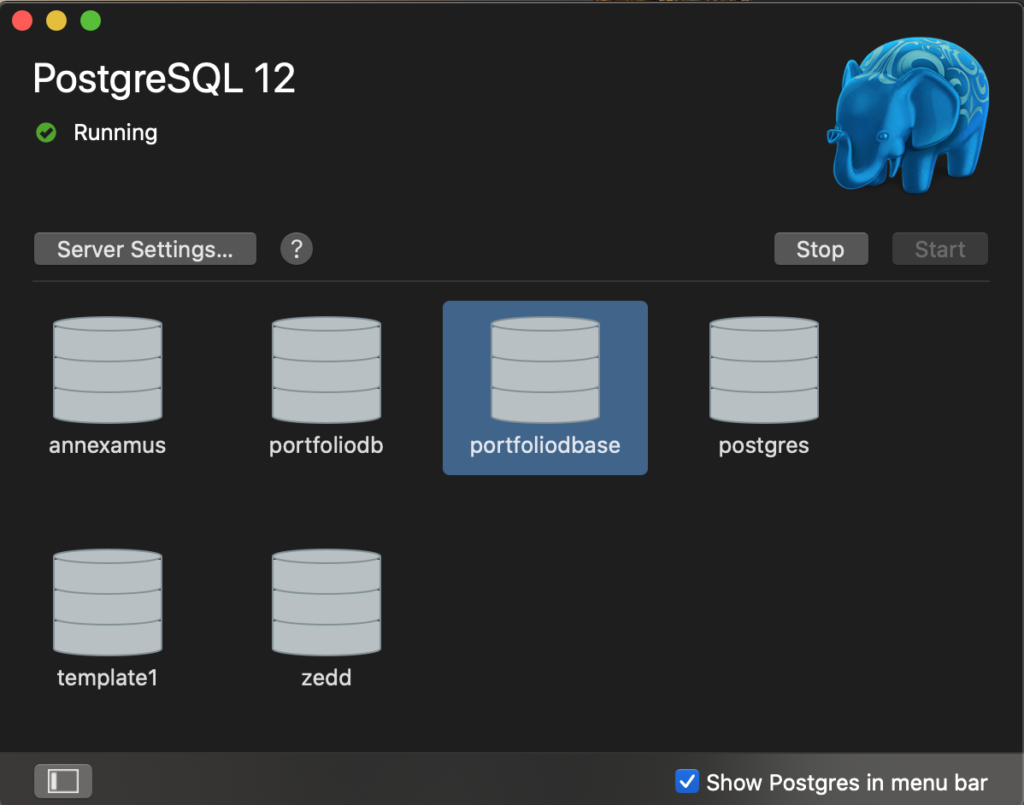
Enter the name of our database (which, in mine, was portfoliodbase):
After that, let’s add all these here:
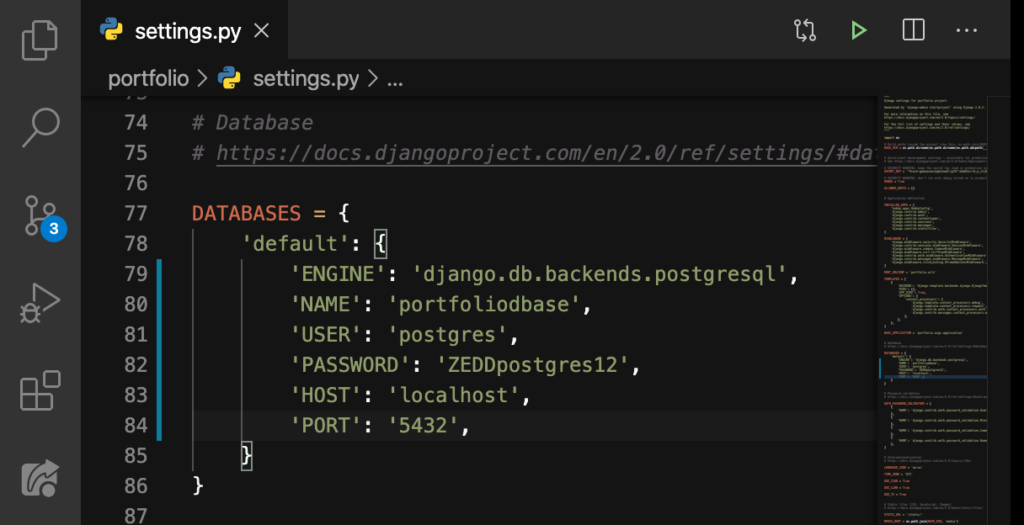
First, we added the USER (postgres); then we added our PASSWORD (my password of course); the HOST (which is our own computer); finally, our port number. “Where did you get that 5432?” If you are using Windows, you will see it (and you have seen it before) here:
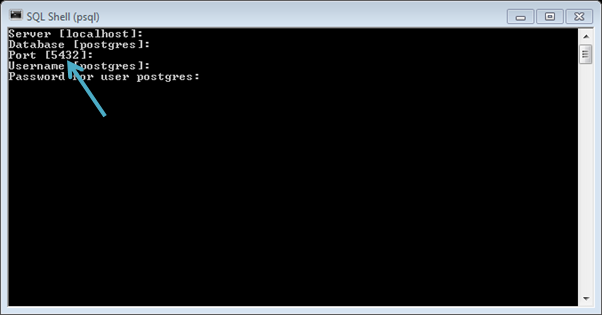
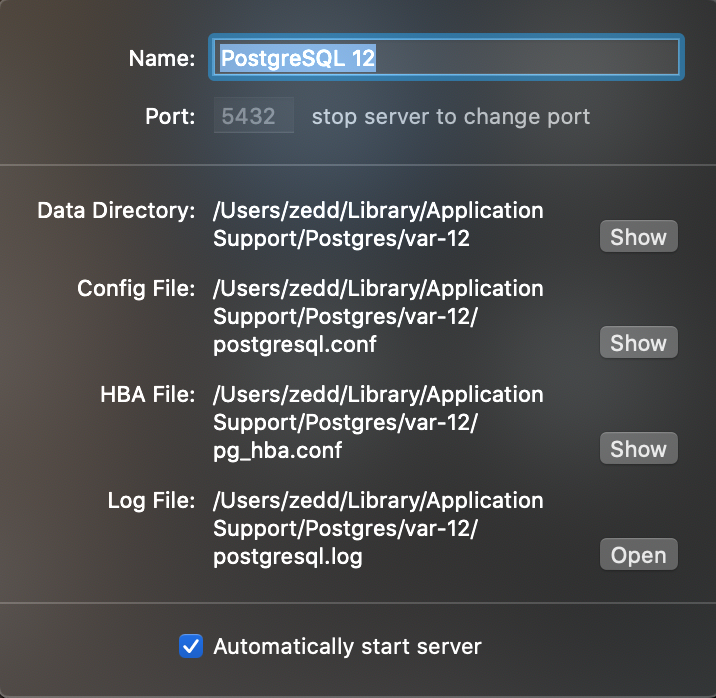
If you’re using Mac, you’ll find it here:
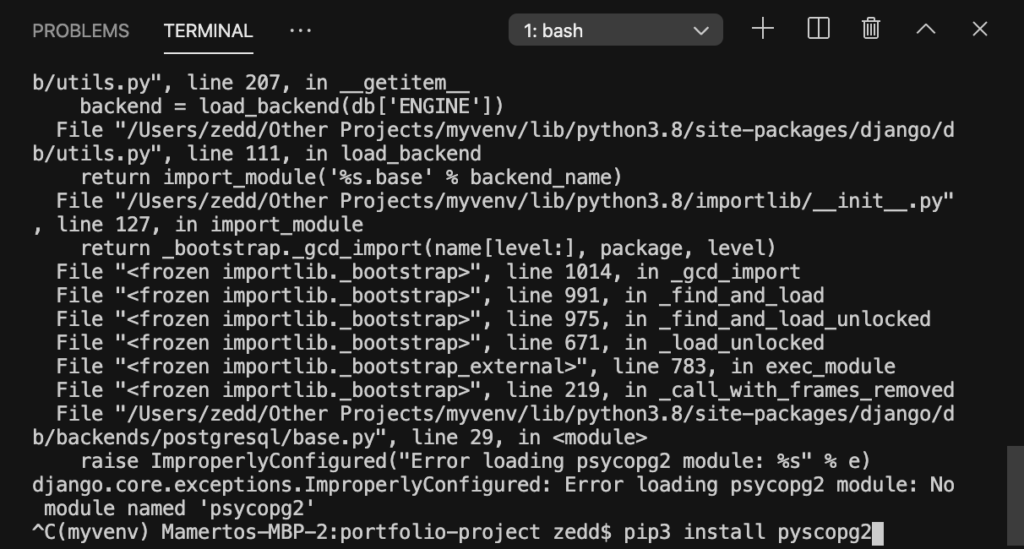
psycopg2
With all that set up, let’s activate our virtual environment. And then, run the server:
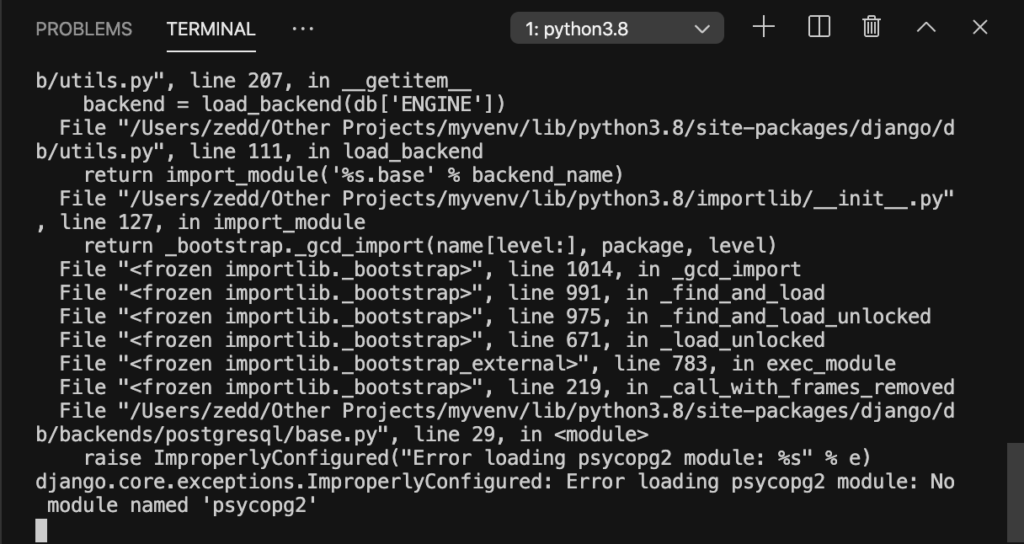
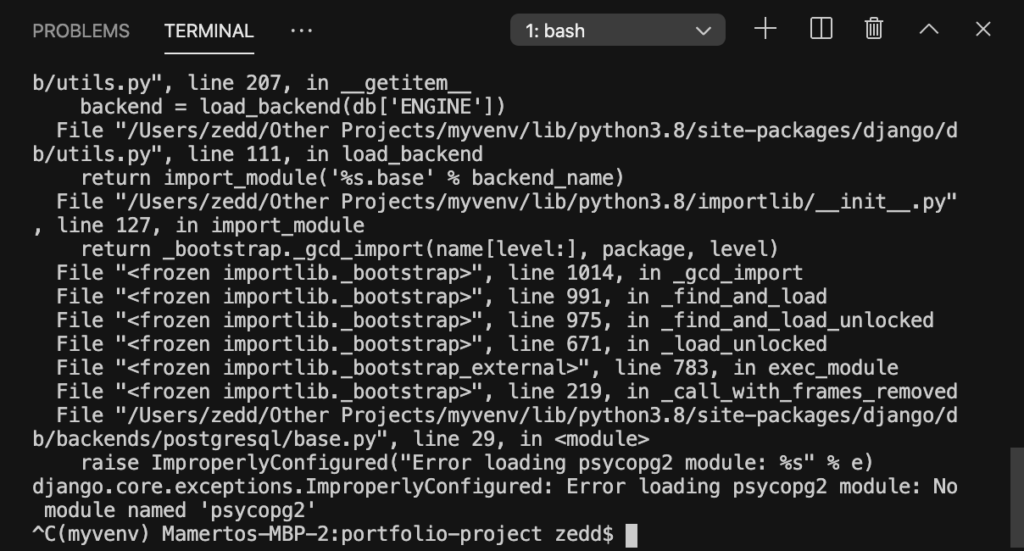
Woah! What’s all that? Calm down and lets see how we’ll fix this. At the very bottom, it indicates that we don’t have psycopg2. So what will we do? Let’s install it! Turn the server off first:
And then we’ll say this:
ENTER:
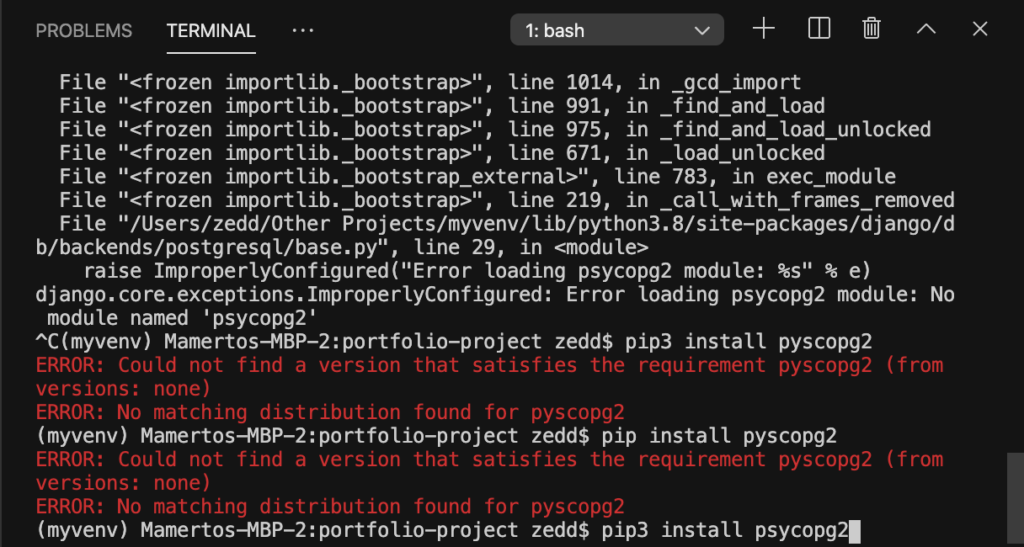
Oops! Typographical error, sorry. By this time, we now realize that we have to spell things correctly. I’ve already entered the correct spelling. Let me try again:
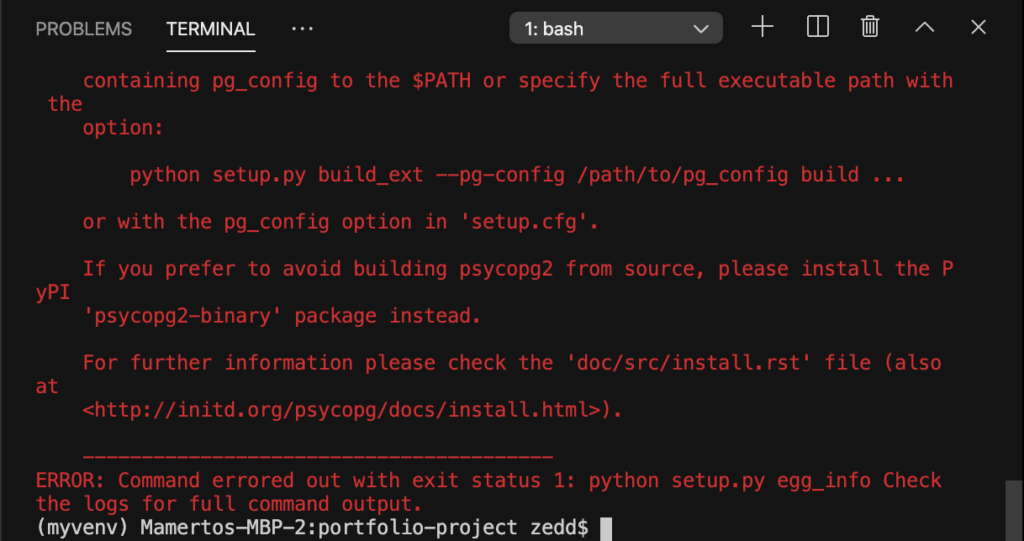
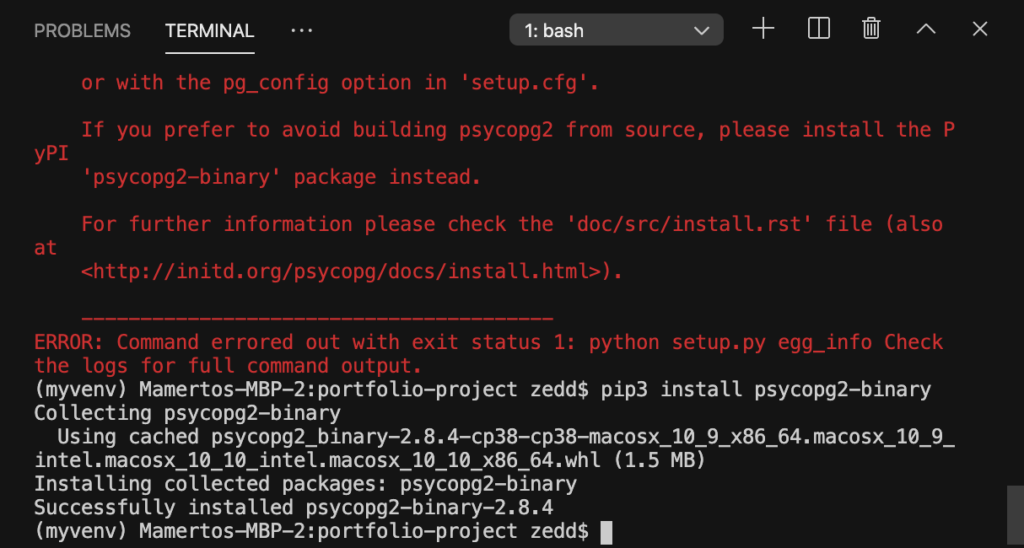
Woah! What’s your problem man? Wait! It now tells us that we should try ‘psycopg2-binary’ (with the -binary) package instead. So let’s do it:
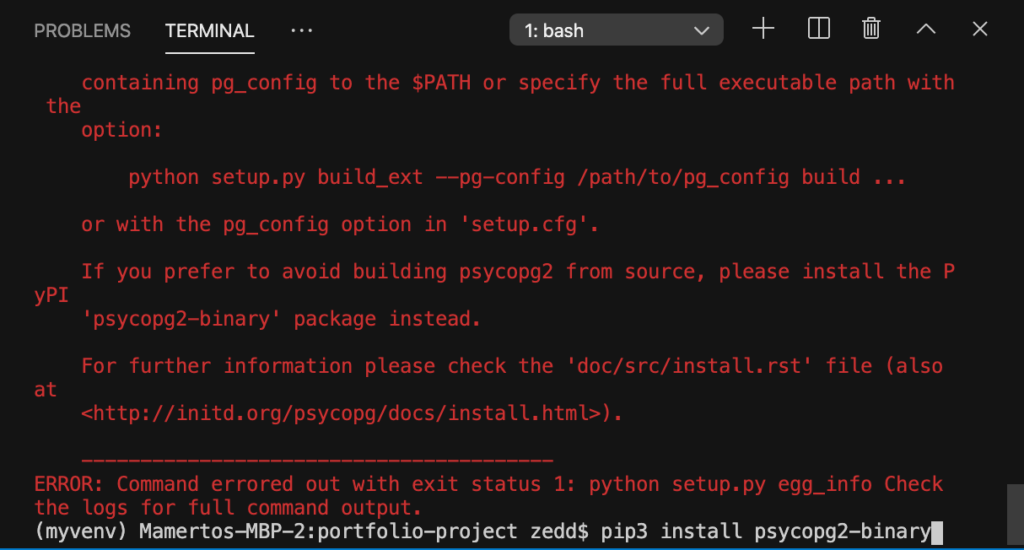
Hit ENTER:
Nice. Let’s run the server one more time:
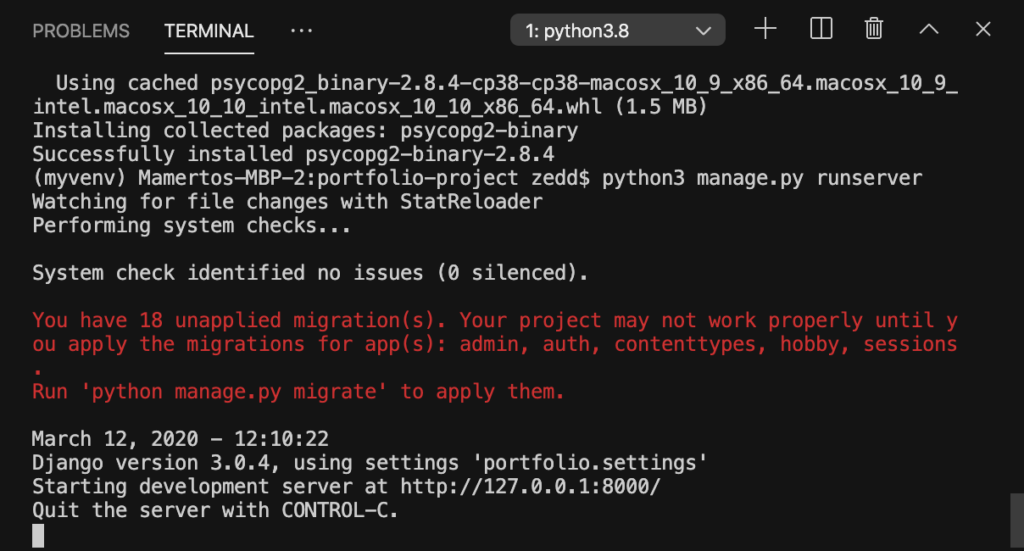
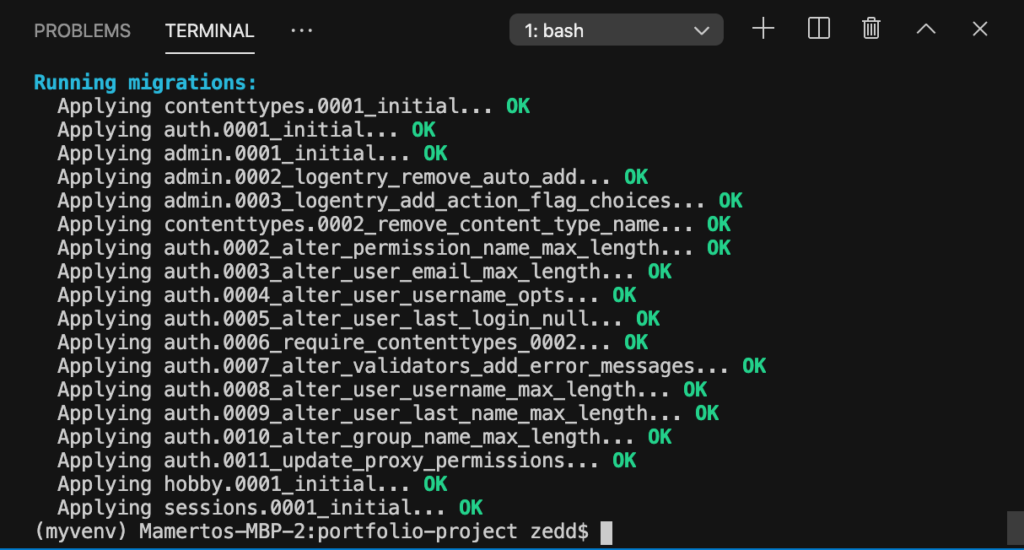
You’ll notice that it says You have 18 (more or less) unapplied migration(s). You may wonder: “Haven’t we already do our migrations earlier? But why does it tell us that we have 18 unapplied migration(s)?”
migrate
Well, that was when we were using db.sqlite3; now we’ve got the Postgres. In fact, if we go back to our admin page:
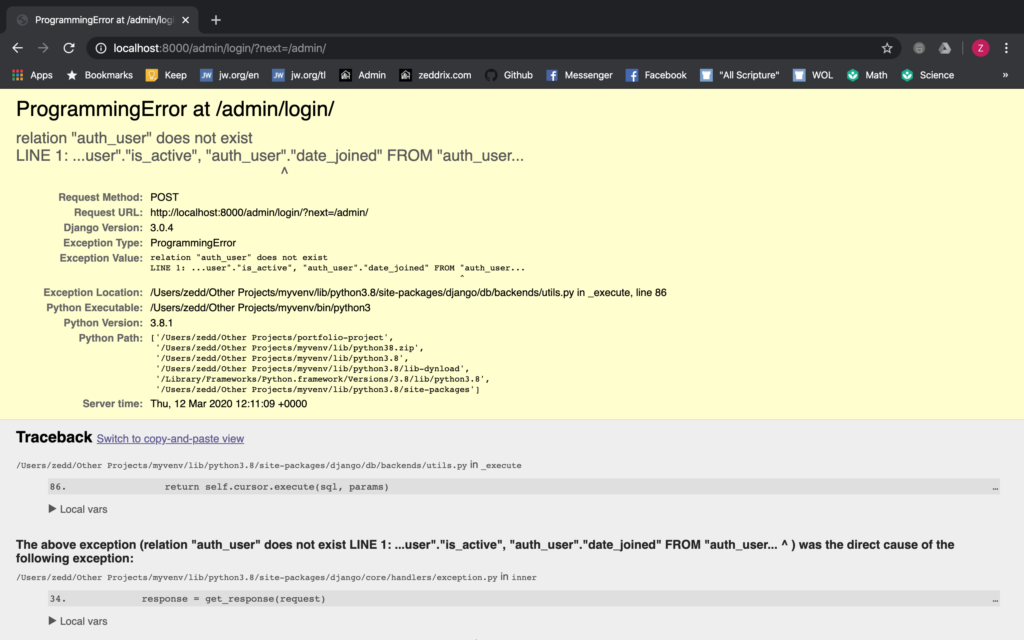
So, we have to migrate:
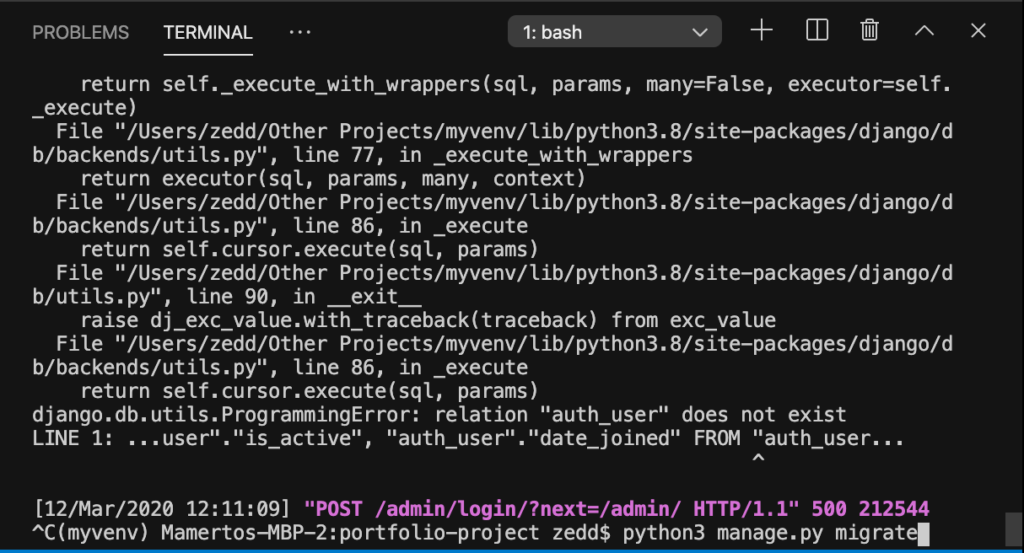
ENTER:
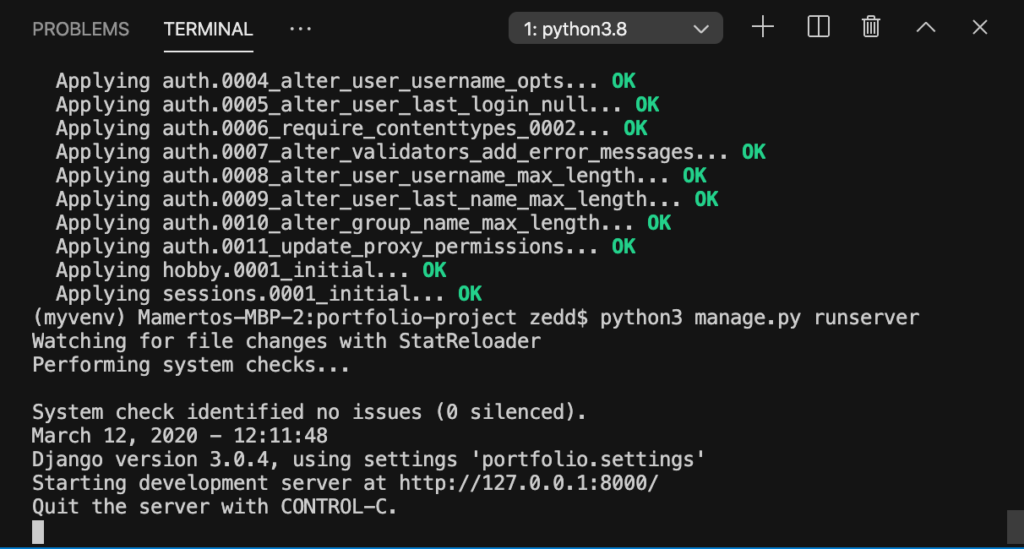
Cool! Once this is done, let’s run our server once more:
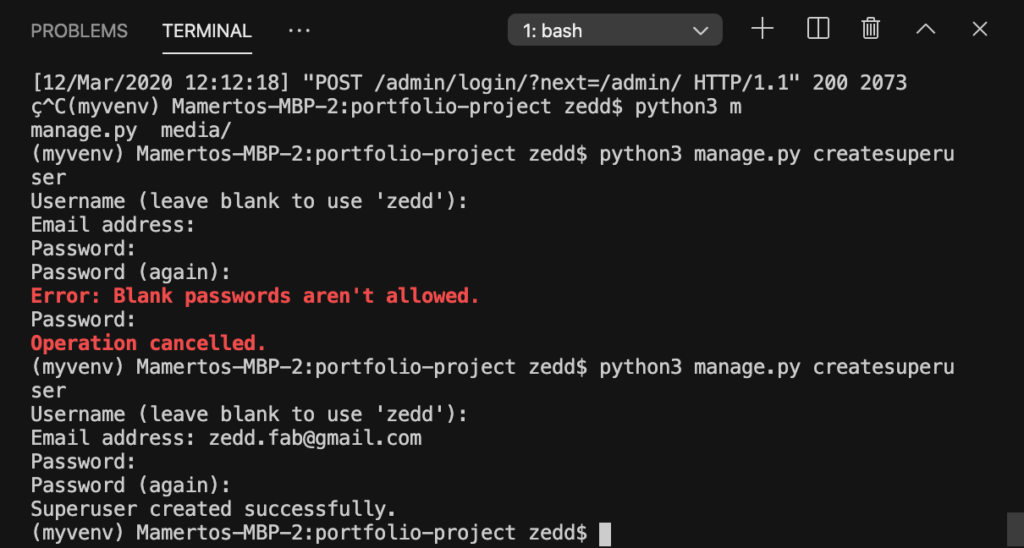
Now if we try putting in all our information here:

Even though that we’ve entered these correctly, we keep on getting this message. “Why is that?”
superuser
We keep getting this message. Don’t you still realize why? The reason is the same with why we had unapplied migrations earlier. Likewise, it was because the superuser we’ve created was back on the dbsqlite3.
And now, we are already using Postgres. So, let’s create a superuser here. You already know how to do that:
Let’s run our server one more time:

And reload our page and try again with the Django administration:
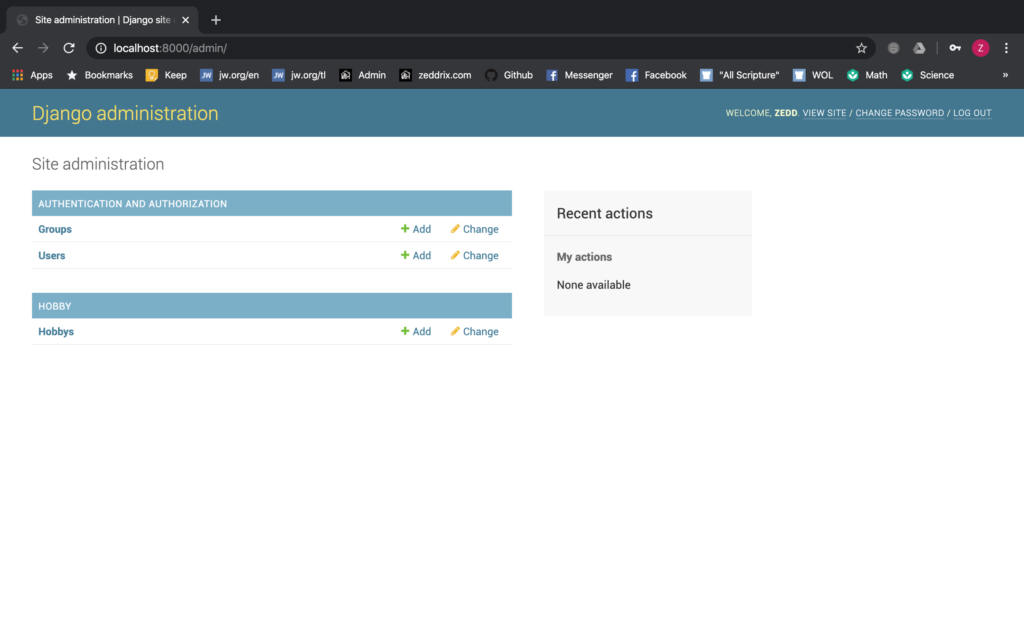
And, we’ll expect that upon clicking on the Hobbys:
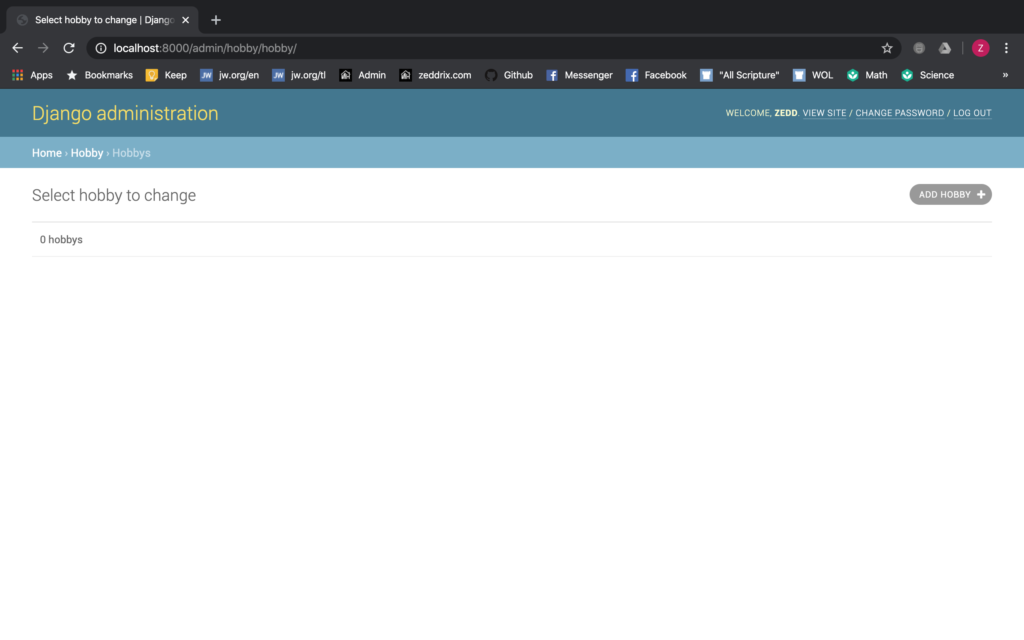
We don’t have any. Again, that was back on our previous database. So let’s try adding up a new hobby:
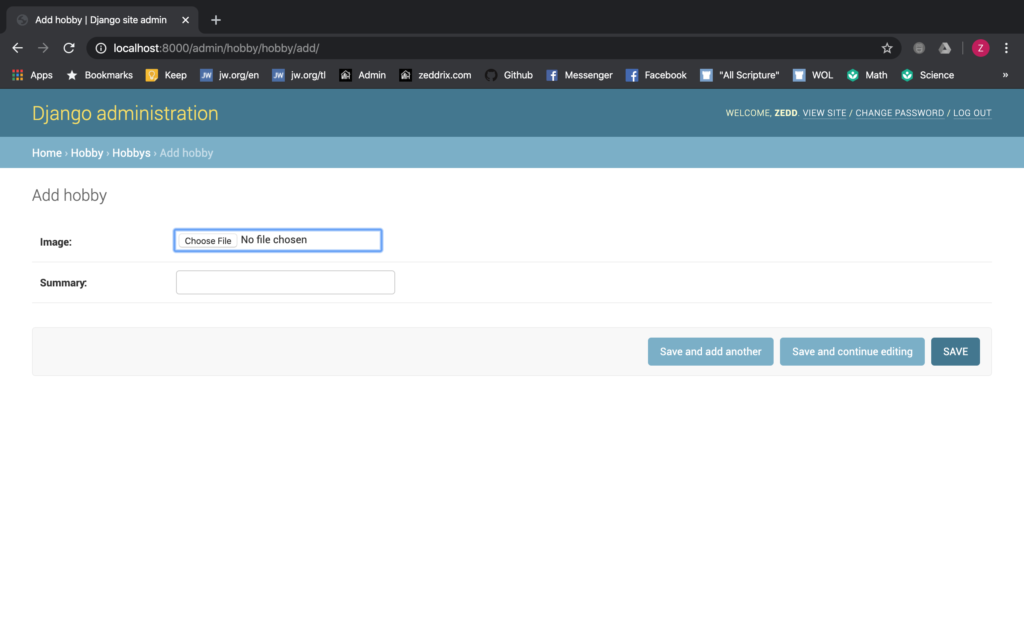
Choose an image from your file and write a short description or summary about a certain hobby:
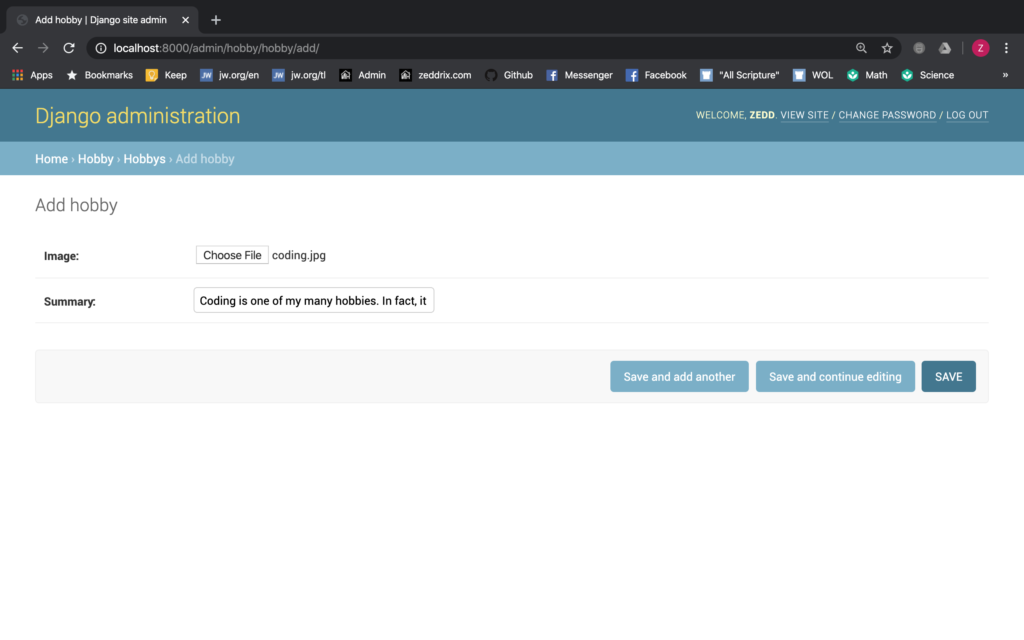
SAVE:
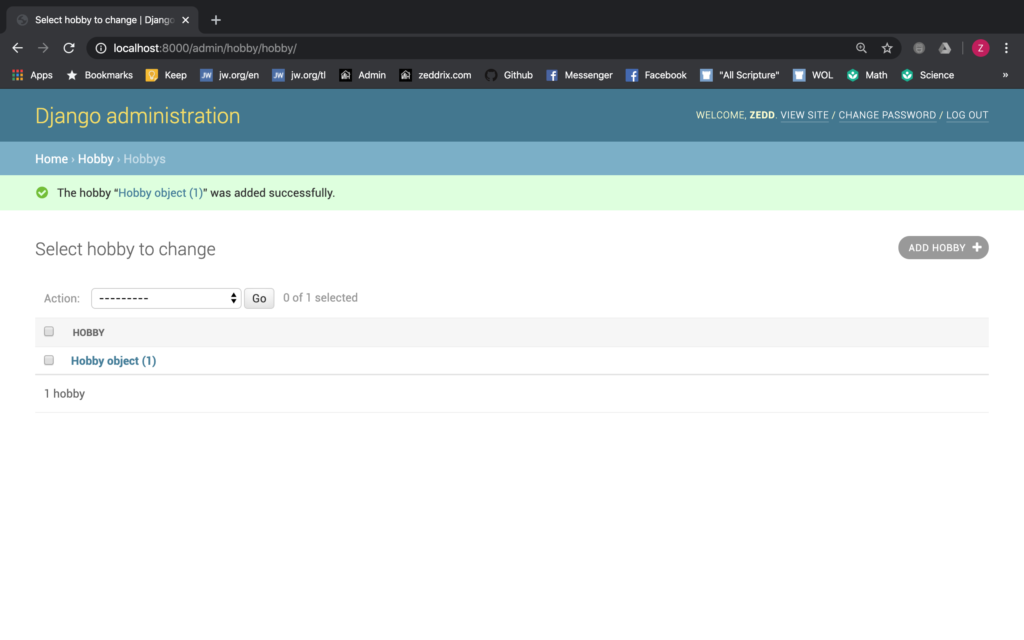
Click on the Hobby object:

Good. By the way, we now have all these data and changes here on our portfoliodbase:
But remember, we still have to do git commits on GitHub.
Git Commit
After doing all these things, let’s do a git commit:
Good. Now you know how to connect PostgreSQL to our code. What’s next?