Previous Lesson: Lesson 36: How to Create Pages in Django
In this lesson, we’ll save a lot of time designing our portfolio website using the album template from Bootstrap. I’ll show you how. Let’s check out their official website. Go to getbootstrap.com:

Bootstrap helps us have our desired designs for our website, without making a lot of effort. Furthermore, it will make any website look fancy, from the smallest phone up to the largest video screens.
As a start, you can go to the Documentation (which is located at the top bar) here and read up at your own time. But, we’ll go to Examples:
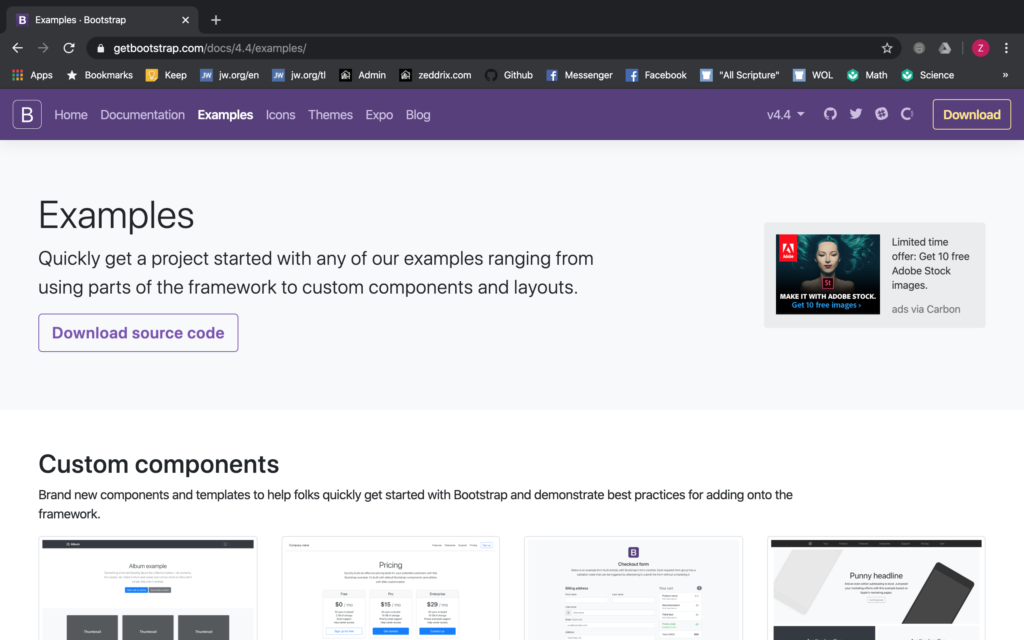
There. Now, scroll down a little bit to see some template examples:

You know, I think the Album will really fit for our homepage here:
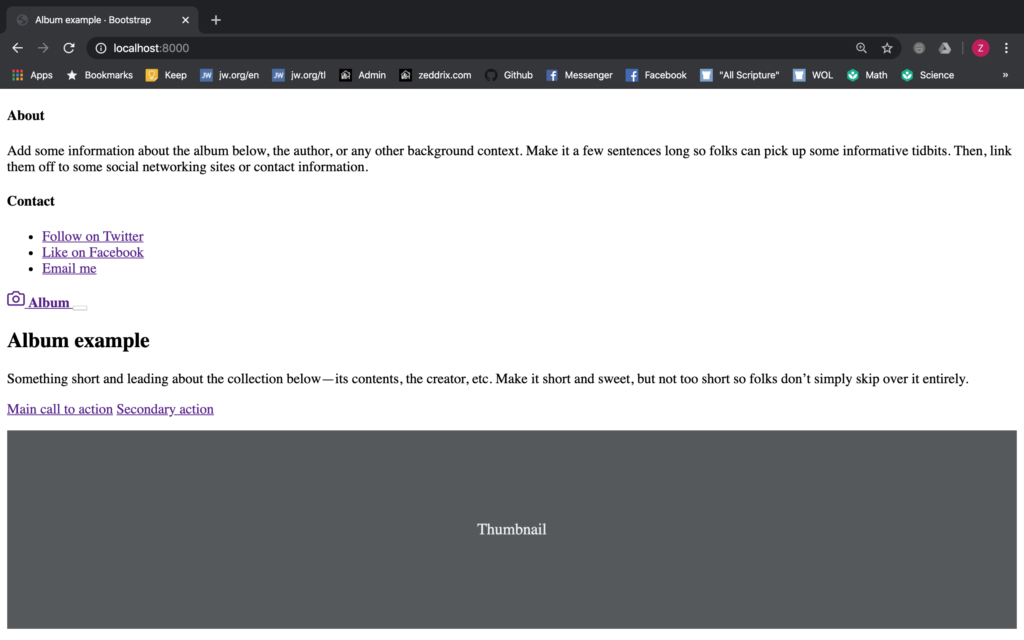
Album Template From Bootstrap
Let’s take a look at it:
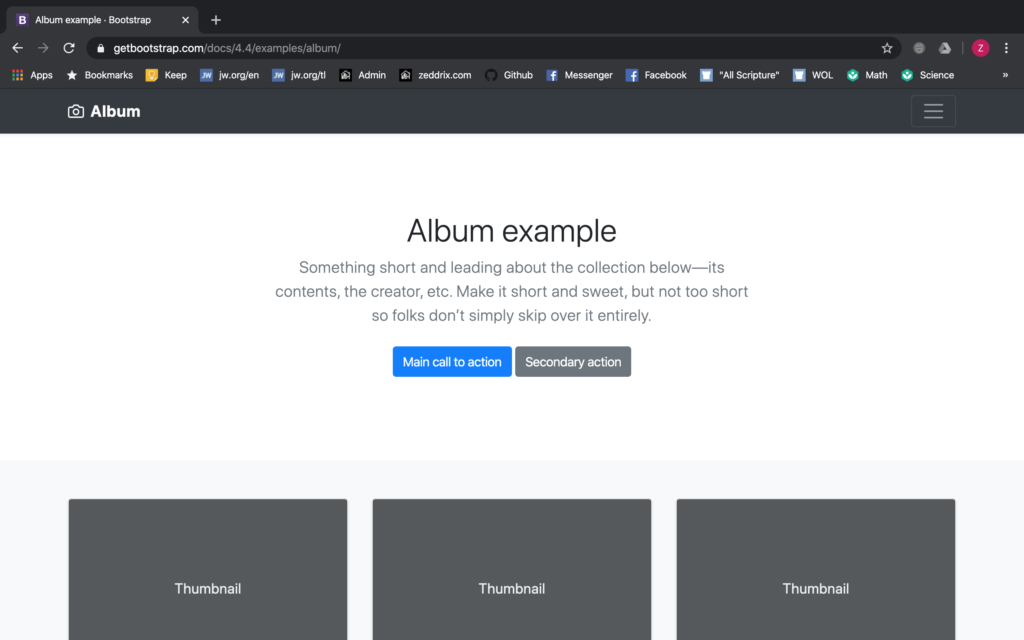
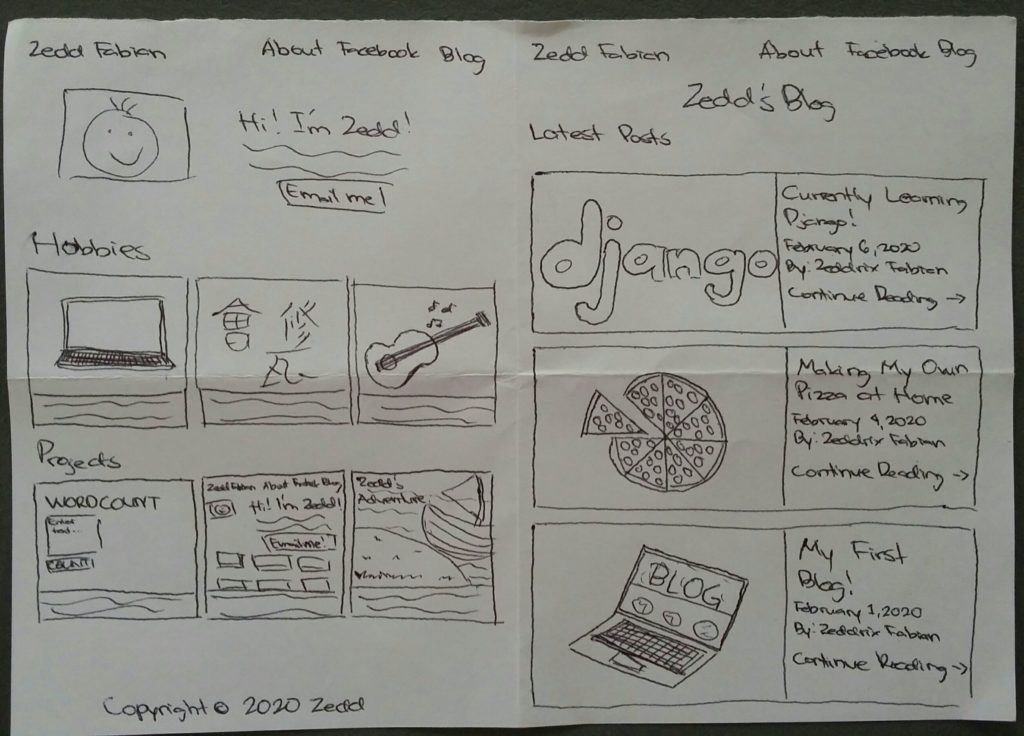
The Album template from Bootstrap basically has everything that we need. Additionally, it has these navigation bar at the top. At the center, we can place our greetings here. However, it doesn’t have a place where we can put our own picture, yet.
Then, we have two buttons that can be converted to an email button. Finally, as we scroll down, it has some thumbnails and descriptions, which we can use for our hobbies.
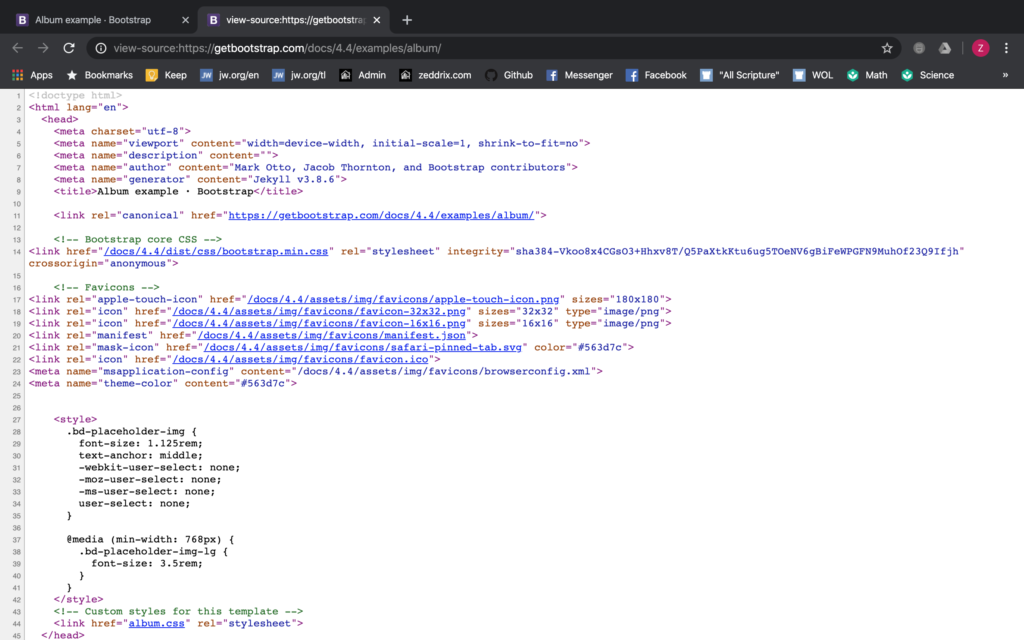
Now, do a right-click. And then click on View Page Source:
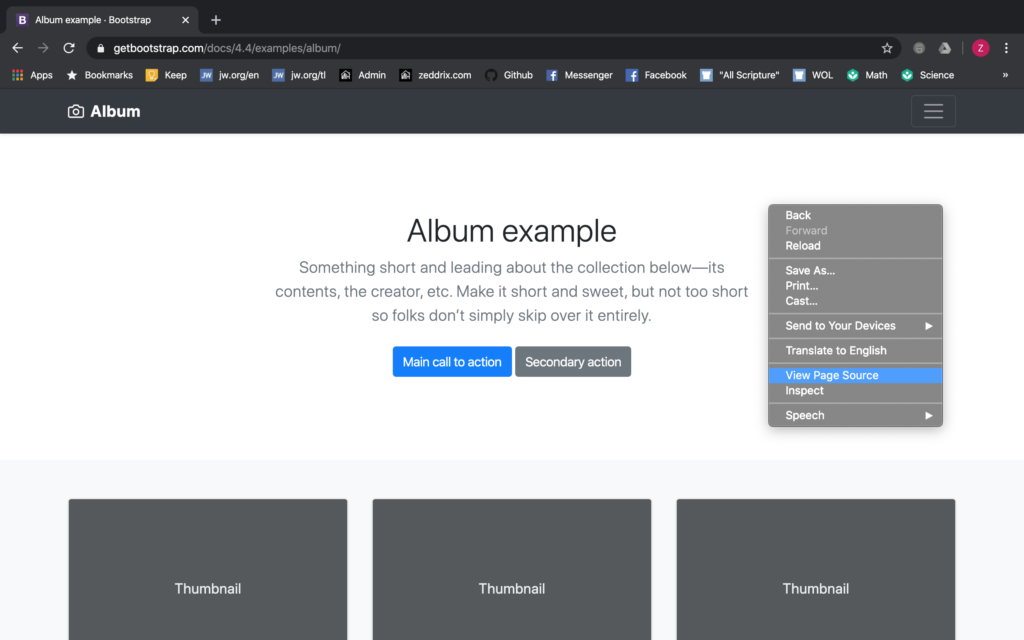
Let’s look at the code that makes this page possible:
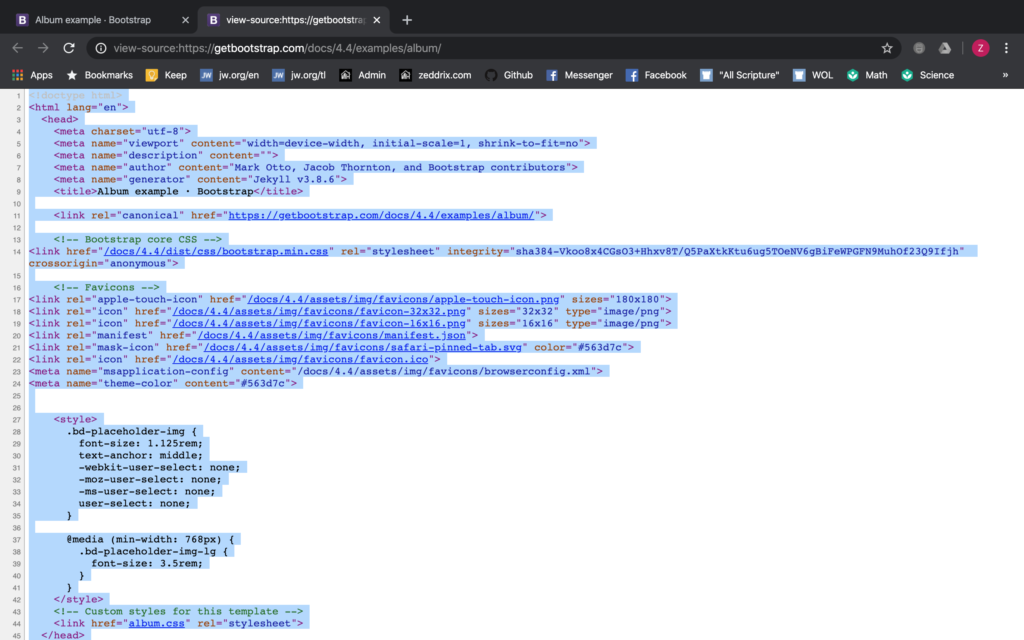
Whoa! There’s nothing to worry about. We’ll just select all of these by hitting Ctrl + A or Command + A:
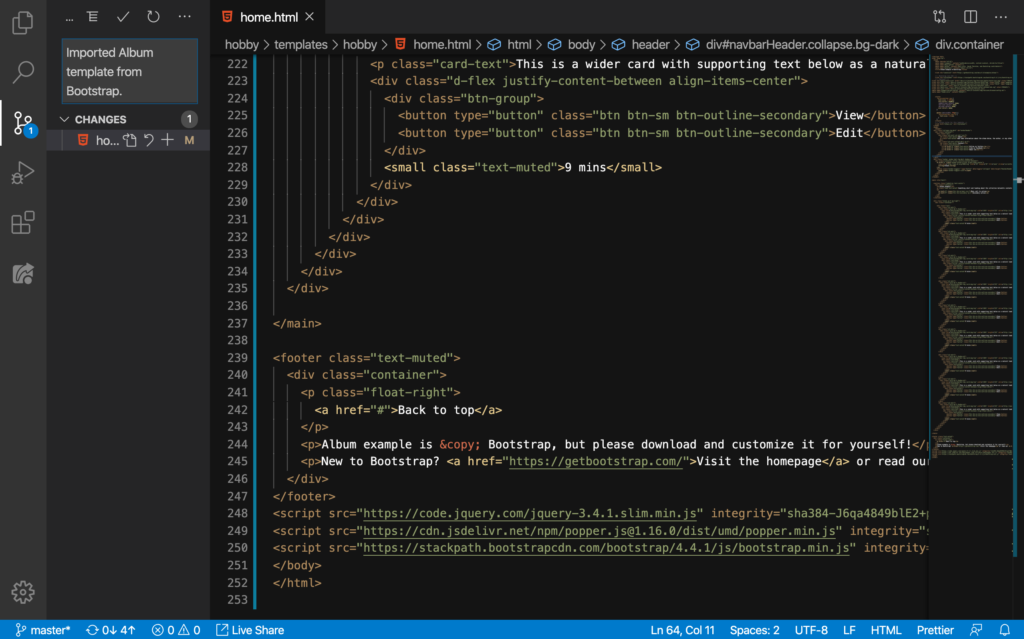
Then hit Command + C or Ctrl + C (for copying). Now here on our home.html:
First, let’s delete these lines. And then, press Command + V or Ctrl + V (for pasting):
I know that this seems a lot. But, at the very end of this course, you’ll understand every line. Now, let’s run our server. And then let’s take a look at our browser:
What? It looks nothing like what we were expecting. I think we are still forgetting something.
CSS For Our Album Template From Bootstrap
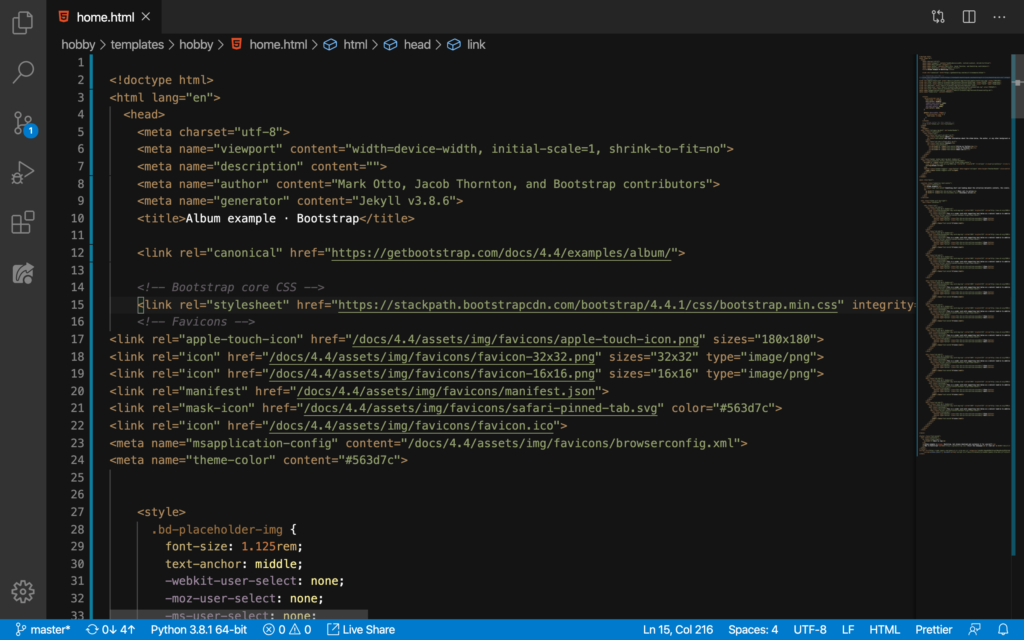
Oh yeah! If you go back to our home.html, we have something on Line 14 that says something about Bootstrap core CSS. And that CSS code is what we can see here on Line 15:
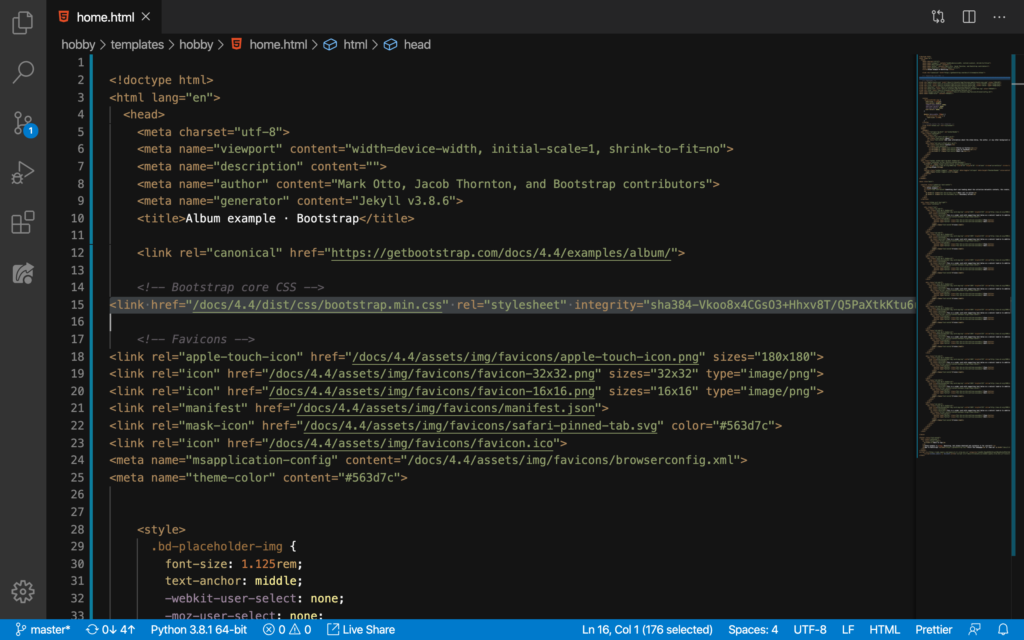
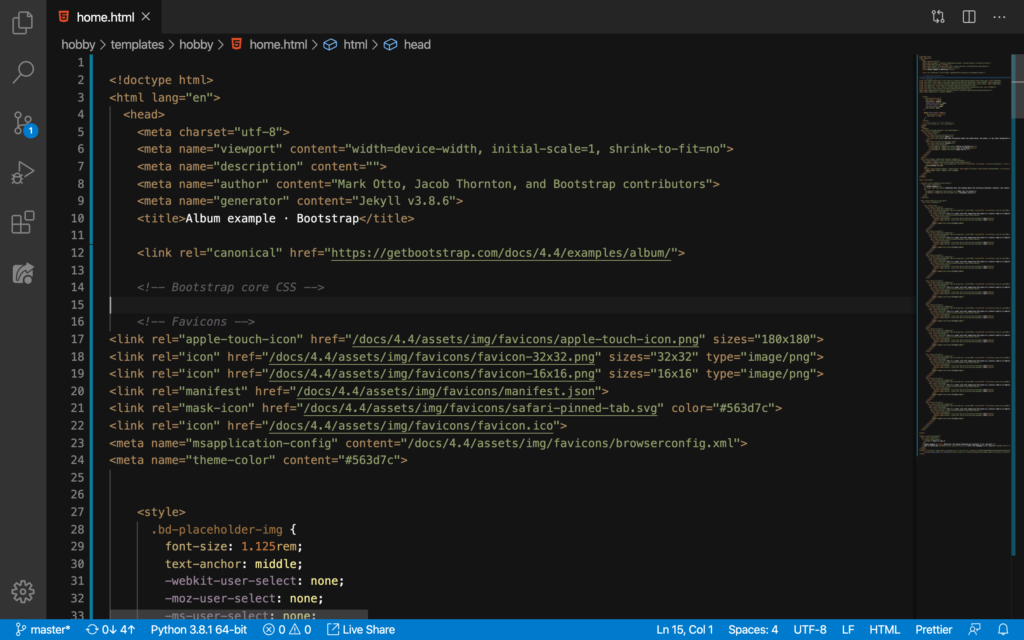
Let’s select Line 15 and DELETE:
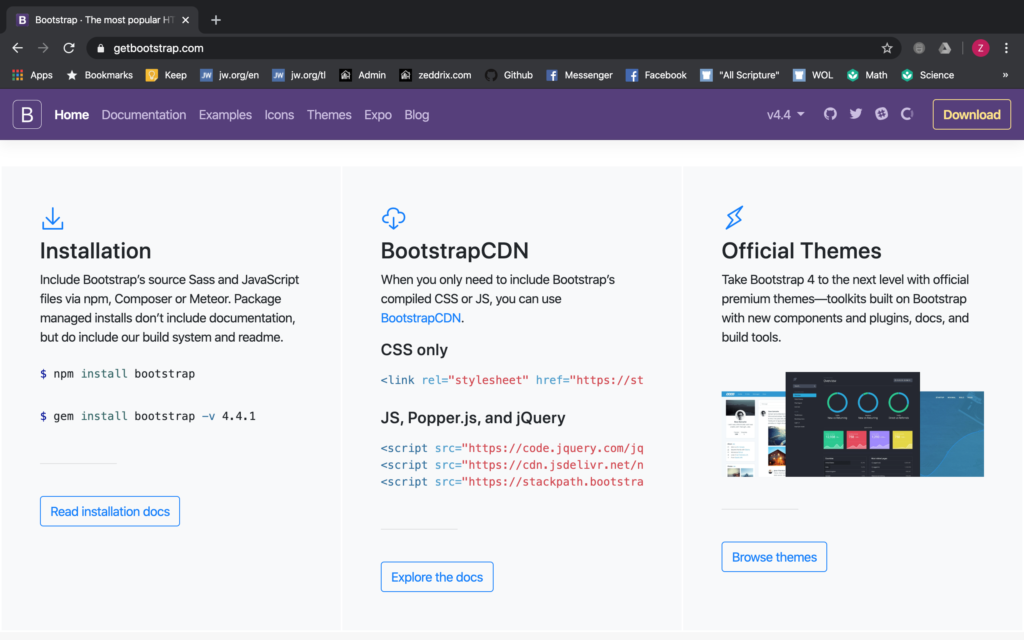
Then, go back to getbootstrap.com:
Let’s scroll down to the very bottom here:
CSS is a language that describes the style of an HTML document. Also, it describes how HTML elements should be displayed. In other words, it will make our ugly website look very fancy and well-designed because it takes care of the layout and design.
Here, we’ll use CDN (Content Delivery Network). Let’s select this:
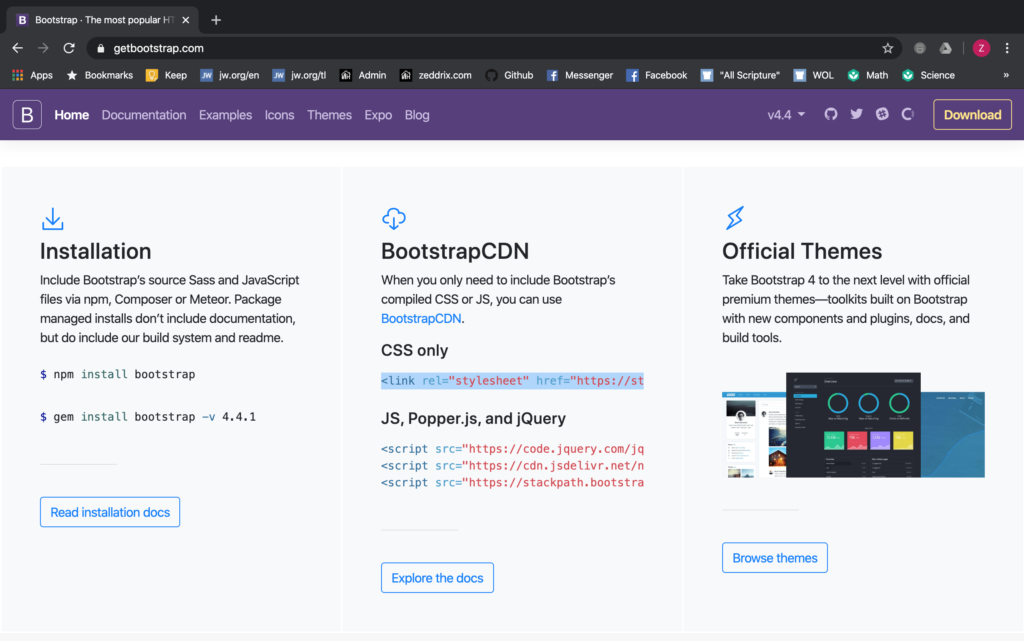
Hit Command + C or Ctrl + C (for copying). And then, press Command + V or Ctrl + V (for pasting):
Let’s save this and see what our website looks now:

Great! That’s better. However, we’re not done yet here. Know why? After you’ve clicked on that hamburger menu button, it should have a dropdown.
JavaScript For Our Album Template From Bootstrap
We need to copy the lines of code under the JS, Popper.js, and jQuery. These are all JavaScript:
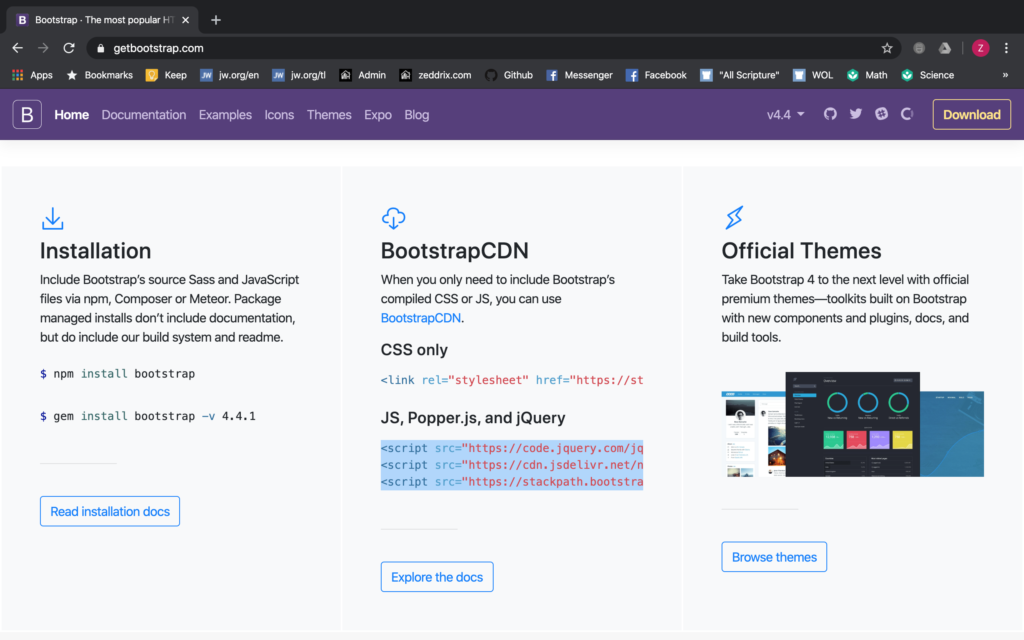
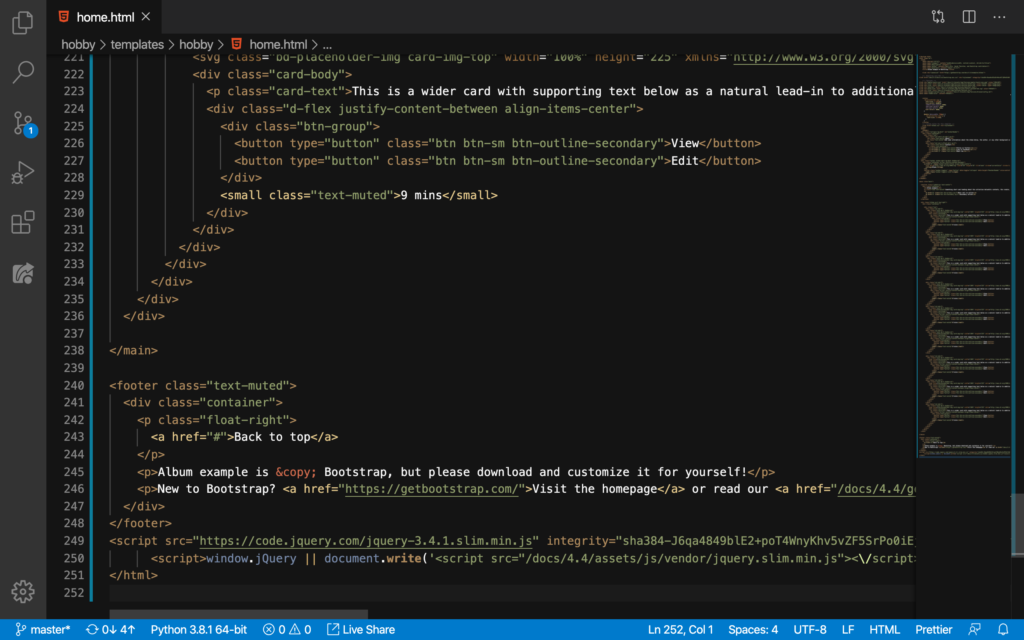
At the very bottom of our home.html, we have this script code (which is for JavaScript):
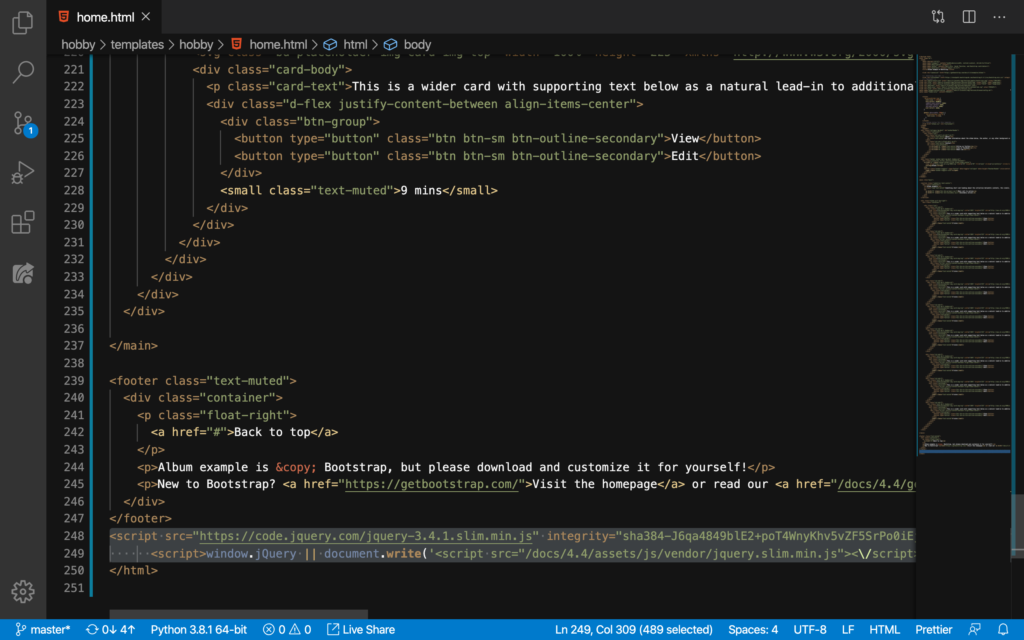
Now, select. And then DELETE:
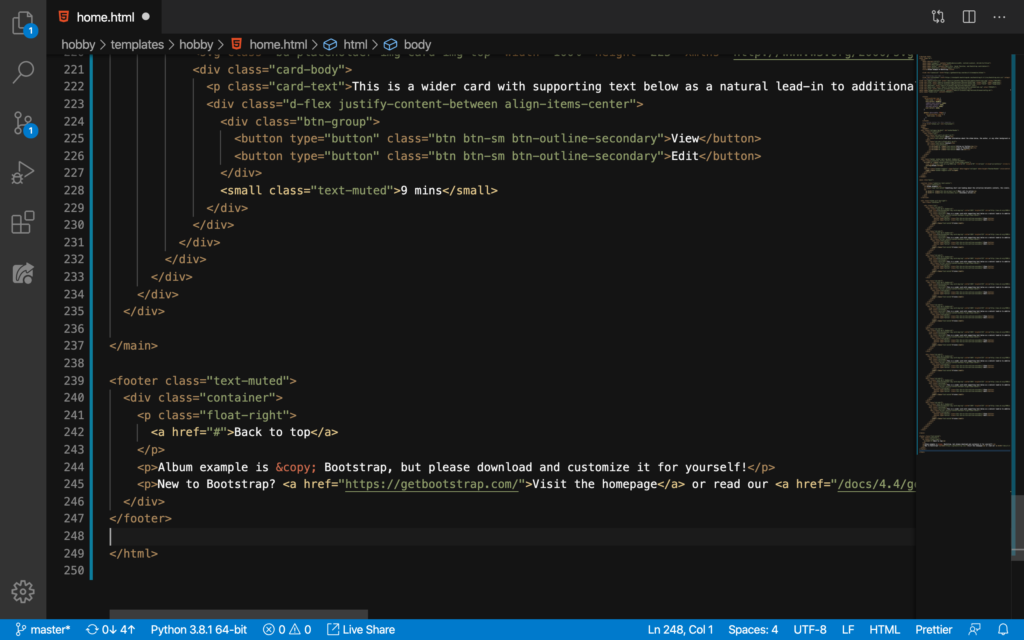
I’m afraid that we have deleted the ending body tag (</body>). So, let’s add </body> here on Line 248:

Nice. Now here on Line 248 (I hit ENTER above the body tag):
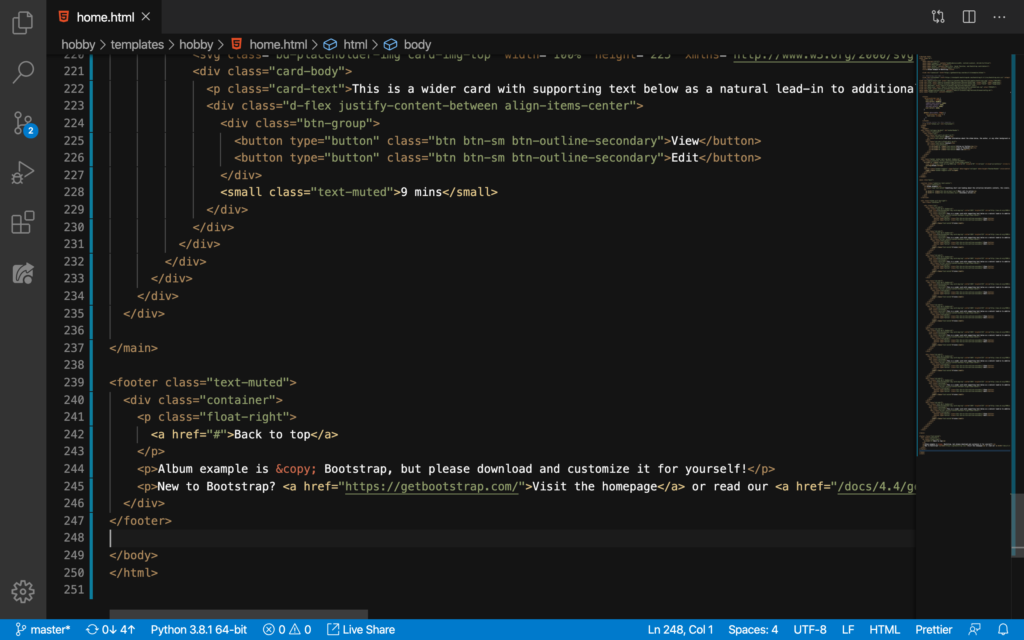
Hit Command + C or Ctrl + C (for copying). And then, press Command + V or Ctrl + V (for pasting):
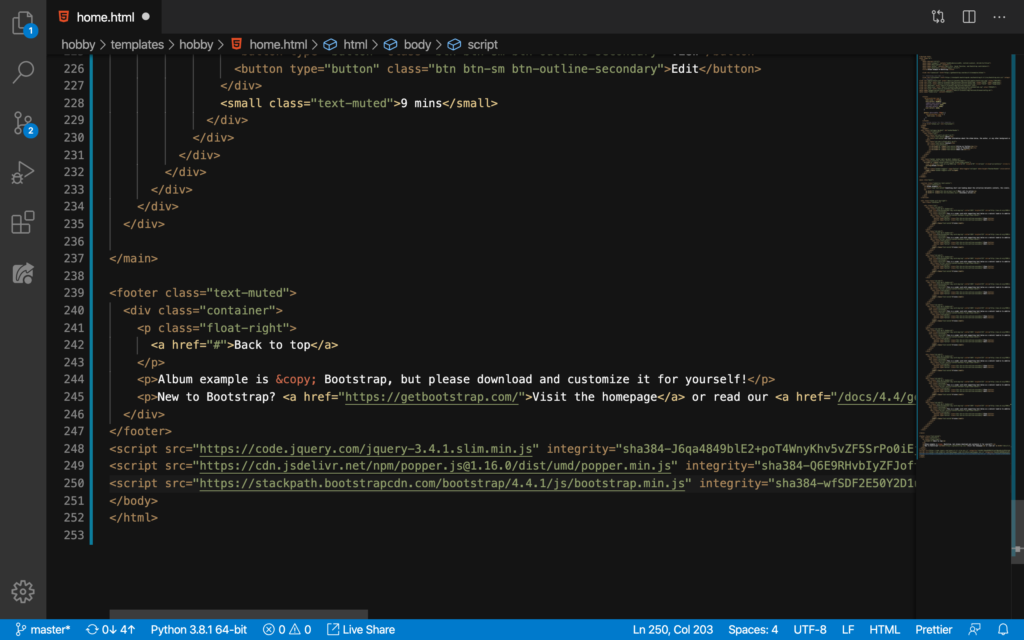
Good. Now let’s see if that nav-bar works now:
Cool!
Git Commit!
With all those changes, let’s commit this to GitHub:
On the next lesson, let’s make the navigation bar here more appropriate.