Previous Lesson: Lesson 37: Album Template From Bootstrap
In this lesson, we’re gonna be beautifying the NavBar by changing each button to the appropriate labels that we want, one step at a time.
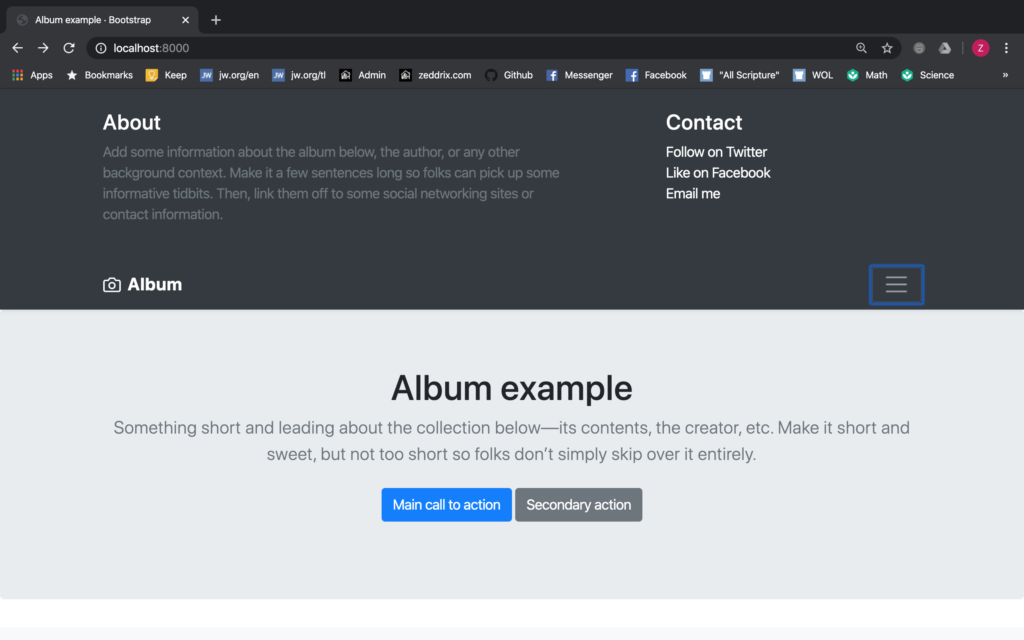
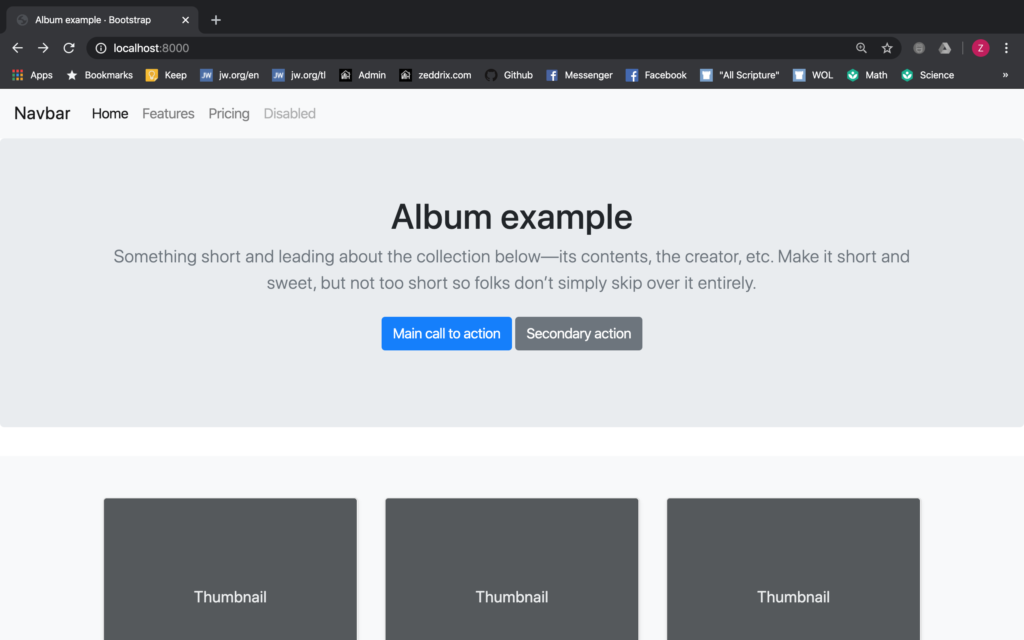
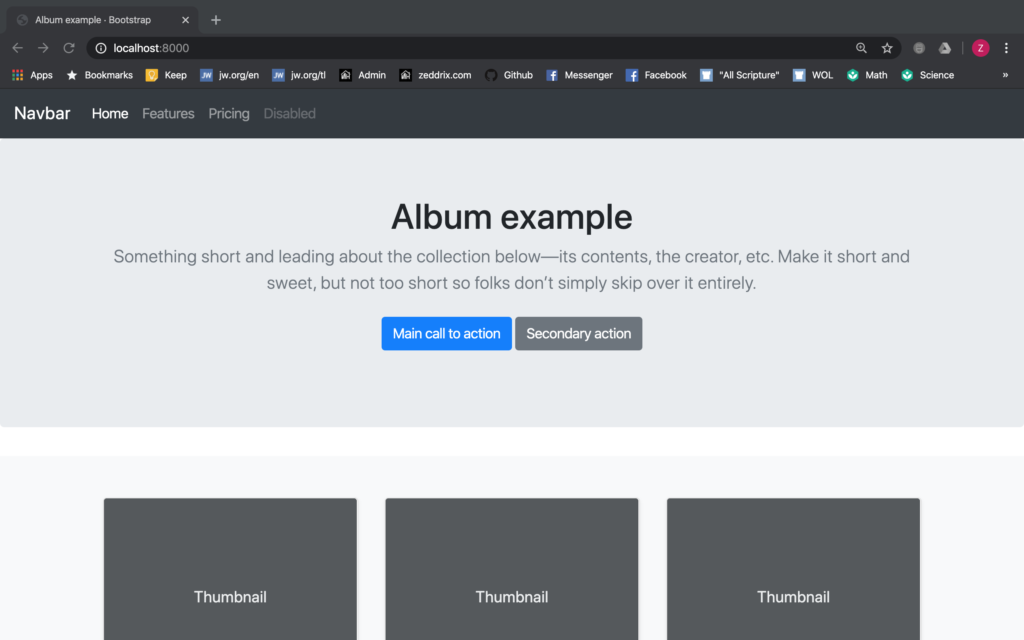
Yes, we don’t want our NavBar to look like this at all:
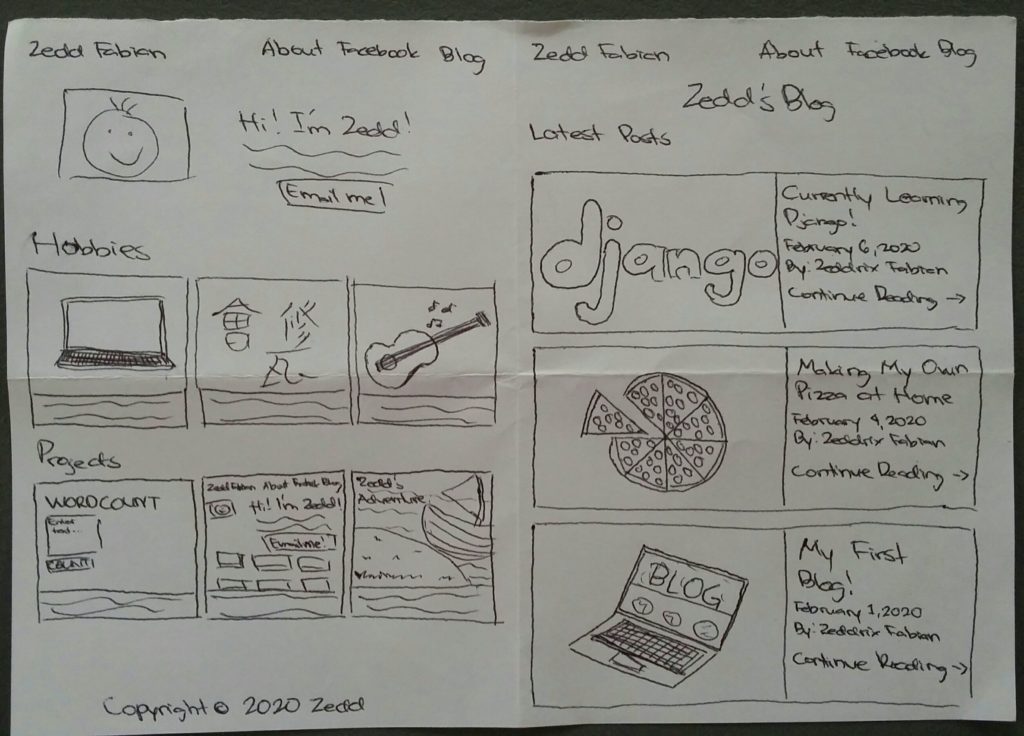
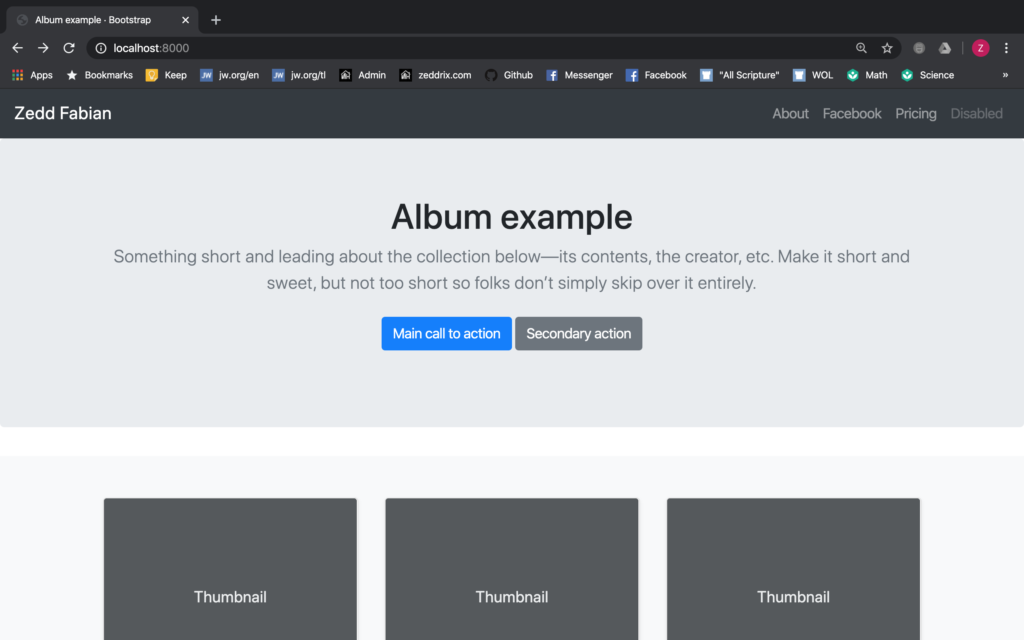
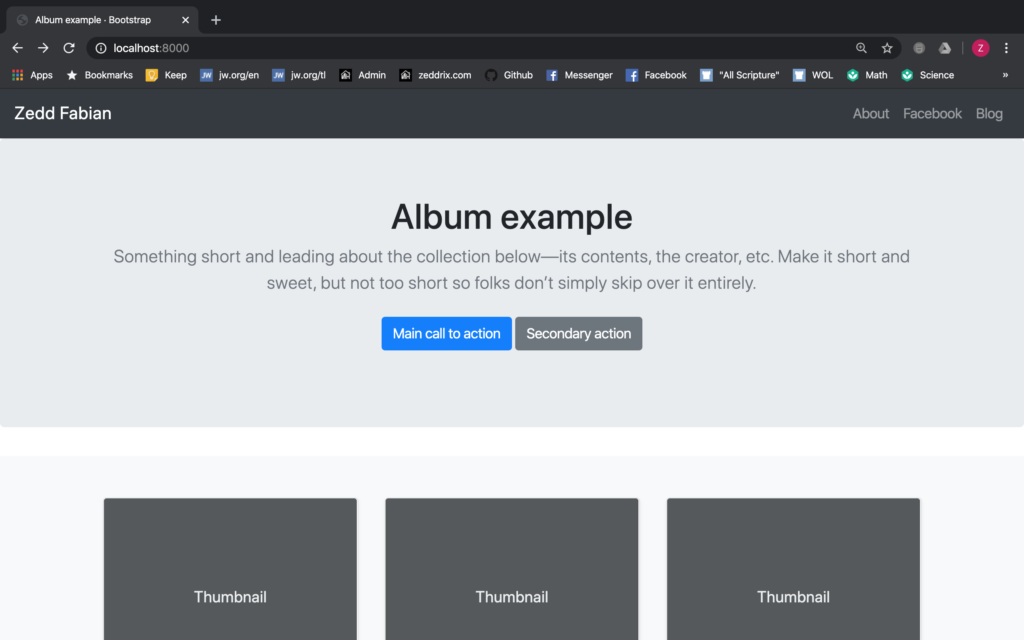
Because as you can remember, we want to have something like this:
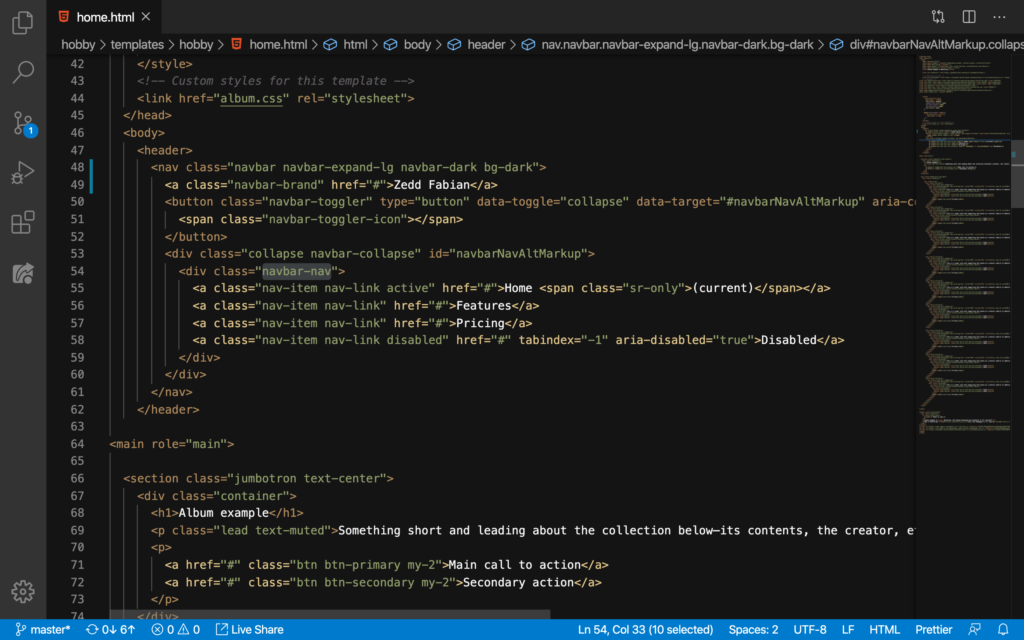
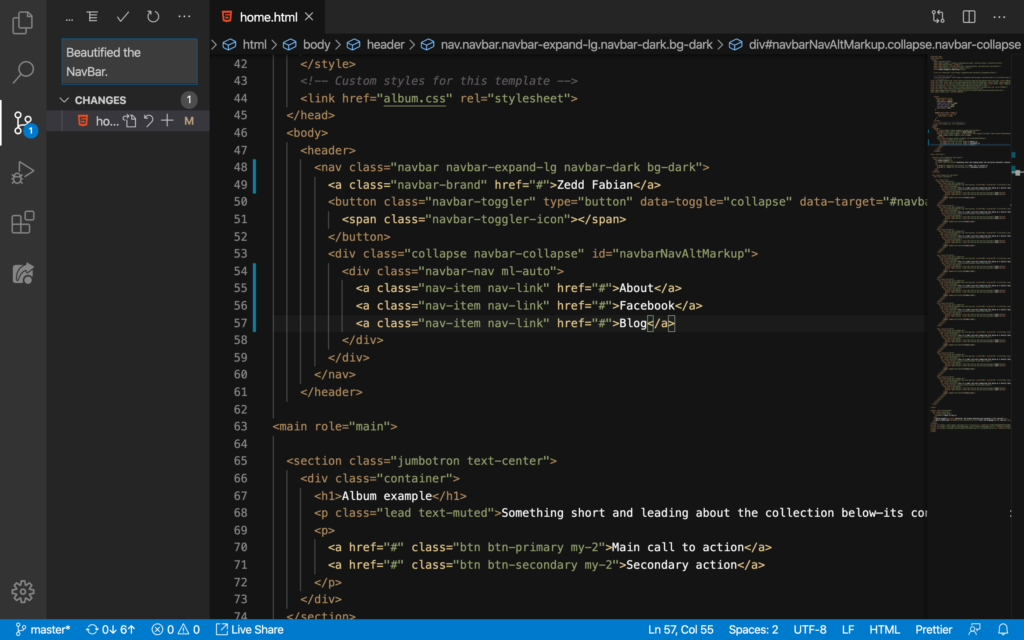
And the code for the current NavBar can be found on these selected lines:
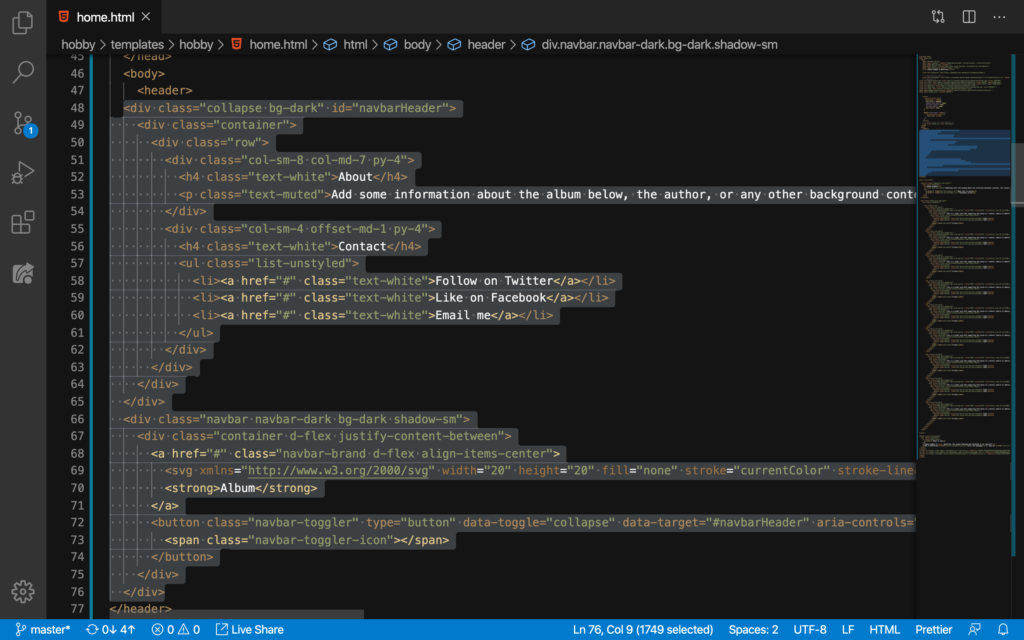
As you may have noticed, especially if you already have an experience in HTML, the NavBar here is in our header block. Let’s DELETE all these (just the selected lines after the opening header tag down to the closing header tag):
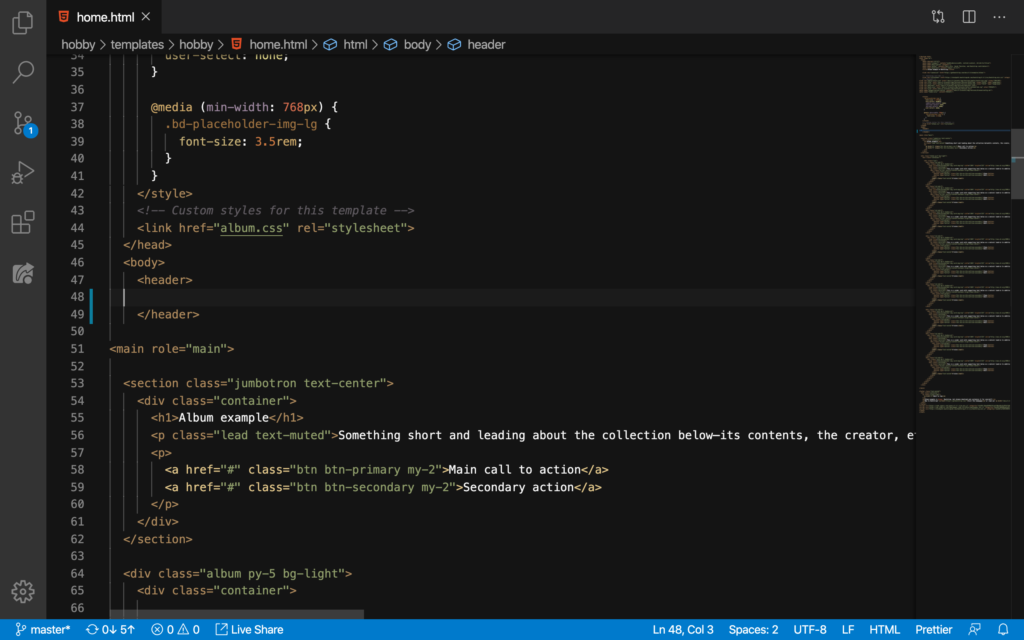
Good. Make sure that your code looks exactly like this. And then, let’s go to getbootstrap.com:
Go to the Documentation:
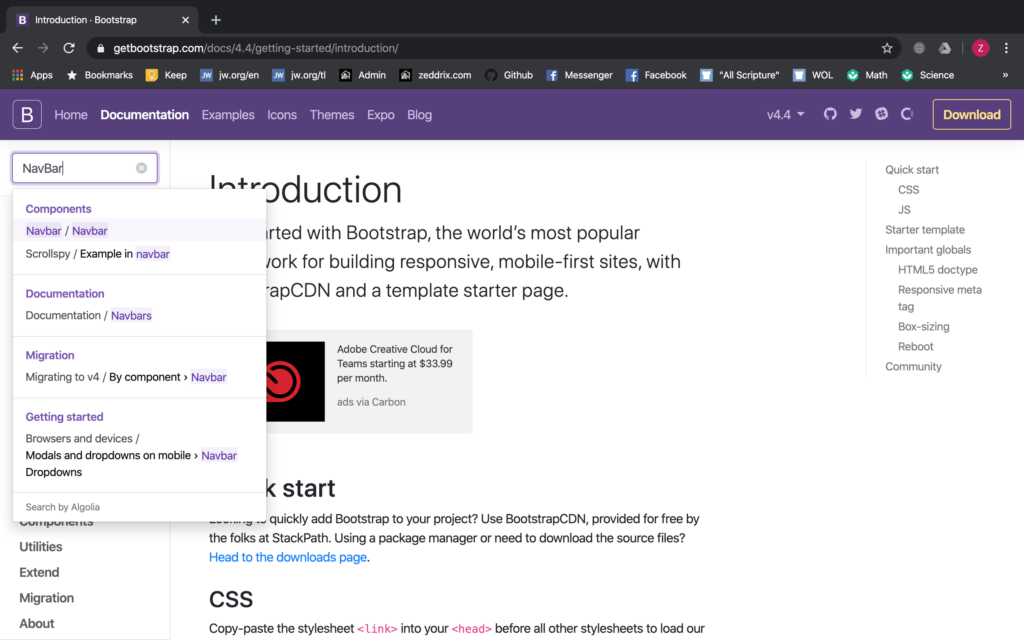
Then search NavBar:
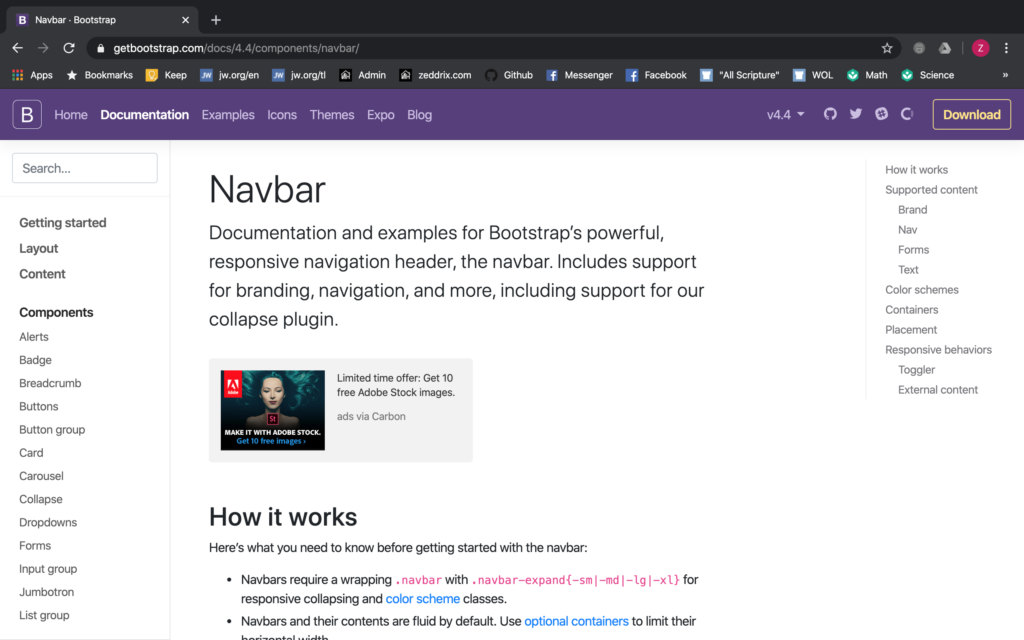
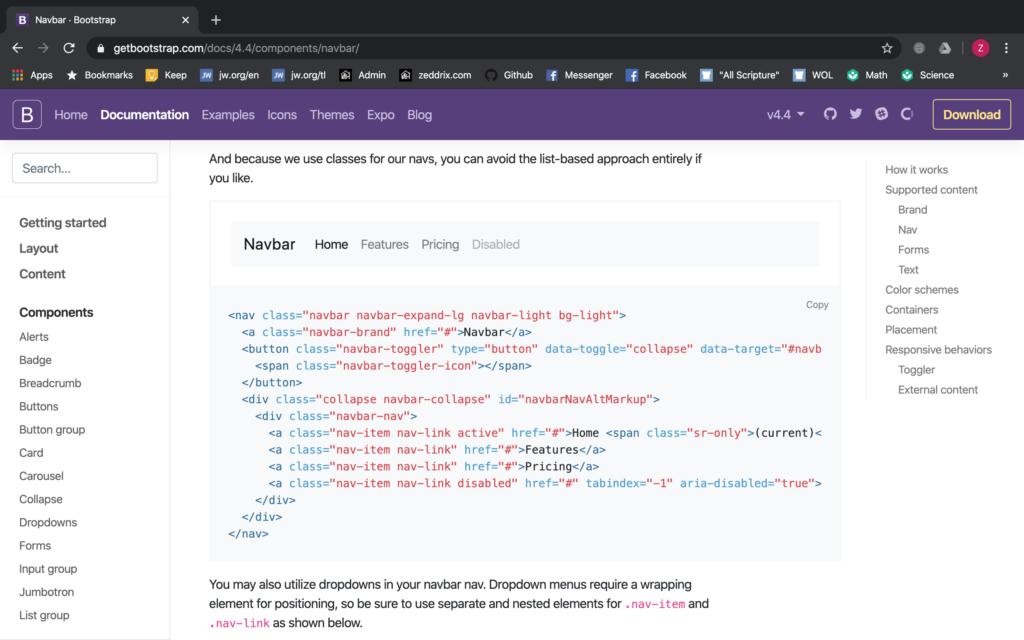
Click on the NavBar/NavBar and it will take you here:
Okay. Scroll down ’till you see this:

But we’ll NOT use this one here. Instead, we’ll use this shorter and simpler one:
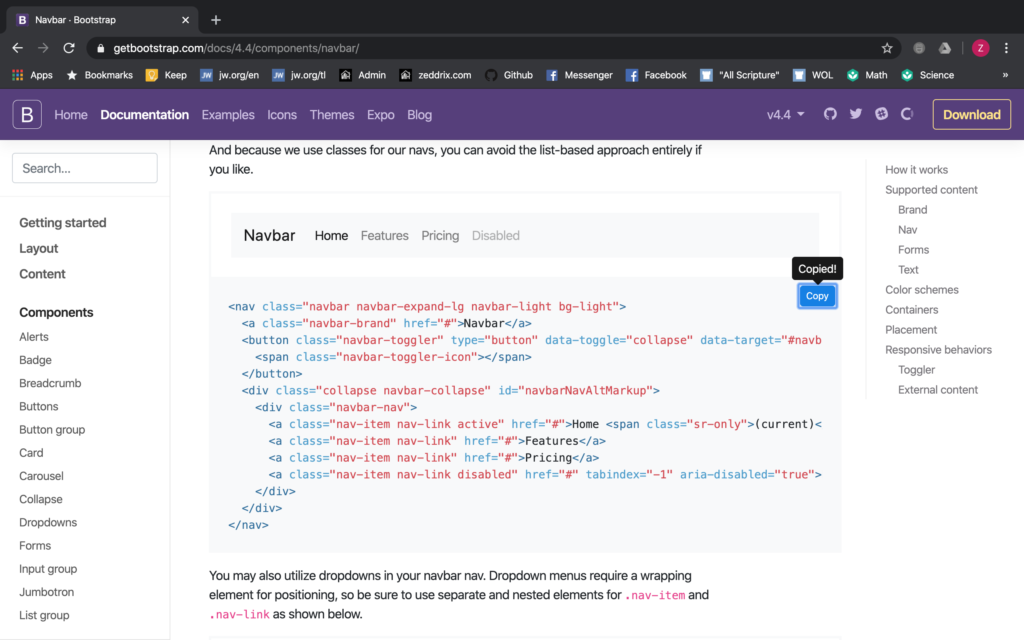
Copy this code (do you see that little Copy located at the top-right?):
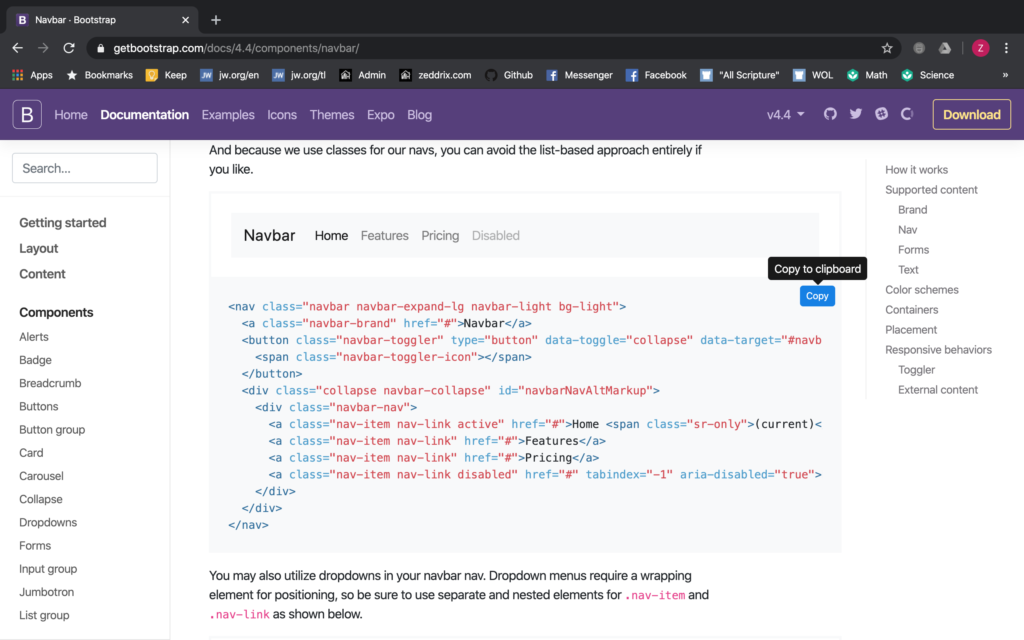
Click on it:
And then we’ll paste this on this line:

Command + V or Ctrl + V:
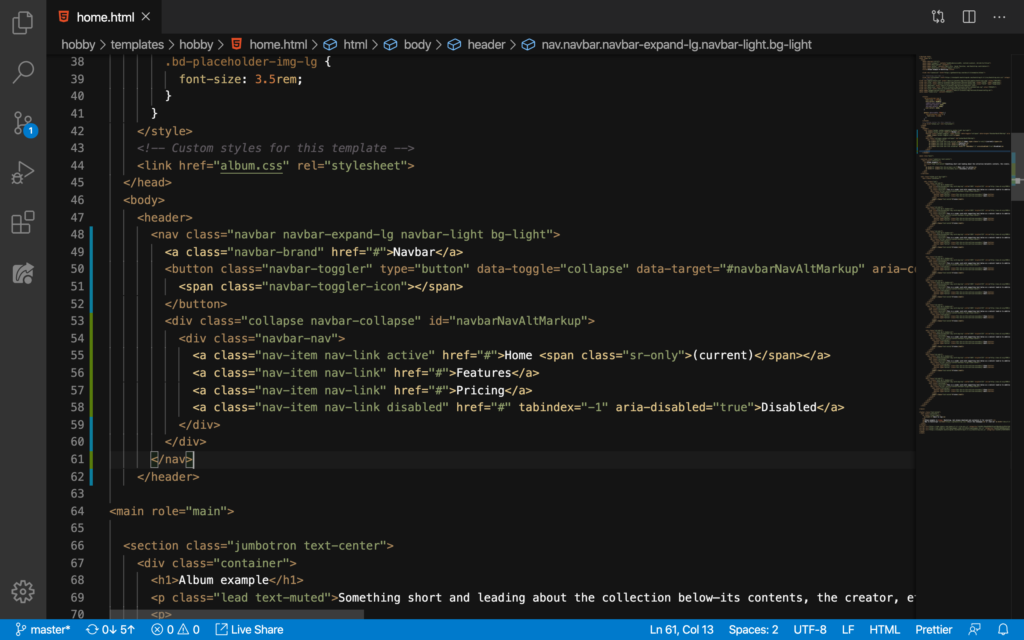
Nice. Make sure that your code looks exactly and looks uniformed like this. Finally, let’s have a look at our website (not refreshed yet):

Refresh:
What a difference! Now, check this out:
The NavBar becomes a hamburger button–so cool!
Light vs Dark NavBar
Do you want a dark-colored NavBar? Well, we can do something about that. But let’s first commit this change:
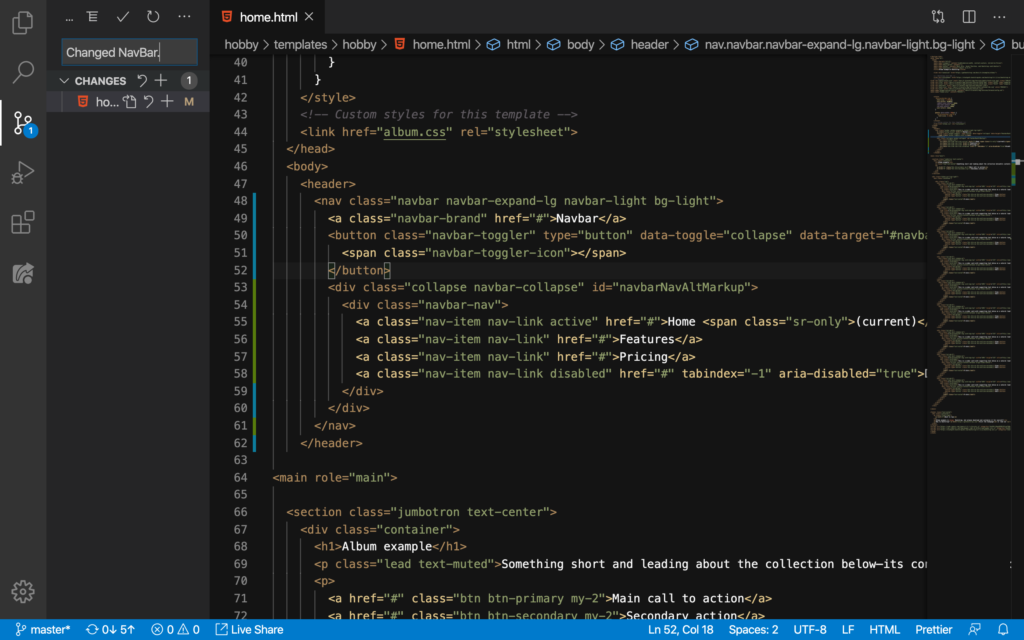
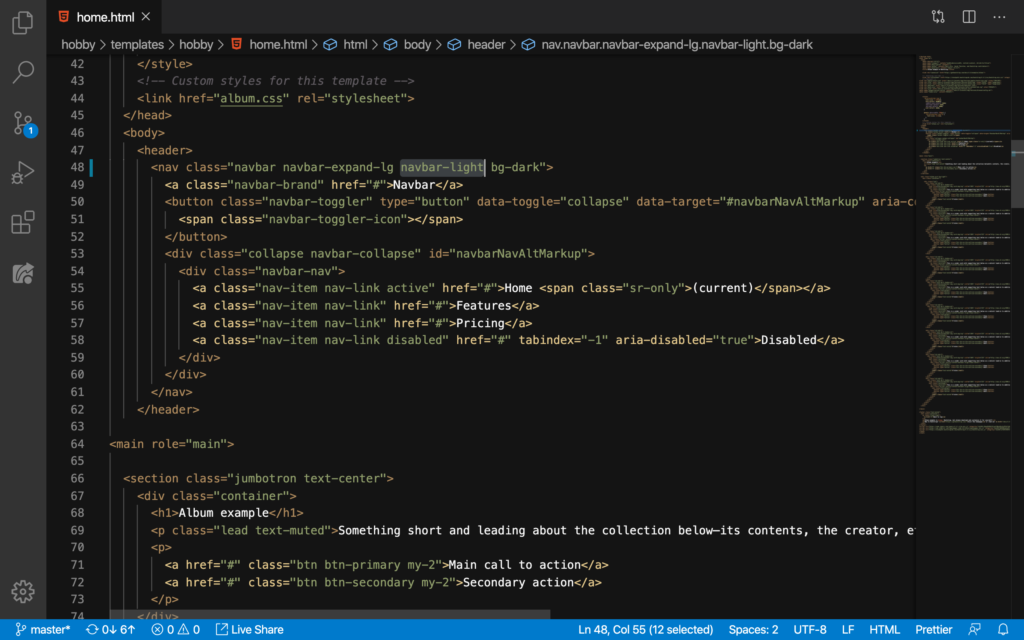
Okay. Now about that dark-colored NavBar, we can change that here on the bg-light:
The bg means “background”; of course, light means light or white color. We can just select the light and change it to dark like this:
Let’s see what happens when we refresh:

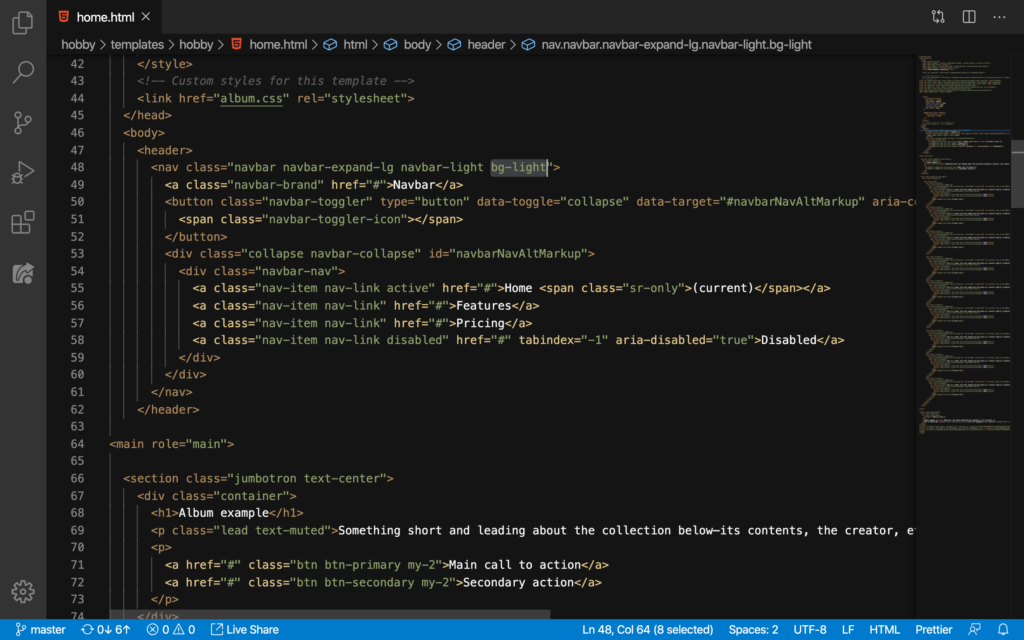
Woah! That’s ugly–we can’t even see anything on our NavBar! We can do something about that here:
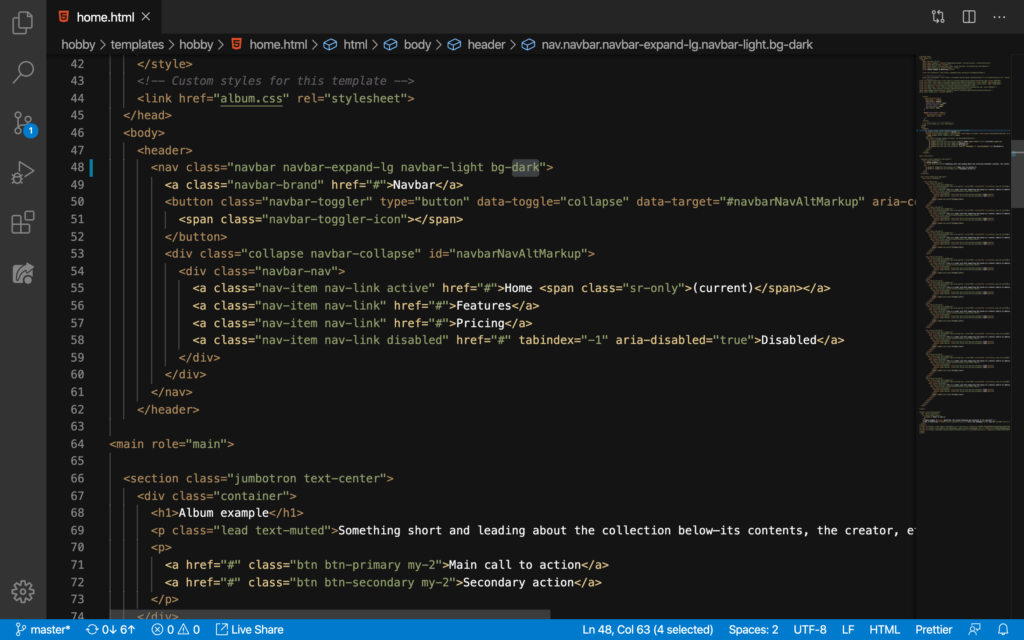
Let’s change light to dark:

Refresh:
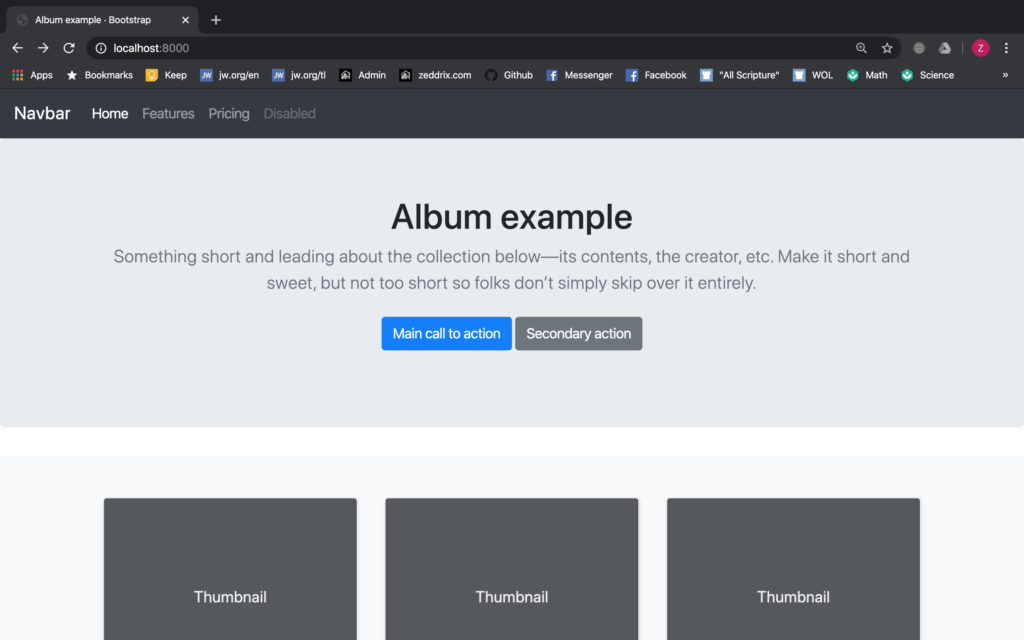
Now that’s better. Remember, it’s up to you if you want to have a dark or a light NavBar. But, you know, we don’t want that Home, Features, Pricing, and Disabled there.
Zedd Fabian/About/Facebook/Blog
We’ll answer these questions by implementing them in our code:
- How will I change every button to the appropriate label that I want?
- How will I get rid of that Disabled since I only need three buttons?
- All the buttons are at the left side of our NavBar. How do I place all of them at the right side? Because I want my NavBar to look like this:

Okay. Let’s start with changing that NavBar to Zedd Fabian (this should be your name of course).
Zedd Fabian
All we have to do is to find the word NavBar:
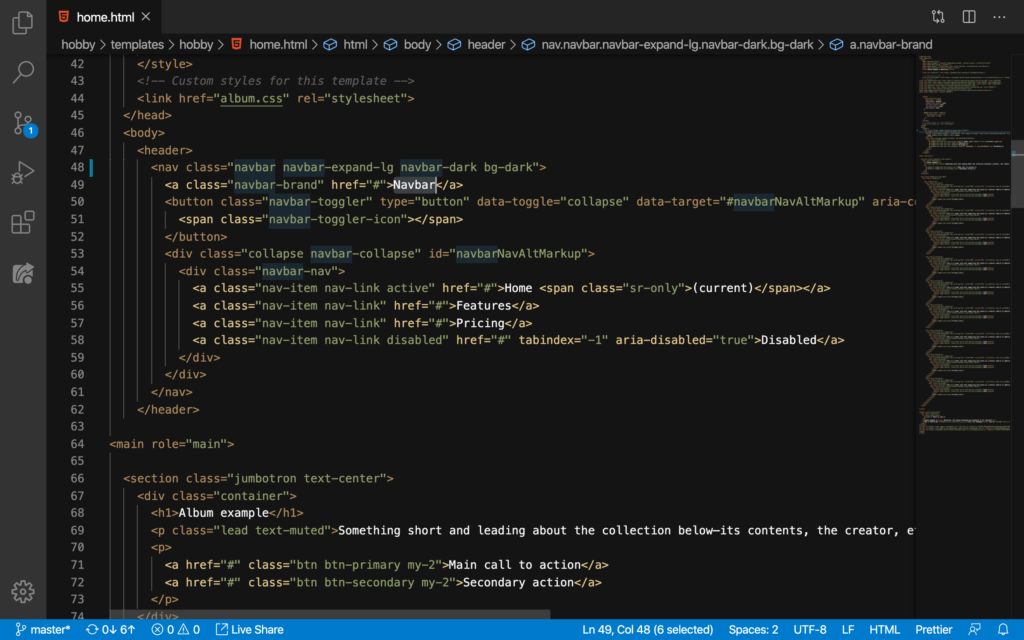
Yup, that’s that. Now, let’s change it:
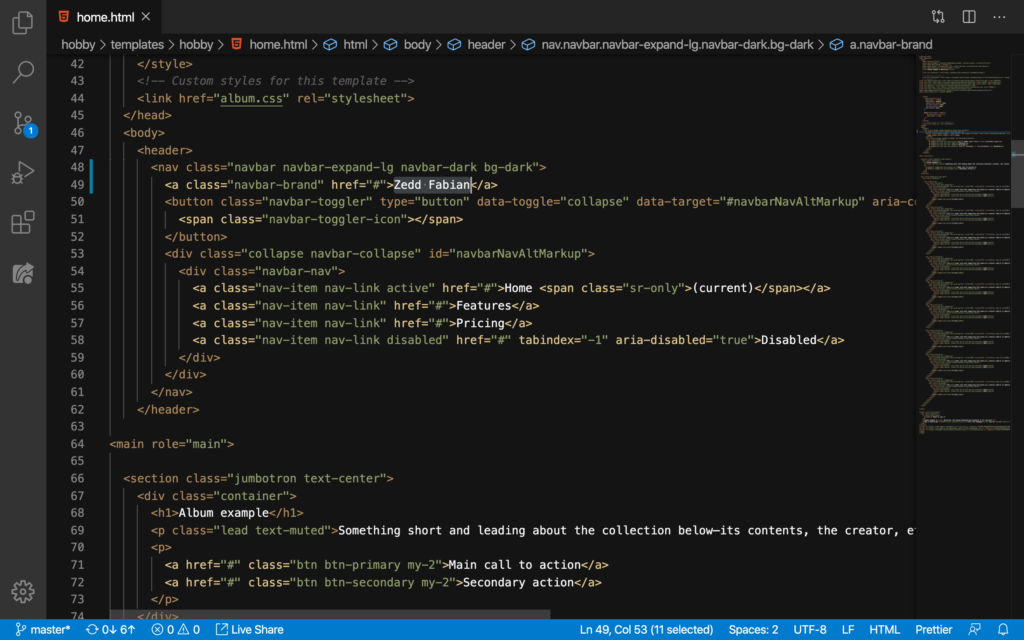
Remember, this should be your name, not mine. Then, let’s go to our website:
And refresh:
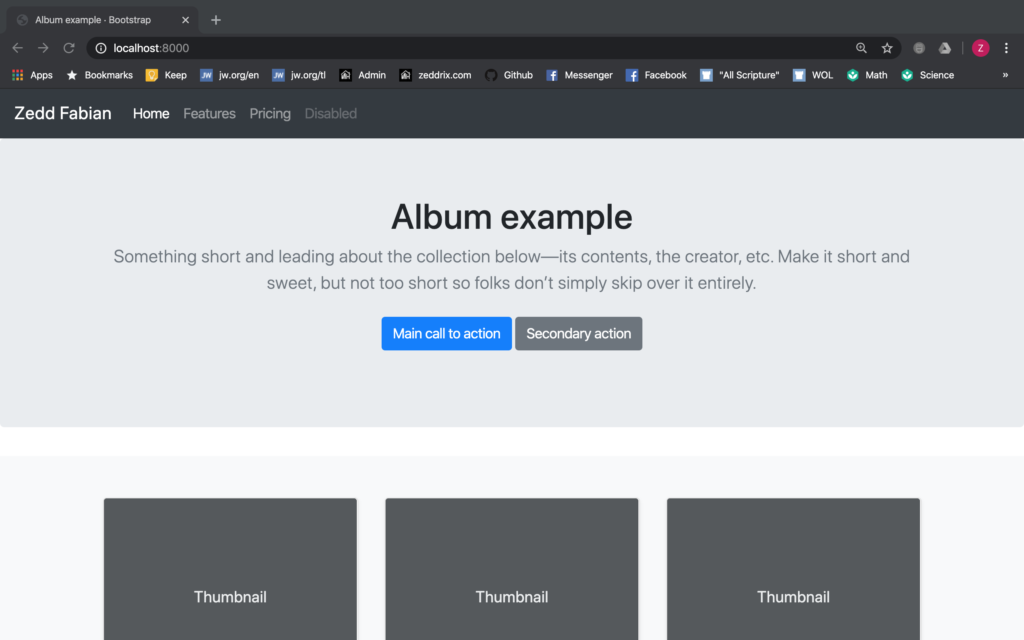
Nice, we now have our name here. Now, let’s move those buttons to the right-hand side of the NavBar.
Buttons to the Right Side
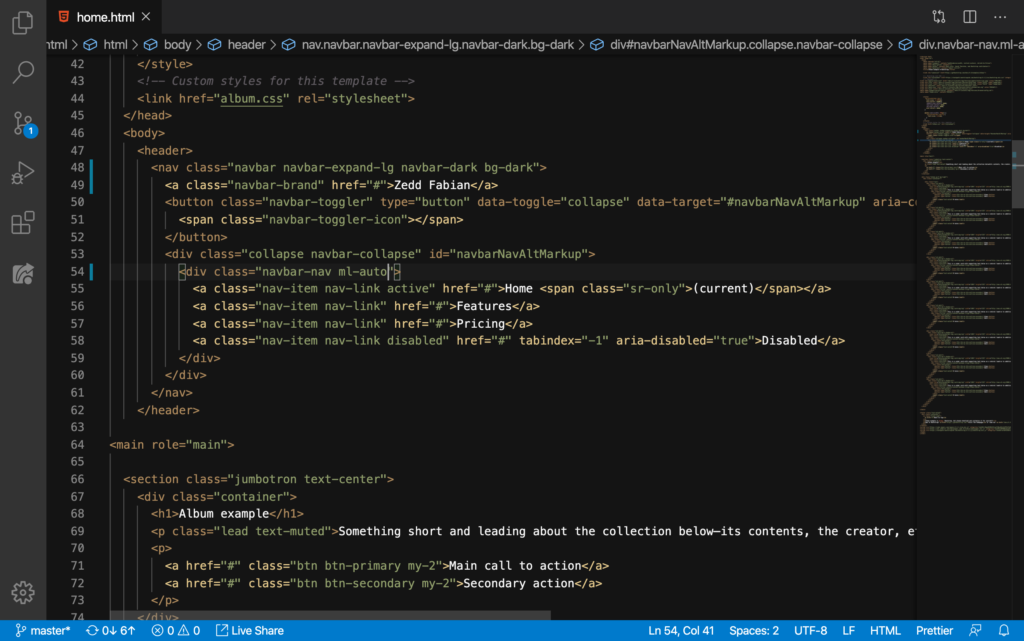
On this navbar-nav on Line 54:
We’ll simply add ml-auto like this:
Let’s see what this does, from here:

To here:

Cool! You should check out that documentation that I’ve linked on the ml-auto to learn more about it. Now let’s change the menu buttons into the appropriate names that we want.
About
Let’s start with the About button. Select this first since we don’t need it:
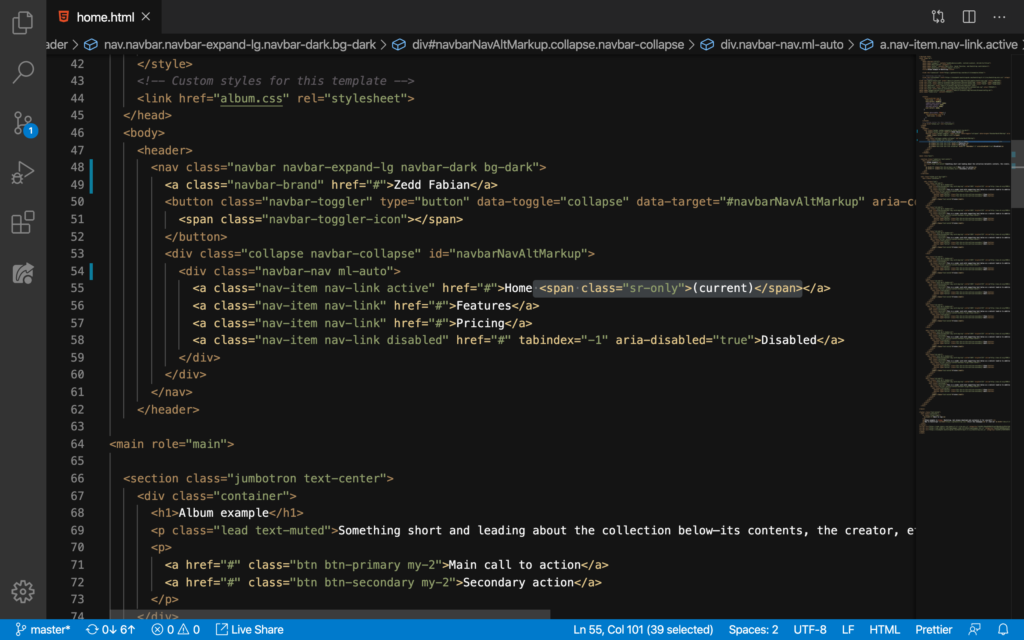
DELETE:
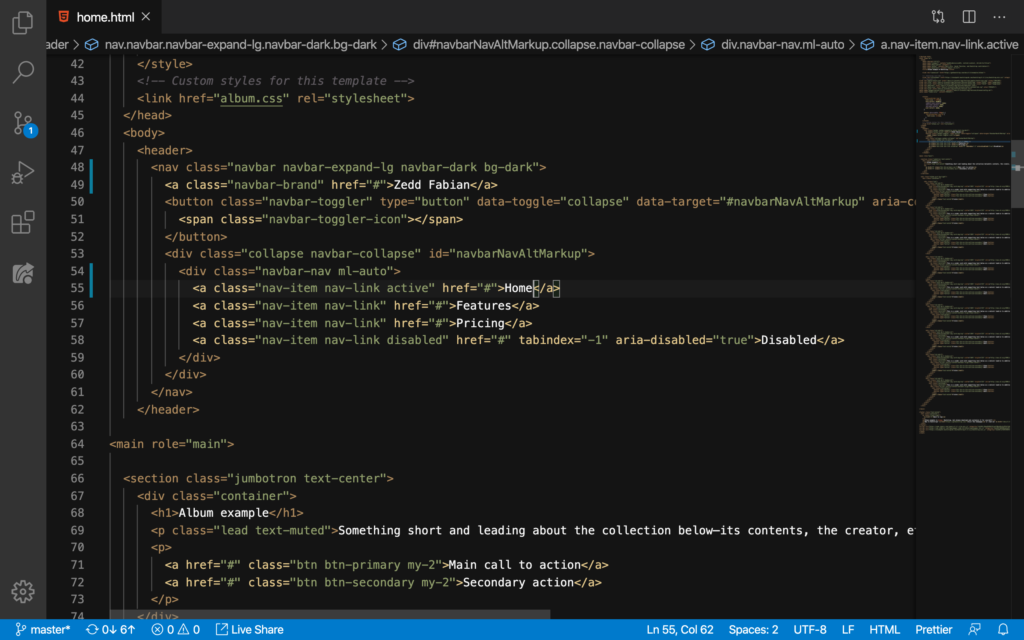
Then let’s change Home:
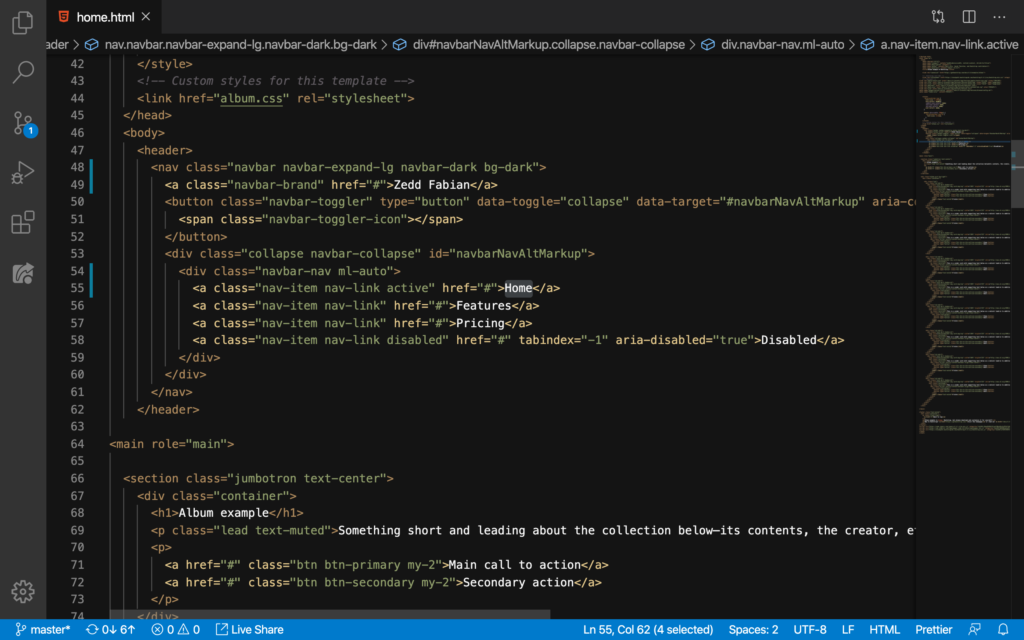
To About like this:

Good. Let’s see:

Cool. You know, I think we should delete this active here for our About button:
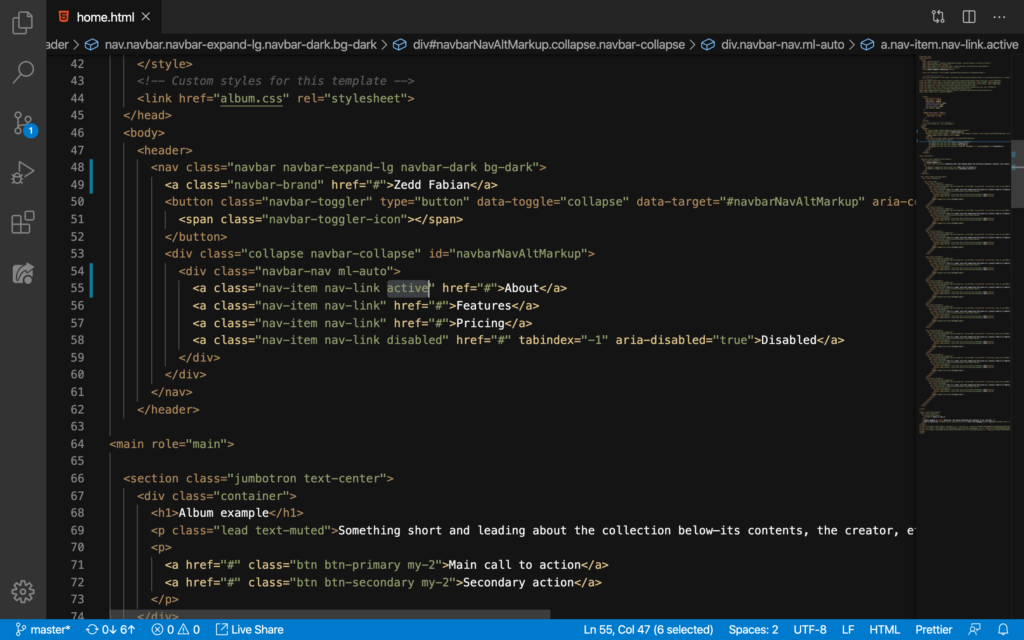
So our code should look like this once we’ve done that:

Let’s see:

Good. We’re just gonna use active when we are already on that button’s or link’s page. For example, when we click on the About page, this should take us to another page with the About button now activated. Therefore, this will indicate that we are currently on a certain page.
Okay, let’s move on to Facebook.
We’ll just select the Features here:
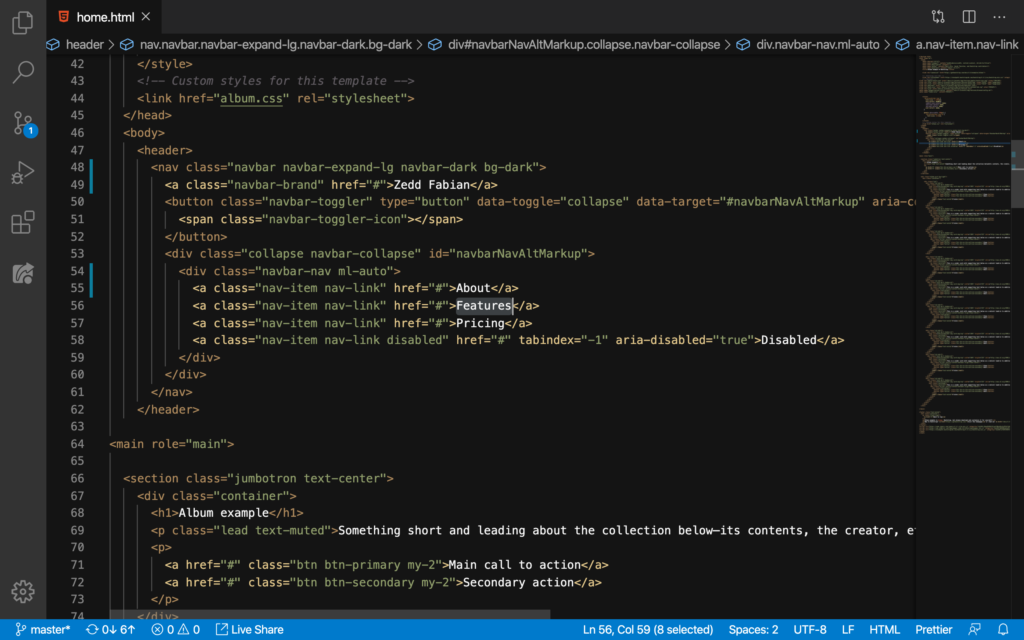
And then change it to Facebook:

Done. Now let’s see:
Nice. Now, to the Blog menu!
Blog
That would be the one right here:

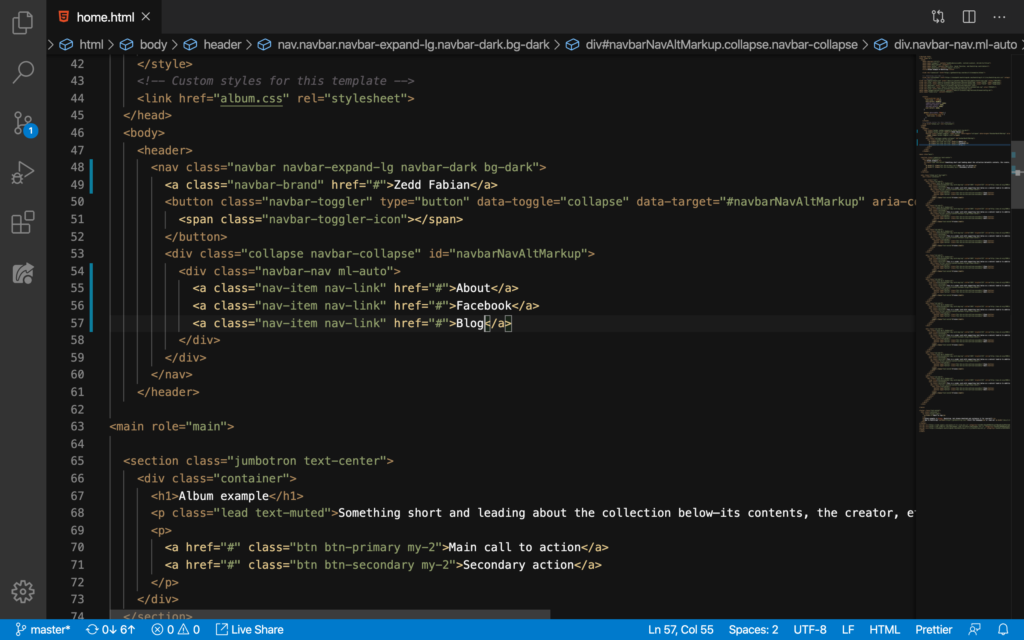
Change it to Blog:

Let’s see:

Good. Now, let’s remove that Disabled button since we don’t need that anyways:
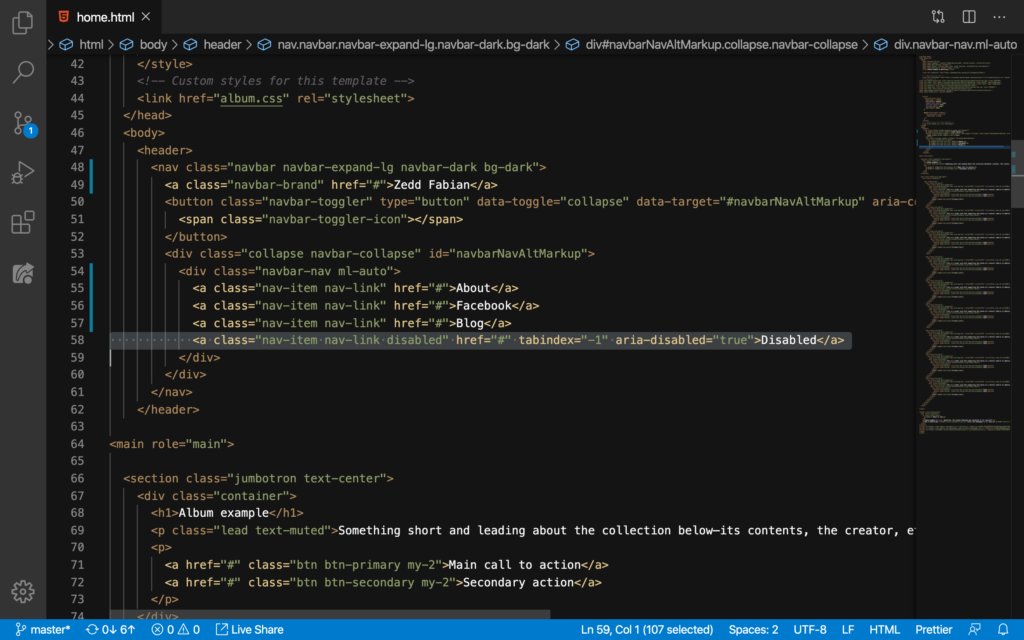
DELETE:
Let’s see:
Nice! Now that’s pleasing to the eyes. Have you tried clicking on these buttons? If you did, it will not take you anywhere:
Don’t worry, we’re gonna take care of that later on. Let’s do a Git Commit first:
On the next lesson, we’ll fix the greetings first, and then those two buttons there. See ya!