Previous Lesson: Lesson 44: Creating the Blog Page in Django
In this lesson, we’ll build up our Blog page using the blog template from Bootstrap. I’ll show you how to do it, step-by-step.
Now let’s start putting a little work here on our blog page:
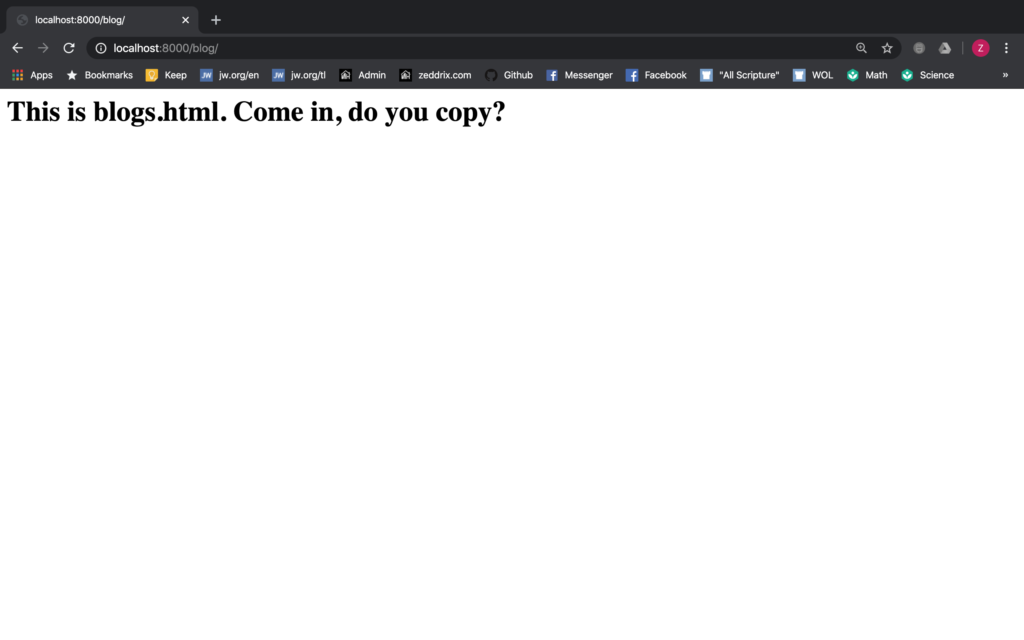
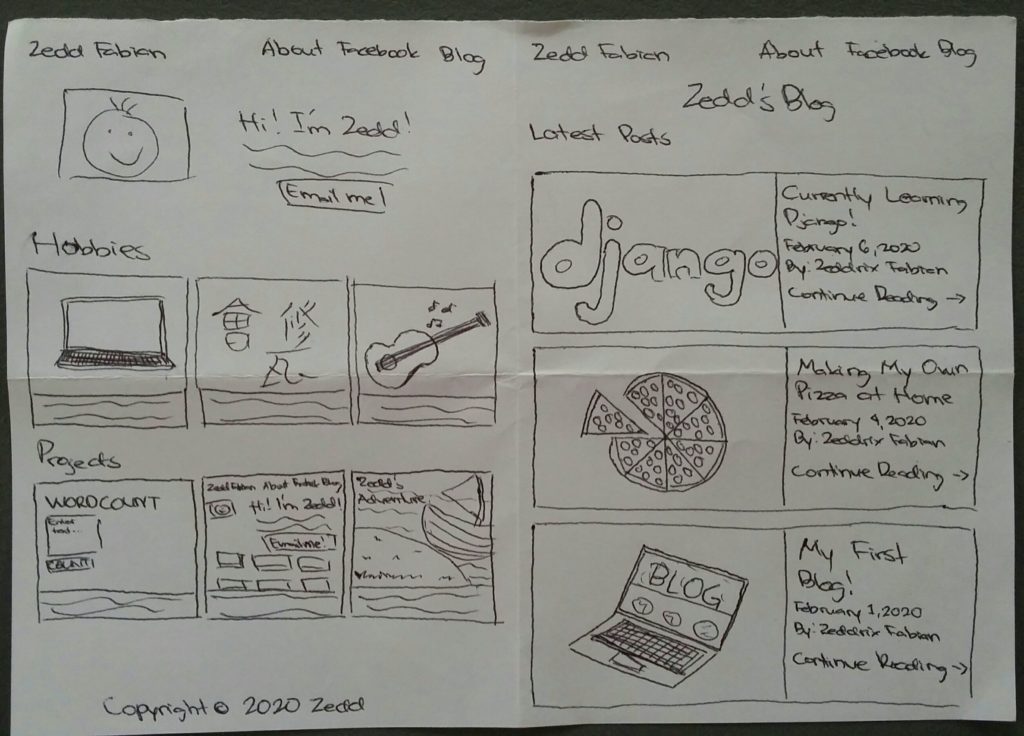
We don’t want this; we just did this to test this page. Instead, we want to have the look we have drawn on our sketch:
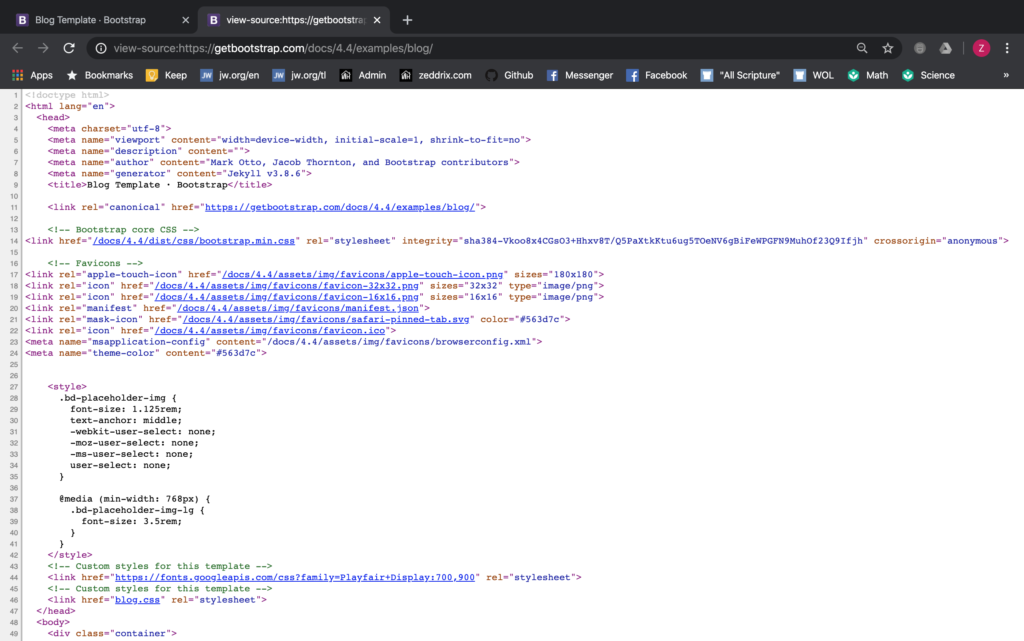
Alright. So we want it to look like that. Now let’s go back to getbootstrap.com and look for the Blog in the Examples:
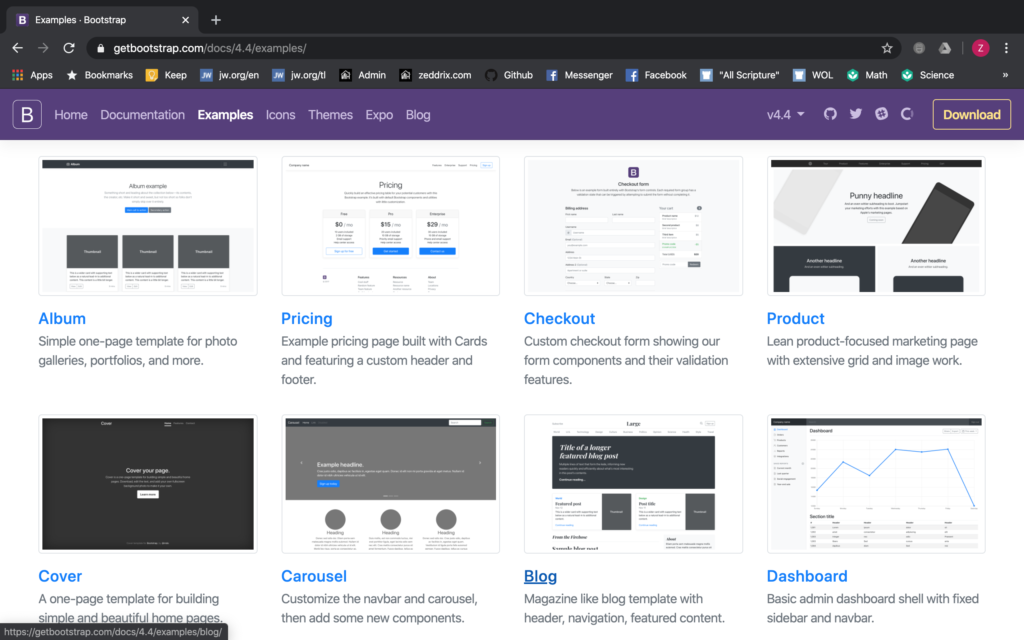
Click on Blog:
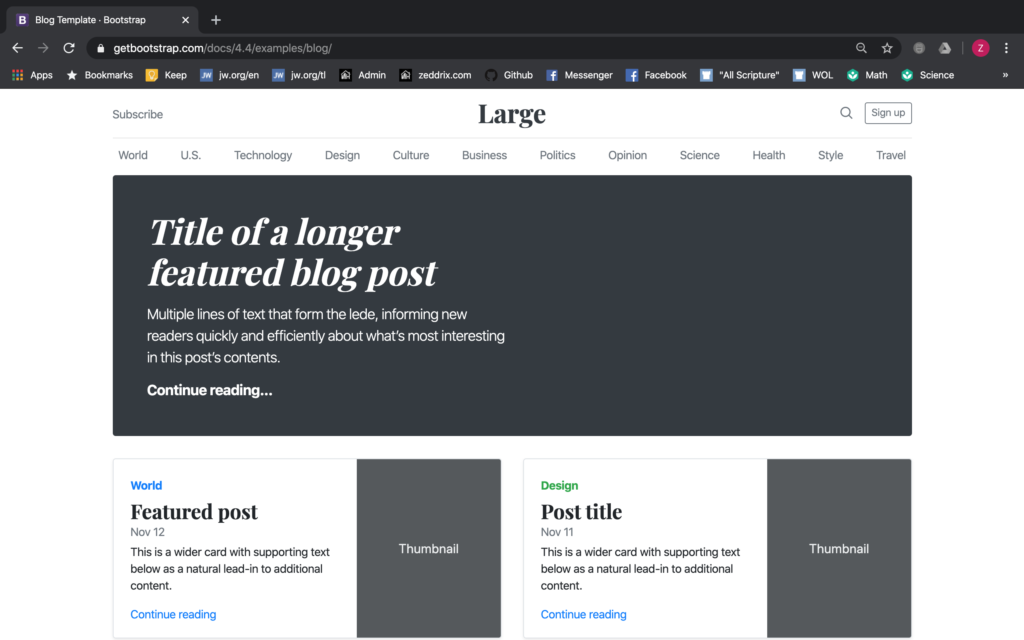
This could work. But we still need to edit a lot of things here to have what we want. Now, how will we copy the code for this template? Command + Option + U or Right mouse click + View Page Source:
Select, Copy, and Paste
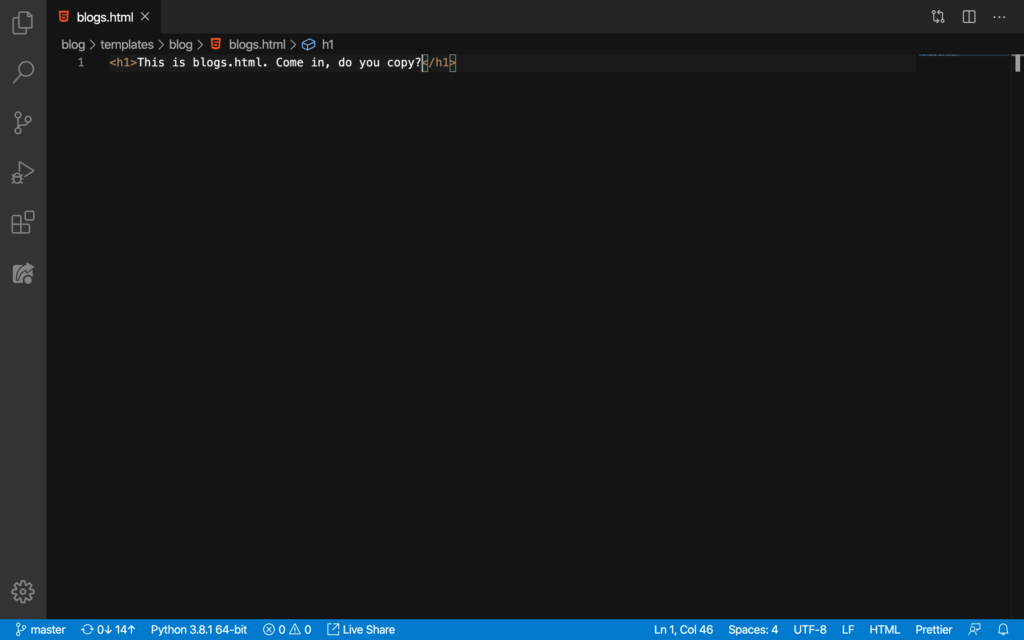
Now, Command + A or Ctrl + A (to select all) and then Command + C or Ctrl + C (to copy all the code). And finally, delete this line of code here on our blogs.html:
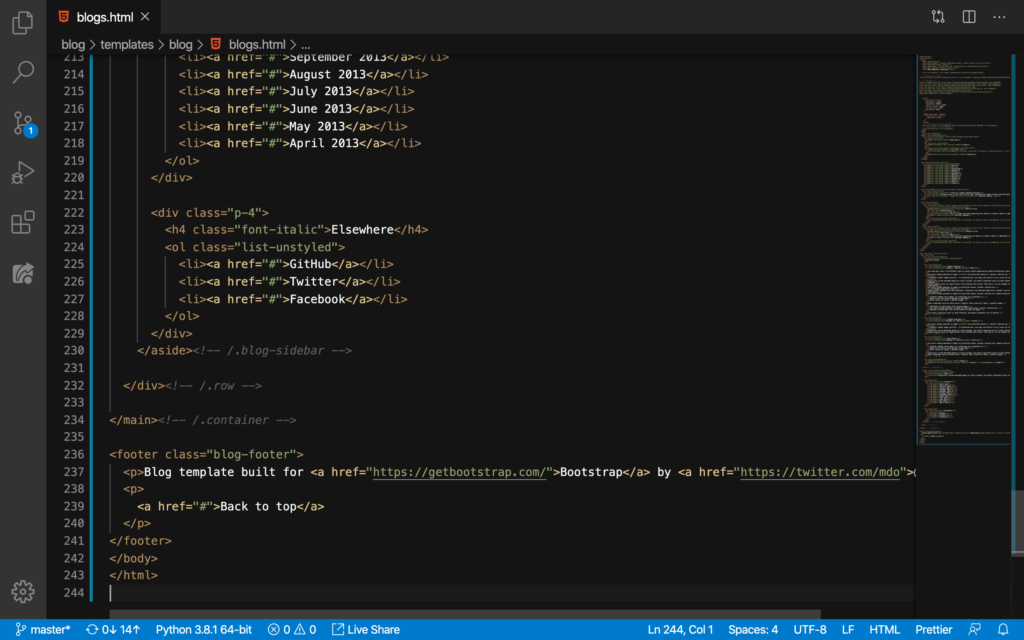
And then we’ll do a Command + V or Ctrl + V (to paste):
Let’s take a look at our website:
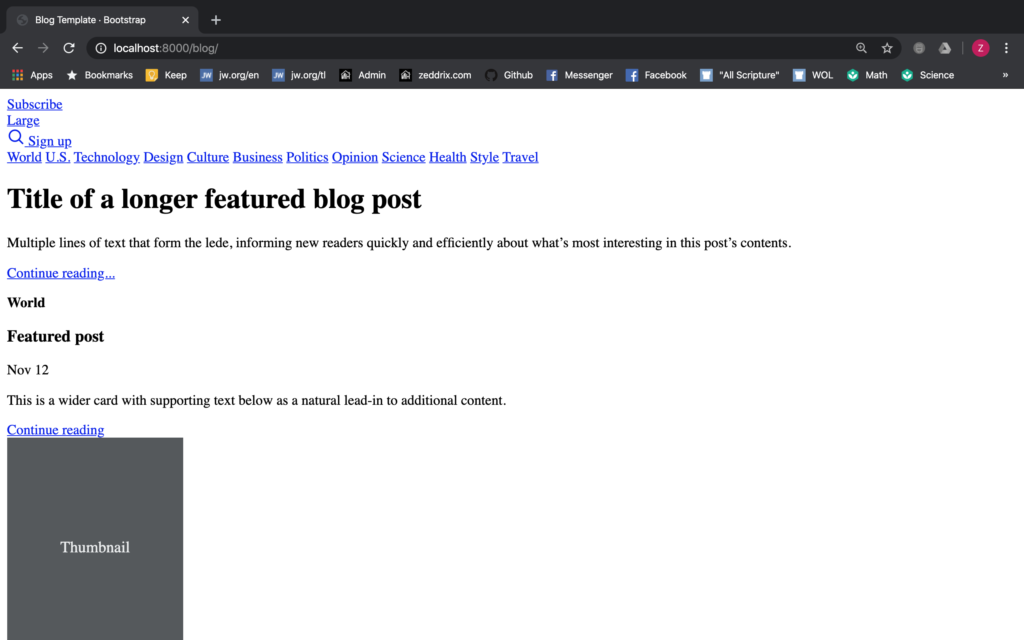
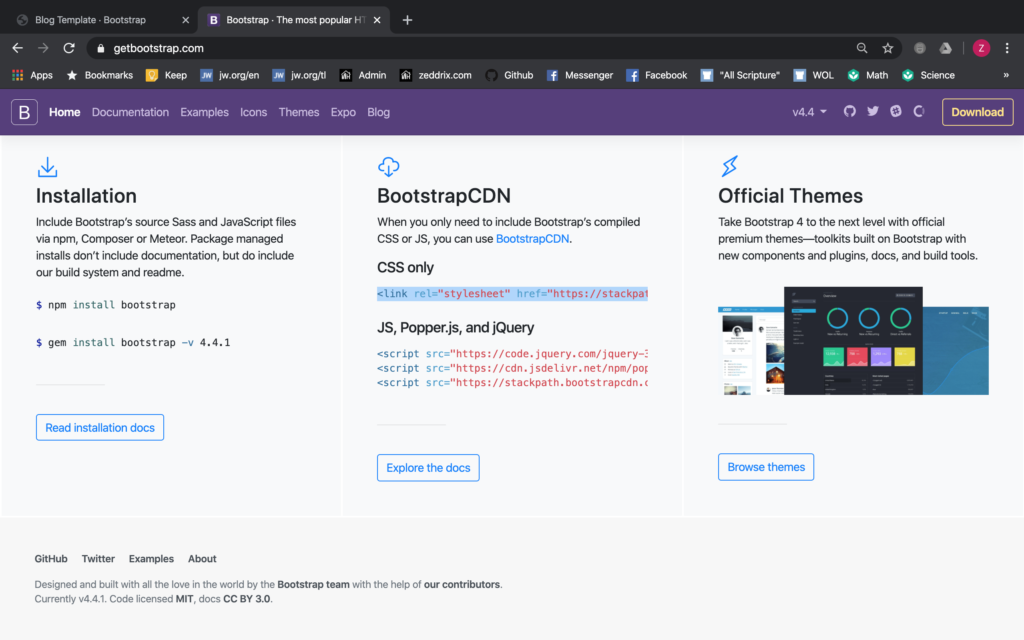
Why does it look like this? Well, that’s because we haven’t copied these BootstrapCDN yet:

We’ll copy this CSS code here:
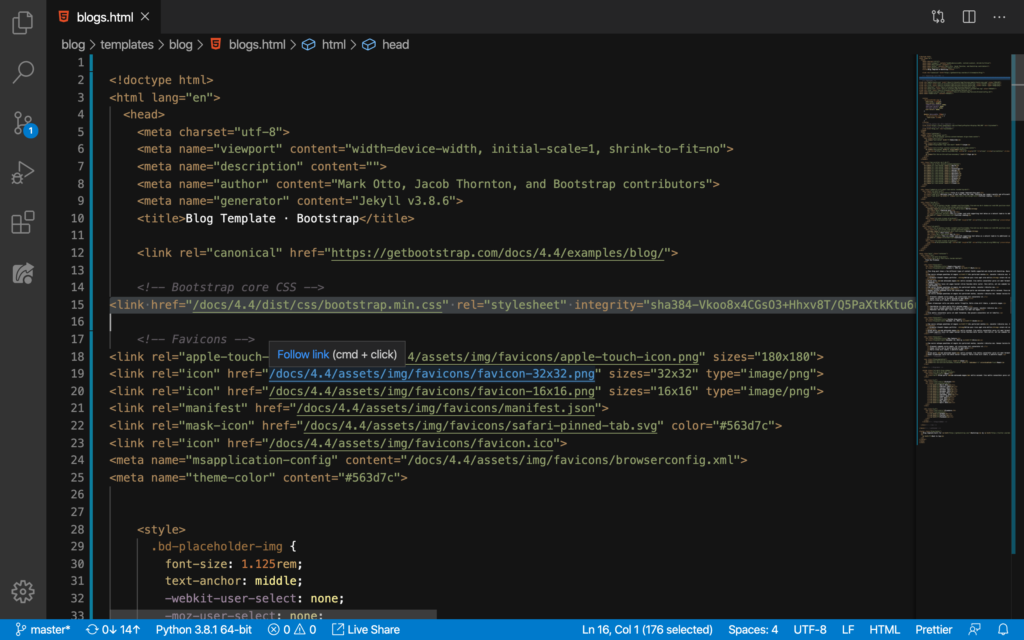
This CSS code is responsible for the design and layout of our website. Where are we gonna paste this code? Here on Line 15, we’ll delete this:
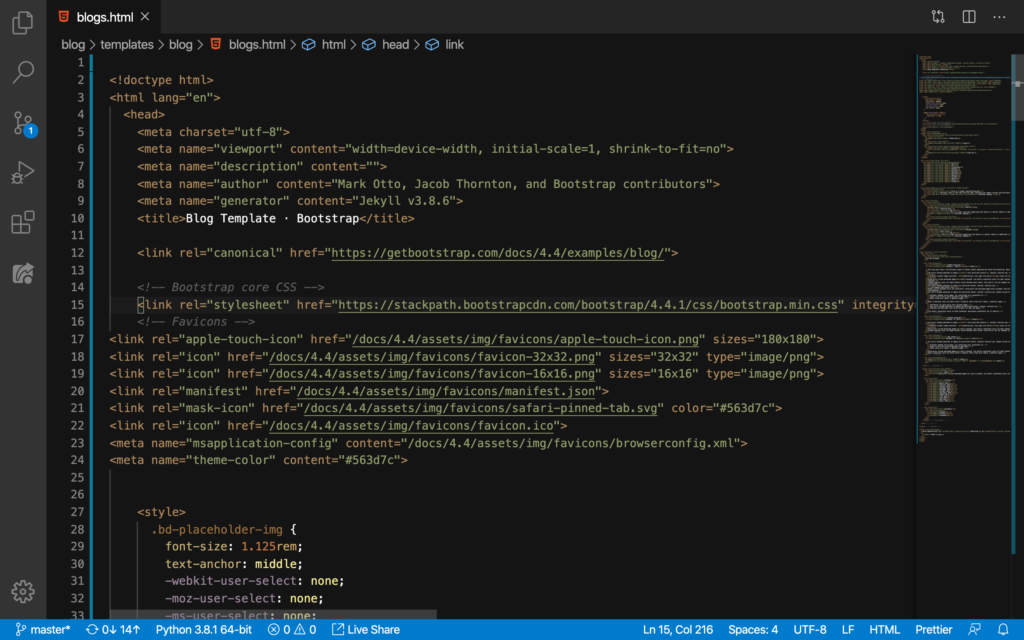
And then we’ll paste by hitting Command + V or Ctrl + V:
Nice. This should make our website look more cooler:

Pretty cool huh? We now have the blog template on our computer! But we are not done yet. We still have something that we need to copy from Bootstrap. That’s this JS code:
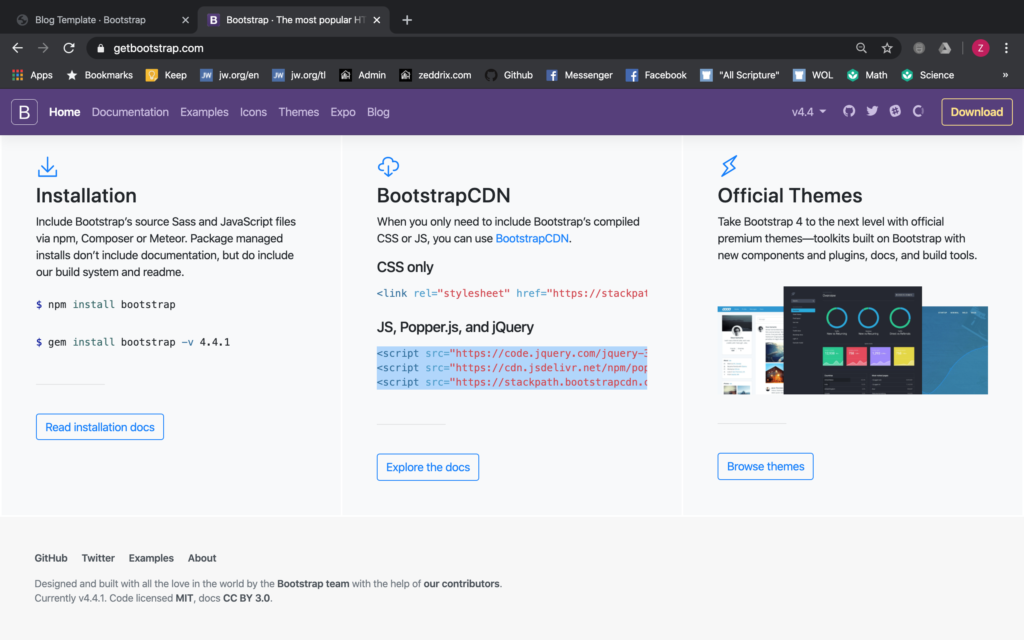
This code is responsible for the behavior of a website. For example, Javascript (or JS) is responsible of menu bars and NavBars. Now, hit Command + C or Ctrl + C (to copy) and then we’ll go straight here on our blogs.html‘s ending footer tag:
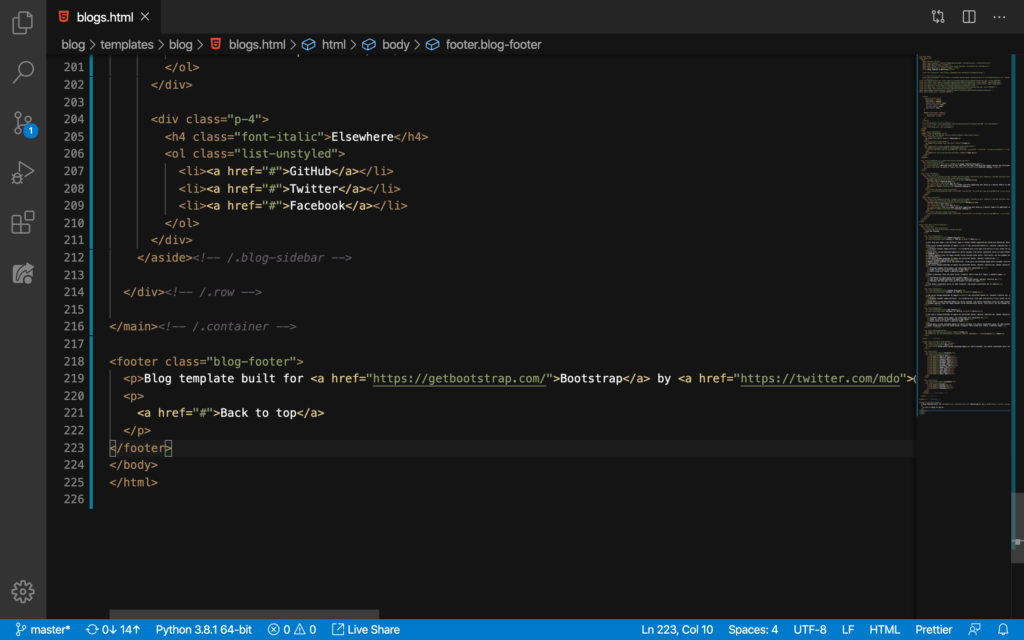
And then we’ll paste it here under the footer tag like this:
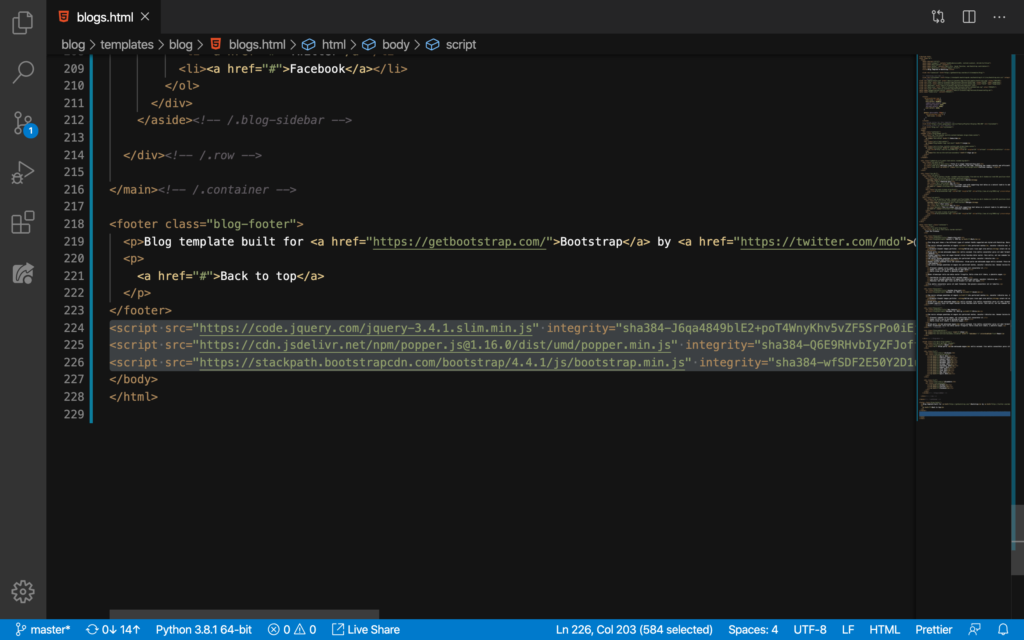
Good. Refresh:
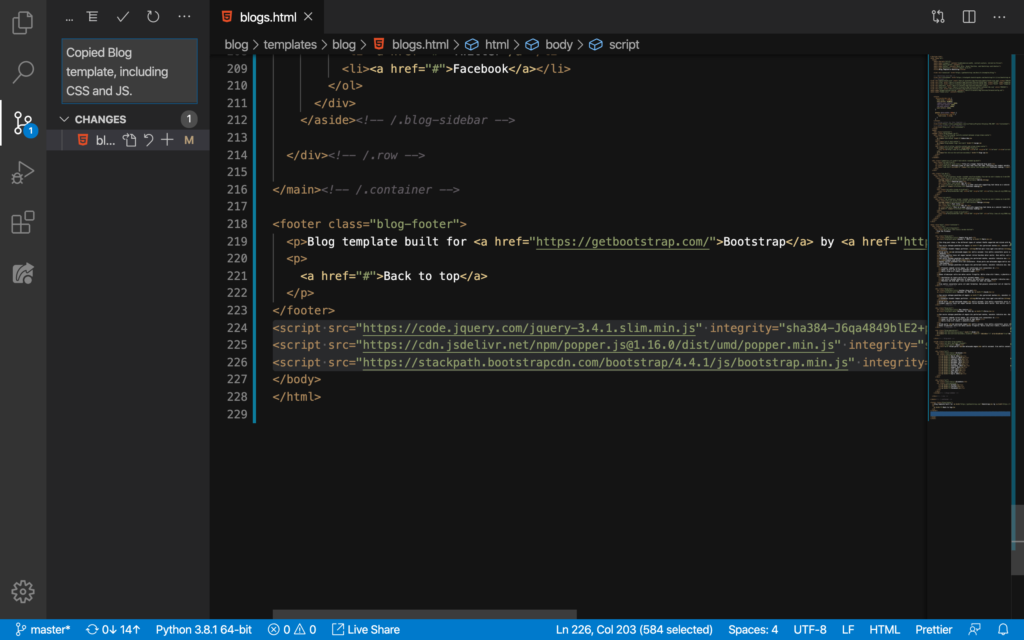
After we have copied all these, let’s commit this change to GitHub:
Good. On the next lesson, we’ll start making this website beautiful, starting with the NavBar. See you there!