Previous Lesson: Lesson 48: Blog Template Cleaning
We’ll be using for loop to show our blog posts on our Blog page. In this lesson, we’ll be doing all the coding together.
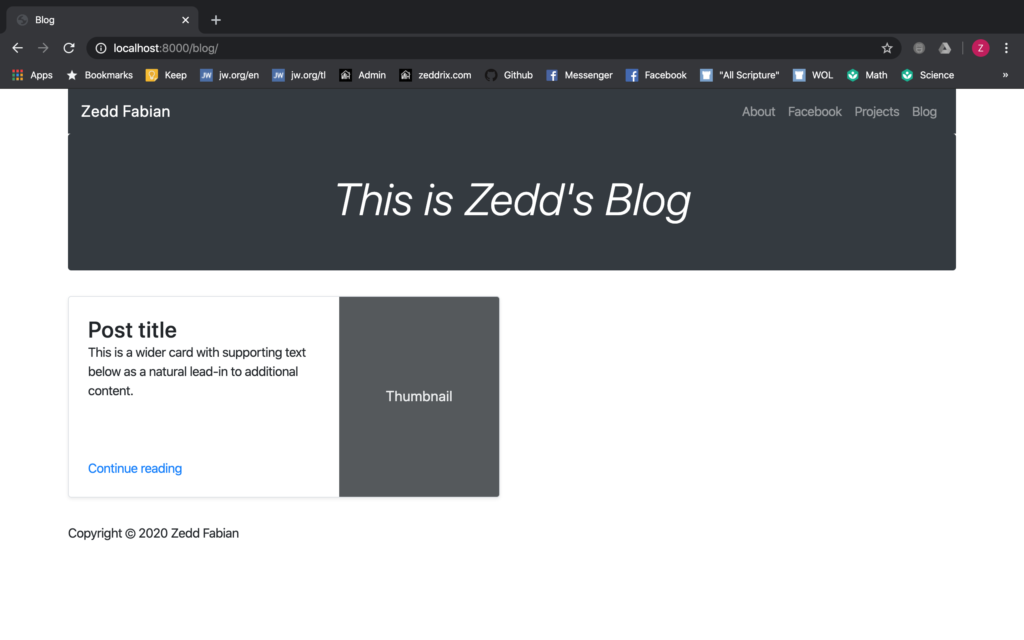
Before we show our blog posts using a for loop, we just want to remove something here on localhost:8000/blog:
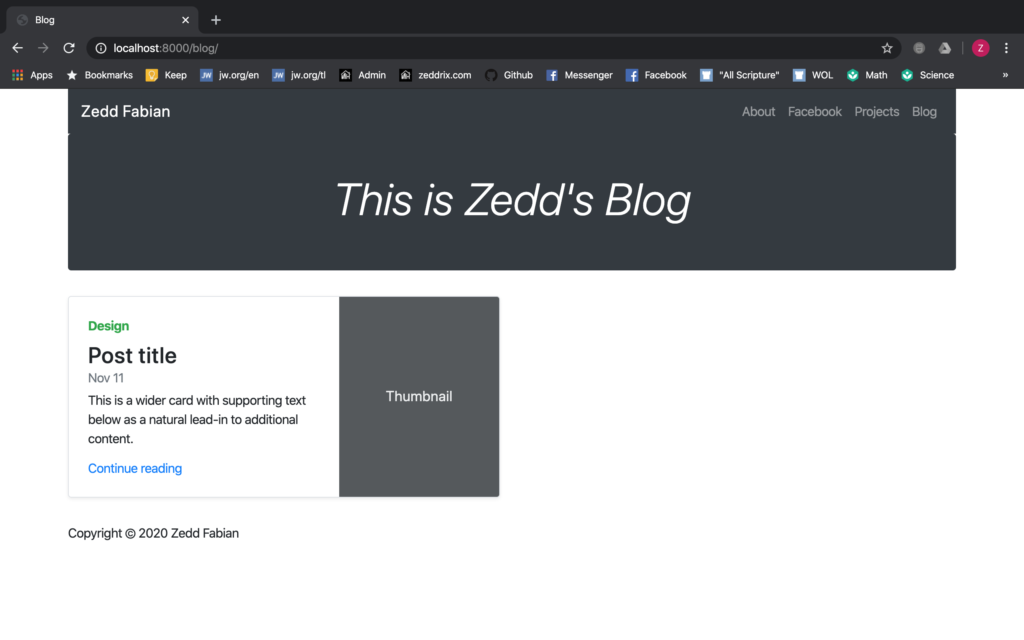
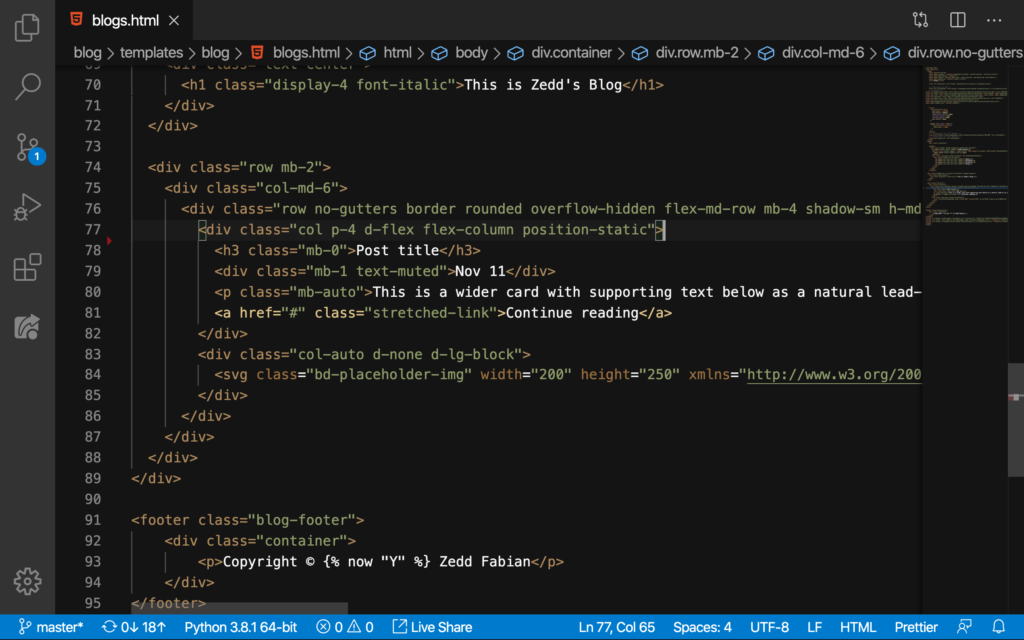
And that’s the Design category that we have above that Post title and also that Nov 11 (the pub_date which is obviously inaccurate). And both of these can be found right here on our blogs.html:

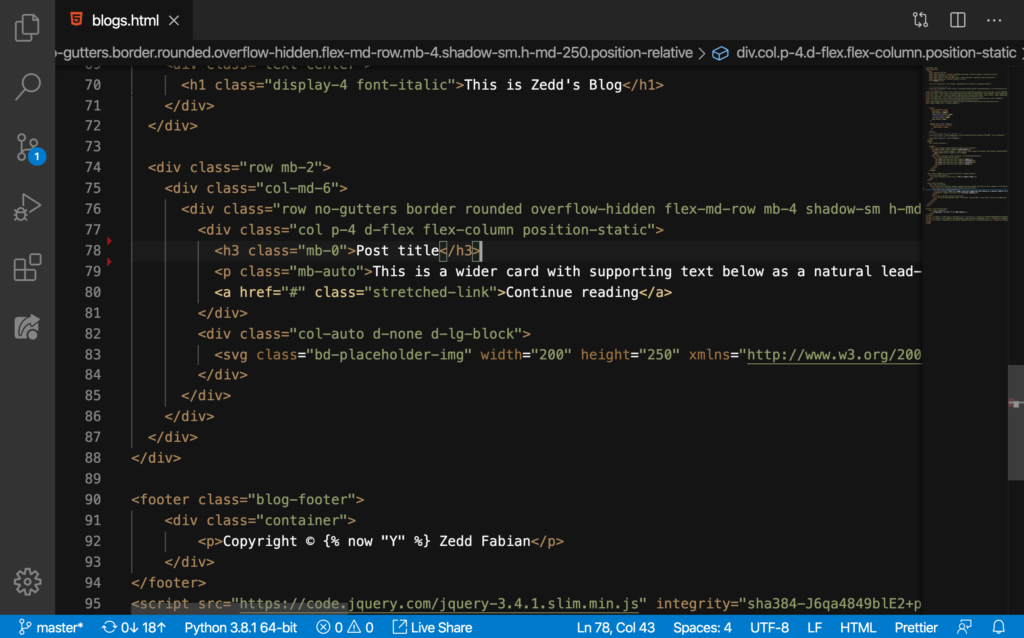
DELETE that:
And then we can see the pub_date here:
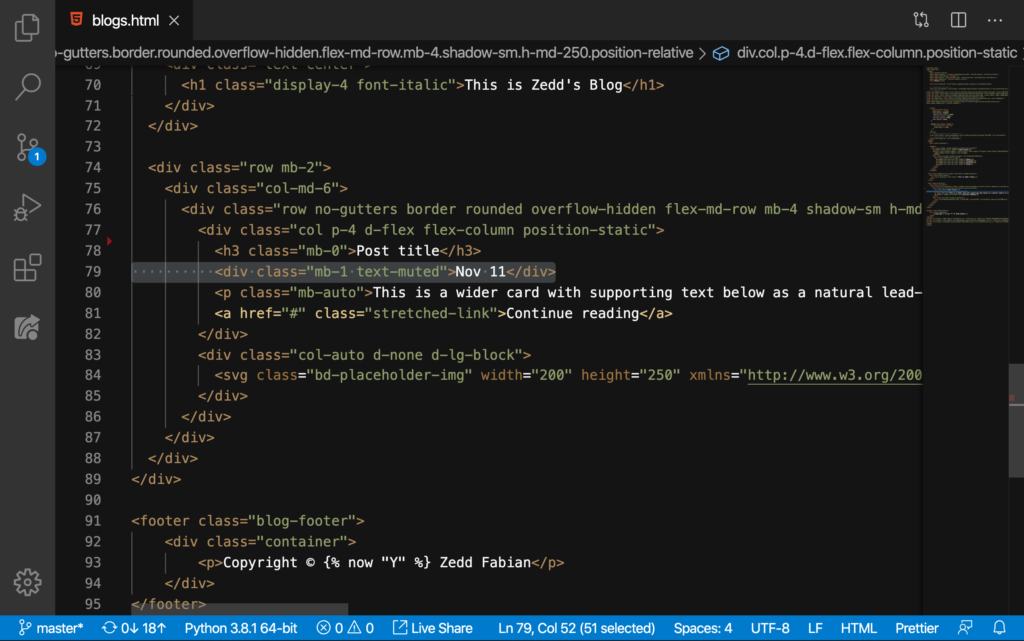
DELETE:
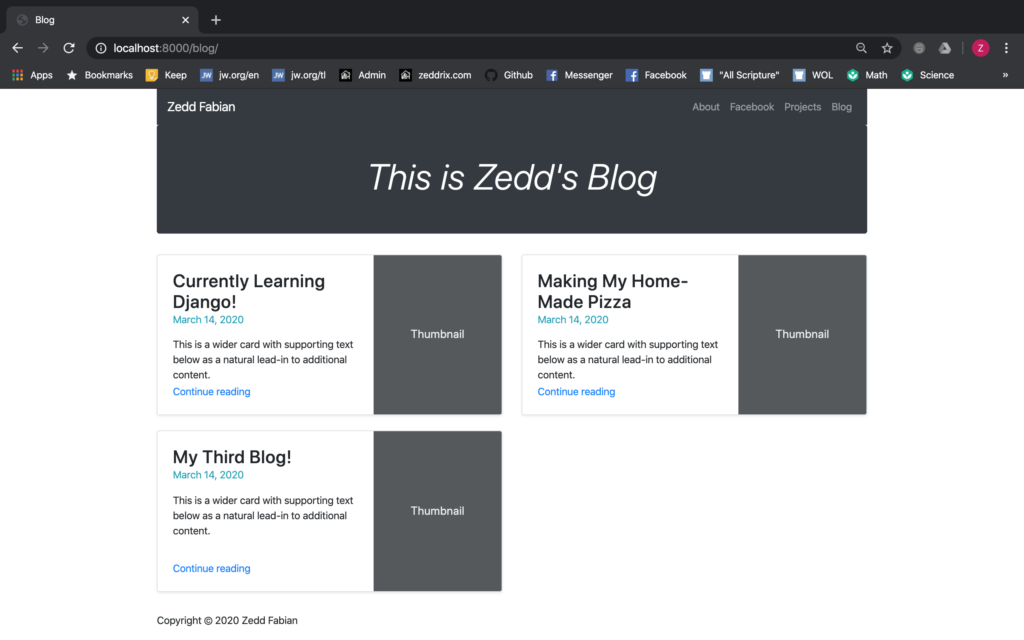
Nice. Doing all these should make our card look like this:
Nice.
Using ‘For’ Loop to Show Our Blog Posts
Now before we do this, please make sure that you have created some blog posts here on the localhost:8000/admin:
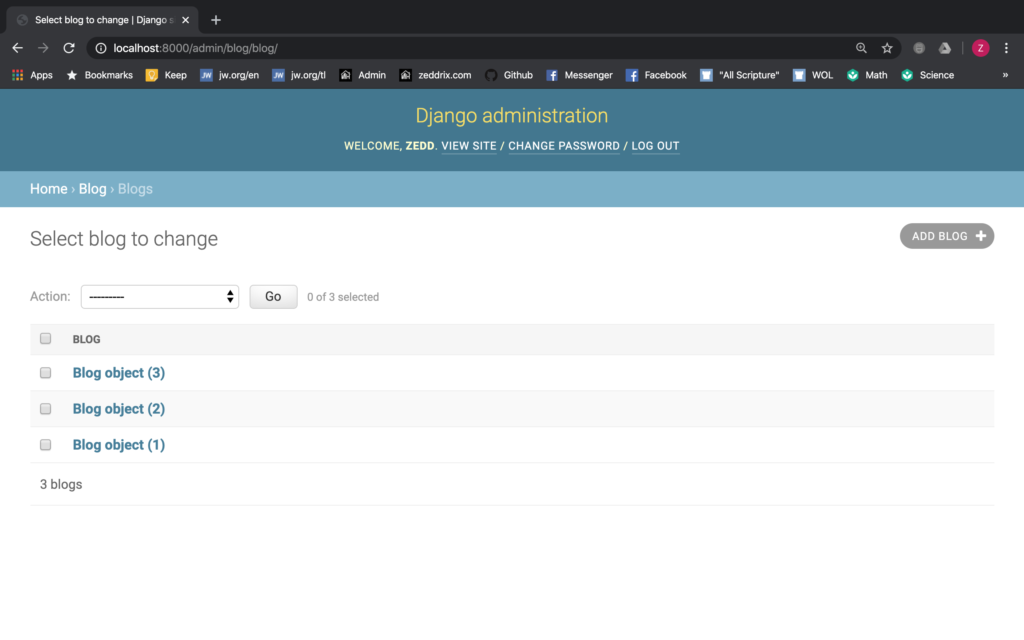
I showed you how I published these posts last time remember? Good. If you already have these, then let’s start here on views.py:
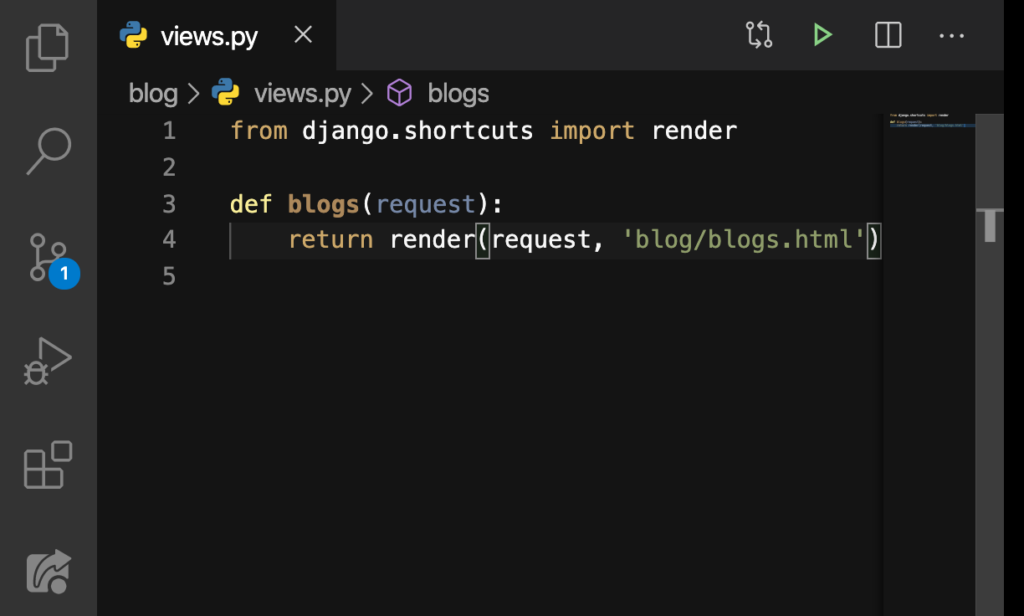
After getting here, we have to type these:
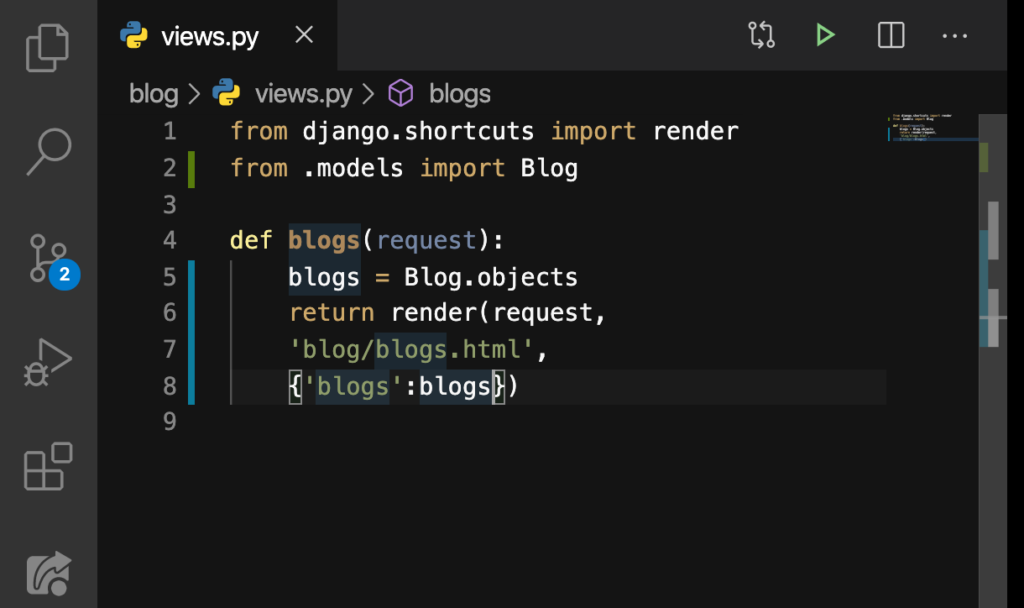
So we’ve imported our class, Blog, from the models.py that can be seen below:
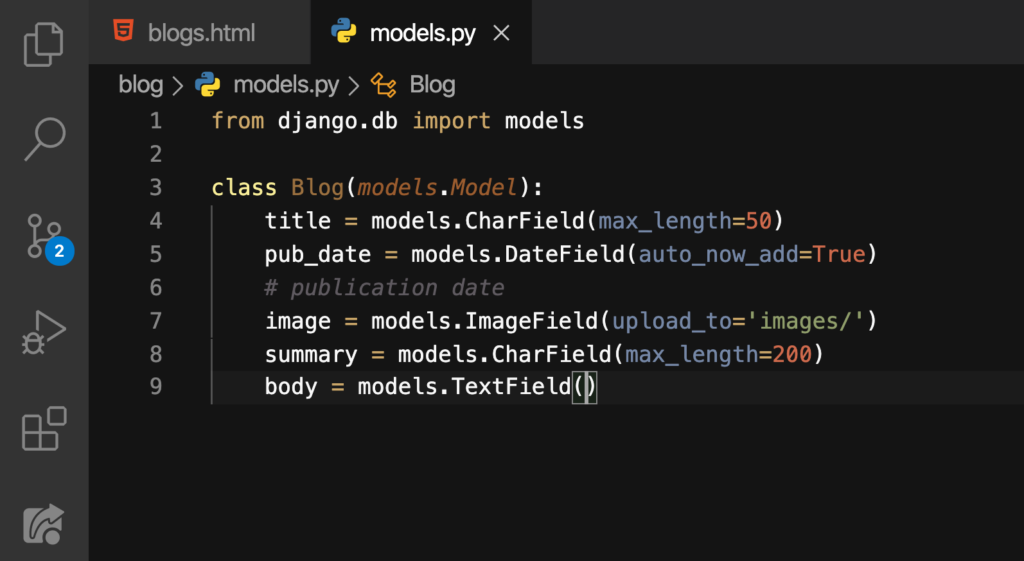
After that (still talking about the views.py), we were trying to get all the blogs by doing the Blog.objects. We also created a dictionary here. I just break these down to multiple lines for readability. Finally, we assigned all these actions to the variable blogs.
title
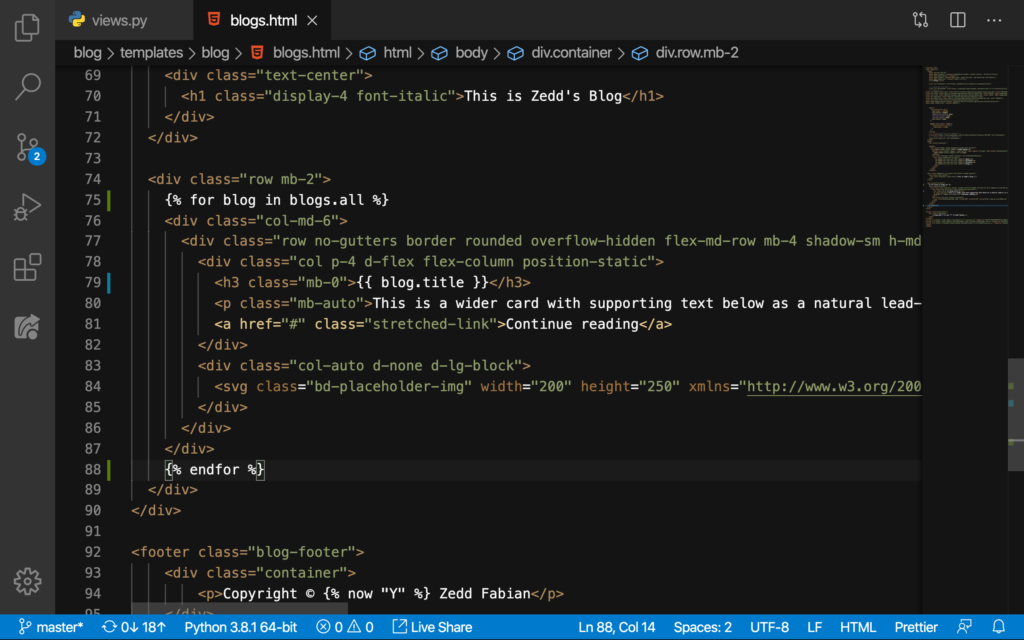
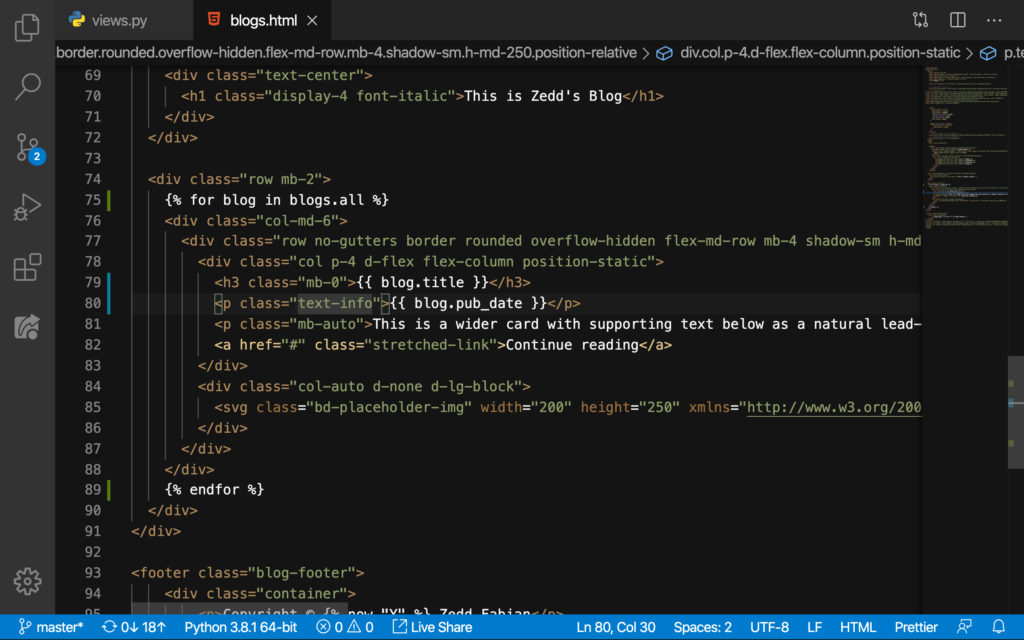
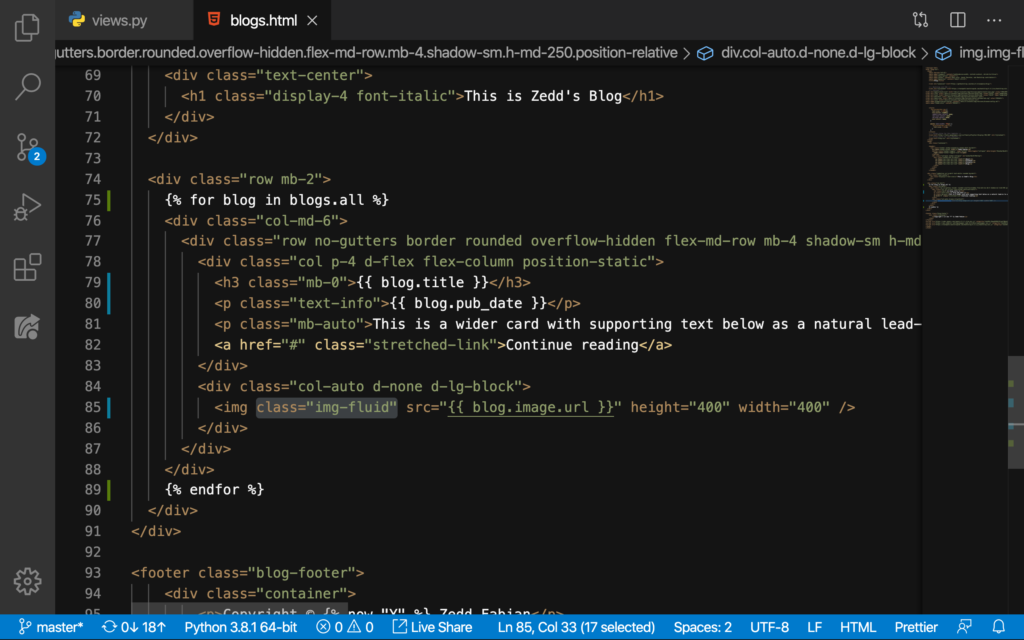
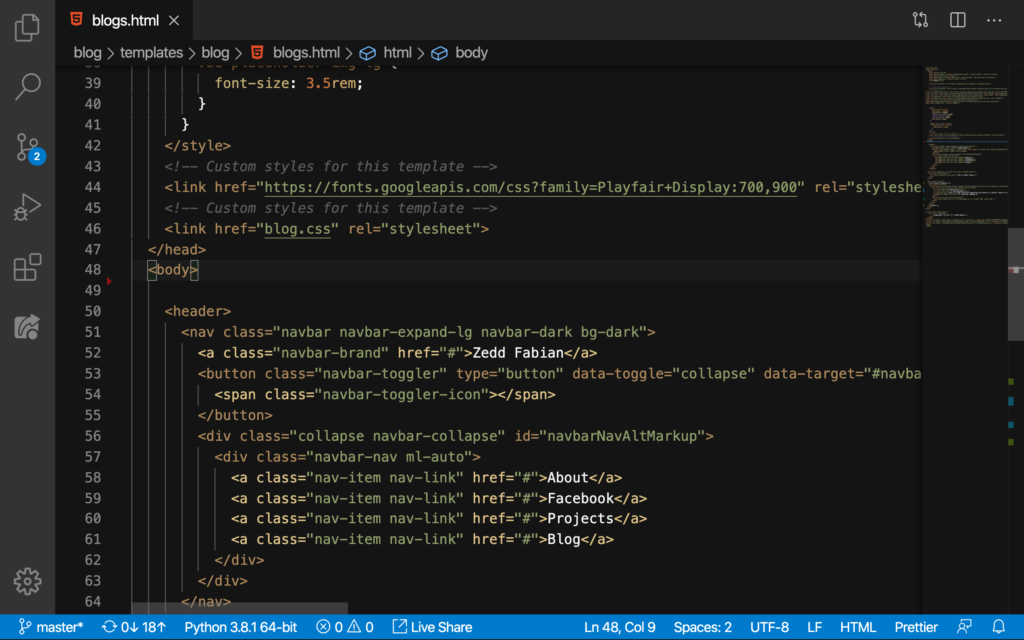
Now, let’s use the dictionary’s key and make a for loop here on blogs.html:
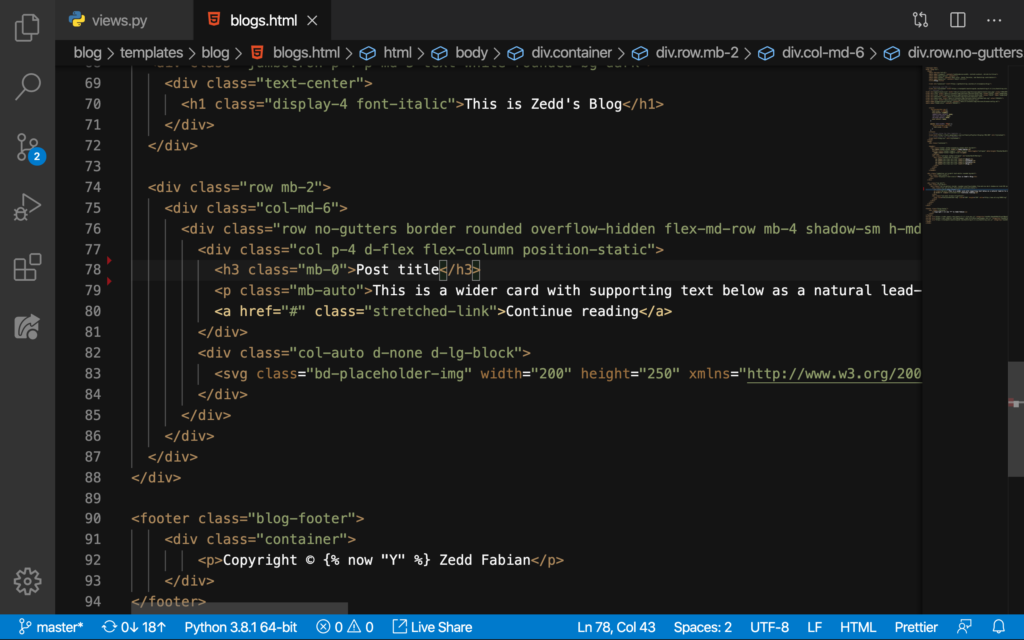
See Line 75, Line 79, and Line 88 below:
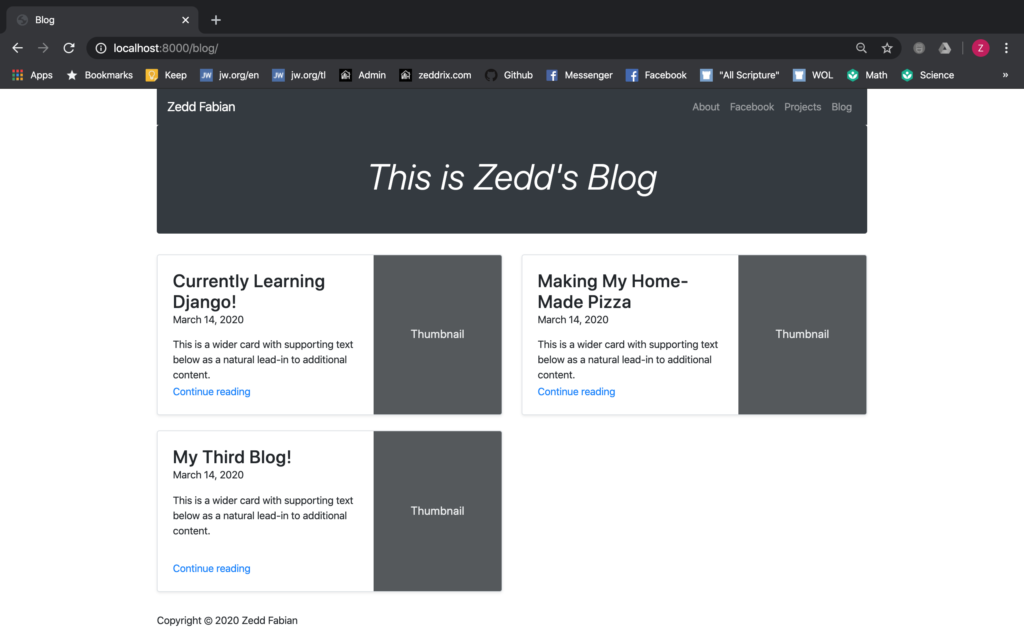
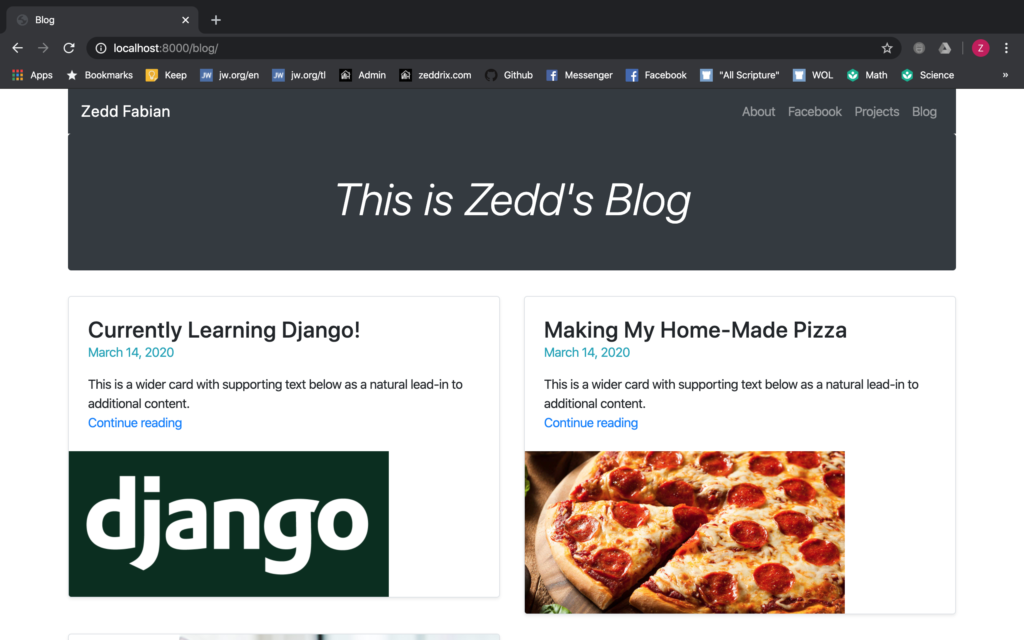
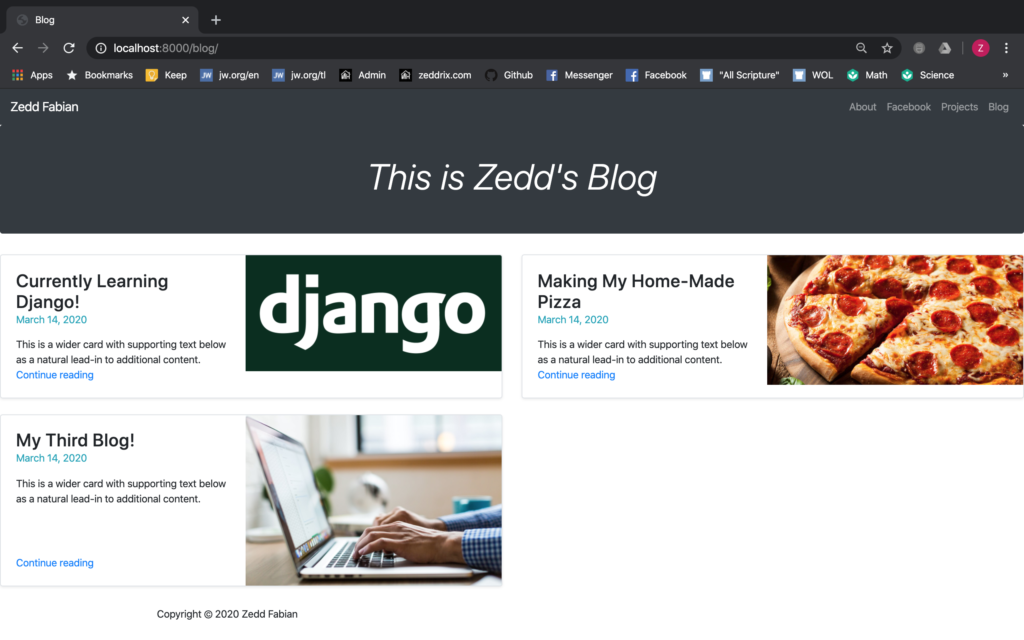
Save and let’s see what happens:

So cool! Now we have our blog posts here! Now let’s put each and every one’s pub_date.
pub_date
Let’s add this on Line 80:
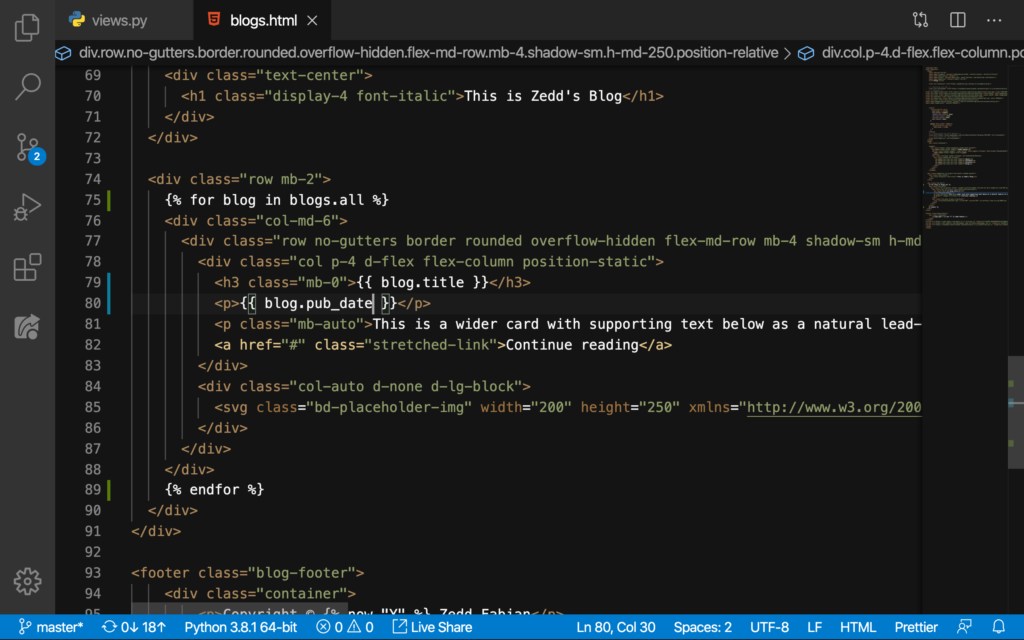
Let’s see:
Awesome. Now I think I want a different color for the pub_date. Go to getbootstrap.com:
Then type Colors on the search bar once you’re already on the Documentation. And you’ll get this:
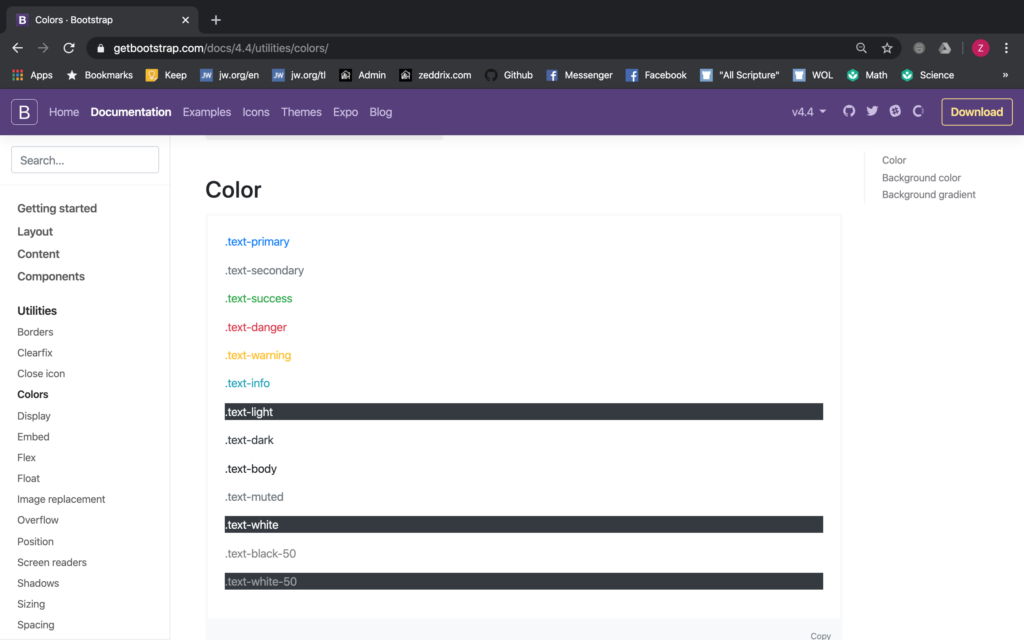
Now, pick a color for the publication date. I think that text-info color is good. Let’s use it by making it a class for the blog.title:
Let’s see how it will look:
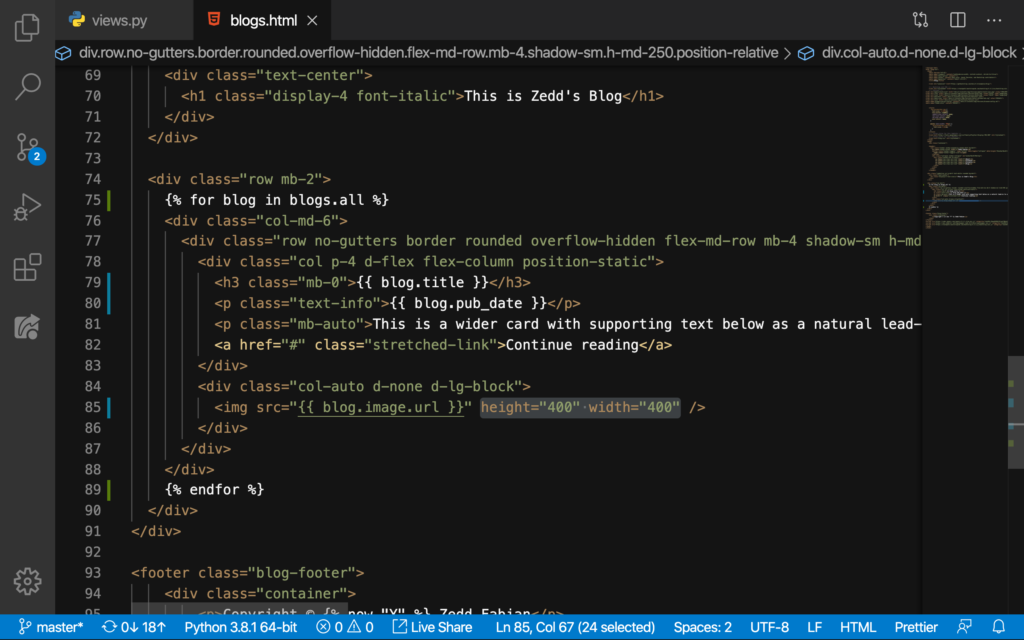
Cool! But, we don’t want our image to be that Thumbnail; we want the images that we’ve uploaded for each blog post on the Django admin.
image
So, to do that, get rid of this line here first:
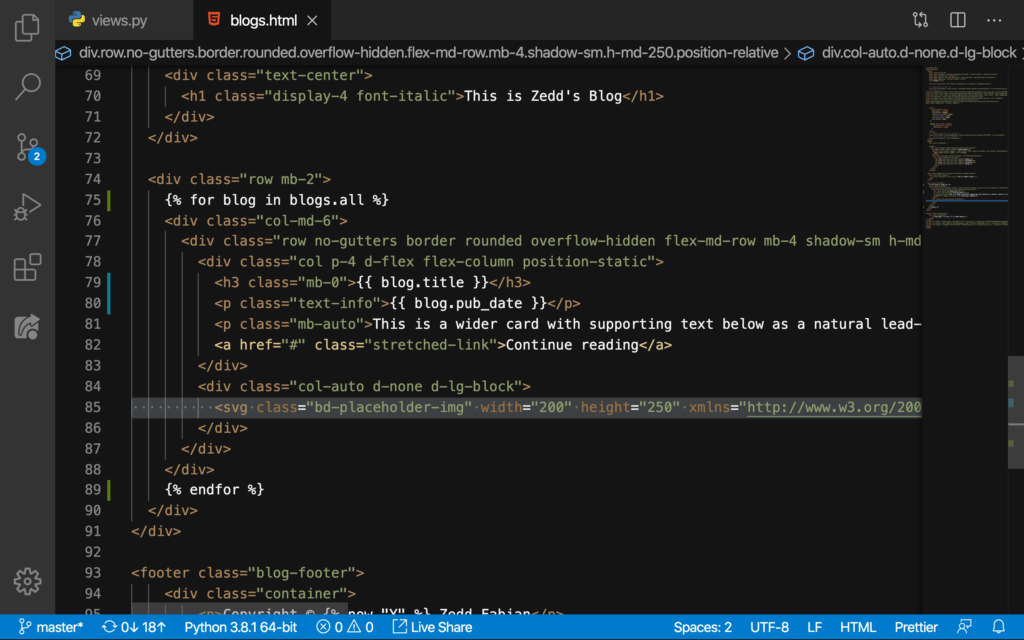
DELETE:
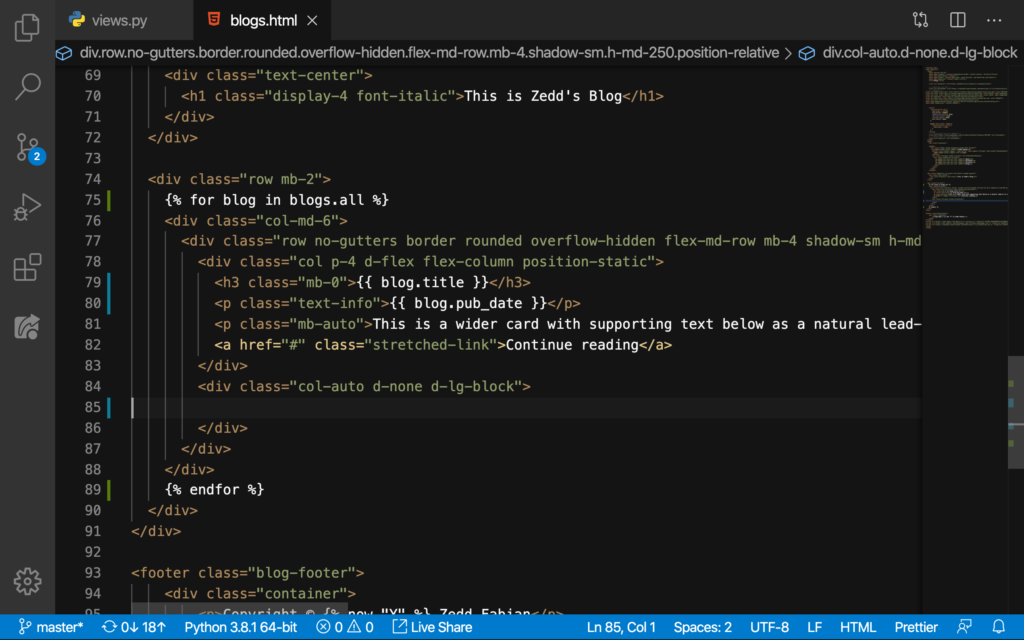
And type this in (still on Line 85):
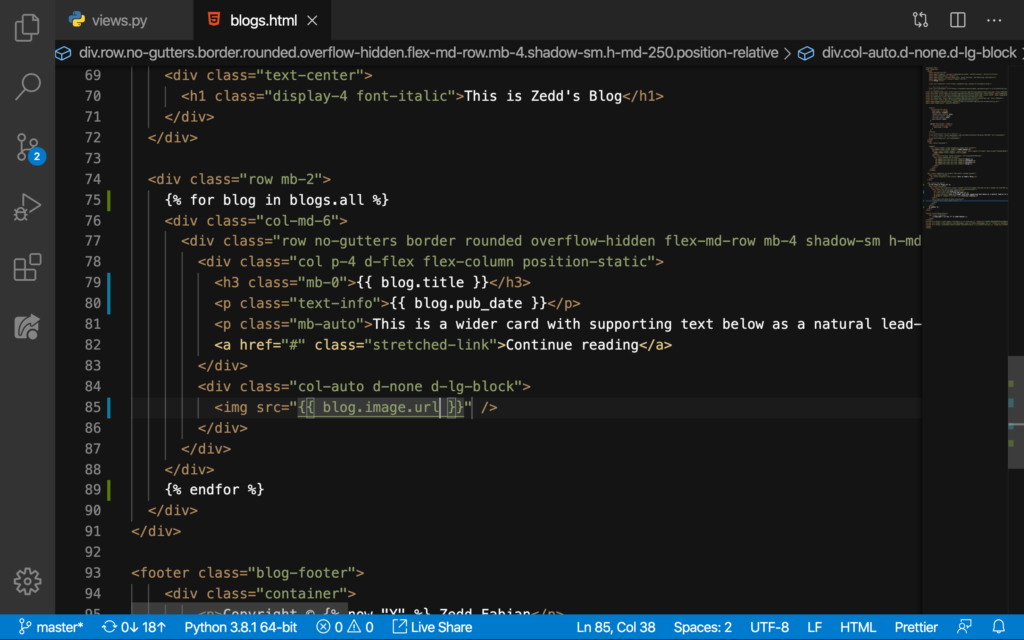
Good. Things might get a little messy, and it will:
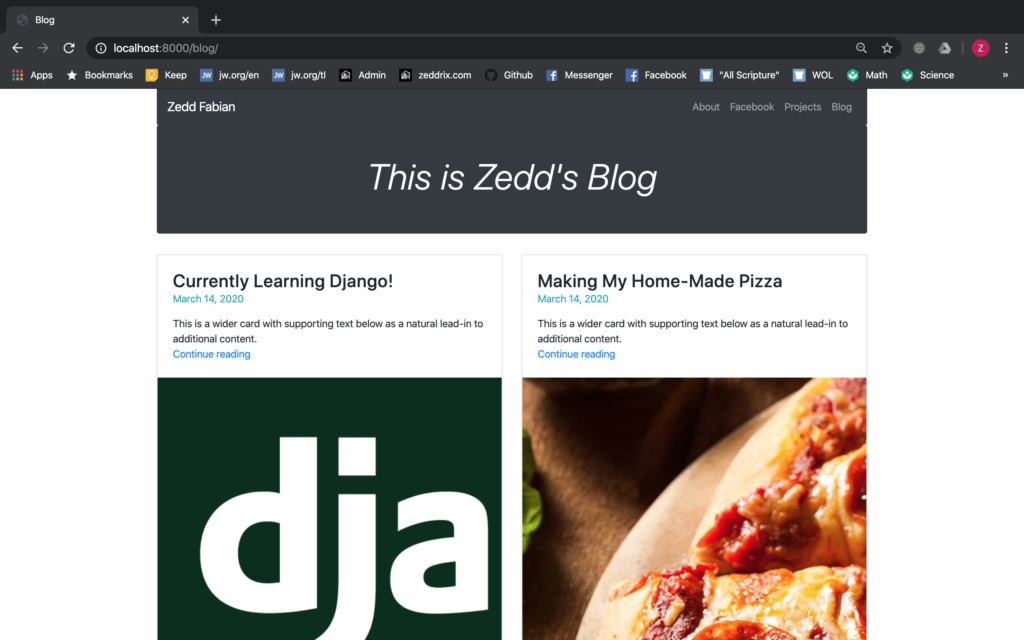
Our images are way too big. So we’ll need to add these:
Let’s see how this looks like now:
Yup, they look much better now, but that’s not the size we’re looking for. Well what can we do here? We can go to getbootstrap.com‘s Documentation and search for the word “image” and you’ll see something like this:
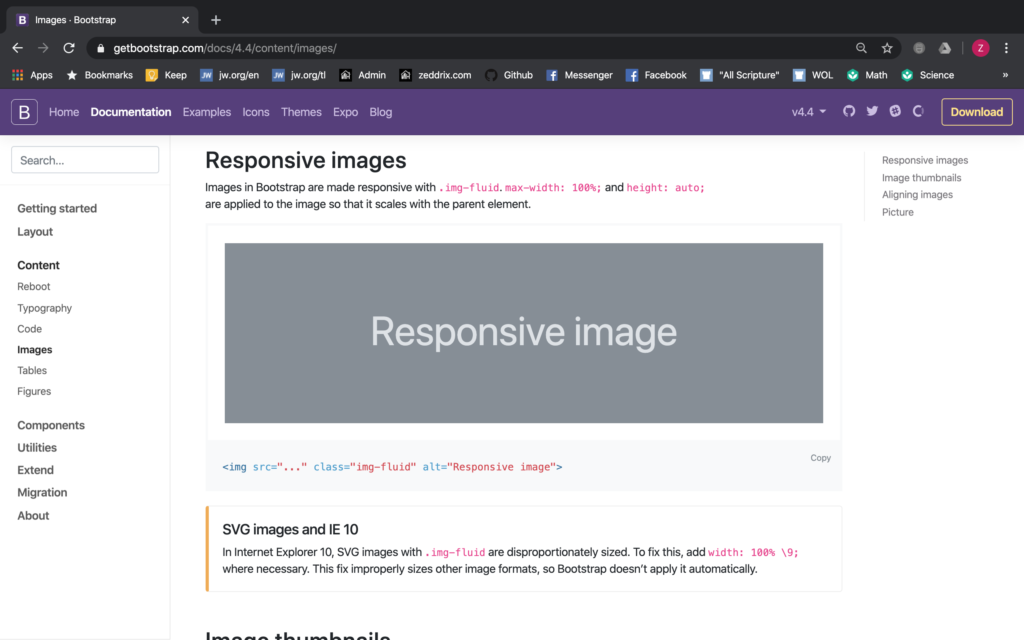
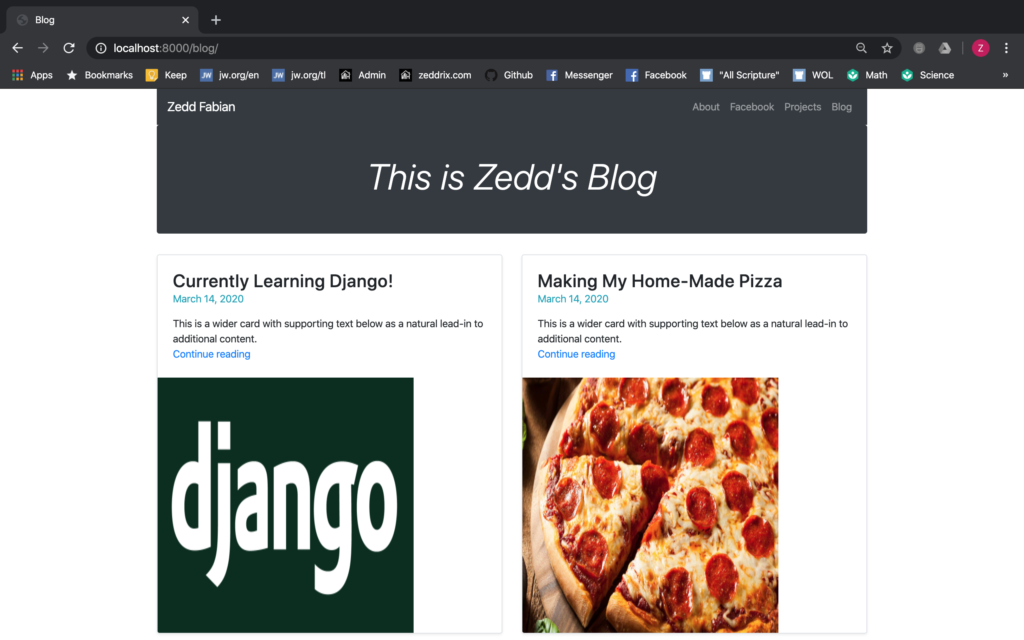
So let’s try using this:
Let’s see how our images will respond to this responsiveness:
Yes! That’s pretty cool right? I know that this looks cool but, take a look at my third blog post:
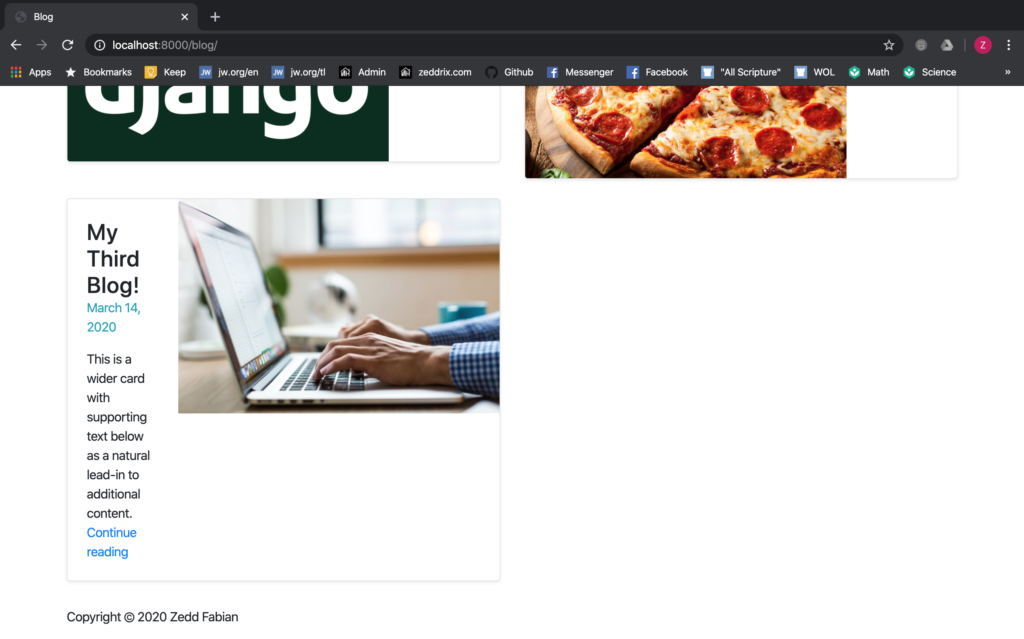
It looks messy. So I guess we’ll have to delete this container class here to stop having the side margins that’s making our blog page sexy:
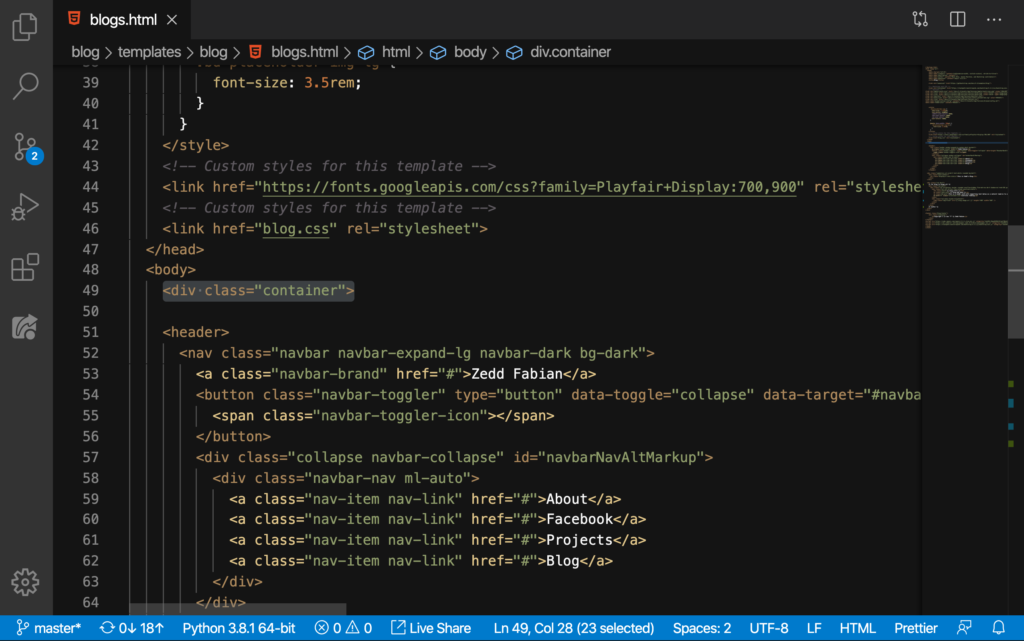
DELETE:
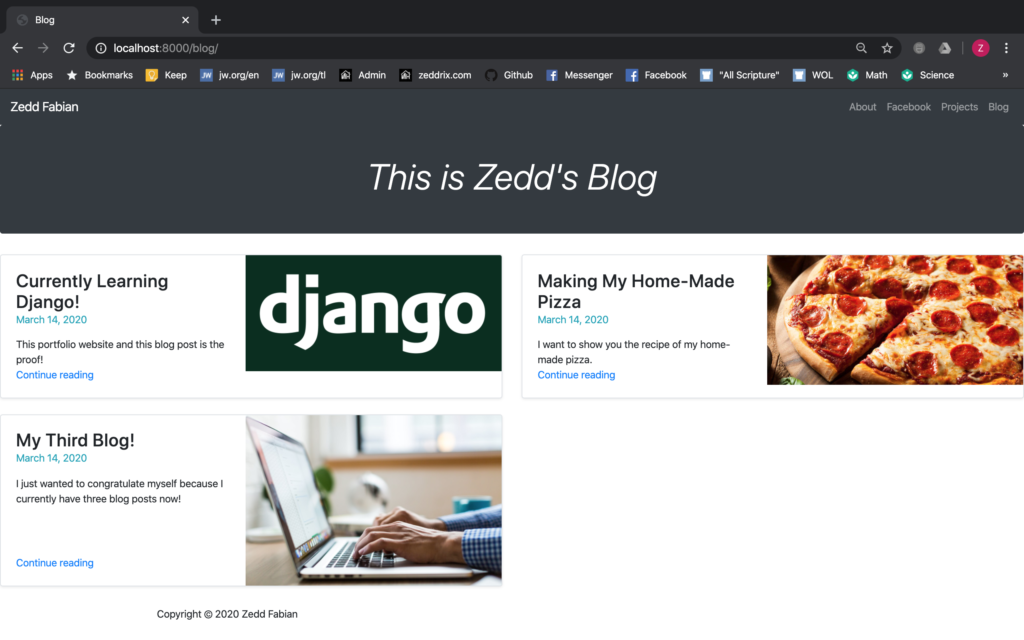
Good. Now, our Blog page should look like this now:
Pretty cool huh? Now, let’s give these cards their own excerpts or summaries, instead of having that description.
excerpt or summary
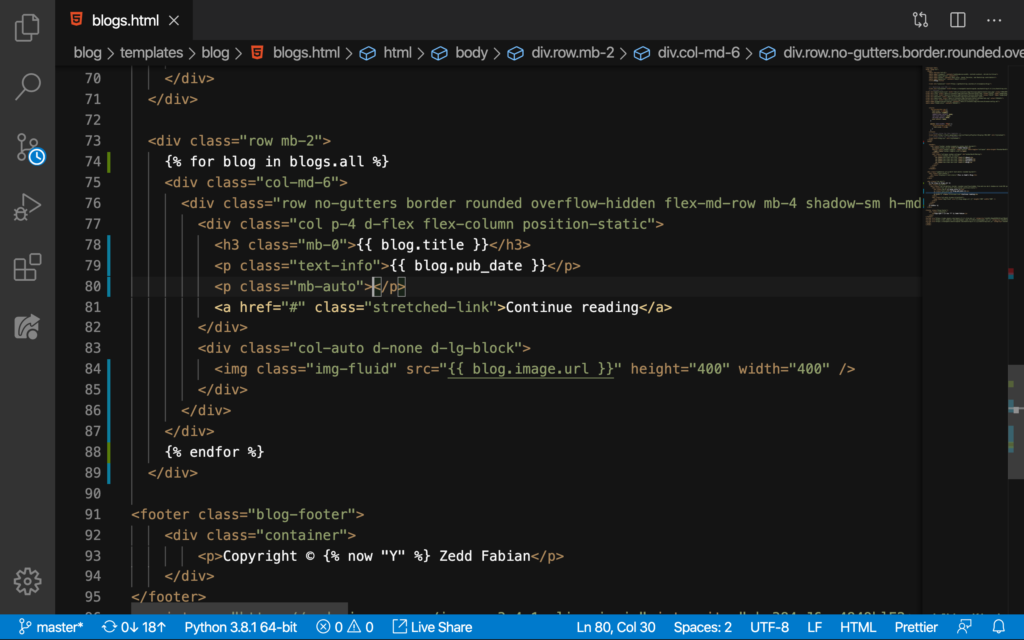
Let’s delete the text inside this paragraph tag:

DELETE:
And then, we’ll type this:
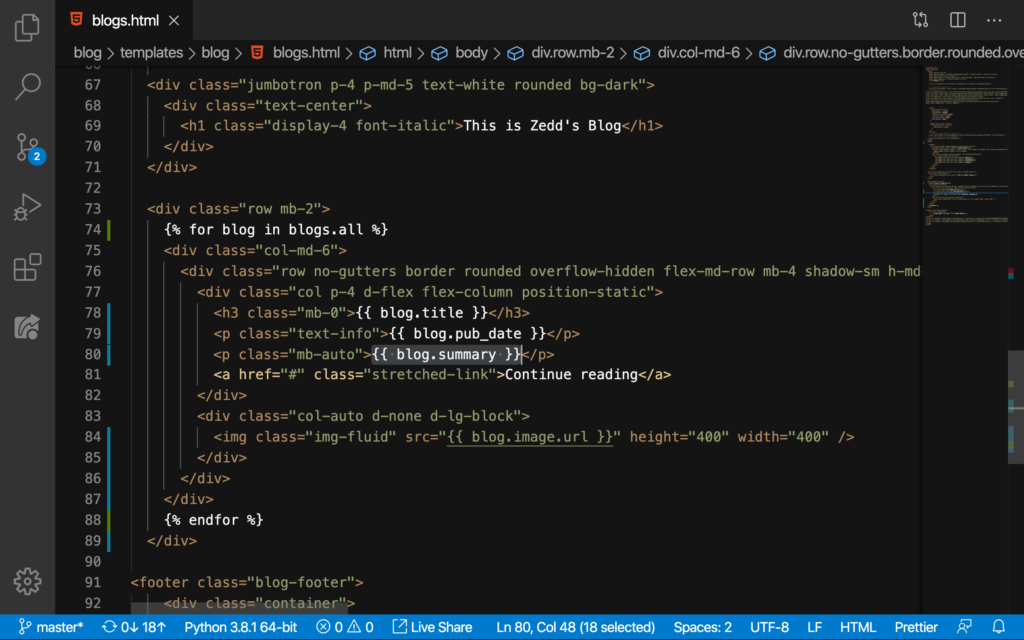
After changing this, let’s see what happens here:
Nice! Before concluding this lesson, make sure that you commit these changes to GitHub:

On the next lesson, we’ll be taking care of that one little thing we haven’t worked on yet. And that is that Continue reading. We want to take our readers to the blog posts page and contents. See you there!